
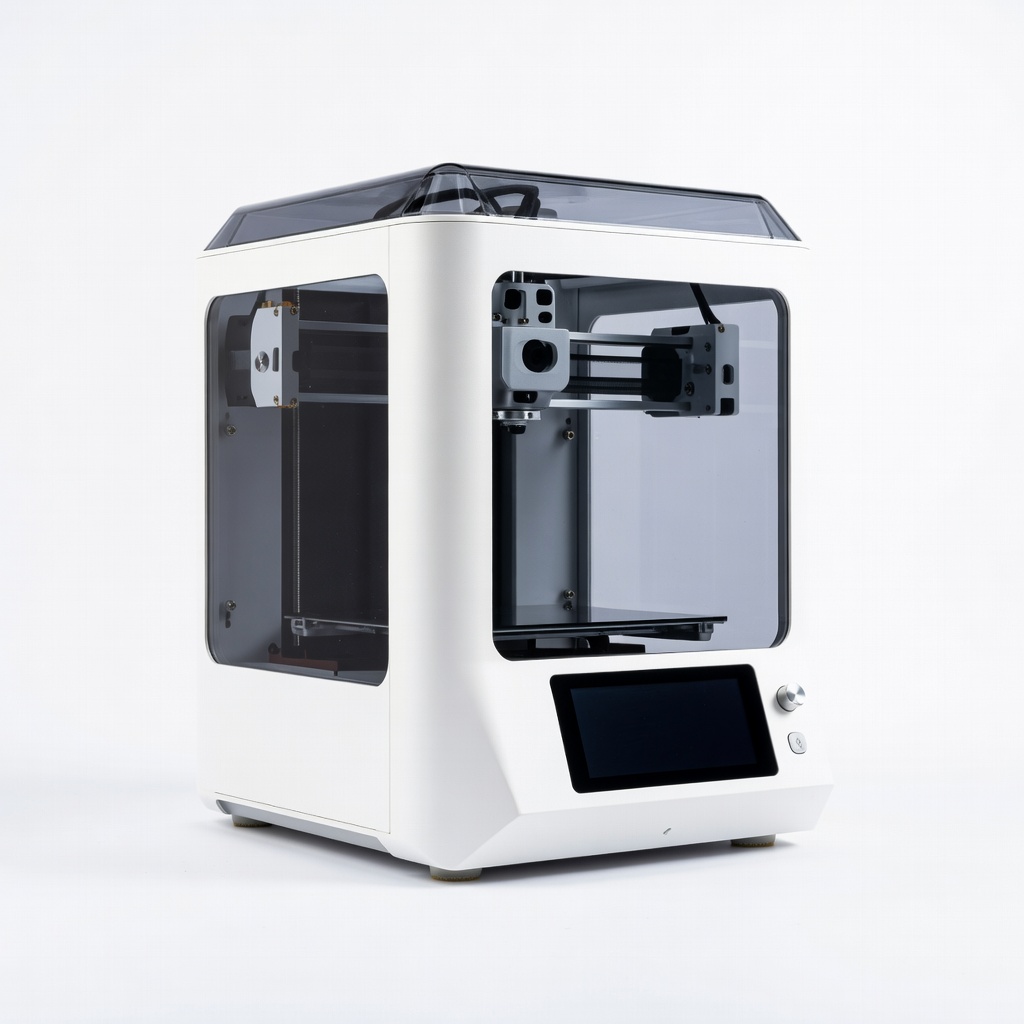
Phrozen Sonic Mighty 8K
High-volume jewelry prototyping with castable resins.
$499-$549
Phrozen Sonic Mighty 8K 8K monochrome LCD delivers 22μm XY resolution ideal for intricate filigree and prong settings; fast layer curing (60mm/hr).
Get the App
Better experience on mobile
Learn top 3D printers, resins, and tools for creating high-precision, castable jewelry prototypes efficiently.
Jewelry designers and manufacturers face intense pressure to iterate designs quickly while maintaining intricate details like filigree and prong settings. Traditional subtractive methods like milling are costly and time-consuming, but additive manufacturing (AM) enables rapid prototyping with sub-micron accuracy. This guide breaks down the best AM products tailored for jewelry prototyping, helping advanced users select tools that integrate seamlessly into lost-wax casting workflows.
You'll gain a deep understanding of suitable technologies (SLA, DLP), key selection criteria, and specific product recommendations. Expect to spend 30-45 minutes reviewing concepts, evaluating options, and planning your setup—no hands-on printing required yet, but you'll be ready to prototype.
By the end, you'll know how to choose products that minimize post-processing, ensure castability, and scale from concept to production.
Estimated Time: 30-45 minutes Difficulty: advanced
Start by outlining your specific needs: resolution (typically <50μm XY, <25μm Z for fine details), build volume (small for rings/earrings, larger for bracelets), and material properties (castable resins with low ash residue <0.02%).
Jewelry demands overhang support minimization and smooth surfaces to reduce finishing time. Why it matters: Mismatched specs lead to failed casts or rework. Expect prototypes ready for investment casting in hours.
Pro tip: Use aspect ratio analysis in CAD to predict print success.
💡 Tips:
⚠️ Warnings:
Stereolithography (SLA) uses a laser to cure resin point-by-point; ideal for ultimate precision but slower. Digital Light Processing (DLP/MSLA) projects full layers via LCD/monochrome mask, faster with uniform XY resolution.
For jewelry, DLP excels in speed/accuracy balance; avoid powder-bed (SLS/SLM) for prototyping due to cost and roughness. Analogy: SLA is like etching a masterpiece pixel-by-pixel; DLP is flood-filling layers instantly.
Expect DLP printers to dominate recommendations for their 8K-16K masks enabling 20-35μm details.
💡 Tips:
Focus on pixel size (e.g., 22μm for 8K on 6.6" screen), layer height (10-50μm), and peel force minimization. Test accuracy with benchmarks like 0.2mm gauge blocks or MITA test models.
Why critical: Poor resolution distorts pavé settings; high peel force causes delamination in tall rings. Expect 99% first-pass success with calibrated systems.
Table:
| Metric | Jewelry Target |
|---|---|
| XY Res | <35μm |
| Z Height | 20-30μm |
| Speed | 50-100mm/hr |
⚠️ Warnings:
Choose resins with burnout profiles matching wax (400-800°C, <0.02% residue). Types: Wax-like (e.g., Phrozen W20), ceramic-filled hybrids.
Why it matters: Residue causes casting defects like porosity. Burnout schedule: Ramp 1°C/min to 750°C, hold 2hrs. Expect clean metal masters indistinguishable from wax.
💡 Tips:
Prioritize monochrome LCD for speed, heated tanks for viscosity control, and open systems for custom resins. Volume: 100-200x100-150x150mm suffices for most jewelry.
Integration: USB/WiFi slicing via Chitubox or Lychee. Expect setup in <1hr, prints in 1-4hrs per batch.
💡 Tips:
⚠️ Warnings:
Essential: Ultrasonic washer (IPA 99%), UV curing station (405nm), and ventilation hood. Air blast removes residue; drying prevents defects.
Why: Uncured resin inhibits burnout. Expect 15-30min post-process per print.
Use Rhino+Grasshopper for parametric designs, auto-supports via PreForm or Lychee Slicer. Orient parts at 45° to minimize supports.
Hollow models (2mm walls) save resin; add drain holes. Simulate burnout in software.
💡 Tips:
Print test sprues, cast trials, measure tolerances (±0.05mm). Iterate resin/printer params. Scale to hybrid workflows with CNC polishing.
Success metric: 95% cast yield.
Problem: Elephant's foot on bases
Solution: Reduce initial layers exposure by 20%; add negative offset in slicer.
Problem: Failed burnout with porosity
Solution: Slow ramp to 200°C first; use high-expansion investment.
Problem: Wavy surfaces or delamination
Solution: Check tank level; replace FEP after 20kg resin.
Problem: Stuck prints
Solution: Increase bottom exposure 1.5x; clean build plate with IPA.
Problem: Color inconsistencies in cast
Solution: Switch to gray/neutral resins; test alloy compatibility.
8K monochrome LCD delivers 22μm XY resolution ideal for intricate filigree and prong settings; fast layer curing (60mm/hr).
Best for: High-volume jewelry prototyping with castable resins.
Price Range: $499-$549
9K resolution (18μm XY) with auto-leveling and tilt release for reliable fine details; open material system.
Best for: Mid-range setups for rings/pendants; budget-friendly precision.
Price Range: $250-$300
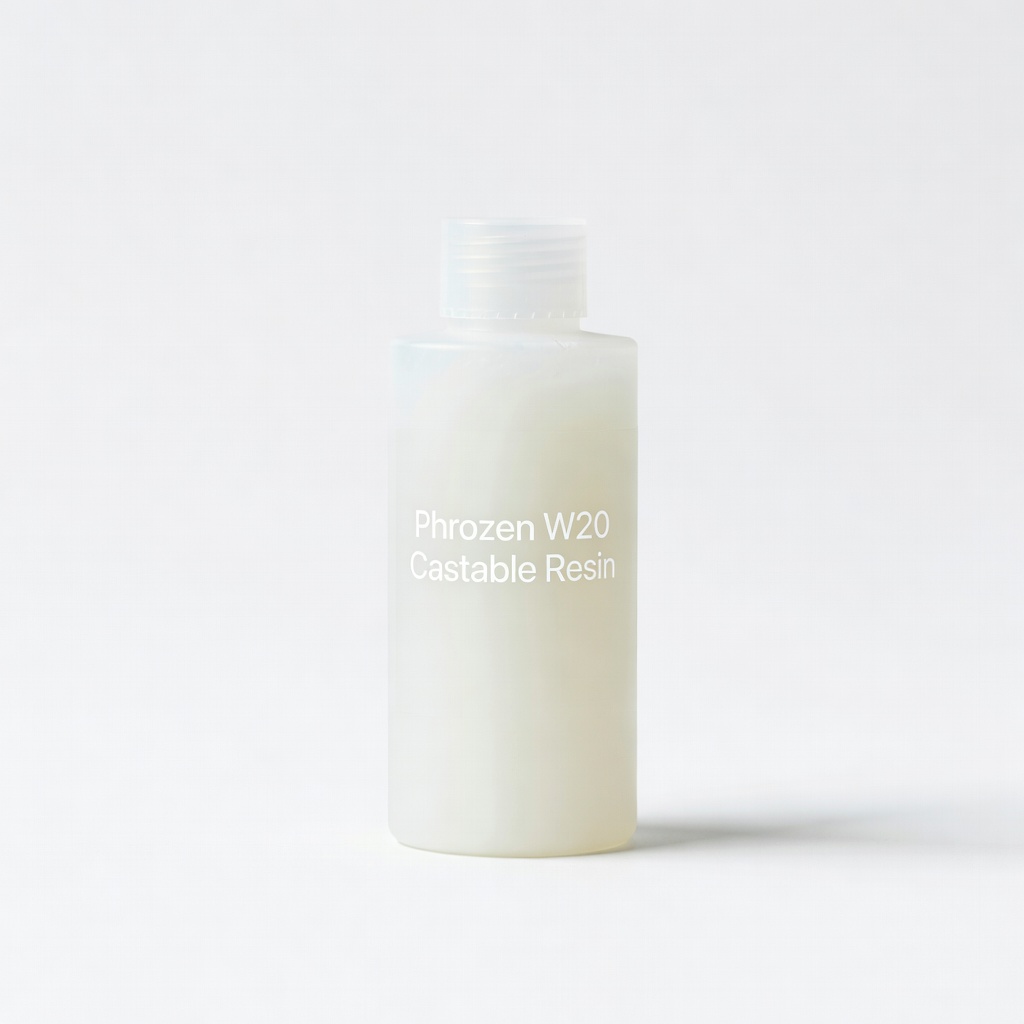
Low-shrinkage (0.5%), clean burnout (<0.01% ash), perfect for gold/silver lost-wax; smooth surfaces.
Best for: Direct-to-casting prototypes without post-machining.
Price Range: $50-$70 per liter
Dual-station for IPA washing and 405nm curing; handles 8" builds, timers for consistency.
Best for: Essential post-processing to ensure residue-free parts.
Price Range: $80-$100
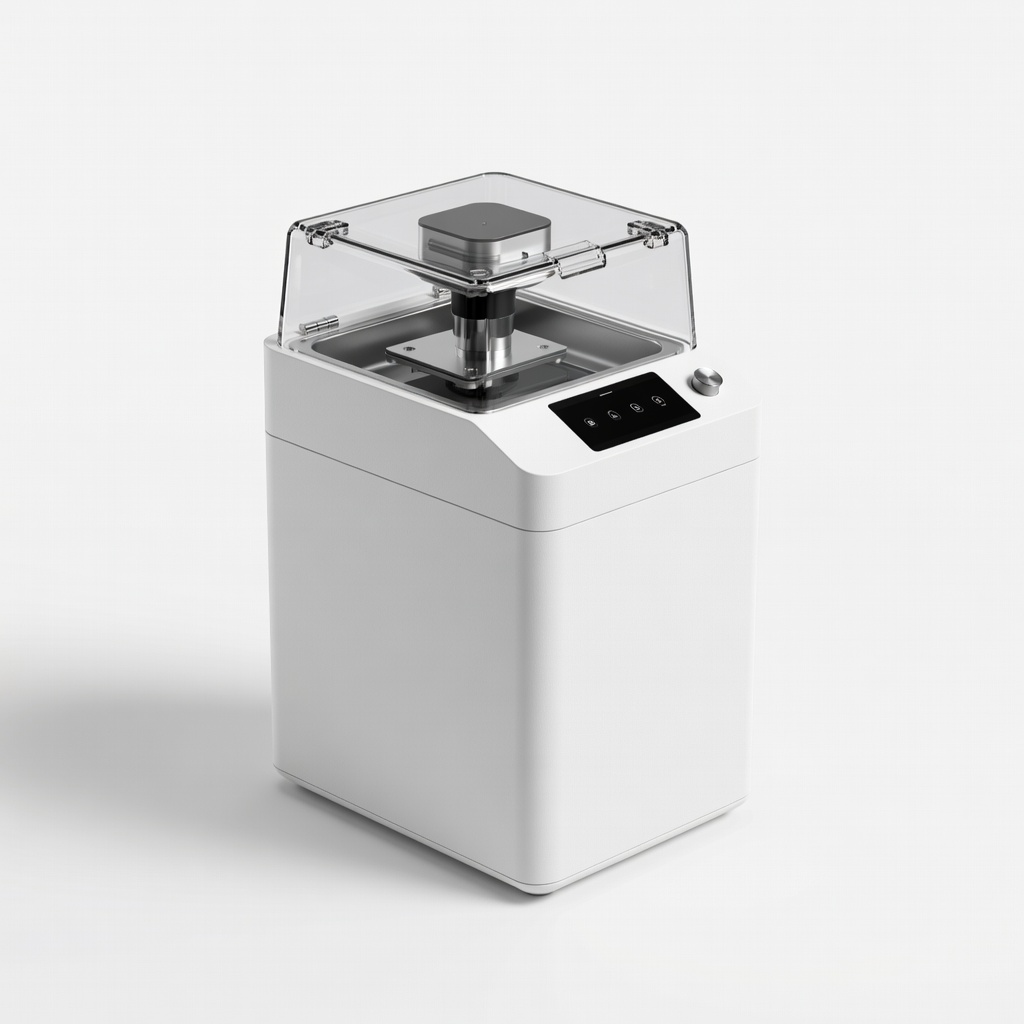
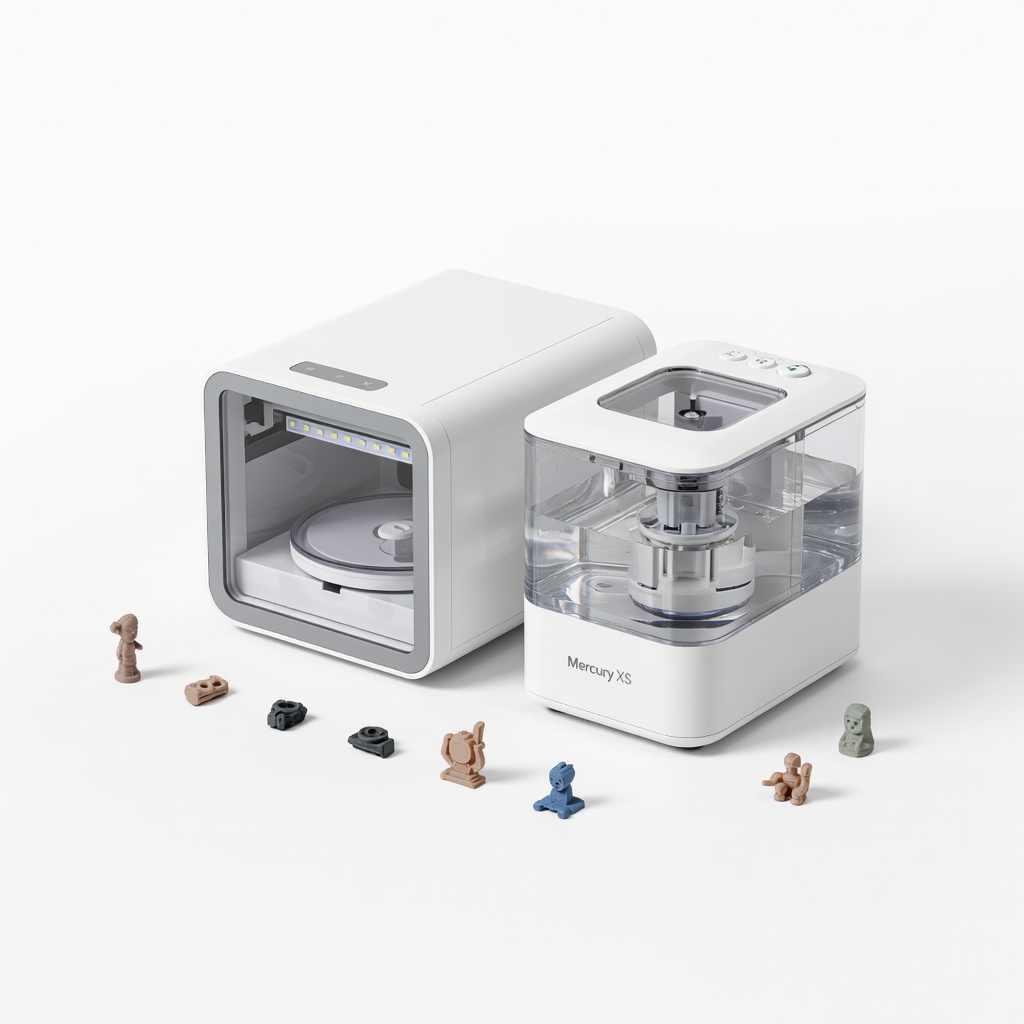
Compact washer/cure/dry combo with heated chamber; optimizes workflow for small jewelry batches.
Best for: Space-limited studios needing pro post-processing.
Price Range: $150-$180
High-volume jewelry prototyping with castable resins.
Phrozen Sonic Mighty 8K 8K monochrome LCD delivers 22μm XY resolution ideal for intricate filigree and prong settings; fast layer curing (60mm/hr).
Mid-range setups for rings/pendants; budget-friendly precision.
Elegoo Mars 4 Ultra 9K 9K resolution (18μm XY) with auto-leveling and tilt release for reliable fine details; open material system.
Direct-to-casting prototypes without post-machining.
Phrozen W20 Castable Resin Low-shrinkage (0.5%), clean burnout (<0.01% ash), perfect for gold/silver lost-wax; smooth surfaces.
Essential post-processing to ensure residue-free parts.
Anycubic Wash & Cure 3 Plus Dual-station for IPA washing and 405nm curing; handles 8" builds, timers for consistency.
Space-limited studios needing pro post-processing.
Elegoo Mercury XS Bundle Compact washer/cure/dry combo with heated chamber; optimizes workflow for small jewelry batches.