
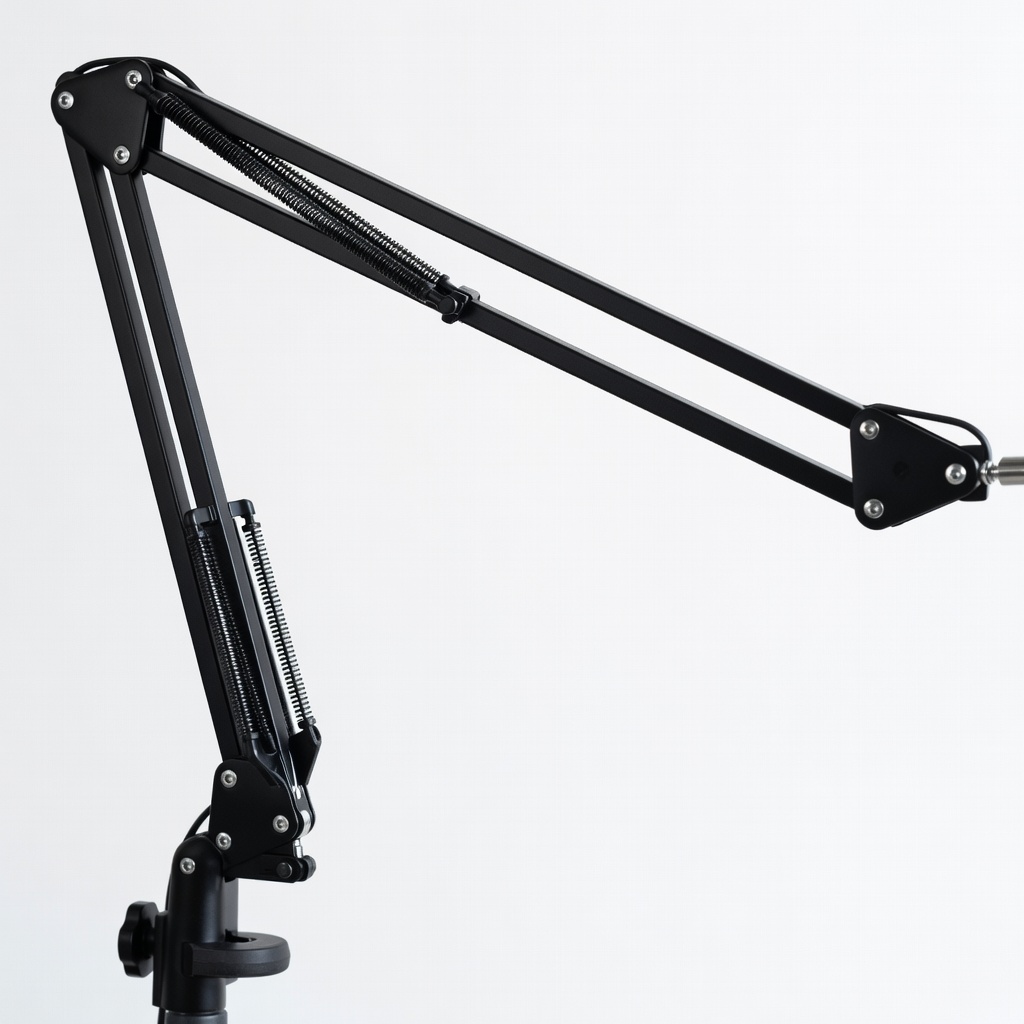
InnoGear Microphone Boom Arm Stand
Solo home setups needing hands-free stability.
$25-$30
InnoGear Microphone Boom Arm Stand Affordable, sturdy desk clamp with cable management for perfect mic positioning without sagging.
Get the App
Better experience on mobile
Unlock pro-level audio with essential beginner-friendly accessories and supplies that enhance clarity, reduce noise, and elevate your podcast production.
Poor audio quality is the #1 reason listeners abandon podcasts—grainy sound, echoes, or pops can make even the best content unlistenable. As a beginner podcaster, you might have a decent mic, but without the right accessories, you're missing out on professional polish that keeps audiences hooked.
In this guide, you'll learn the top accessories and supplies that deliver the biggest impact for your buck. From pop filters to room treatments, we'll break down what each does, why it matters, and how to choose wisely. No jargon overload—just clear explanations and real-world examples.
Expect to spend 20-30 minutes reading, with actionable insights to upgrade your setup in under an hour. Difficulty: total beginner—no prior gear knowledge needed.
Estimated Time: 20-30 minutes to read + 1 hour to shop and install Difficulty: beginner
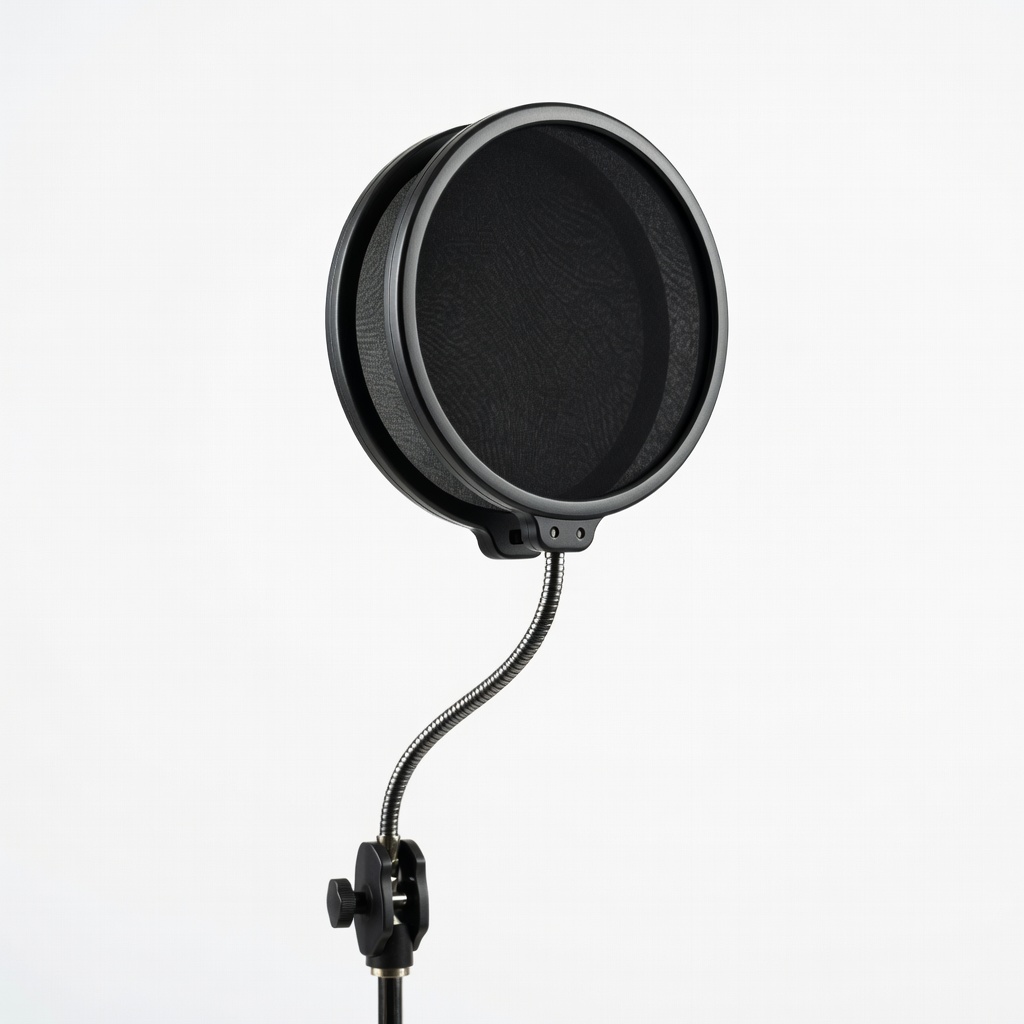
Plosives are those harsh 'P' and 'B' sounds caused by air blasts hitting your mic. A pop filter is a thin mesh screen placed 1-3 inches in front of the microphone, diffusing airflow like a windshield wiper on rain.
Why it matters: Without it, editing becomes a nightmare—think muddy intros ruining your flow. Expect crystal-clear speech, especially for dynamic talkers.
Place it at a 45-degree angle to your mouth for best results. Analogy: It's like a coffee filter straining out grounds for smooth brew.
💡 Tips:
⚠️ Warnings:
A shock mount suspends your mic in elastic bands, isolating vibrations from desk thumps or accidental bumps—like a car's suspension smoothing rough roads.
Why it matters: Beginners often record on wobbly desks, turning subtle knocks into loud thuds. This accessory ensures clean takes, saving editing time.
Install by screwing the mic into the mount, then clip to your stand. Test by tapping the desk—you'll hear the difference instantly.
💡 Tips:
⚠️ Warnings:
Boom arms clamp to your desk, extending the mic to mouth level without stands cluttering your space. Adjustable like a desk lamp, they keep consistent distance (6-8 inches from lips).
Why it matters: Handheld or short stands cause inconsistent volume and fatigue. Pro podcasters swear by them for hands-free freedom and better posture.
Clamp securely, route cables through clips, and adjust tension for smooth swing.
💡 Tips:
⚠️ Warnings:
Closed-back headphones seal out room noise and prevent bleed into your mic, letting you hear exactly what the audience will—flaws and all.
Why it matters: Speakers cause feedback loops; open-back cans leak sound. Accurate monitoring catches edits early, like EQ tweaks for warmth.
Plug into your interface or computer; aim for flat response (no bass boost). Analogy: Pilot headphones in a cockpit—precision over pleasure.
💡 Tips:
⚠️ Warnings:
Echoes from hard walls make audio boxy. Acoustic panels (foam or fabric) absorb reflections, while blankets makeshift the same on a dime.
Why it matters: 80% of quality is the room. Panels target first reflections (ceiling, walls behind mic) for natural reverb.
Hang 4-6 panels (2x4 ft) at ear height; test by clapping—less slapback means success.
💡 Tips:
⚠️ Warnings:
Balanced XLR cables reject interference (hum, buzz), unlike cheap audio cables. Adapters bridge USB/XLR worlds.
Why it matters: Long runs pick up noise from lights/phones. Pro-grade shielding ensures pristine signal transfer.
Buy 10-20 ft lengths; twist locks secure connections.
💡 Tips:
⚠️ Warnings:
Interfaces add gain, phantom power, and monitoring mix—like a mixer dashboard for your DAW.
Why it matters: USB mics limit headroom; interfaces unlock XLR mics and zero-latency monitoring.
Connect mic > interface > computer; dial gain to yellow peaks.
💡 Tips:
⚠️ Warnings:
Problem: Mic picks up hum or buzz
Solution: Swap cables, use balanced XLR, plug into different outlet, or add ferrite chokes.
Problem: Echo persists after panels
Solution: Target side walls/ceiling; use free Room EQ Wizard software to measure.
Problem: Low volume even with gain
Solution: Check phantom power (for condensers), closer mic position, or upgrade interface.
Problem: Headphone bleed into recording
Solution: Switch to closed-back cans, lower monitor volume, or use interface direct mix.
Affordable, sturdy desk clamp with cable management for perfect mic positioning without sagging.
Best for: Solo home setups needing hands-free stability.
Price Range: $25-$30
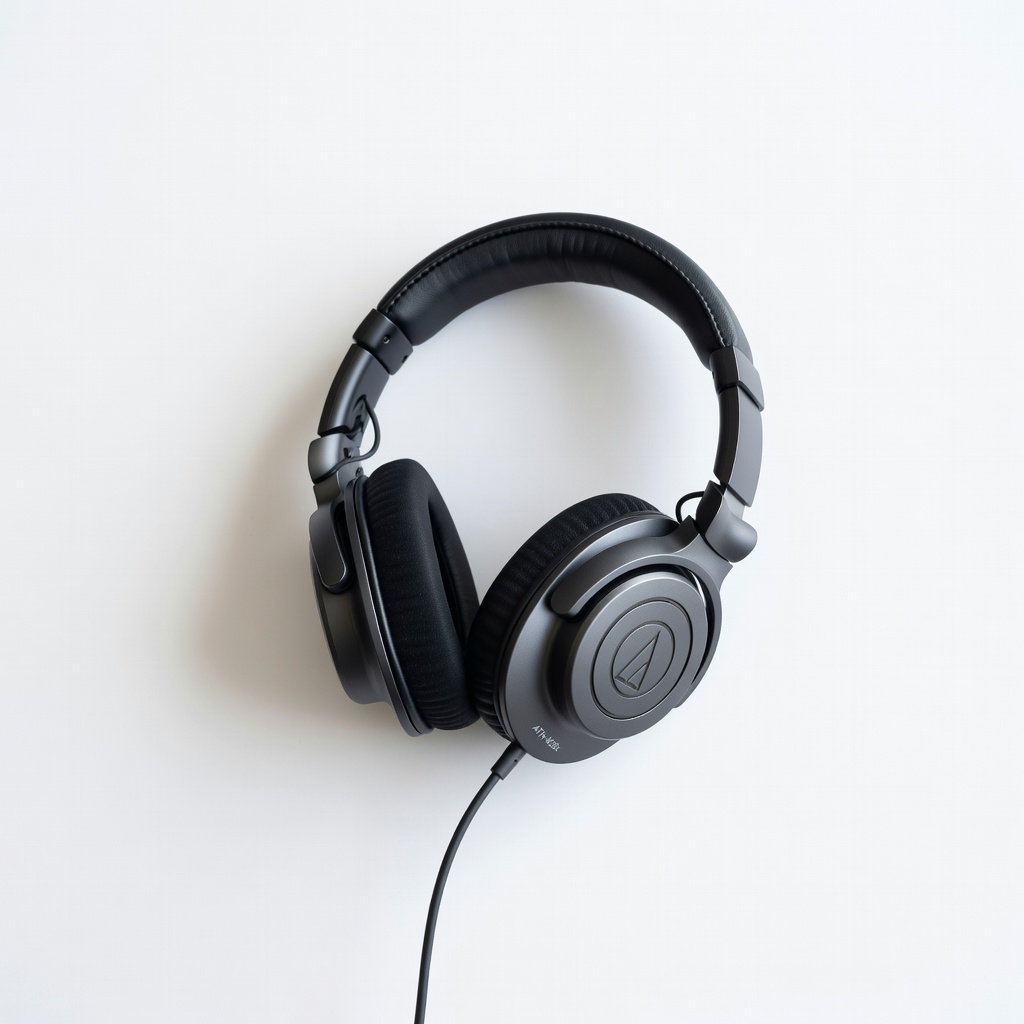
Closed-back design with accurate sound for bleed-free monitoring and editing.
Best for: Real-time listening during recording and post-production.
Price Range: $45-$55
Double-layer metal mesh effectively kills plosives without dulling highs.
Best for: Any vocal-heavy podcast to clean up speech instantly.
Price Range: $8-$12
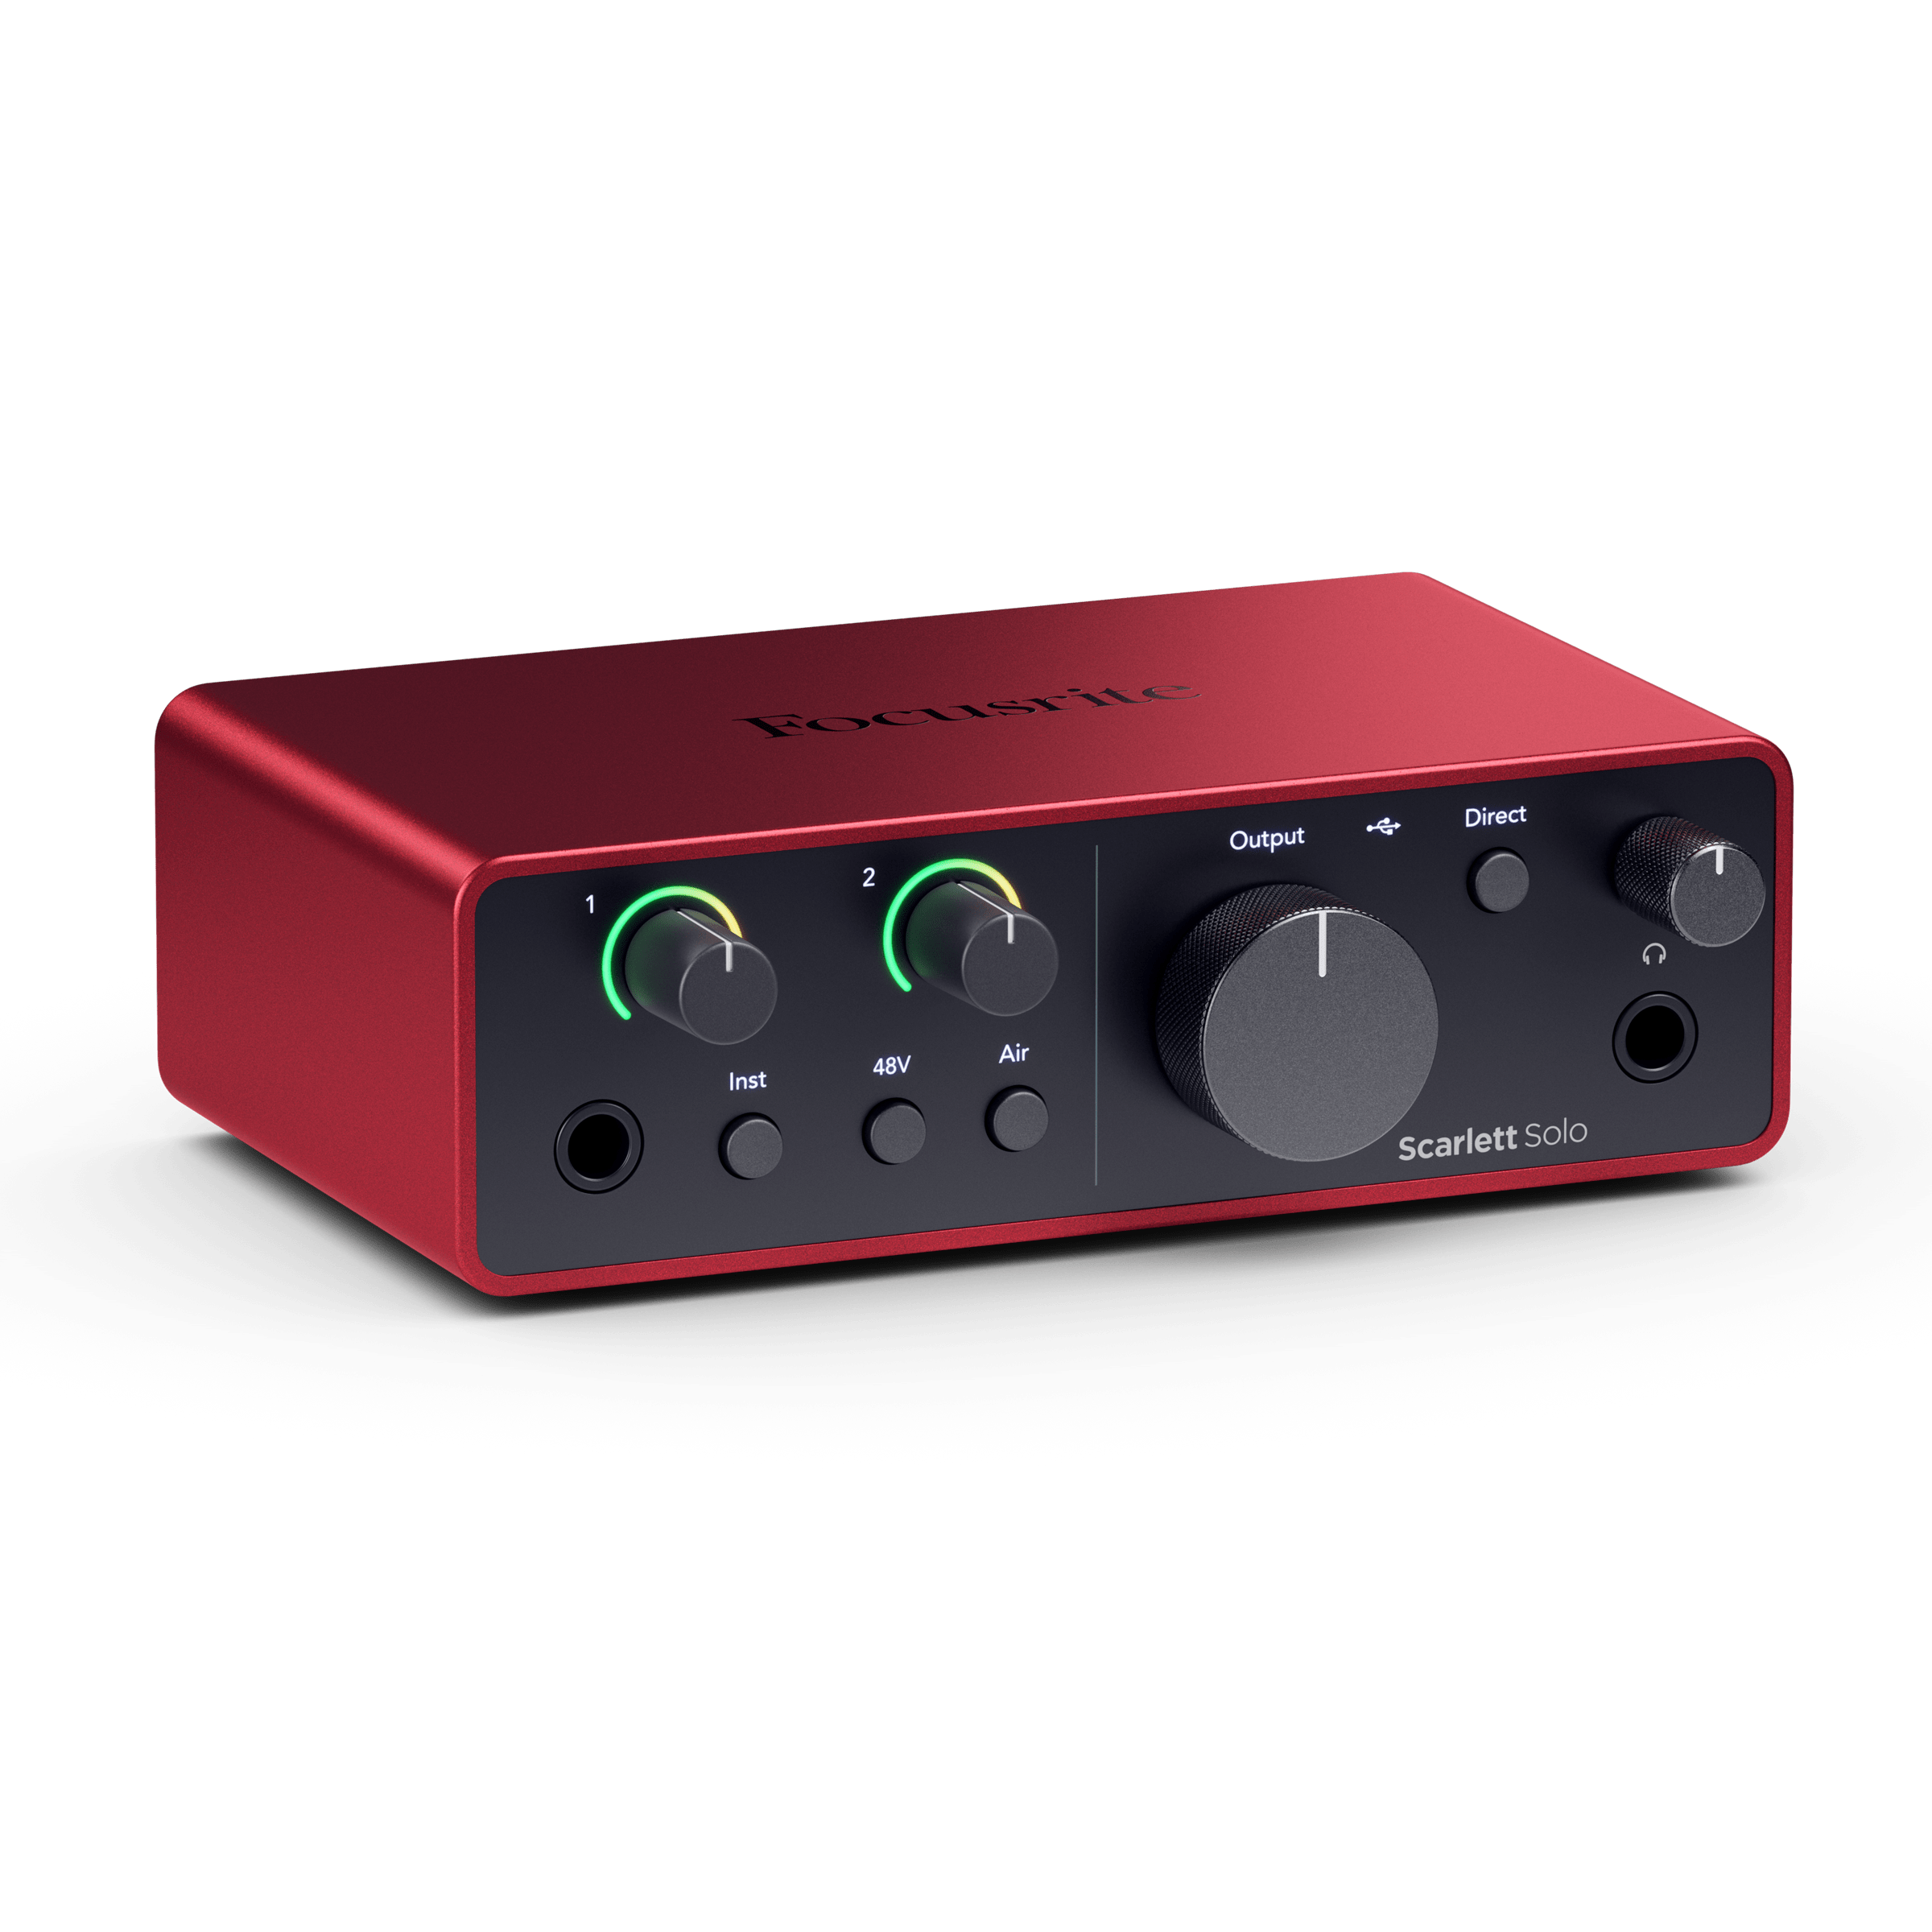
Entry-level interface with auto-gain and Air mode for pro warmth on XLR mics.
Best for: Upgrading from USB mics for better control and dynamics.
Price Range: $130-$140
Effective broadband absorbers to tame room reverb affordably.
Best for: Wall/ceiling treatment in untreated spaces.
Price Range: $80-$100
Solo home setups needing hands-free stability.
InnoGear Microphone Boom Arm Stand Affordable, sturdy desk clamp with cable management for perfect mic positioning without sagging.
Real-time listening during recording and post-production.
Audio-Technica ATH-M20x Headphones Closed-back design with accurate sound for bleed-free monitoring and editing.
Any vocal-heavy podcast to clean up speech instantly.
Aokeo Professional Microphone Pop Filter Double-layer metal mesh effectively kills plosives without dulling highs.
Upgrading from USB mics for better control and dynamics.
Focusrite Scarlett Solo (4th Gen) Entry-level interface with auto-gain and Air mode for pro warmth on XLR mics.
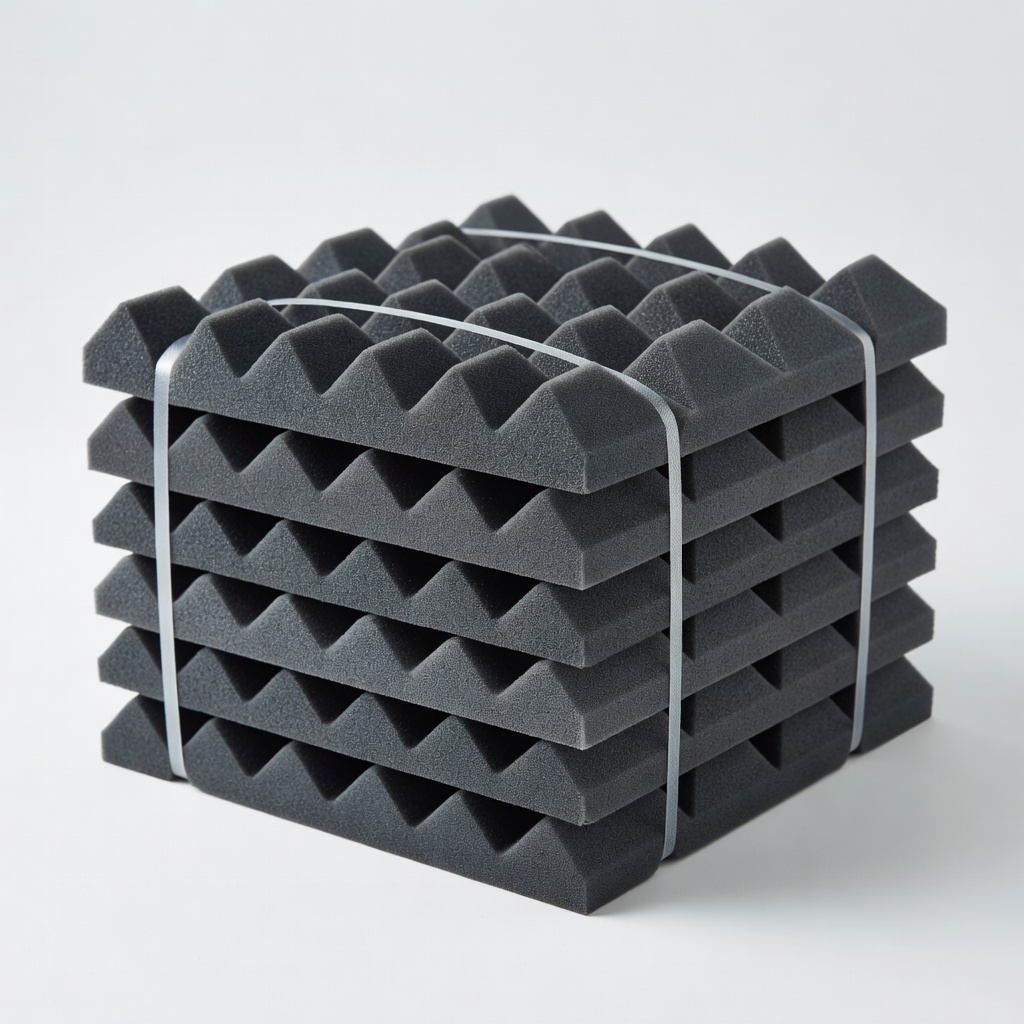
Wall/ceiling treatment in untreated spaces.
Auralex Studiofoam Wedges (12-pack) Effective broadband absorbers to tame room reverb affordably.