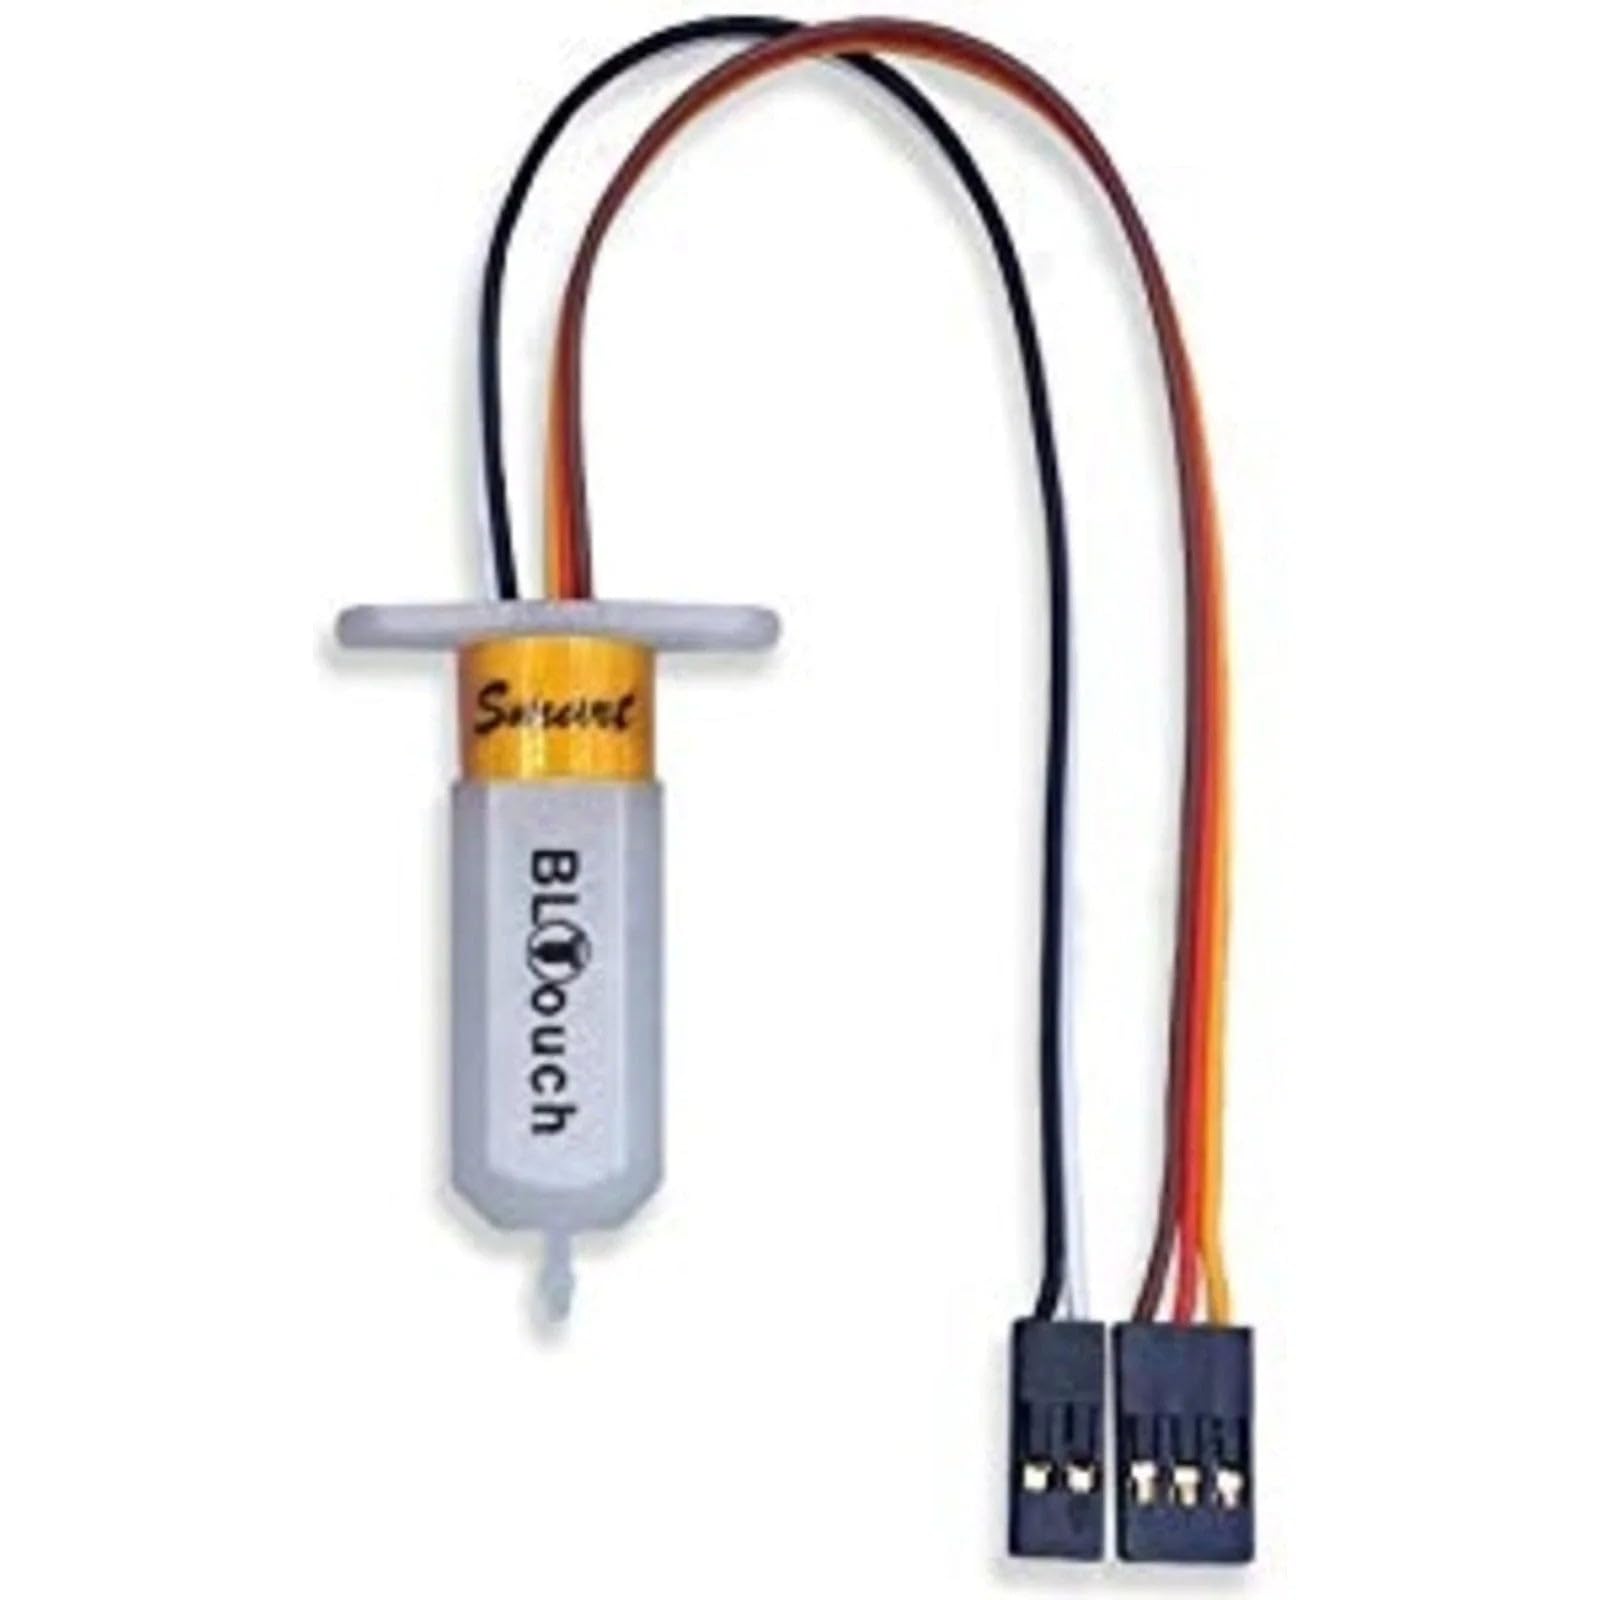
BIGTREETECH BLTouch Smart V2.0
Any Cartesian printer struggling with manual leveling.
$39.99
BIGTREETECH BLTouch Smart V2.0 Automates bed leveling for perfect first layers every time.
Get the App
Better experience on mobile
Learn top accessories that improve print quality, speed, and reliability for intermediate 3D printing enthusiasts.
Frustrated by failed prints, warping, stringing, or slow speeds on your 3D printer? These issues plague many intermediate users, but the solution often lies not in a new printer, but in smart accessories that address specific weaknesses like temperature fluctuations, poor adhesion, or filament inconsistencies.
In this guide, you'll discover the most impactful accessories, explained with real-world examples, analogies, and why they work. From enclosures that stabilize your print environment to advanced sensors that automate leveling, we'll break down 8 key upgrades. Expect to spend 20-30 minutes reading, with actionable insights you can apply immediately—no advanced engineering required, just intermediate knowledge of FDM printing.
Estimated Time: 20-30 minutes to read and understand Difficulty: intermediate
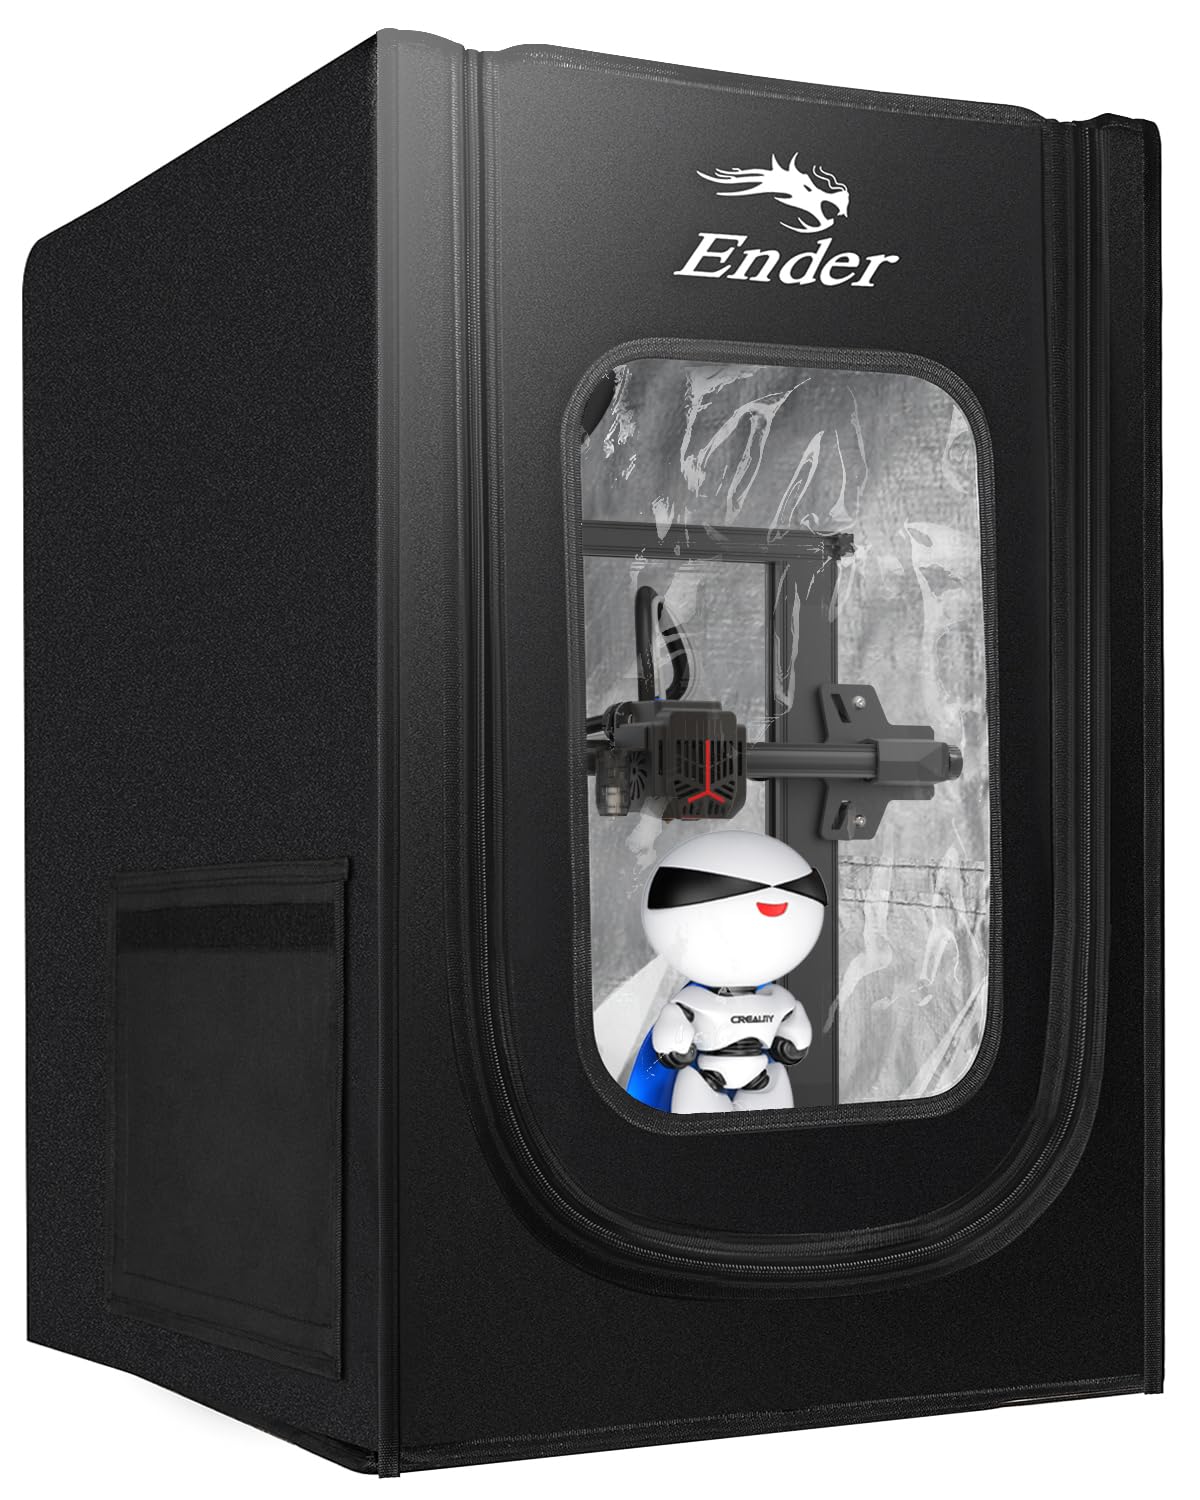
An enclosure surrounds your printer, maintaining consistent ambient temperatures (around 30-40°C ideal for ABS/ASA). Think of it like a greenhouse for your prints—without it, drafts cause warping as layers cool unevenly.
Why it enhances performance: Reduces thermal expansion/contraction, cuts failed prints by 50-70%, enables exotic filaments. Expect crisper corners and bridges on overhangs.
Install by assembling panels around your frame; most are plug-and-play for Ender series.
💡 Tips:
⚠️ Warnings:
Standard hotends bottleneck at 6-12mm³/s; high-flow models (e.g., Volcano-style) push 20+mm³/s. Analogy: Upgrading from a garden hose to a fire hose for faster, smoother filament extrusion.
Performance boost: Prints 2x faster with less clogging, ideal for large models or PLA+. You'll notice reduced stringing and sharper details at high speeds (100+mm/s). Swap via quick-release mounts.
💡 Tips:
⚠️ Warnings:
Sensors like BLTouch probe the bed 9-25 points, creating a mesh map that firmware adjusts Z-height dynamically. Like self-leveling suspension on a car—smooths bumpy roads (uneven beds).
Why it matters: Eliminates manual leveling frustration, boosts first-layer success to 95%+. Perfect for warped glass beds. Wiring takes 30 mins; firmware flash via USB.
💡 Tips:
Moves stepper motor to hotend, shortening Bowden tube (retractable 'umbilical'). Analogy: Direct-injection engine vs. carburetor—precise fuel (filament) delivery.
Enhancements: Better retraction (less stringing), handles flexibles (TPU) flawlessly, 20-30% retraction improvement. Retrofitting kits bolt on.
💡 Tips:
⚠️ Warnings:
Humidity-absorbed filament expands, causing blobs/pops. Dryers heat filament to 45-70°C with desiccant. Like drying wet sponge before squeezing—consistent flow.
Impact: 80% fewer moisture failures, smoother surfaces. Dry overnight; inline dryers mount on printer.
💡 Tips:
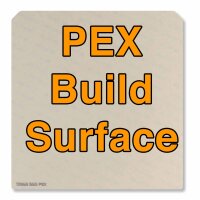
PEI (polyetherimide) grips hot (60-90°C) without glue, releases cool. Analogy: Gecko feet—adheres via van der Waals forces.
Benefits: Consistent adhesion, reusable 100+ prints, textured for beauty. Magnetic spring steel flexes prints off easily.
💡 Tips:
⚠️ Warnings:
Directs airflow precisely to layers, hardening bridges/overhangs. Poor cooling = droops; optimized = 45° overhangs printable.
Performance: Enables speed/detail; 5015 fans outperform stock 4010s. 3D-print custom ducts.
💡 Tips:
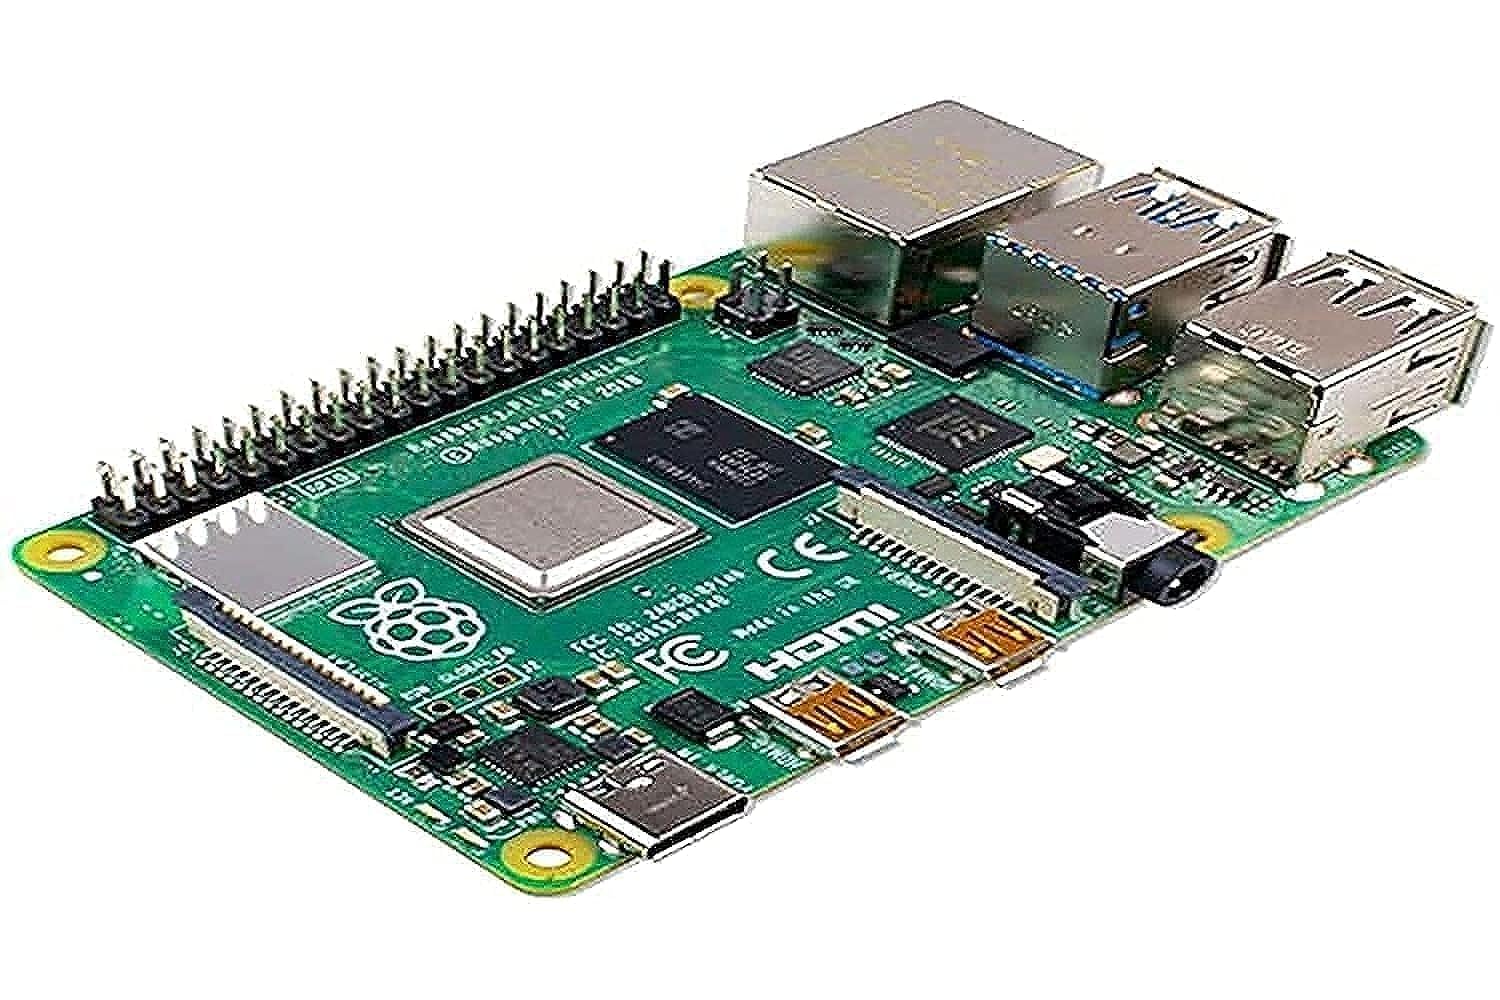
Raspberry Pi + webcam runs OctoPrint server for wireless control, timelapse, plugins (bed leveling viz). Analogy: Dashboard for your printer.
Boost: Prevents babysitting, plugin ecosystem adds filament sensors. Setup: Flash SD, connect Ethernet.
💡 Tips:
Problem: ABL sensor false readings
Solution: Clean probe tip, check nozzle height (2-3mm), recompile mesh.
Problem: Hotend clogs post-upgrade
Solution: Cold pull with nylon filament, ensure 240°C+ temps.
Problem: Filament dryer ineffective
Solution: Replace desiccant, verify seal, target 10% RH.
Problem: OctoPrint disconnects
Solution: Use powered USB hub, Ethernet over WiFi.
Automates bed leveling for perfect first layers every time.
Best for: Any Cartesian printer struggling with manual leveling.
Price Range: $39.99
Maintains stable temps, reduces warping on ABS/ASA.
Best for: Open-frame printers in drafty rooms.
Price Range: $99-$129
Dries 2 spools, prevents moisture blobs/pop.
Best for: Humid climates or hygroscopic filaments like Nylon.
Price Range: $59.99
Superior adhesion/release, dimpled for easy removal.
Best for: Frequent print failures from bed adhesion.
Price Range: $29.99
Powers OctoPrint for remote monitoring/control.
Best for: Long prints needing oversight.
Price Range: $55-$75
Any Cartesian printer struggling with manual leveling.
BIGTREETECH BLTouch Smart V2.0 Automates bed leveling for perfect first layers every time.
Open-frame printers in drafty rooms.
Creality Ender 3 Enclosure Kit Maintains stable temps, reduces warping on ABS/ASA.
Humid climates or hygroscopic filaments like Nylon.
SUNLU FilaDryer S2 Dries 2 spools, prevents moisture blobs/pop.
Frequent print failures from bed adhesion.
Wham Bam PEX Build Surface Superior adhesion/release, dimpled for easy removal.
Long prints needing oversight.
Raspberry Pi 4 Model B 4GB Powers OctoPrint for remote monitoring/control.