
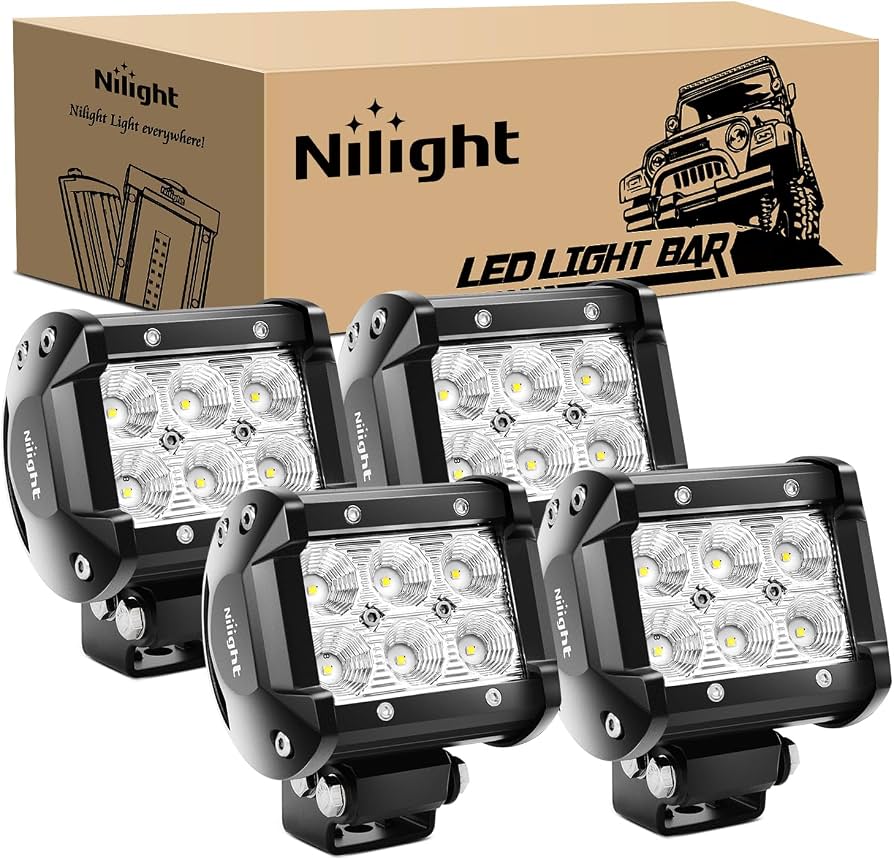
Nilight 4PCS 18W LED POD Lights
Accent/side lighting for trails; easy bolt-on for Jeeps/Trucks.
$35-45
Nilight 4PCS 18W LED POD Lights Versatile spot/flood combo with 1800 lumens each; durable aluminum build punches above price.
Get the App
Better experience on mobile
Discover top accent and off-road lights that dramatically enhance nighttime visibility for safer adventures.
Driving off-road at night can be thrilling but dangerous—poor visibility leads to hidden obstacles, wildlife, and accidents. Standard headlights often fall short in dark trails, leaving you guessing. This guide explains how accent and off-road lighting solves this.
You'll learn key concepts like beam patterns, light tech, and metrics to pick lights that cut through darkness. By the end, you'll know exactly what improves visibility most.
Expect a straightforward breakdown: no fluff, just actionable insights for intermediate enthusiasts. Reading and applying takes 20-30 minutes.
Estimated Time: 20-30 minutes Difficulty: intermediate
Night driving off-road limits sight to 50-100 feet with stock lights due to narrow beams and low output.
Key issues: Glare from dust/fog, shadows from terrain, and rapid speed changes. Good lighting widens your 'cone of vision' to 300+ feet.
Expect better hazard detection—rocks, ruts, animals appear sooner.
💡 Tips:
⚠️ Warnings:
Accent lights illuminate surroundings (rock lights, wheel wells) for close-range visibility, like a stadium's ambient glow.
Off-road lights are forward-facing powerhouses (pods, bars) for distance/trails. Use both: Accents for parking/crawling, off-road for speed.
Analogy: Accents are flashlights underfoot; off-road are searchlights ahead.
💡 Tips:
Beam types define visibility:
Pick based on use: Spot for speed, flood for technical terrain.
💡 Tips:
⚠️ Warnings:
LEDs reign supreme: Instant on, 50,000+ hour life, low heat/power draw vs. halogen (dim, hot) or HID (slow warm-up).
LEDs focus light efficiently, boosting usable lumens by 2-3x. Real-world: LEDs pierce fog better.
Upgrade tip: Look for Cree/Nichia diodes for quality.
💡 Tips:
Lumens = raw light (aim 5,000+ per light). Lux/candela = intensity at distance (key for visibility).
Example: 10,000 lumens flood vs. spot—spot wins far out.
Ignore hype; check third-party tests (Rigid, Baja shine here).
💡 Tips:
⚠️ Warnings:
Kelvin scale: 5000-6000K (white/blue) cuts fog/dust best vs. yellow 3000K (warmer, less range).
Analogy: Cooler light = daylight crispness, reveals details.
Test: 5700K ideal for most off-road.
💡 Tips:
Off-road demands: Shockproof housings (aluminum), IP68 seals, vibration resistance.
Mount high/wide for max spread; use adjustable brackets.
Why matters: Bumps kill cheap lights fast.
Layer: A-pillar pods (close), bumper bar (mid), roof spots (far), rock lights (under).
Result: 360° illumination, no blind spots.
Pro setup: Switchable zones via relay harness.
💡 Tips:
Problem: Lights flicker or dim
Solution: Check ground connections and upgrade to 14-gauge wire; add capacitor for stability.
Problem: Overheating
Solution: Ensure airflow; LEDs run cool but poor housings trap heat—choose finned designs.
Problem: Condensation inside lens
Solution: Verify IP rating; drill tiny breath holes if needed, or return defective unit.
Problem: Legal issues on roads
Solution: Use covers or selectors; consult DOT regs by state.
Versatile spot/flood combo with 1800 lumens each; durable aluminum build punches above price.
Best for: Accent/side lighting for trails; easy bolt-on for Jeeps/Trucks.
Price Range: $35-45
Premium optics with 1500+ effective lumens; SAE fog pattern excels in dust.
Best for: A-pillar mounts for close-mid range; ideal for UTVs.
Price Range: $100-150
RGB/multicolor accents with IP68 rating; wireless control for ambiance + utility.
Best for: Underbody/wheel wells for low-speed crawling and campsites.
Price Range: $250-350
Driving beam with 7,680 lumens; shockproof for Baja-style abuse.
Best for: Bumper/roof for high-speed night runs.
Price Range: $110-140
Curved combo beam, 24,000 lumens; budget beast with good spread.
Best for: Windshield/roll cage for all-purpose off-road.
Price Range: $80-120
Accent/side lighting for trails; easy bolt-on for Jeeps/Trucks.
Nilight 4PCS 18W LED POD Lights Versatile spot/flood combo with 1800 lumens each; durable aluminum build punches above price.
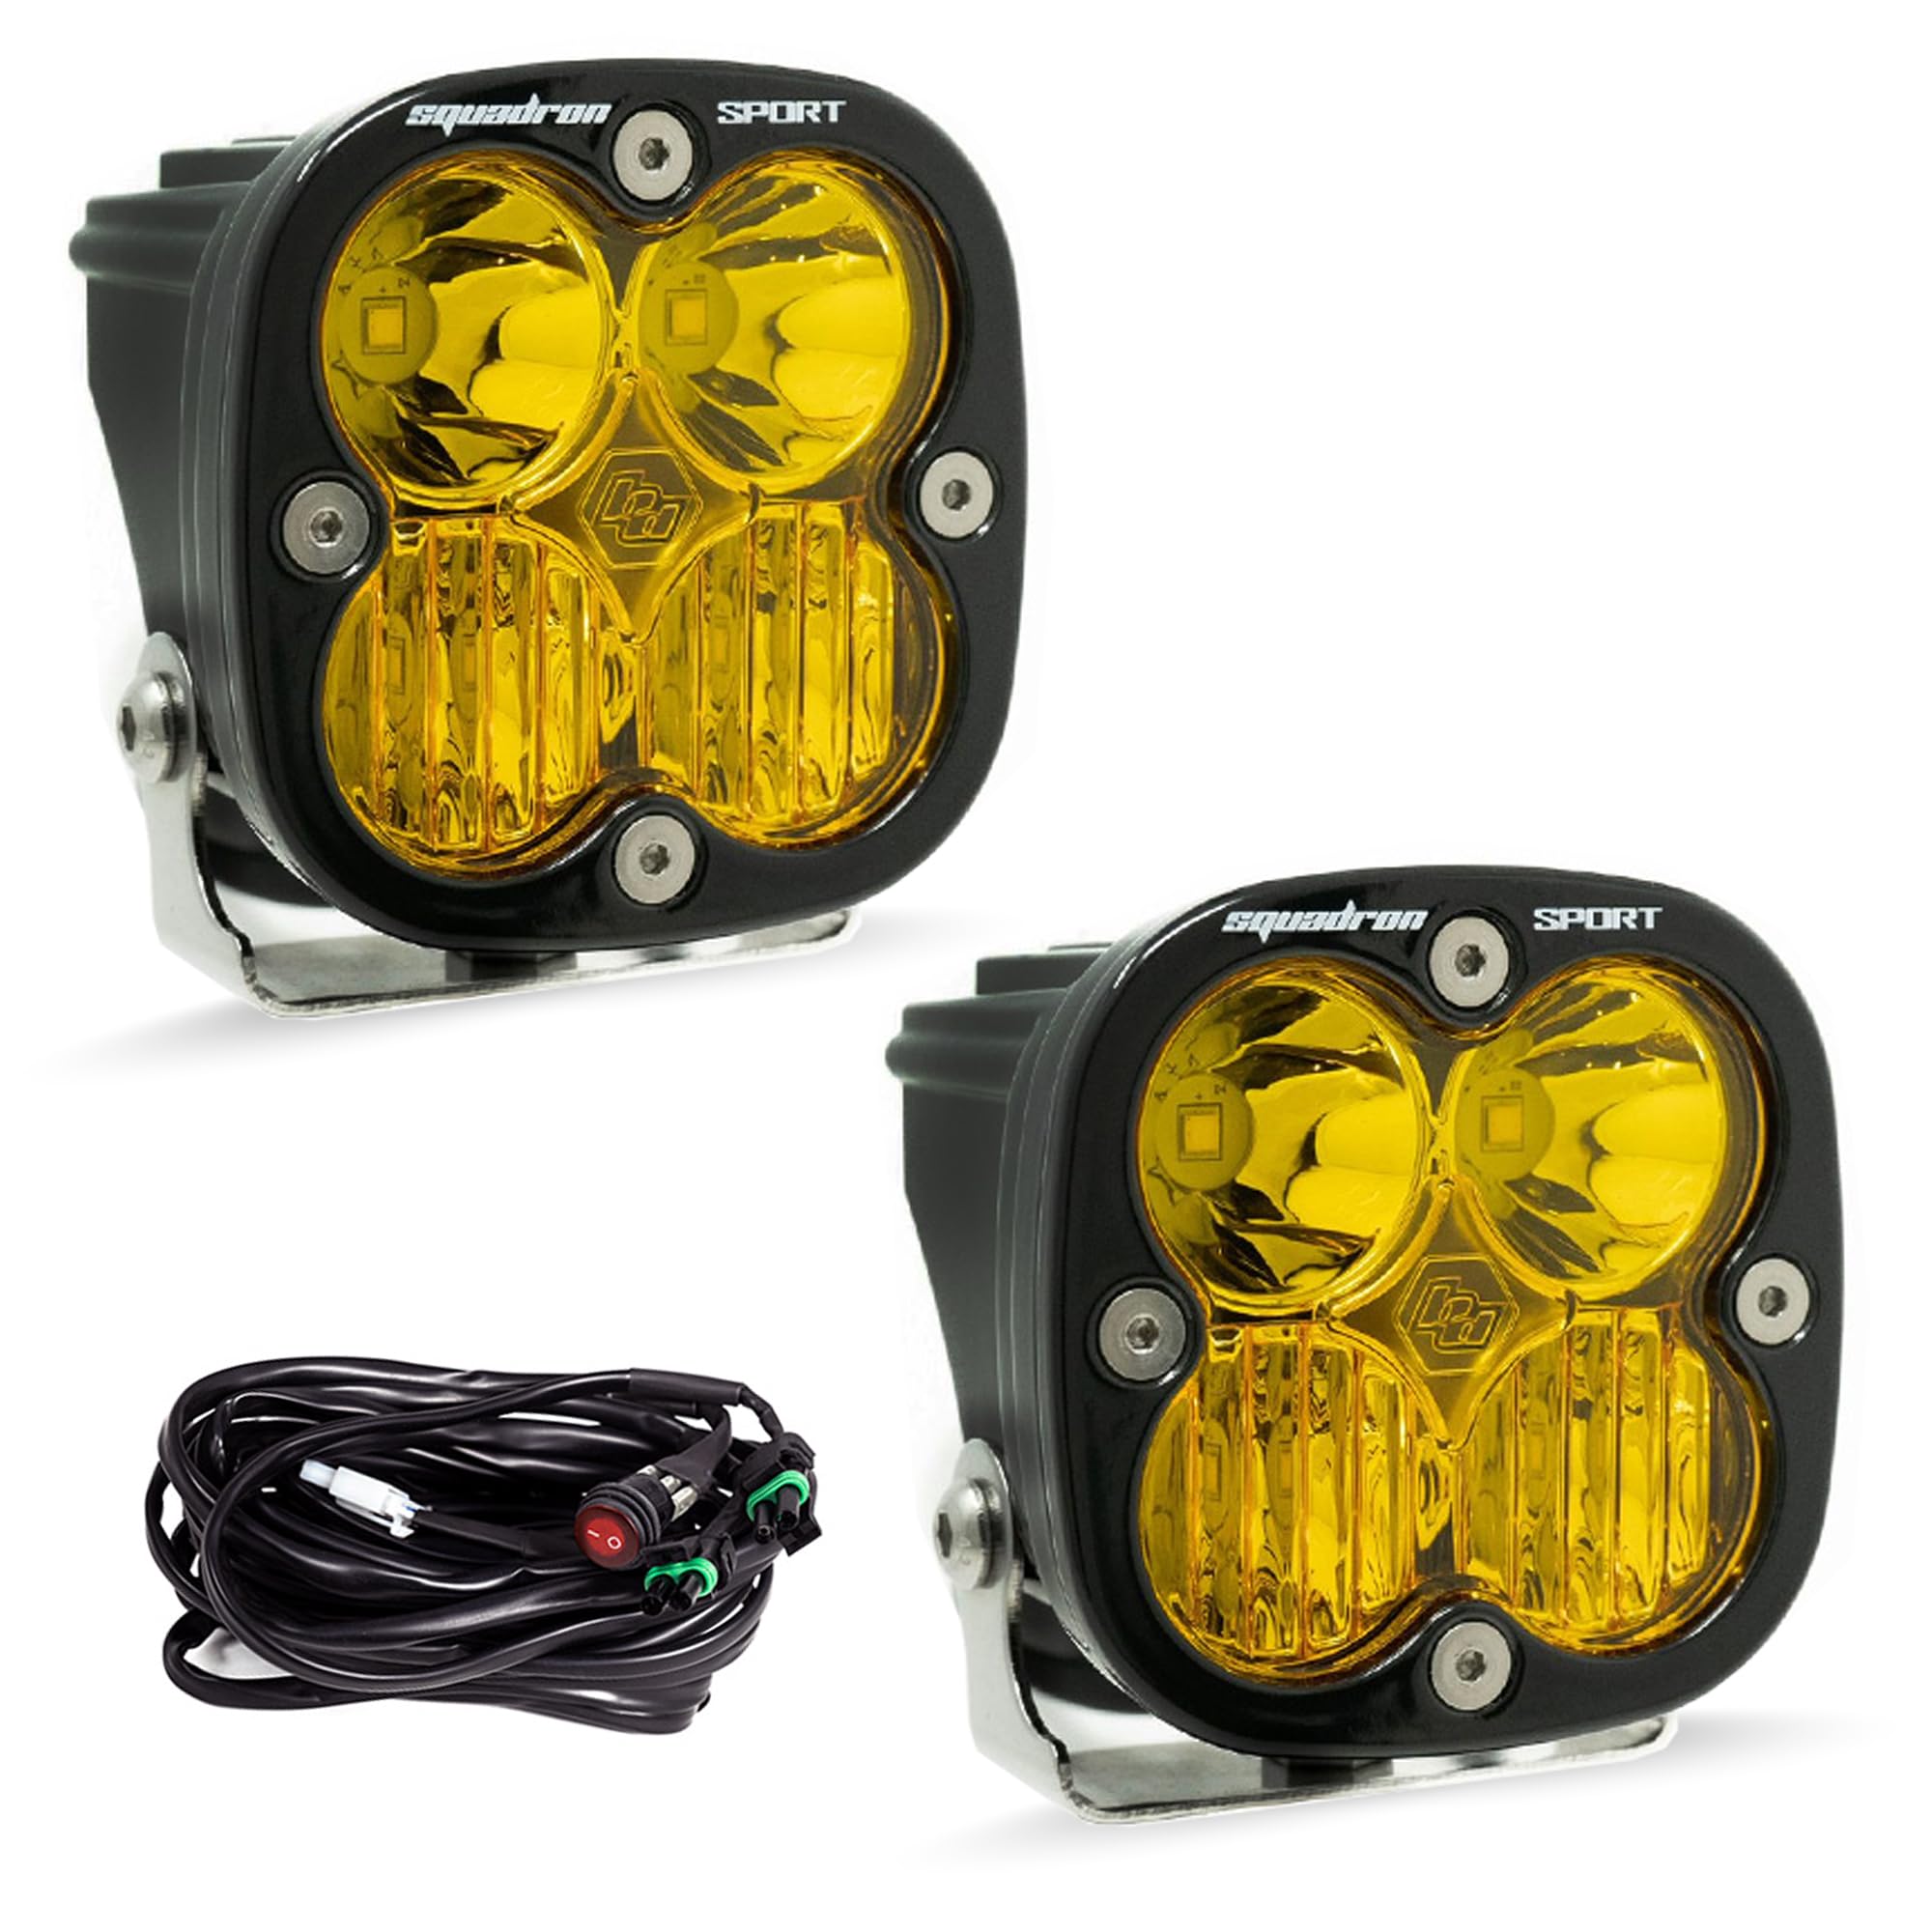
A-pillar mounts for close-mid range; ideal for UTVs.
Baja Designs Squadron Sport LED Pods Premium optics with 1500+ effective lumens; SAE fog pattern excels in dust.
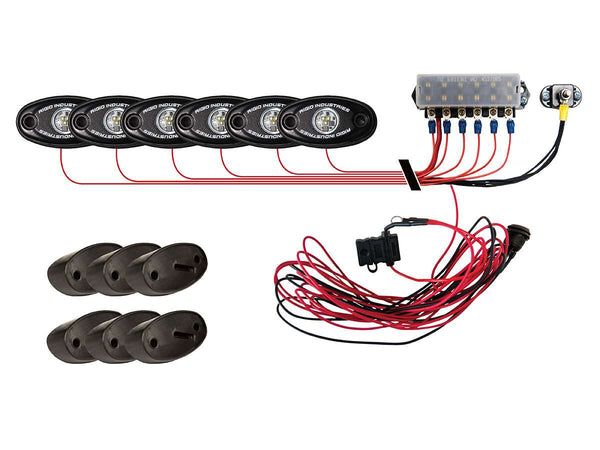
Underbody/wheel wells for low-speed crawling and campsites.
Rigid Industries Radiance Rock Lights RGB/multicolor accents with IP68 rating; wireless control for ambiance + utility.
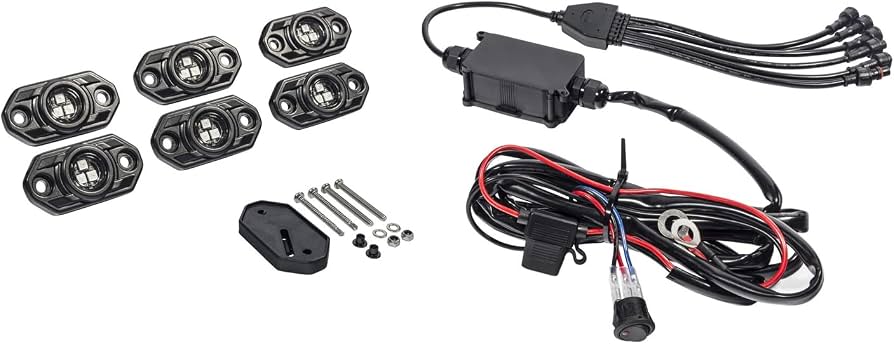
Bumper/roof for high-speed night runs.
KC HiLiTES C-Series 6" LED Pod Driving beam with 7,680 lumens; shockproof for Baja-style abuse.
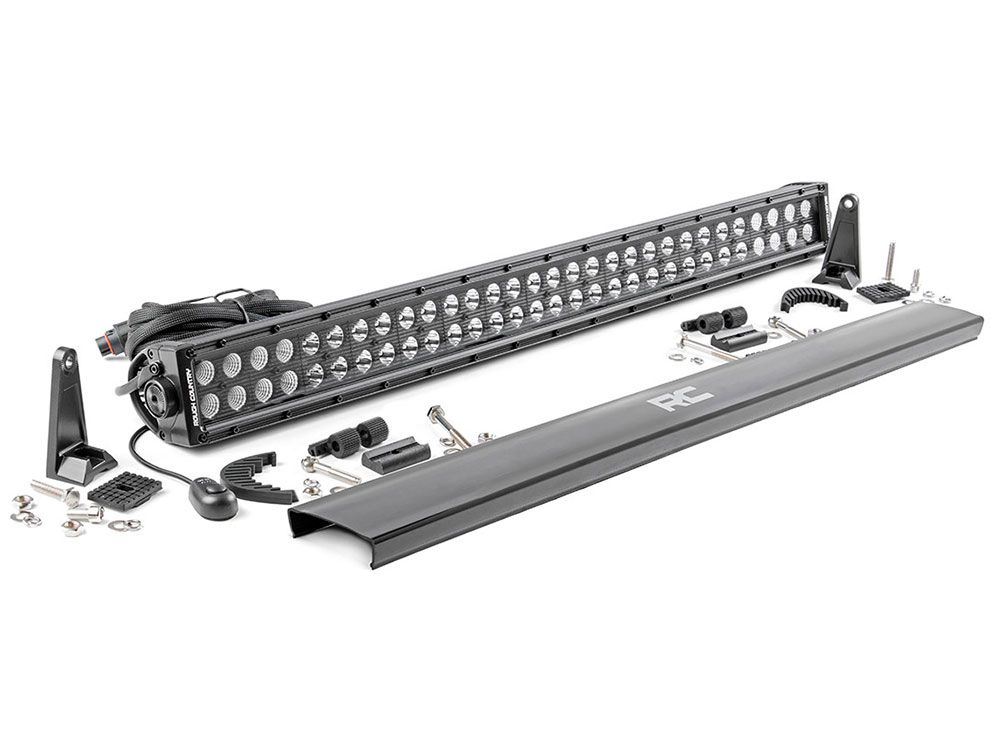
Windshield/roll cage for all-purpose off-road.
Rough Country 30-Inch LED Light Bar Curved combo beam, 24,000 lumens; budget beast with good spread.