Polishing plastic parts often leads to frustration when aggressive abrasives generate friction heat, melting delicate surfaces like ABS or polycarbonate. This common issue ruins finishes on 3D prints, automotive trim, or hobby projects, leaving uneven, gooey messes.
In this guide, you'll learn the science behind heat-safe abrasives, key types like nylon brushes and non-woven pads, and how to select them based on grit and material. Expect to grasp concepts quickly—no advanced engineering degree needed—and apply them immediately to your projects.
We'll break it down step-by-step from basics to pro tips, suitable for intermediate DIYers or makers. Reading and testing takes just 15 minutes, with hands-on practice adding 30-60 minutes.
▸What You'll Need
- •Plastic samples (e.g., ABS, acrylic scraps)
- •Assorted abrasives (sandpaper, Scotch-Brite pads, nylon brushes)
- •Water or lubricant spray (required for cooling)
- •Safety glasses and gloves (required)
- •Rotary tool or drill (optional for brushes)
- •Magnifying glass (optional for inspection)
Estimated Time: 15-20 minutes to read; 30-60 minutes for testing
Difficulty: intermediate
▸Step-by-Step Instructions
Step 1: Understand Why Plastics Melt Easily
Plastics like ABS (melts ~105°C/221°F), PVC (~100°C), or acrylic (~160°C) have low softening points compared to metals. Abrasion creates friction, converting kinetic energy to heat—up to 200°C in seconds with coarse grits.
This matters because melting distorts surfaces, creating waves or haze. Expect softer plastics (e.g., polyethylene) to be most vulnerable. Analogy: Rub your hands fast—feel the heat? That's micro-scale friction at work on plastic.
Image description: Diagram showing plastic melting point thermometer next to a warped plastic sample.
💡 Tips:
- •Memorize key plastics' temps: ABS 105°C, PETG 85°C.
⚠️ Warnings:
- •Never dry-sand heat-sensitive plastics.
Step 2: Learn How Abrasion Generates Heat
Heat builds from three factors: grit coarseness (higher = more heat), pressure/speed (faster = hotter), and dry friction (no coolant = worst). Coarse 60-grit sandpaper can melt plastic in 10 seconds at high RPM.
Why it matters: Safe abrasives minimize these. Expect finer grits (400+) and lubricated use to stay under 60°C. Example: Orbital sanding vs. aggressive belt—former is safer.
Image description: Side-by-side photo of hot-melted plastic vs. cool-polished finish.
💡 Tips:
- •Always use wet abrasion or air cooling.
Step 3: Master Grit Size for Plastic Safety
Grit measures particle size: Coarse (60-220, aggressive cutting, high heat), Medium (320-600, smoothing), Fine (800+, polishing, low heat). For plastic, start at 400+ grit to avoid melting.
It matters for progressive sanding: 400 → 800 → 2000 for mirror finish. Expect 20-50% less heat with each finer step. Analogy: Coarse like sandpaper on skin (burns), fine like baby's breath.
Image description: Grit chart with magnified particles from coarse to ultra-fine.
⚠️ Warnings:
- •Avoid 120-grit or coarser without heavy lubrication.
Step 4: Choose Abrasive Materials Safe for Plastic
Safe types: Silicon carbide (SiC, friable, breaks down cool), aluminum oxide (AlO, blocks heat well), diamond (precise, minimal friction). Avoid garnet or emery (too hard/hot).
Why: SiC shatters on contact, reducing sustained heat. Expect non-woven (Scotch-Brite) or cushioned abrasives (Micro-Mesh) to excel. Example: SiC pads on phone cases—no melt.
Image description: Microscope view of SiC vs. AlO particles on plastic.
💡 Tips:
- •SiC for general plastic; diamond for clear acrylic.
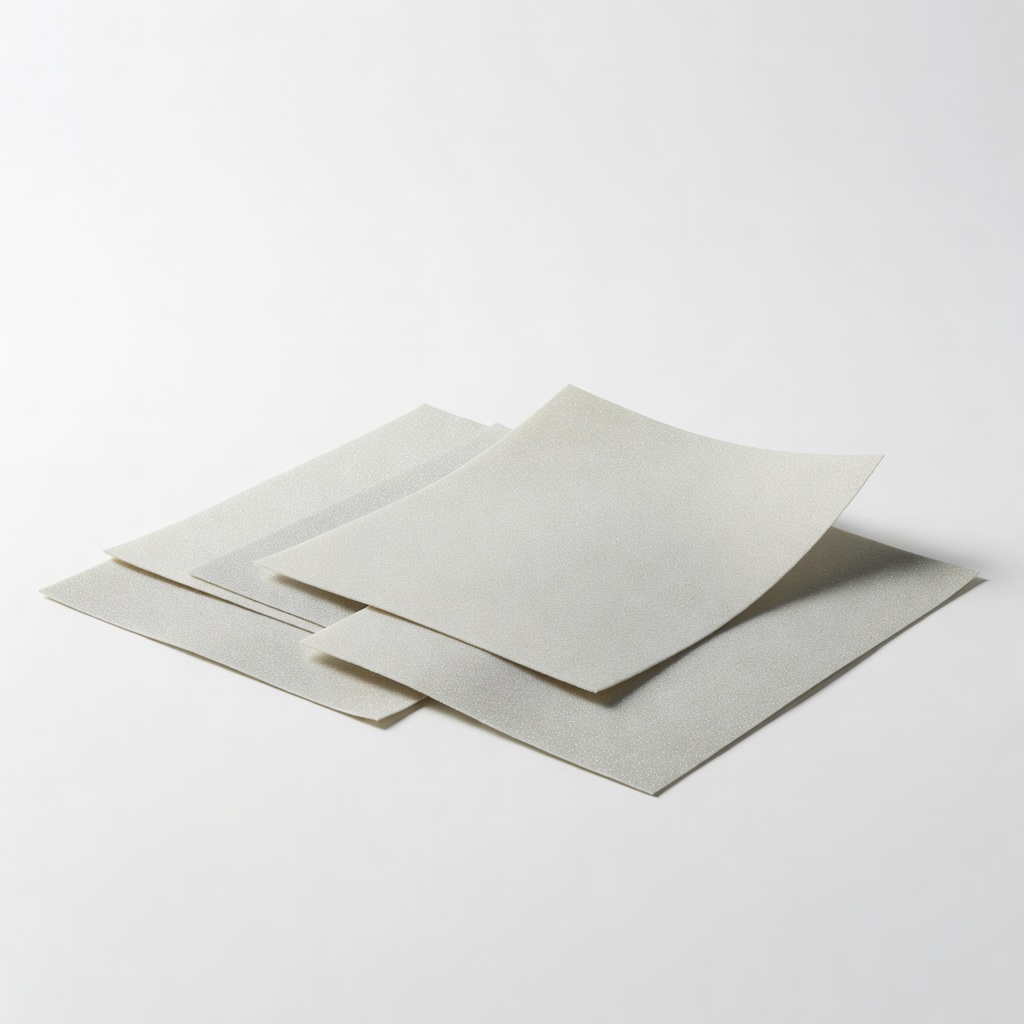
Step 5: Explore Non-Woven and Foam Abrasives
Non-woven like Scotch-Brite: Synthetic fibers bonded with abrasives—flexible, low heat, self-lubricating. Great for contours without gouging.
Why safe: Open structure dissipates heat. Expect uniform finish on irregular plastics. Analogy: Sponge vs. rigid sandpaper—gentler scrub.
Image description: Cross-section of non-woven pad fibers with embedded grit.
⚠️ Warnings:
- •Rinse frequently to avoid clogging.
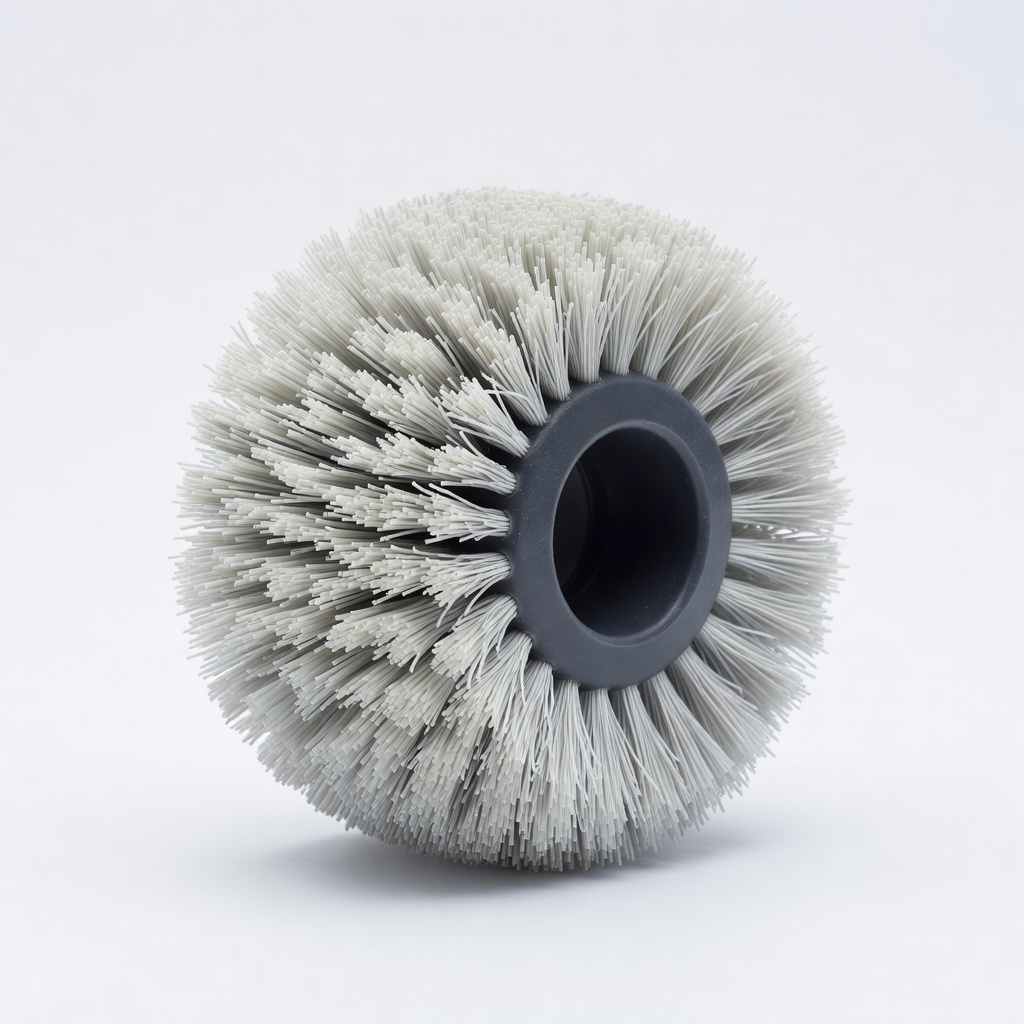
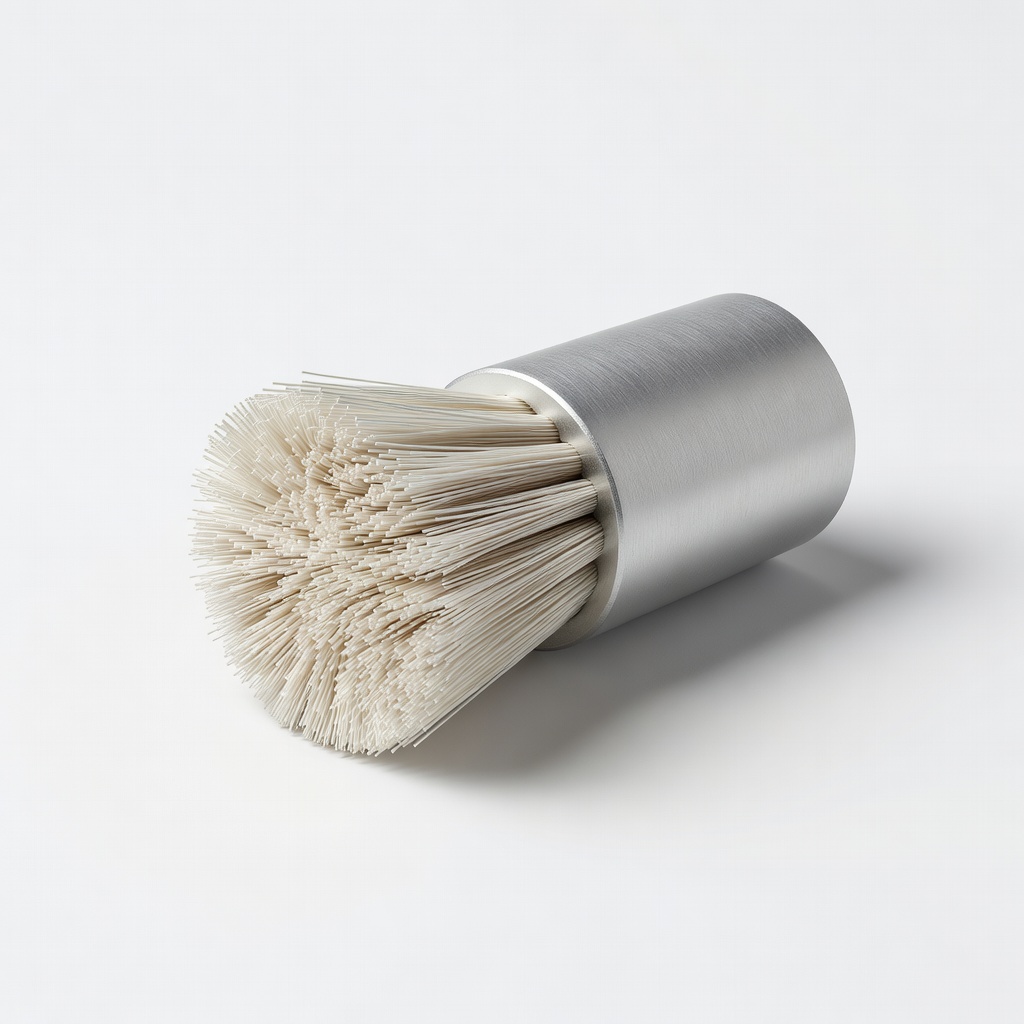
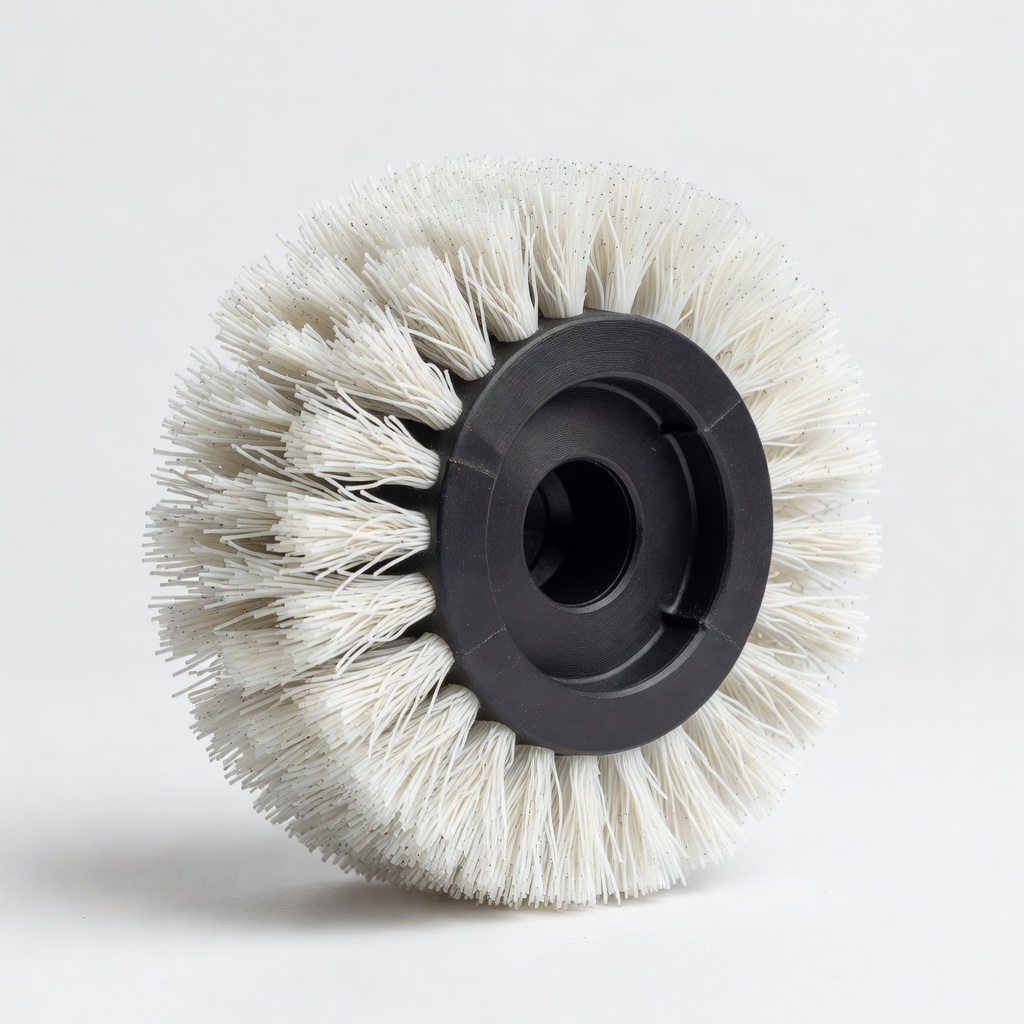
Step 6: Dive into Abrasive Brushes for Plastic
Nylon filament brushes impregnated with SiC or AlO: Flexible bristles reach crevices, low RPM use (<2000), minimal pressure. Ideal for deburring 3D prints or molds.
Why no melt: Bristles flex, spread load, cool via air/water. Expect radial or wheel styles for power tools. Example: Xebec ceramic-nylon hybrid for high-speed without heat.
Image description: Action shot of nylon brush polishing plastic gear.
💡 Tips:
- •Pair with soapy water for best cooling.
Step 7: Test and Verify Safe Abrasives
Rub test: Hand-sand dry for 30s—feel for warmth. Power test: Low speed, wet, monitor with finger or IR thermometer (<50°C pass).
Why: Confirms theory in practice. Expect safe ones to stay cool, leave even scratches. Progress to finer grits.
Image description: Before/after plastic sample with temp overlay.
⚠️ Warnings:
▸Pro Tips
- •Always wet-sand or use WD-40 lubricant to cut friction 70%.
- •Progressive grit: Double each step (400, 800, 1600) for pro finish.
- •Low RPM (<1500) on rotary tools prevents heat spikes.
- •Work in short bursts (10-15s) with cooling breaks.
- •Nylon brushes shine on curved surfaces—use radial for speed.
- •Add dish soap to water for slippery, heat-free lubrication.
- •Inspect with 10x loupe for micro-melt haze early.
▸Common Mistakes to Avoid
- •Using dry coarse sandpaper—causes instant melting; always lubricate.
- •High tool speeds (>3000 RPM)—builds heat fast; stick to low speeds.
- •Skipping grit progression—leads to deep scratches needing filler.
- •Ignoring plastic type—soft HDPE needs ultra-fine only.
- •Heavy pressure—multiplies friction; use feather-light touch.
▸Troubleshooting
Problem: Surface still warms/melts
Solution: Switch to finer grit, add more lubricant, reduce speed/pressure. Test on scrap first.
Problem: Uneven scratches or swirl marks
Solution: Use non-woven pads or nylon brushes; ensure consistent light pressure and circular motions.
Problem: Abrasives clog quickly
Solution: Rinse in soapy water between passes; choose open-structure non-woven types.
Problem: Hazy finish after polishing
Solution: Follow with plastic polish like Novus #2; haze often micro-melt—go finer next time.
3M Scotch-Brite Radial Bristle Brush RB-zB
Nylon bristles with silicon carbide grit provide flexible, low-heat abrasion perfect for plastic contours.
Best for: Deburring 3D prints or polishing small plastic parts on rotary tools.
Price Range: $20-$30
Xebec Ceramic Polishing Brush
Ceramic filaments self-sharpen, generate minimal heat even at higher speeds on plastics.
Best for: High-volume mold finishing or automotive plastic trim.
Price Range: $40-$60
Micro-Mesh MMX Cushioned Abrasive Sheets
Foam-backed for ultra-low friction and heat; progressive grits up to 12000.
Best for: Clear plastic polishing like headlights or displays.
Price Range: $15-$25
Weiler 804-10027 Nylon Abrasive Wheel Brush
Durable nylon with aluminum oxide; excellent heat dissipation for bench grinders.
Best for: Larger plastic components like drone parts.
Price Range: $25-$35
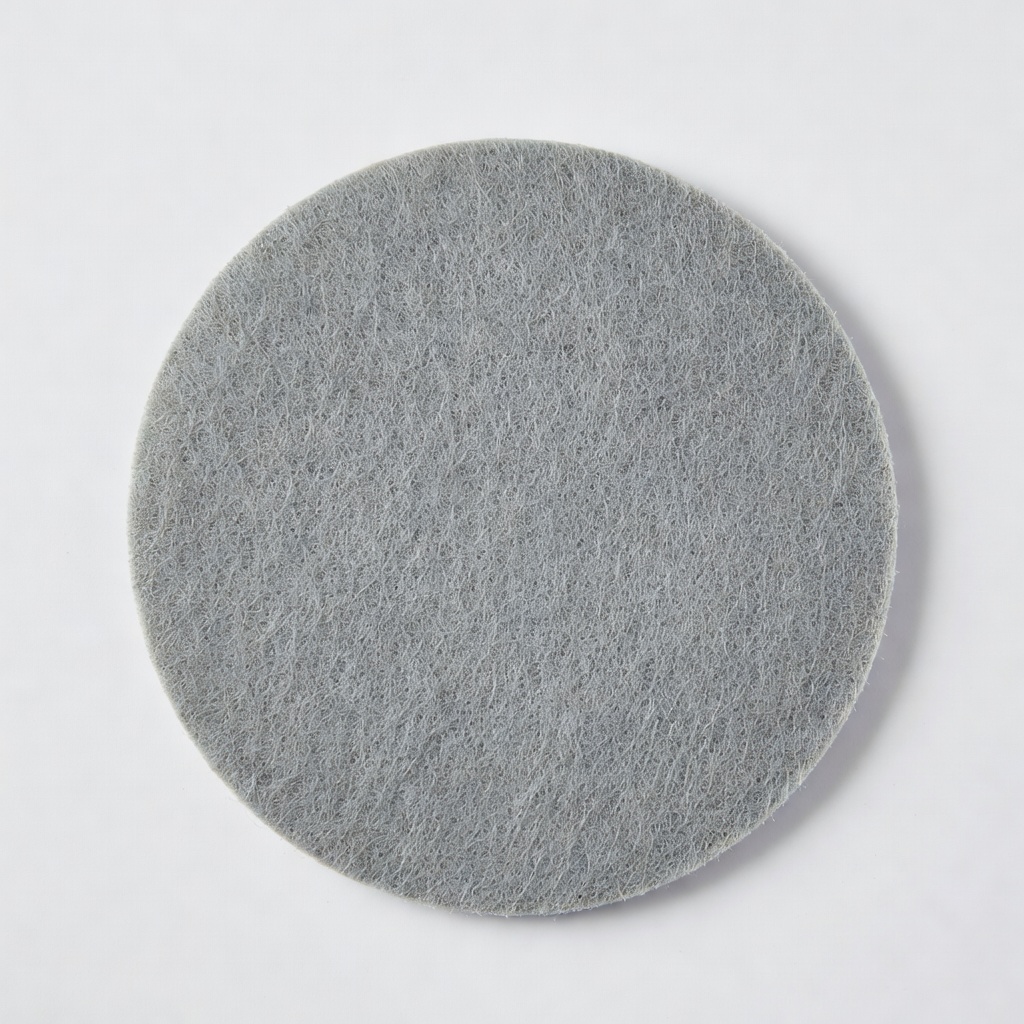
Scotch-Brite SF-MM Surface Finishing Disc
Non-woven SiC for hand or air tool use; very forgiving on soft plastics.
Best for: Quick blending scratches on hobby plastics.
Price Range: $10-$20