Sanding wood is essential for a professional finish, but choosing the wrong abrasive can lead to scratches, burning, or uneven surfaces—common frustrations for woodworkers. Whether you're refinishing furniture or building cabinets, understanding compatible abrasives saves time and materials.
In this guide, you'll discover the best abrasive types for wood, grit progressions, and application methods tailored for intermediate users. Expect clear explanations with examples, so you can confidently select and use products for everything from rough stock to final polishing. No advanced tools needed—just 20-30 minutes to read and basic testing.
▸What You'll Need
- •Safety glasses and dust mask (required for dust control)
- •Sample wood pieces (scrap pine or oak)
- •Assorted sandpaper sheets/discs (80-400 grit)
- •Sanding block or orbital sander (optional but recommended)
- •Tack cloth for dust removal
- •Prerequisite: Basic knowledge of woodworking tools
Estimated Time: 20-30 minutes to read and test
Difficulty: intermediate
▸Step-by-Step Instructions
Step 1: Understand Abrasive Basics
Abrasives are materials with sharp grains that cut or scrape wood fibers. For wood, they must be aggressive enough to remove material but gentle to avoid deep gouges. Key types include coated abrasives (sandpaper) and bonded (sanding belts).
Think of abrasives like sandpaper as tiny saws: coarser grains act like a rough handsaw for fast removal, finer like a planer blade for smoothing. Wood is soft compared to metal, so most abrasives work—but matching to task prevents issues.
💡 Tips:
- •Start with wood-specific abrasives labeled for 'lumber' or 'furniture'.
Step 2: Master Grit Sizes for Wood
Grit measures grain size: lower numbers (40-80) are coarse for stock removal; 100-180 medium for shaping; 220+ fine for finishing. Progress sequentially: 80 → 120 → 220 → 320 for satin-smooth wood.
On softwoods like pine, skip coarse grits to avoid tear-out; hardwoods like oak handle aggressive sanding. Expect visible scratches at each stage—refine progressively.
⚠️ Warnings:
- •Never jump grits (e.g., 80 to 220); it clogs abrasives and leaves marks.
Step 3: Coated Abrasives: Sandpaper Essentials
Sheet sandpaper (garnet or aluminum oxide) works best on wood by hand or block. Garnet is natural, self-sharpening for fine woods; aluminum oxide is durable for power tools.
Attach to sanding blocks for flatness. Expect faster wear on resinous woods like cedar.
💡 Tips:
- •Fold sheets into thirds for contoured areas.
Step 4: Bonded Abrasives: Belts and Discs
Sanding belts/discs (zirconia alumina or ceramic) excel for power sanders on large surfaces. They self-sharpen, ideal for flattening tabletops. Use hook-and-loop for easy swaps.
Wood dust loads them quickly—vacuum often. Results: mirror-smooth in minutes vs. hours by hand.
Step 5: Specialty Abrasives for Finishing
Non-woven pads (Scotch-Brite) or mesh (Abranet) capture dust, perfect for between coats of finish. Silicon carbide wet/dry sheets prep for varnish. Stearated paper prevents gumming on stains.
Analogy: Like polishing shoes—final abrasives buff without cutting.
💡 Tips:
- •Abranet reduces dust by 90% indoors.
⚠️ Warnings:
- •Avoid diamond abrasives on wood—they're overkill and dull fast.
Step 6: Abrasives to Avoid on Wood
Skip ceramic blast media or very hard garnets meant for metal—they gouge soft wood. Flint paper disintegrates quickly. Always check labels: 'not for wood' means excessive heat or clogging.
Step 7: Test and Apply Safely
Test on scrap: Sand progressively, feel for smoothness (should feel like baby skin at 320 grit). Always sand with grain to prevent scratches. Finish with tack cloth before staining.
Why it matters: Proper abrasives ensure paint/stain adhesion—no fisheyes or blotching.
💡 Tips:
- •Light pressure yields even results.
▸Pro Tips
- •Always sand with the grain to minimize visible scratches.
- •Use a shop vac with sander for 80% less cleanup.
- •Progress grits by doubling (80→150→320) for efficiency.
- •Stearated abrasives shine on oil-based finishes.
- •Mark wood with pencil lines—erased grit shows progress.
- •For curves, wrap abrasive around sponge.
- •Store in dry place to prevent grain dulling.
▸Common Mistakes to Avoid
- •Skipping grit progression: Leaves swirl marks; always go coarse to fine.
- •Sanding against grain: Causes tear-out; align with wood lines.
- •Over-sanding: Burns wood; feel heat and stop.
- •Ignoring dust: Clogs lungs/tools; mask up.
- •Wrong backing: Paper tears on power tools; use cloth for belts.
▸Troubleshooting
Problem: Swirl marks or holograms
Solution: Switch to random orbital sander or finer grit (400+); sand lightly.
Problem: Abrasives clogging fast
Solution: Use open-coat or stearated paper; clean with compressed air.
Problem: Uneven finish
Solution: Check sander flatness; use block sanding for handwork.
Problem: Dust everywhere
Solution: Opt for mesh abrasives like Abranet; add dust collection.
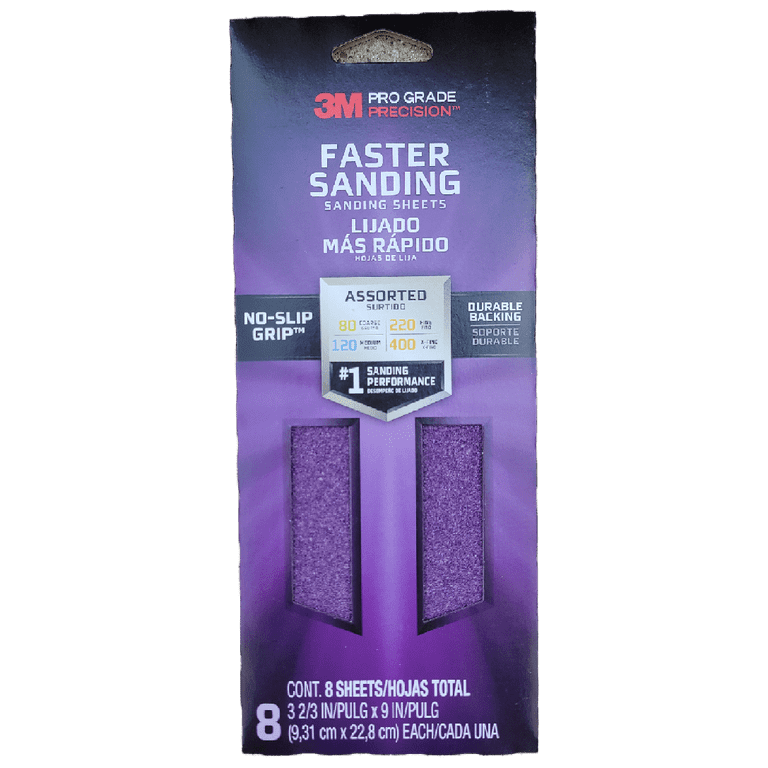
3M Pro Grade Precision Sandpaper Assortment (80-220 Grit)
Durable aluminum oxide grains cut fast on wood without loading; ASIN B07D7J8Q5K; trusted by pros for consistent results.
Best for: Hand or block sanding rough wood to smooth.
Price Range: $12-18
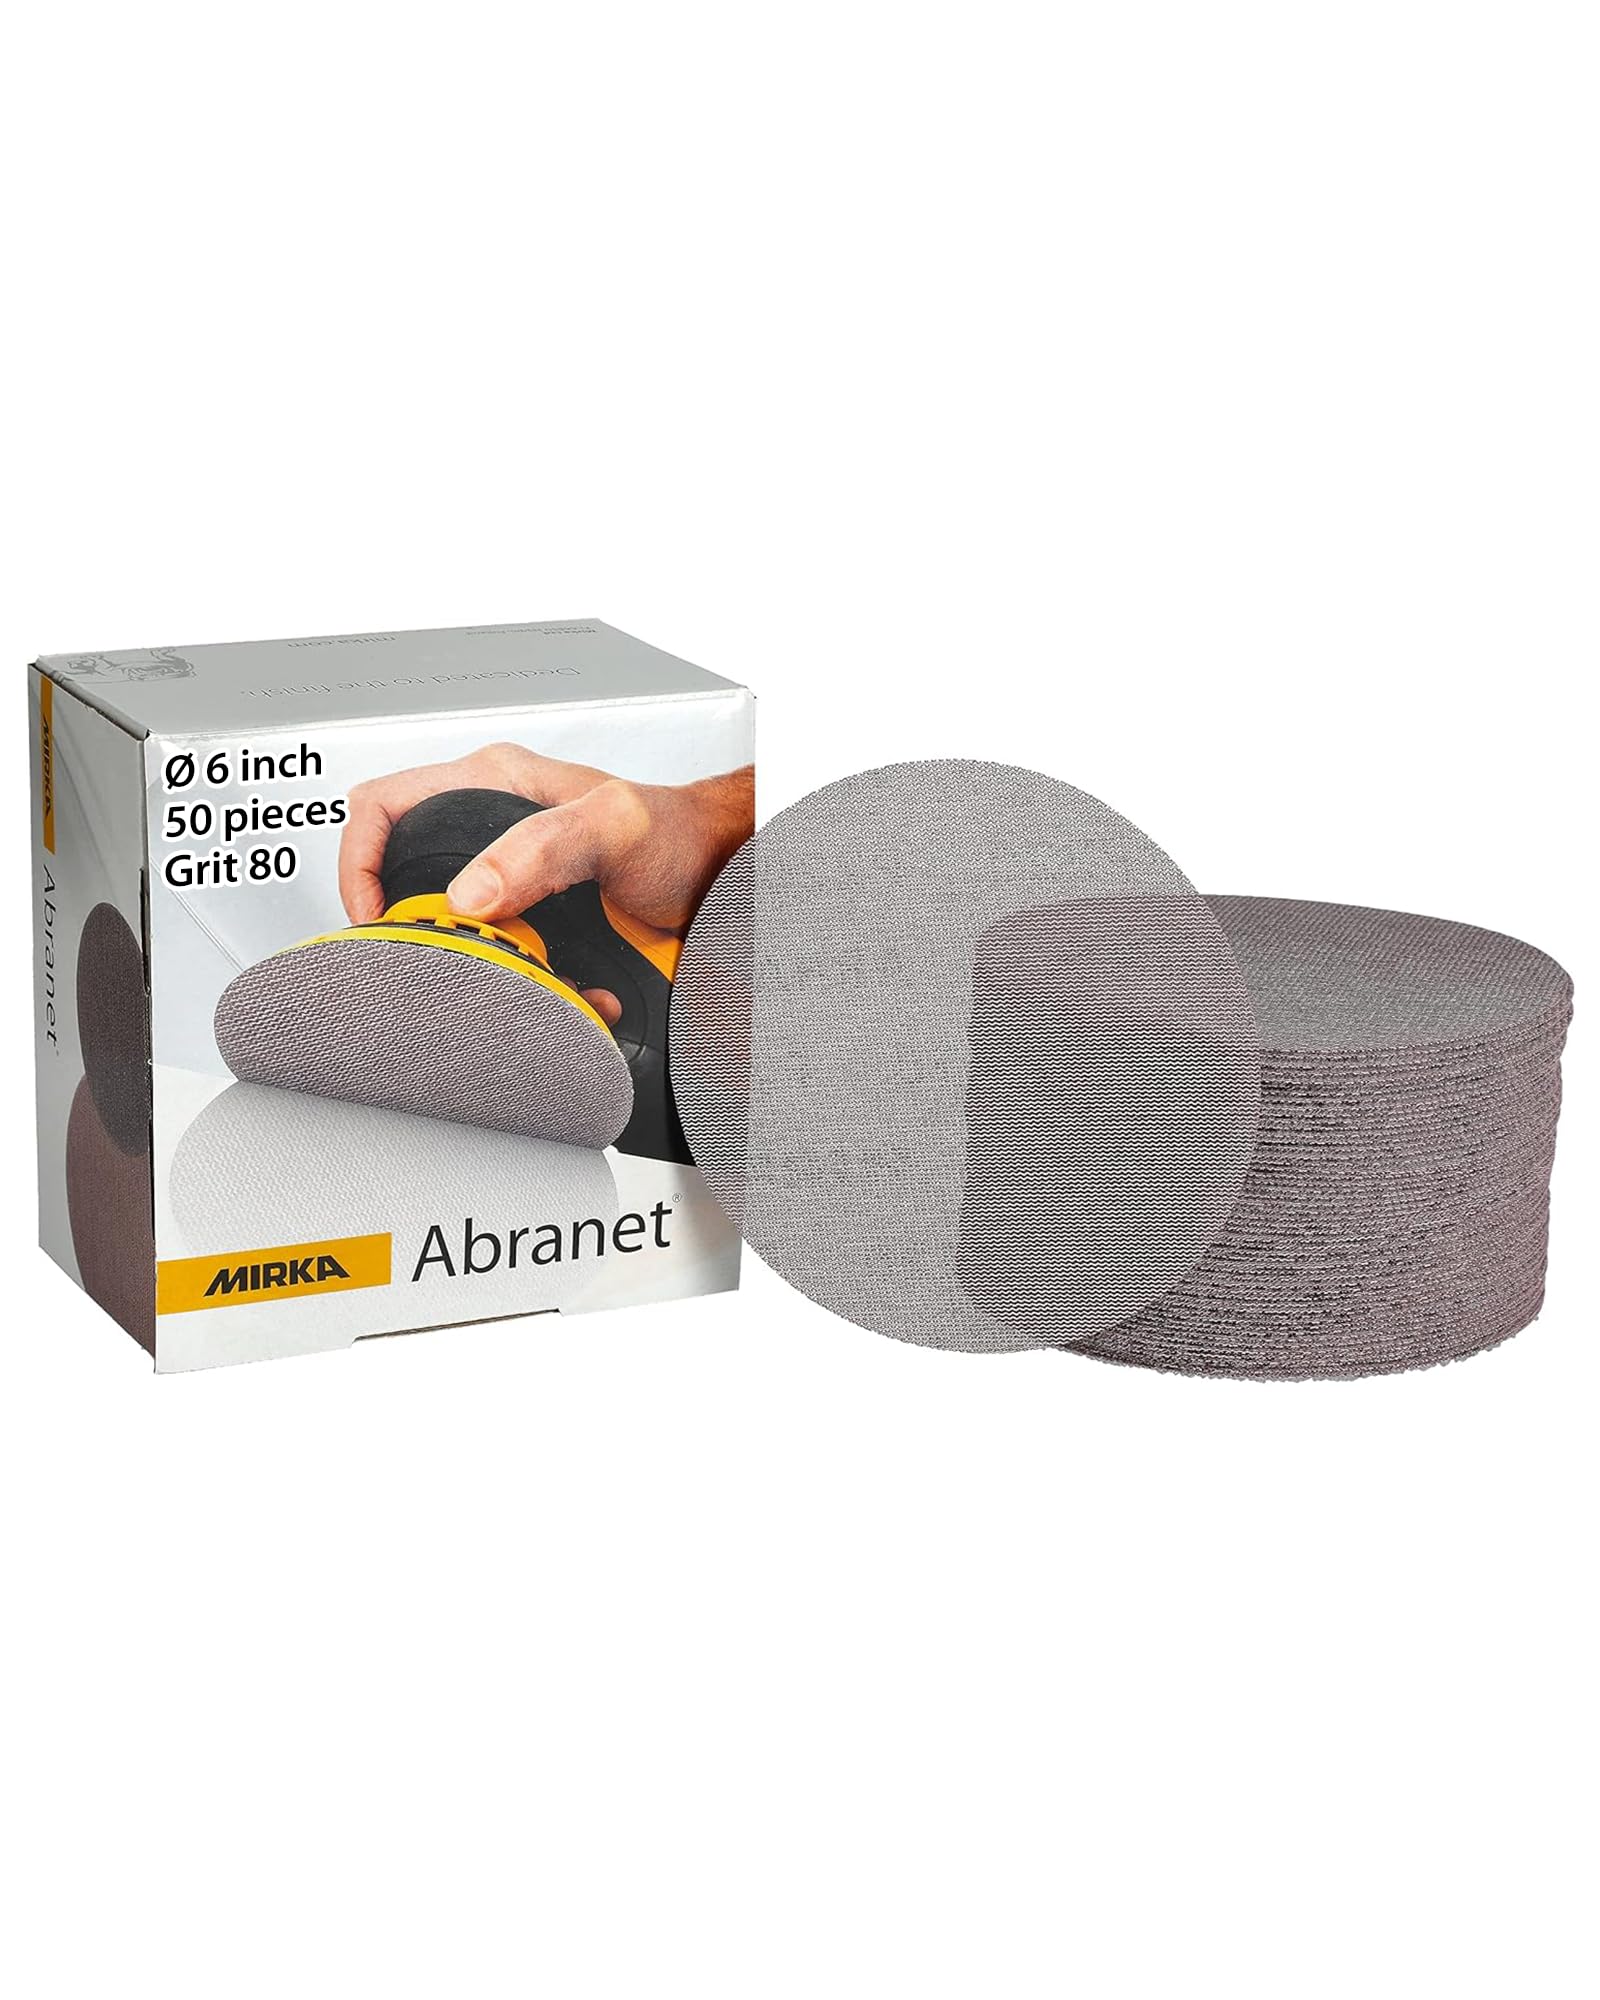
Mirka Abranet 6" Discs (P150-P400)
Dust-free mesh design captures particles; ideal for finishing without airborne mess; ASIN B004J2T3YO variant.
Best for: Orbital sanding between finish coats on furniture.
Price Range: $25-35 for 10-pack
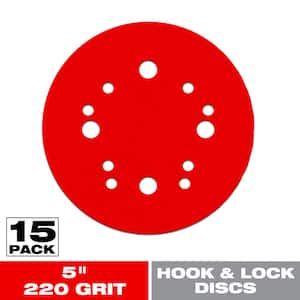
Diablo 80-220 Grit Hook & Loop Discs
Zirconia alumina for aggressive stock removal on hardwoods; long-lasting; ASIN B07G5J5Z5Z.
Best for: Power sanding tabletops or decks.
Price Range: $20-30 for 10-pack
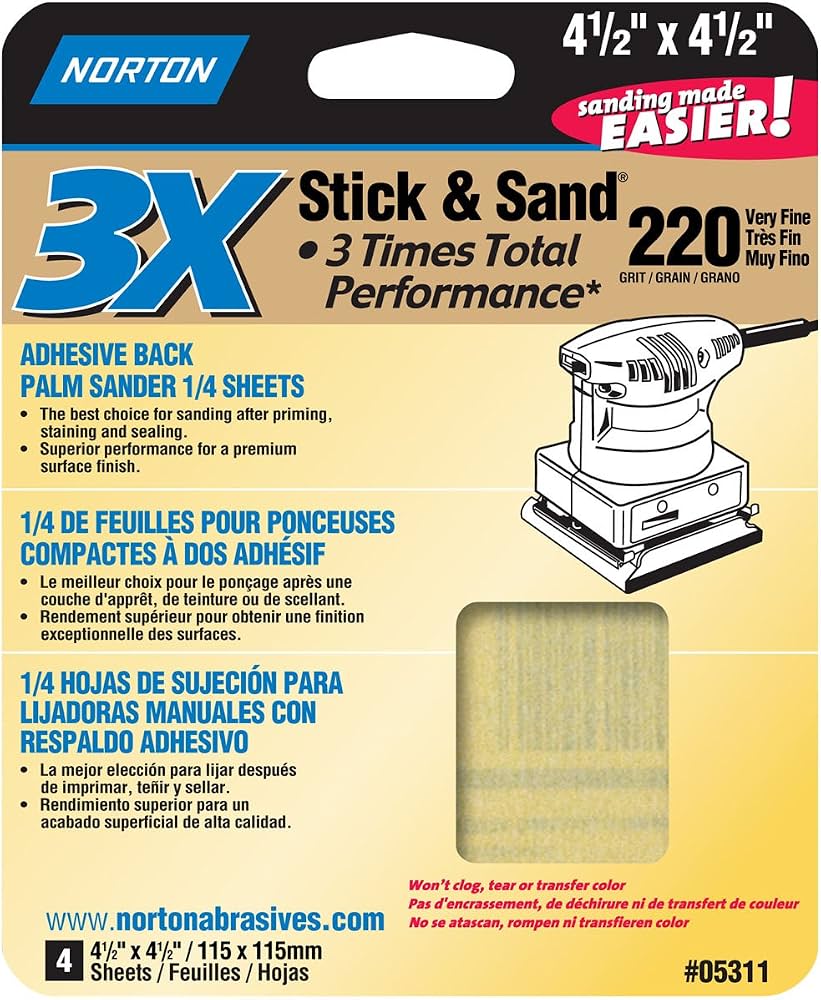
Norton 3X Series Sandpaper Sheets (P220)
Triangular grains for 3x faster cut; perfect final polish; ASIN B07B4K5L2M.
Best for: Pre-stain smoothing on cabinets.
Price Range: $15-25
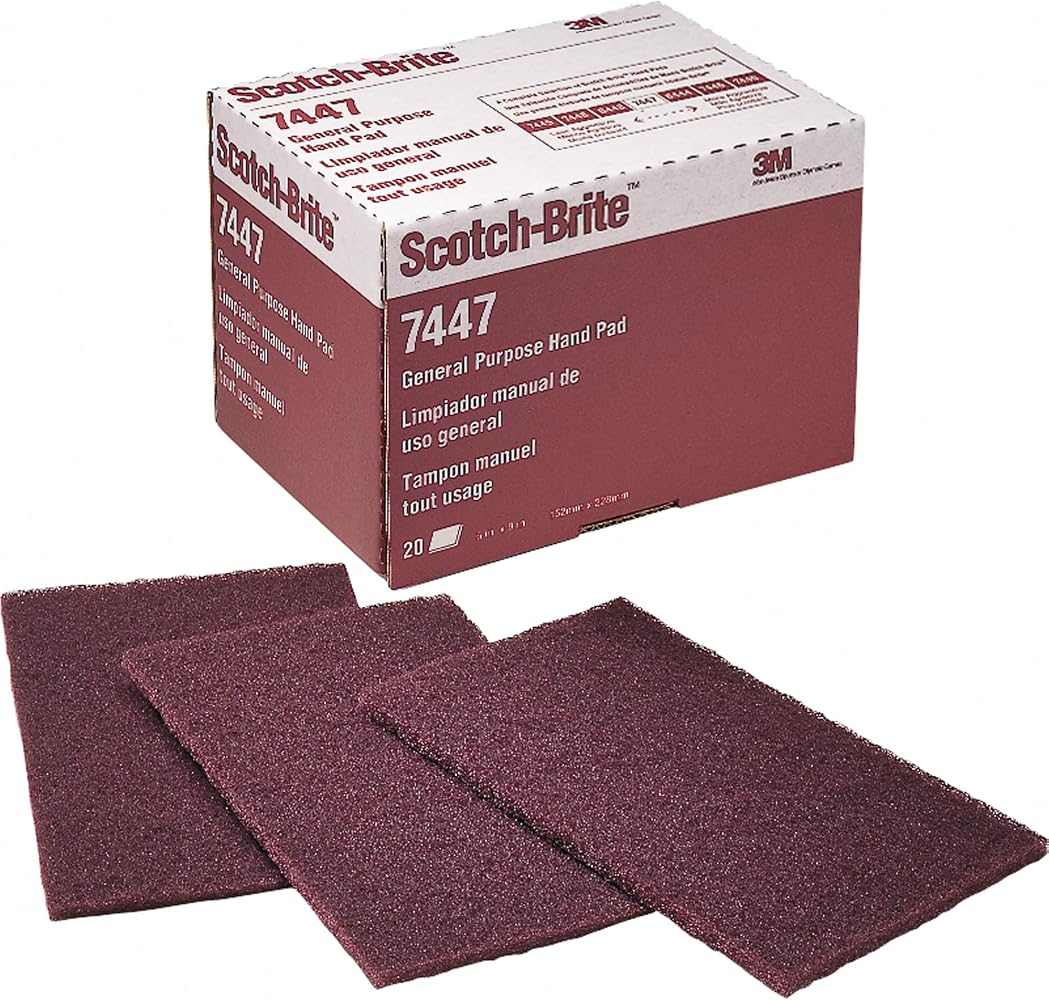
Scotch-Brite General Purpose Hand Pad (Maroon)
Non-woven for light scuffing without scratches; ASIN B00004Z4ET.
Best for: Denibbing dried finishes.
Price Range: $5-10