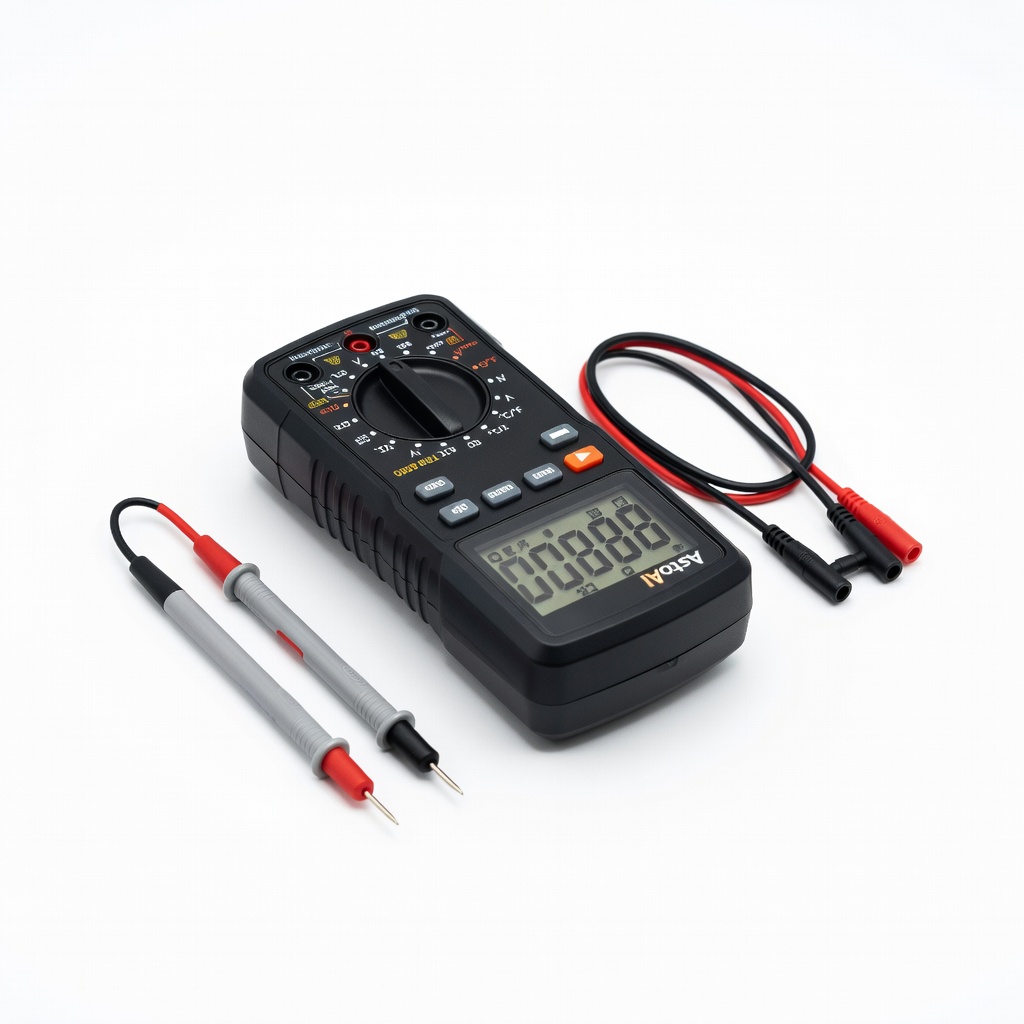
AstroAI Digital Multimeter TRMS 6000
Every wiring project—test before/after connections.
$12.99
AstroAI Digital Multimeter TRMS 6000 Accurate DCV testing essential for verifying series voltage without guesswork.
Get the App
Better experience on mobile
Boost voltage for your DIY projects by safely connecting AA batteries in series with this step-by-step guide for intermediate makers.
Ever started a DIY electronics project only to realize your single AA battery's 1.5V isn't enough power? Wiring multiple AA batteries in series multiplies the voltage (e.g., 4 AAs = 6V) while keeping current the same, perfect for powering LEDs, motors, or Arduino setups. But getting polarity wrong can lead to shorts, heat, or dead batteries.
In this guide, you'll learn the safe, reliable way to wire 2-8 AA batteries in series using holders, clips, or soldering. Expect clear steps, safety tips, and testing methods to ensure your circuit works flawlessly. Ideal for intermediate hobbyists with basic soldering or wiring experience.
Total process takes 15-30 minutes, depending on the number of batteries and connection method. No advanced tools needed, but a multimeter is key for verification.
Estimated Time: 15-30 minutes Difficulty: intermediate
Clear a well-lit, static-free workspace. Lay out all tools and materials. Insert batteries into holders if using pre-made ones, ensuring positive (+) and negative (-) terminals align for series flow.
Why it matters: Proper setup prevents mix-ups and accidents. Success looks like organized tools and batteries oriented correctly (flat end is negative, nub is positive).
Test batteries individually with multimeter on DCV (20V range): each should read ~1.5V.
💡 Tips:
⚠️ Warnings:
In series, connect the positive (+) terminal of one battery to the negative (-) of the next. The free positive of the first and negative of the last become your circuit's output.
Voltage adds up: 2 AA = 3V, 4 AA = 6V. Current (mAh) stays the same as the weakest battery. Sketch your chain on paper.
Expect a daisy-chain look: Battery1+ → Battery2- , Battery2+ → Battery3-, etc.
💡 Tips:
⚠️ Warnings:
Take two AA batteries or holders. Strip 1/4 inch insulation from wire ends if needed. Twist or solder the + of battery 1 to - of battery 2 securely.
Insulate with electrical tape or heat shrink. Success: Firm connection, no exposed metal.
Why? Builds foundation; test here to catch errors early.
💡 Tips:
⚠️ Warnings:
Repeat: Connect + of previous to - of next battery/holder. For 4 batteries, you'll make 3 connections.
Use consistent wire length/color (red for +, black for -). Solder for permanence or clips for reusability.
What to expect: Longer chain, higher voltage potential. Visually check for neat, insulated joints.
💡 Tips:
⚠️ Warnings:
Wrap every joint with electrical tape or shrink tubing (heat with lighter carefully). Ensure no metal touches.
Why critical: Prevents shorts causing heat/fire. Success: Fully covered, flexible assembly.
💡 Tips:
⚠️ Warnings:
Set multimeter to DCV (20V range). Touch red probe to free + end, black to free - end.
Expected reading: #batteries × 1.5V (e.g., 6V for 4). If low/zero, check polarity/connections.
Power a small LED (with resistor) to verify real-world output.
💡 Tips:
⚠️ Warnings:
Tape or zip-tie into a bundle. Label "6V Series - Do Not Short" with voltage/mAh.
Ready for project integration. Success: Portable, safe power source.
💡 Tips:
Problem: Voltage lower than expected (e.g., 4V instead of 6V)
Solution: Check for reversed battery or loose connection. Replace weak batteries. Retest individually.
Problem: Pack gets hot quickly
Solution: Immediate disconnect! Short detected—insulate better or fix polarity.
Problem: No voltage reading
Solution: Verify multimeter batteries. Trace chain for breaks. Ensure all batteries oriented correctly.
Problem: Uneven drain after use
Solution: Batteries mismatched. Disassemble and test/replace individually.
Accurate DCV testing essential for verifying series voltage without guesswork.
Best for: Every wiring project—test before/after connections.
Price Range: $12.99
Pre-wired for series, simplifies process, includes switch for safety.
Best for: Quick 6V packs for Arduino/LED projects.
Price Range: $6.99
Flexible, color-coded for easy +/− identification and prototyping.
Best for: Temporary connections before soldering permanent setups.
Price Range: $6.98
Long-lasting, high-drain suitable for series without quick voltage sag.
Best for: Reliable power for motors/sensors in DIY.
Price Range: $19.99
Precise temp control for clean, permanent joints on battery clips.
Best for: Pro-level permanent packs.
Price Range: $99.99
Every wiring project—test before/after connections.
AstroAI Digital Multimeter TRMS 6000 Accurate DCV testing essential for verifying series voltage without guesswork.
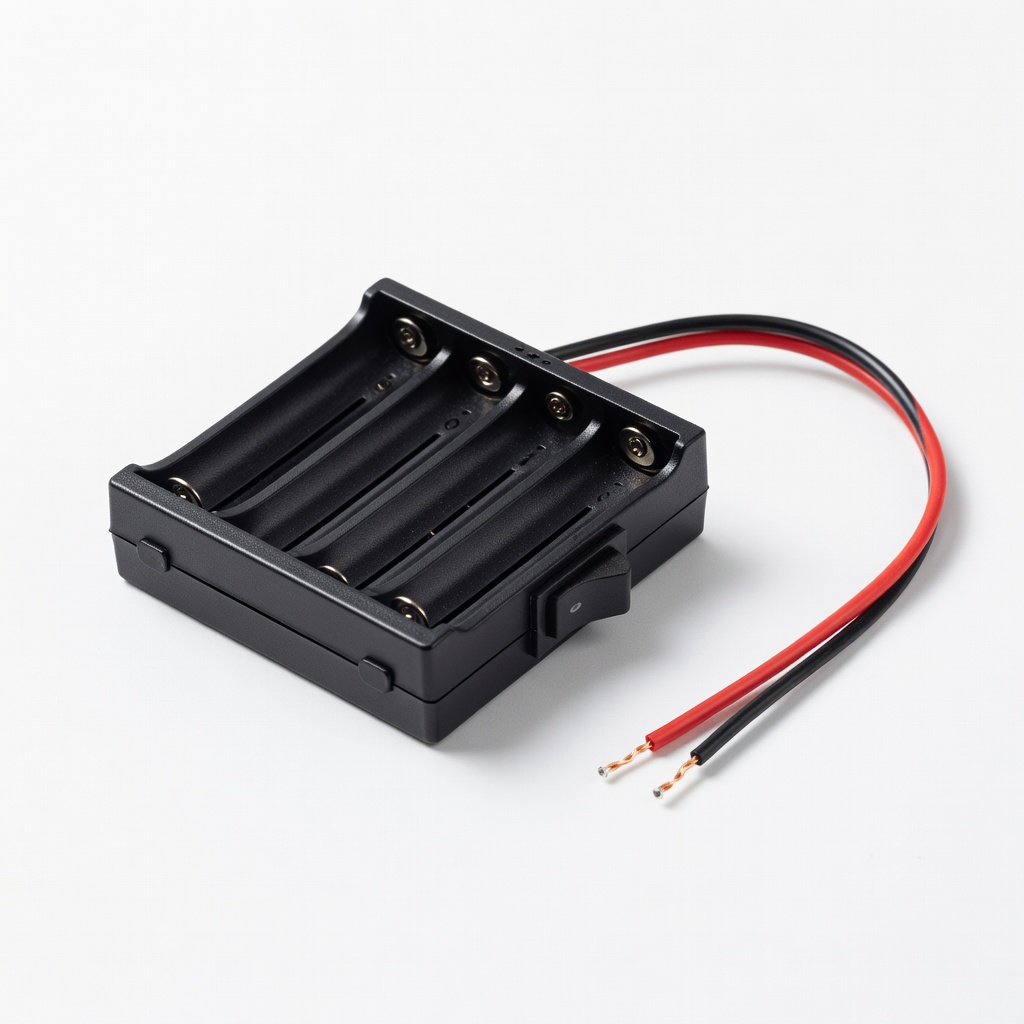
Quick 6V packs for Arduino/LED projects.
HiLetgo 4 AA Battery Holder with Switch and Leads Pre-wired for series, simplifies process, includes switch for safety.

Temporary connections before soldering permanent setups.
ELEGOO 120pcs Multicolored Dupont Jumper Wires Flexible, color-coded for easy +/− identification and prototyping.
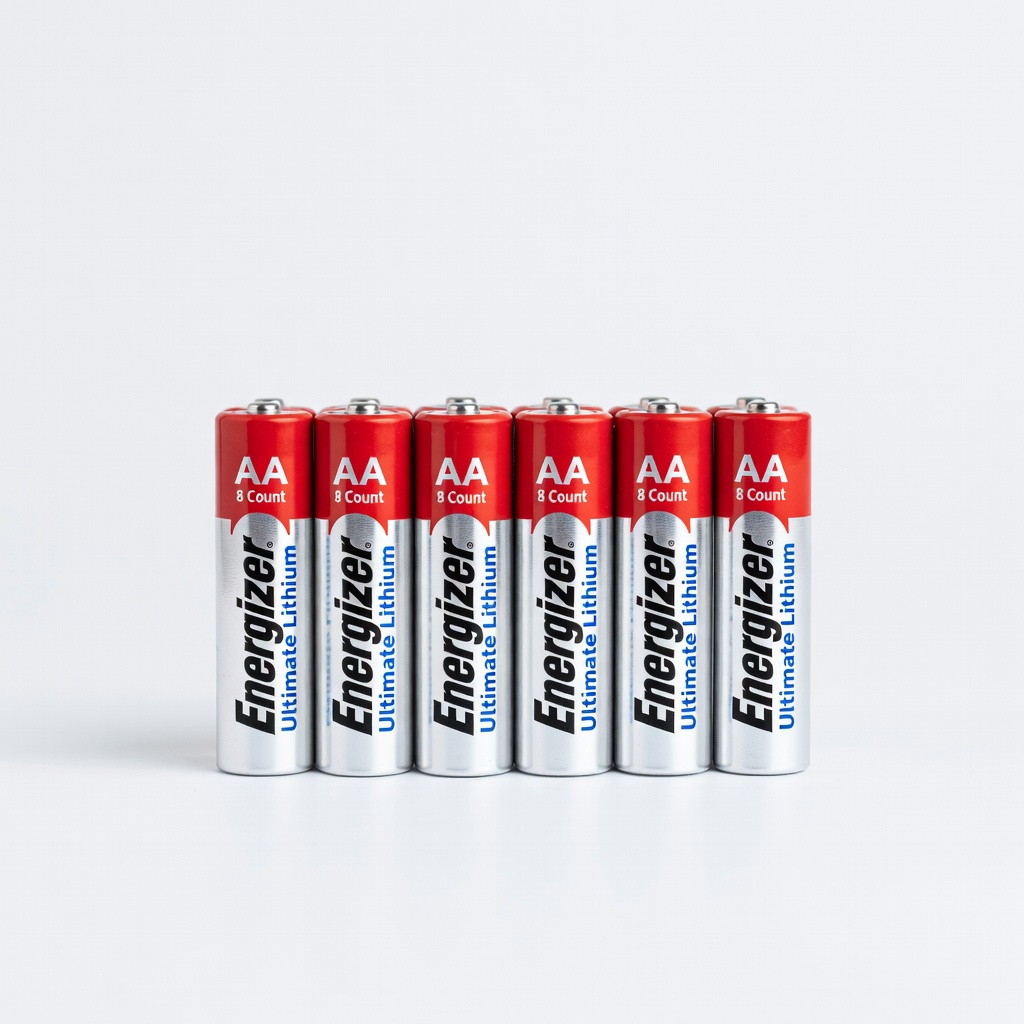
Reliable power for motors/sensors in DIY.
Energizer AA Batteries, 8 Count (Ultimate Lithium) Long-lasting, high-drain suitable for series without quick voltage sag.
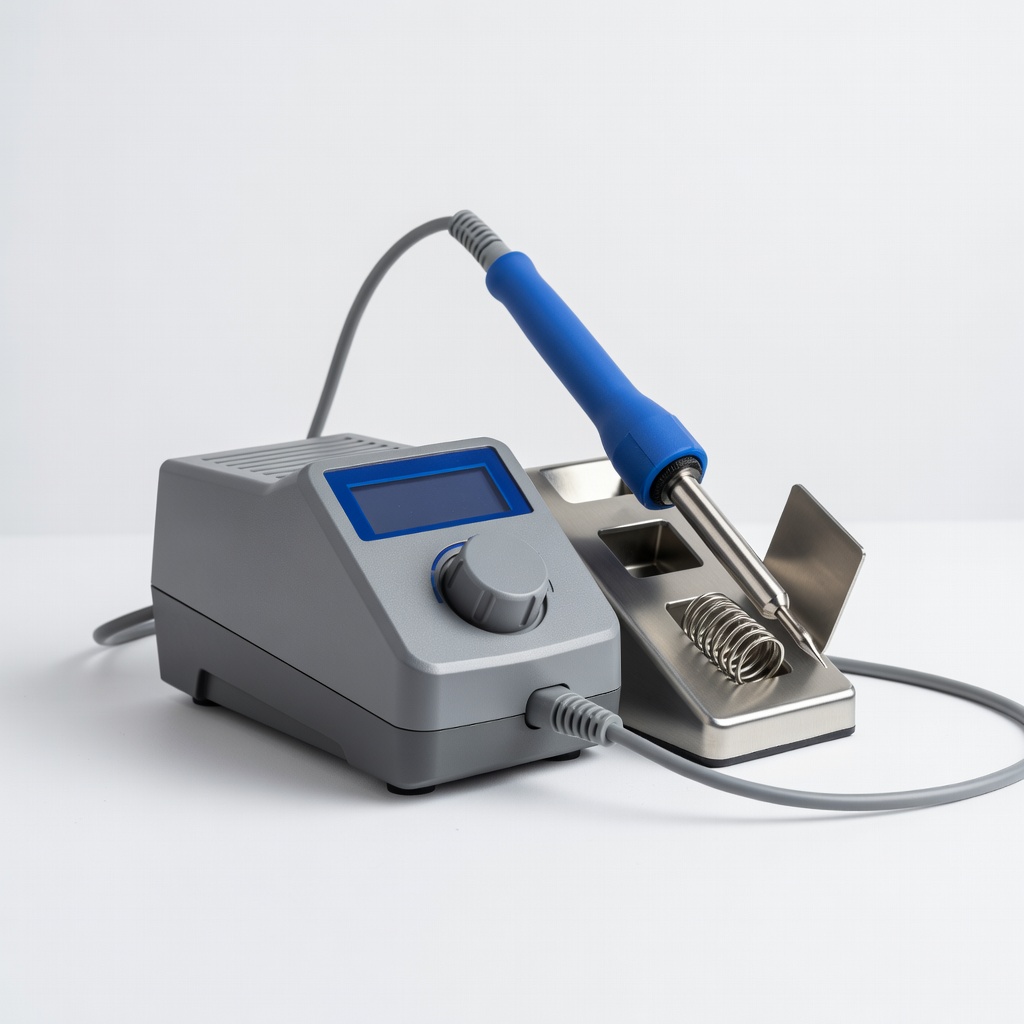
Pro-level permanent packs.
Weller WE1010 Soldering Station Precise temp control for clean, permanent joints on battery clips.