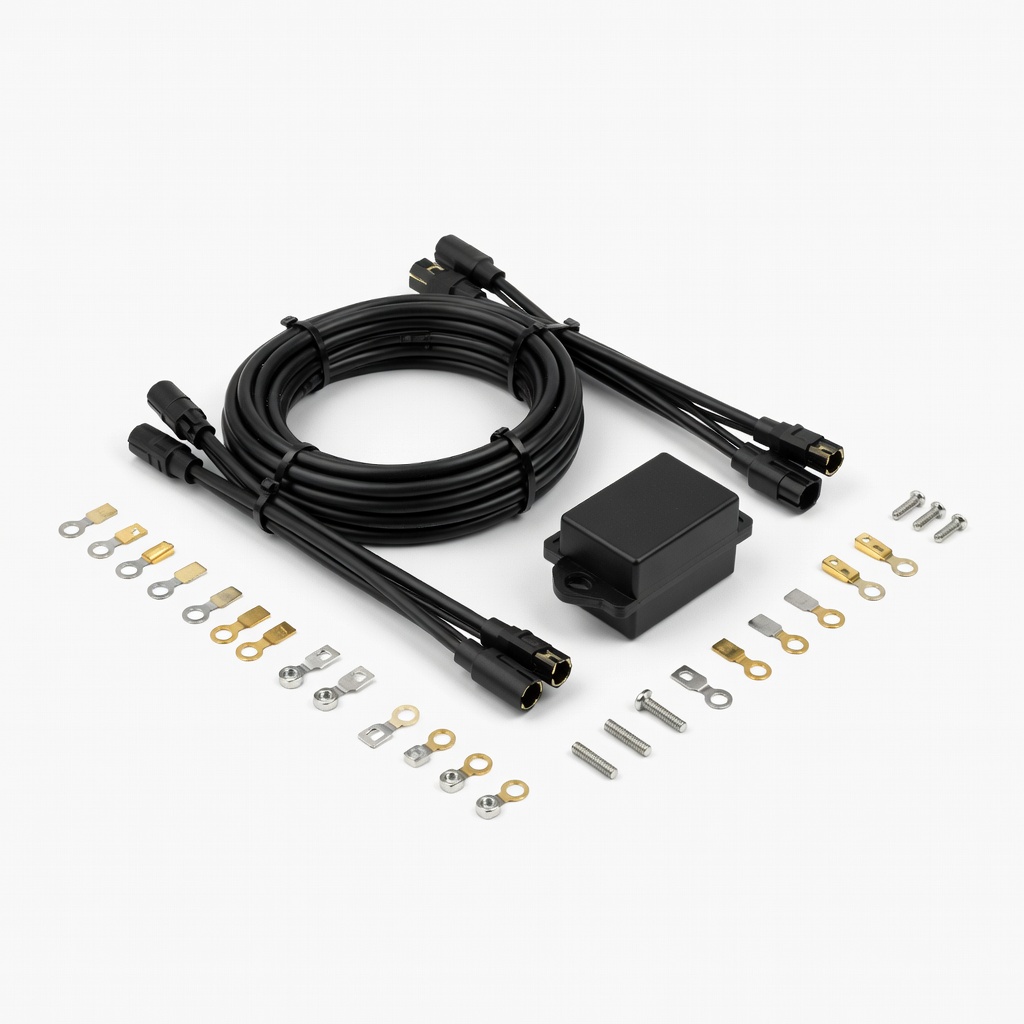
Nilight 50005R Universal Wiring Harness Kit
High-draw lights or multiple accessories on any bike.
$15-20
Nilight 50005R Universal Wiring Harness Kit Pre-wired with relay, fuse, and switch—plug-and-play for most accessories, saves time and errors.
Get the App
Better experience on mobile
Master wiring motorcycle accessory kits like lights, GPS, and heaters with this step-by-step guide for safe, reliable installs in under 2 hours.
Adding accessories to your motorcycle—such as auxiliary lights, GPS mounts, or heated grips—enhances safety, convenience, and style. However, improper wiring can lead to electrical shorts, drained batteries, or fire hazards, which is why many riders hesitate. This guide empowers intermediate DIYers to wire kits confidently without a mechanic.
You'll learn to select power sources, make secure connections, and test everything safely. The process covers universal kits for most bikes (Harley, Honda, Yamaha, etc.), using fuses, relays, and proper routing. Expect 1-2 hours, depending on your bike and kit complexity—no advanced electrical engineering required, just basic tools and care.
By the end, your accessories will work flawlessly, protected from vibrations and weather, saving you $100+ on shop labor.
Estimated Time: 1-2 hours Difficulty: intermediate
Park your motorcycle on a stable stand in a well-lit, dry area. Turn off the ignition and remove the key. Locate the battery (usually under the seat or side panel) and disconnect the negative (-) terminal first using a wrench. This prevents shorts and shocks.
Why it matters: Electricity follows the path of least resistance; an accidental tool slip could fry your electronics. Success looks like: battery safely isolated, no lights or accessories powered.
Tape the negative cable end away from the terminal.
💡 Tips:
⚠️ Warnings:
Consult your service manual for the fuse box or battery positives. Ideal taps: switched ignition (accessory power) or direct battery with relay for always-on items like lights.
Inspect frame for clean routes avoiding heat/exhaust/moving parts. Measure wire lengths, adding 20% extra. Sketch a diagram: power → fuse → relay → accessory → ground.
Success: Clear path identified, no pinched spots planned.
💡 Tips:
⚠️ Warnings:
Mount the relay near the battery (zip-tie securely). Connect: 30 pin to battery +, 87 to accessory +, 85/86 to ignition-switched power/ground. Add inline fuse (10-15A) on positive lead.
Relays protect from overloads; fuses blow before wiring melts. Test relay click with 12V jumper.
Success: Relay mounted, wires color-coded (red +, black -).
💡 Tips:
⚠️ Warnings:
Run wires along planned path, securing loosely with zip ties every 6 inches. Leave slack at connections. Strip 1/2 inch insulation from ends—twist strands.
Why: Prevents rattles and abrasion. Expect clean, unraveled copper.
💡 Tips:
⚠️ Warnings:
Use Posi-Taps for tapping harness or crimp/solder butt connectors. Slide heat shrink on first, crimp/solder, then shrink with heat gun/lighter.
Solder for vibration resistance; crimp quick. Ground to frame clean spot or battery -.
Success: No bare wire, tug-test holds firm.
💡 Tips:
⚠️ Warnings:
Tighten zip ties, add strain relief loops. Tape bundles, cover with loom. Mount accessories per kit instructions.
Prevents fatigue from vibes. Bike looks pro.
💡 Tips:
⚠️ Warnings:
Reattach negative terminal last. Turn key on—check for voltage (12-14V) with multimeter. Activate accessory: no dimming lights, proper function.
Road test at idle. Success: All works, no smoke/sparks.
💡 Tips:
⚠️ Warnings:
Double-check grounds, fuses. Take short ride, monitor heat/smells. Waterproof connections if exposed.
Enjoy reliable upgrades!
💡 Tips:
⚠️ Warnings:
Problem: Accessory doesn't power on
Solution: Check fuse, connections, voltage at relay. Verify switched vs. constant power.
Problem: Lights dim when using
Solution: High draw—add relay or capacitor. Measure voltage drop.
Problem: Fuse keeps blowing
Solution: Short circuit or overload—trace with multimeter, downsize accessory.
Problem: Intermittent function
Solution: Loose crimp or bad ground—re-solder and secure.
Problem: Battery drains overnight
Solution: Parasitic draw—use switched power or add cutoff switch. Seek pro if persists.
Pre-wired with relay, fuse, and switch—plug-and-play for most accessories, saves time and errors.
Best for: High-draw lights or multiple accessories on any bike.
Price Range: $15-20
Precision stripping without nicking wires—essential for clean crimps in tight bike spaces.
Best for: All stripping tasks on 10-18 AWG wires.
Price Range: $25-30
Accurate voltage/continuity testing—catches issues before they cause failures.
Best for: Testing circuits during and post-install.
Price Range: $12-15
Varied sizes waterproof connections—vibration and weather-proof.
Best for: Sealing all splices.
Price Range: $10-13
Tap into harness without cutting—reversible and secure.
Best for: Adding power from stock wires.
Price Range: $20-25
High-draw lights or multiple accessories on any bike.
Nilight 50005R Universal Wiring Harness Kit Pre-wired with relay, fuse, and switch—plug-and-play for most accessories, saves time and errors.
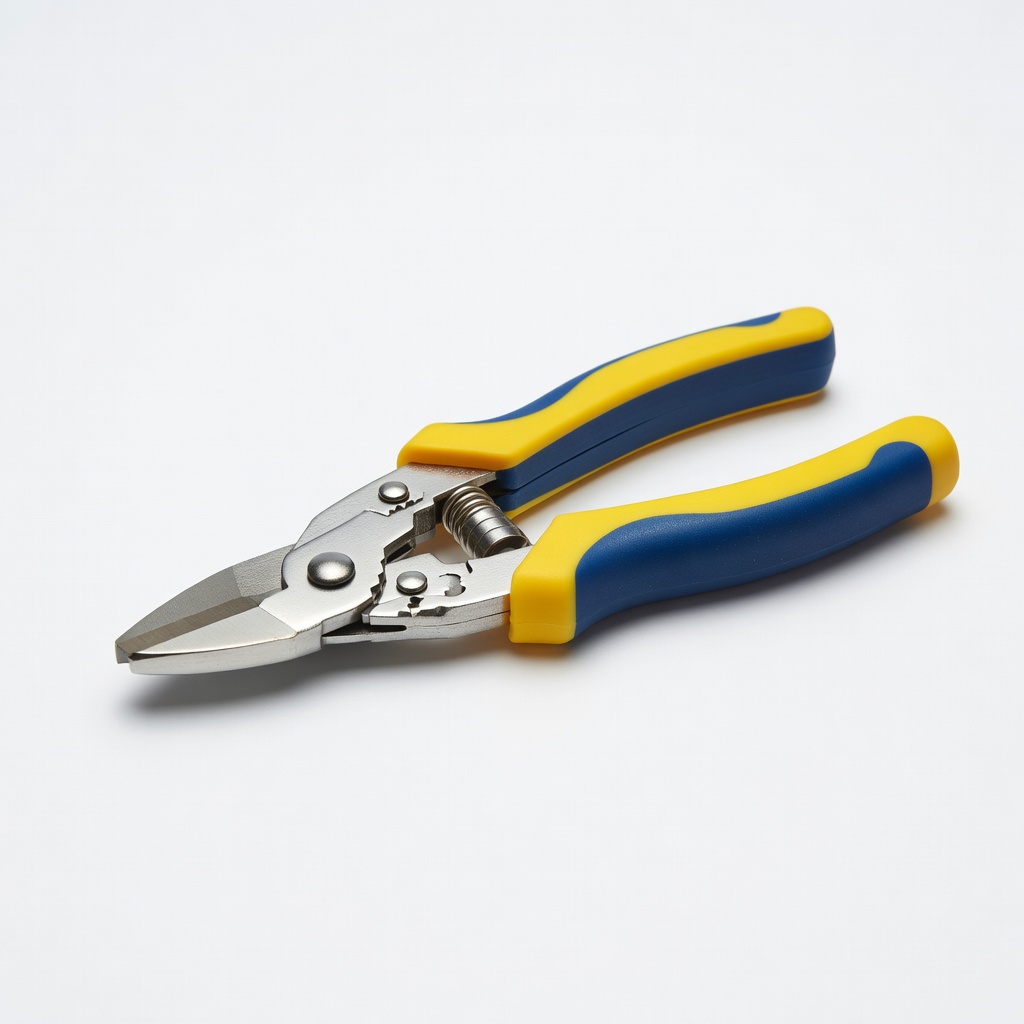
All stripping tasks on 10-18 AWG wires.
Klein Tools 11055 Wire Stripper/Cutter Precision stripping without nicking wires—essential for clean crimps in tight bike spaces.
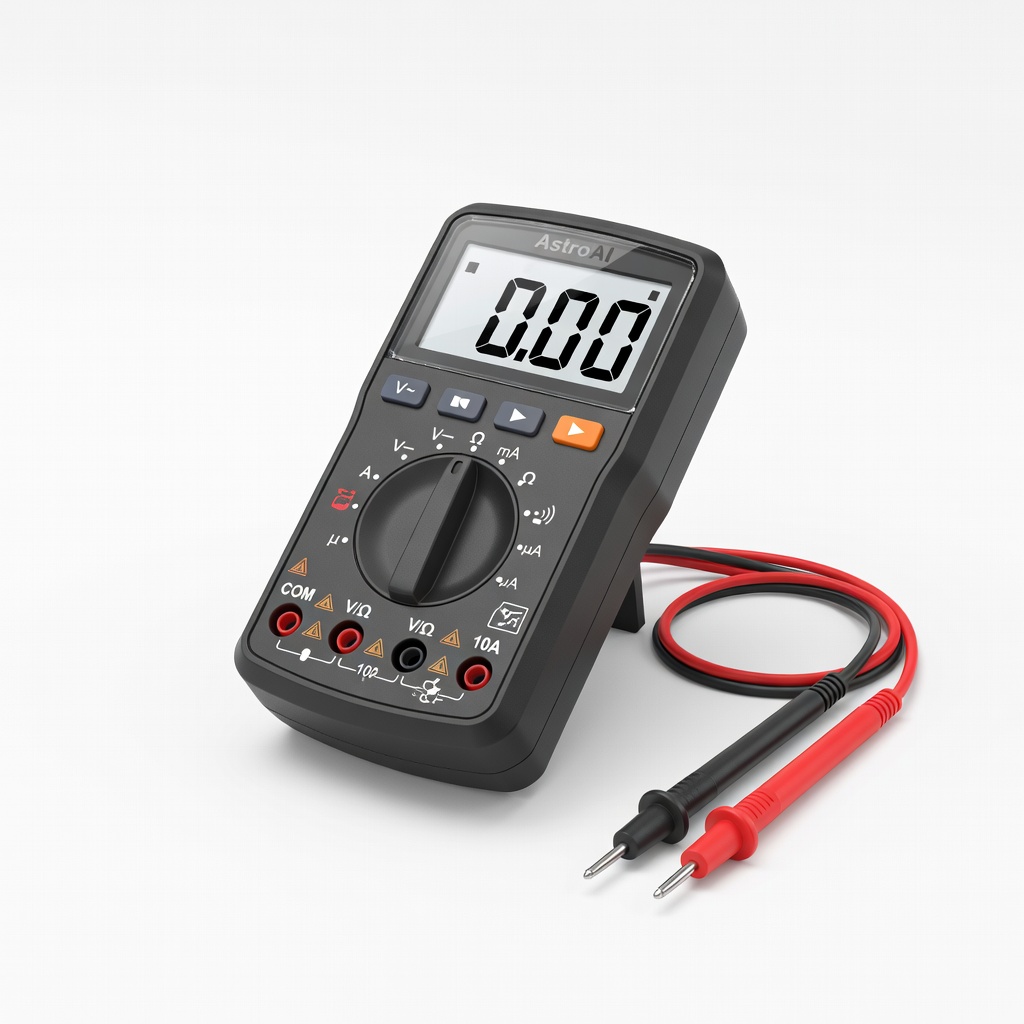
Testing circuits during and post-install.
AstroAI Digital Multimeter Accurate voltage/continuity testing—catches issues before they cause failures.
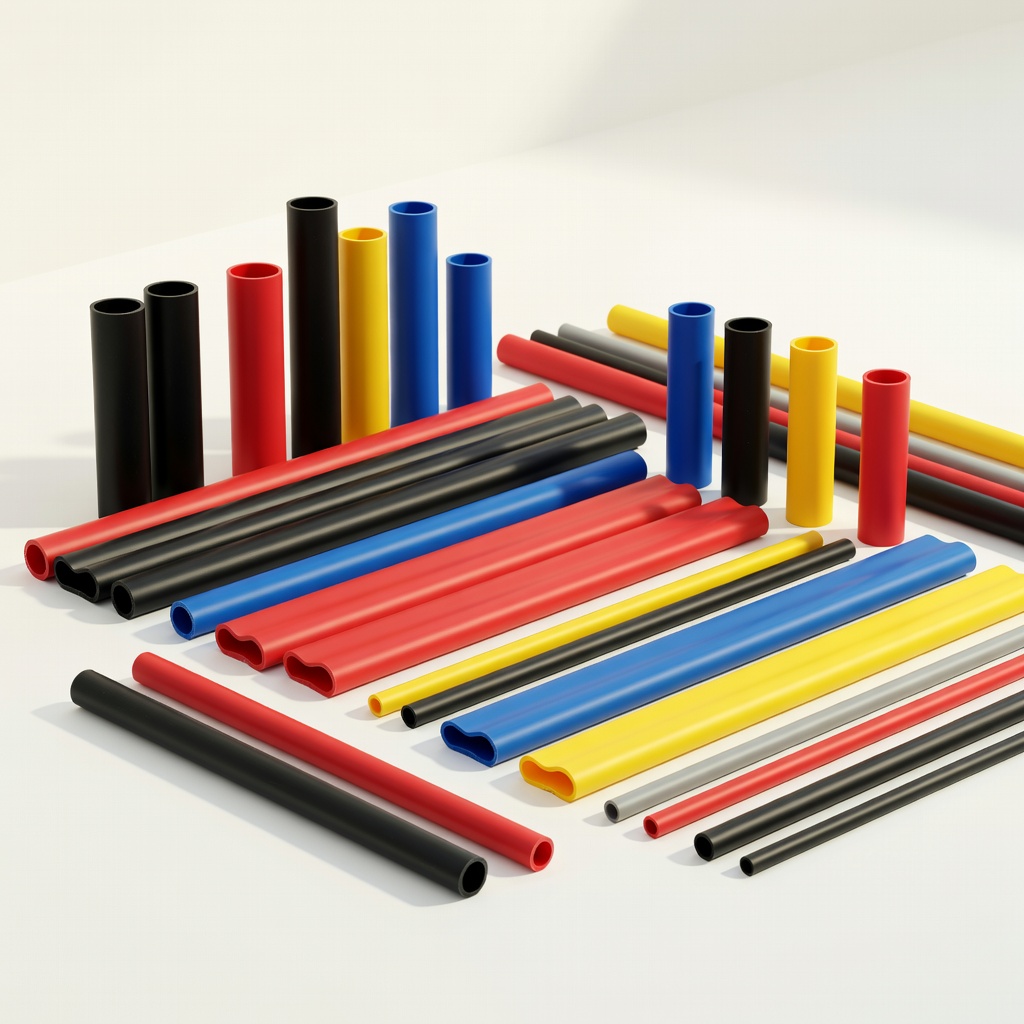
Sealing all splices.
AUPERFECT Heat Shrink Tubing Kit Varied sizes waterproof connections—vibration and weather-proof.
Adding power from stock wires.
Posi Products Posi-Taps Connectors (10 Pack) Tap into harness without cutting—reversible and secure.