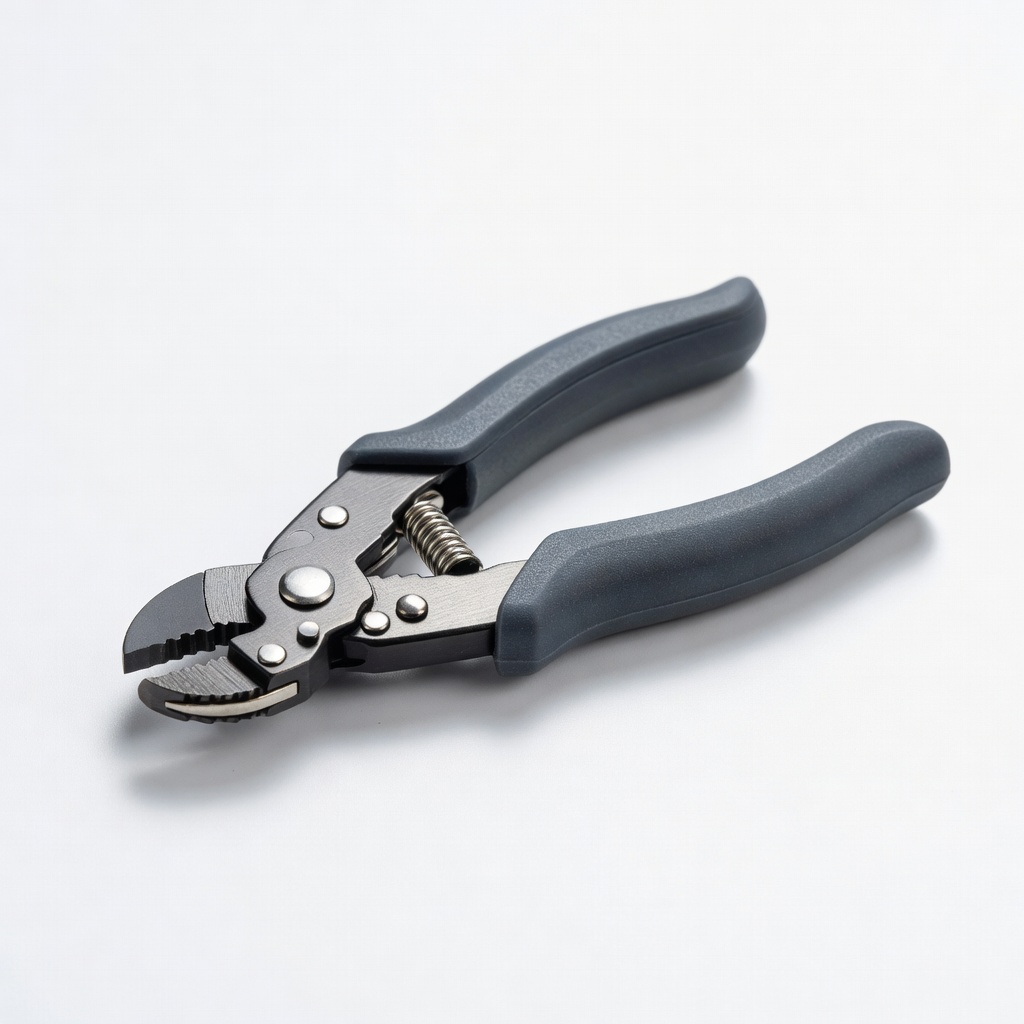
KAIWEETS Wire Stripper Cutter
Essential for clean wire prep in tight car spaces.
$15.99
KAIWEETS Wire Stripper Cutter Precise stripping and cutting for 10-24 AWG wires without nicking strands.
Get the App
Better experience on mobile
Master safe wiring for LED lights, stereos, and dash cams in your car interior with step-by-step instructions for a pro finish.
Customizing your car's interior with accessory kits like ambient LED lights, stereos, or dash cams adds style and functionality, but improper wiring can lead to electrical fires, blown fuses, or dead batteries. Many DIYers struggle with confusing harnesses and hidden fuses, risking costly damage.
In this guide, you'll learn how to wire accessory kits safely and effectively. We'll cover planning, routing wires, fusing, grounding, and testing—everything for a clean, reliable install. Expect intermediate skills like basic electrical knowledge and tool handling.
The process takes 1-3 hours depending on the kit complexity and car model. By the end, your accessories will power on seamlessly without dashboard warnings or shorts.
Estimated Time: 1-3 hours Difficulty: intermediate
Start by laying out all tools and materials on a clean workspace. Unbox your accessory kit and read the manufacturer's wiring diagram thoroughly. Identify power (constant or switched), ground, and any signal wires (e.g., for illumination or reverse camera).
This step ensures compatibility with your car's 12V system. Success looks like a organized setup with no missing parts—double-check fuse ratings match your kit's amp draw (e.g., 10A for lights).
💡 Tips:
⚠️ Warnings:
Park on a level surface, turn off the engine, and remove the negative (-) battery terminal using a 10mm wrench. This prevents shorts and airbag deployment.
Tape the terminal to avoid accidental contact. Expect a quiet dashboard—no more beeps or lights.
💡 Tips:
⚠️ Warnings:
Map the shortest, concealed routes from the accessory location (e.g., dash for lights) to the battery and fuse box. Use panel tools to pop off trim without scratches. Run wires through grommets or firewall pass-throughs.
Aim for slack but no sags. Success: Wires hidden behind panels, away from pedals or heat sources.
💡 Tips:
⚠️ Warnings:
Install the accessory (e.g., glue LED strips or bolt stereo) per kit instructions. Leave wire access for connections.
Test-fit before permanent mounting. Expect a snug, vibration-proof setup.
💡 Tips:
Strip 1/2 inch of black wire insulation, crimp a ring terminal, and bolt to a clean chassis ground (scrape paint if needed). Use 16-gauge for most kits.
Test continuity with multimeter (beep = good ground). This completes the circuit return path.
💡 Tips:
⚠️ Warnings:
Locate fuse box (under dash or hood). Use a fuse tap on an accessory (switched) or constant power fuse matching your draw. Crimp red wire to tap, add inline fuse holder nearby.
Label the tap. Success: Protected power without overloading circuits.
💡 Tips:
Match kit wires to your runs: red to power, black to ground, others per diagram (e.g., blue for illumination). Strip, crimp butt connectors, and insulate with heat shrink or tape.
Twist strands before crimping for strength.
💡 Tips:
Set multimeter to ohms/continuity. Check power-to-battery positive (low resistance), ground-to-chassis (beep), no shorts (infinite resistance power-to-ground).
Fix issues now. Expect all checks pass.
⚠️ Warnings:
Reattach negative terminal. Turn key to ACC—accessory should power without drama. Test functions (e.g., lights dim with headlights).
No smoke or blown fuses = success.
💡 Tips:
Zip-tie wires every 6-12 inches, avoiding pinch points. Reinstall panels. Drive test for rattles.
Final look: Factory-clean, no exposed wires.
Problem: Accessory won't power on
Solution: Check fuse tap seating, continuity, and ground. Verify switched vs. constant power.
Problem: Flickering or dimming
Solution: Upgrade wire gauge or add relay for high-draw kits. Clean ground point.
Problem: Blown fuses repeatedly
Solution: Short detected—use multimeter power-to-ground test. Downsize accessory draw.
Problem: Accessory always on
Solution: Wrong fuse tap—switch to ACC/ignition circuit.
Precise stripping and cutting for 10-24 AWG wires without nicking strands.
Best for: Essential for clean wire prep in tight car spaces.
Price Range: $15.99
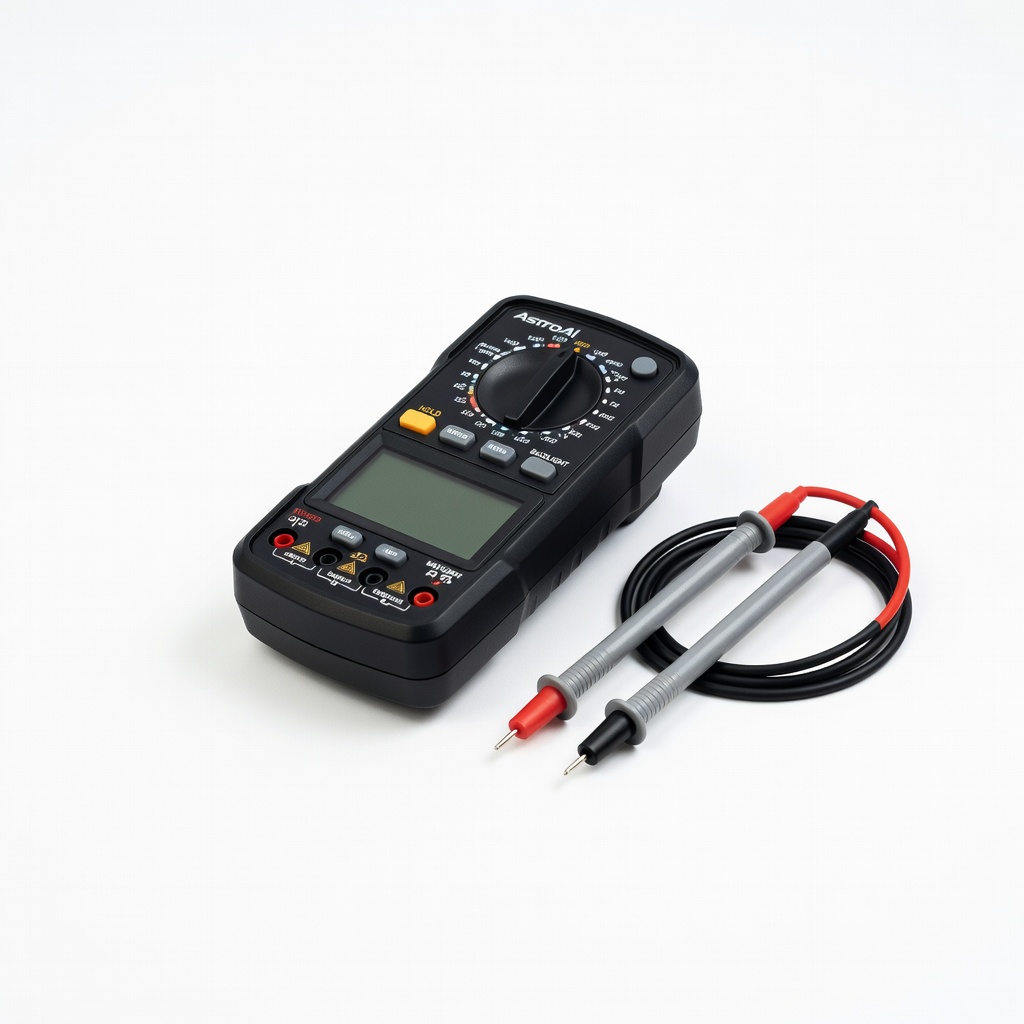
Accurate continuity, voltage, and resistance testing for safe wiring verification.
Best for: Pre-power-on checks to prevent shorts.
Price Range: $14.99
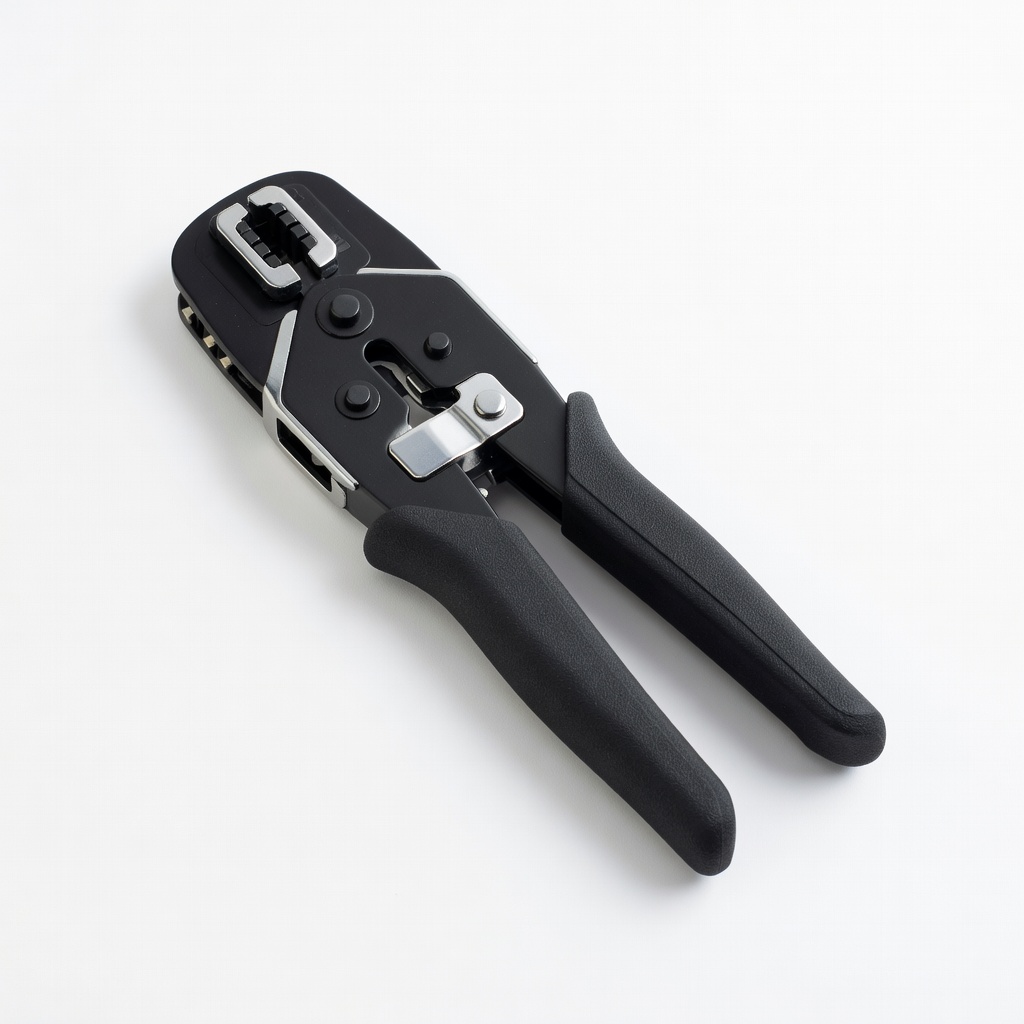
Add-a-circuit taps with micro2/ATM/mini fuses for safe power sourcing.
Best for: Tapping fuse box without cutting factory wires.
Price Range: $9.99
Professional crimps on terminals that won't pull off under vibration.
Best for: Reliable connections for power/ground.
Price Range: $24.99
Conformable, durable insulation for bundling and protecting wires.
Best for: Quick wraps and strain relief.
Price Range: $12.99
Essential for clean wire prep in tight car spaces.
KAIWEETS Wire Stripper Cutter Precise stripping and cutting for 10-24 AWG wires without nicking strands.
Pre-power-on checks to prevent shorts.
AstroAI Digital Multimeter Accurate continuity, voltage, and resistance testing for safe wiring verification.

Tapping fuse box without cutting factory wires.
Nilight Car Fuse Tap Kit Add-a-circuit taps with micro2/ATM/mini fuses for safe power sourcing.
Reliable connections for power/ground.
TICONN Ratcheting Wire Crimper Professional crimps on terminals that won't pull off under vibration.

Quick wraps and strain relief.
3M Super 33+ Vinyl Electrical Tape Conformable, durable insulation for bundling and protecting wires.