
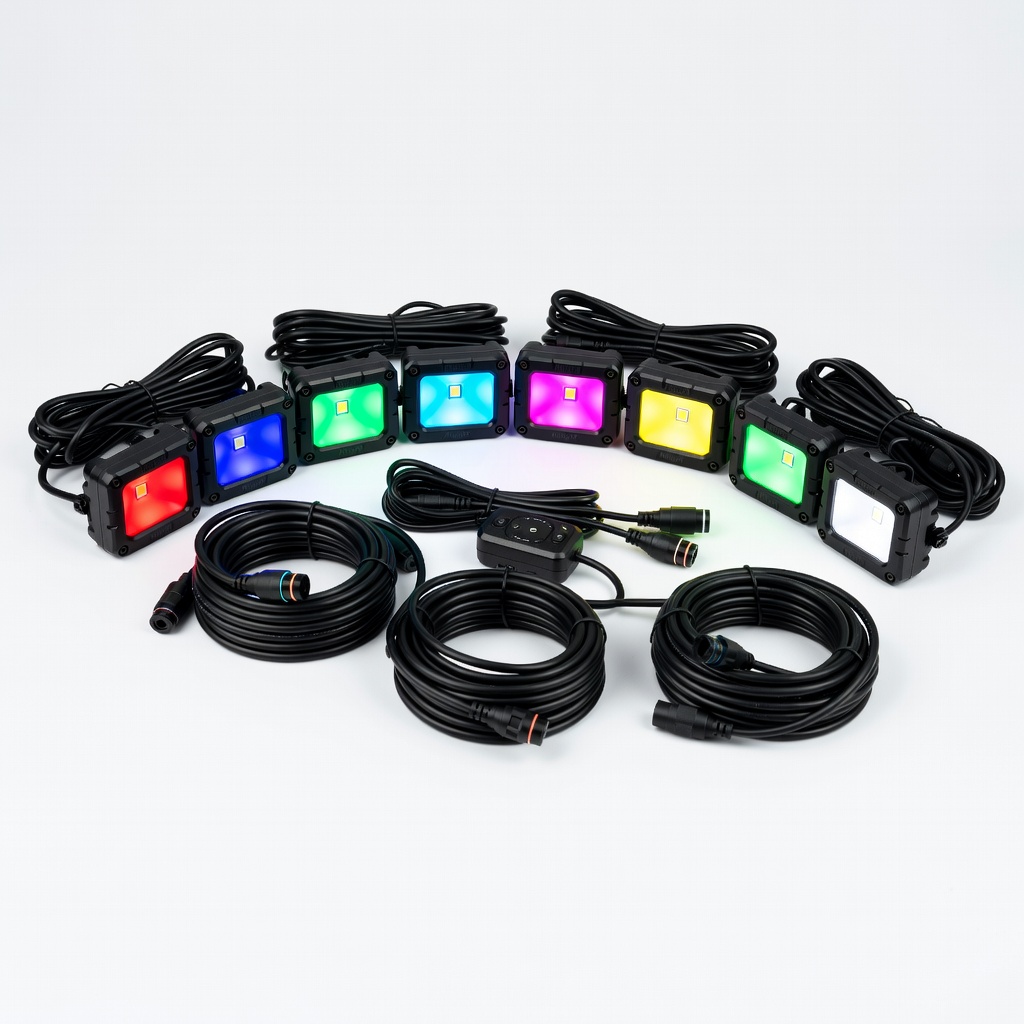
Nilight 8PCS BA09 RGB LED Rock Lights
Mount 2-4 per wheel well; pair with accents for trails.
$39.99
Nilight 8PCS BA09 RGB LED Rock Lights IP68 waterproof, app-controlled RGB for perfect Jeep underglow sync.
Get the App
Better experience on mobile
Master advanced wiring to sync Jeep rock and accent lights for epic off-road glow—safe, reliable, and customizable in 1-2 hours.
Off-roading in your Jeep at night demands visibility and style, but mismatched or poorly wired lights lead to flickering, shorts, or total failure. Rock lights illuminate rocks and trails underneath, while accent lights highlight wheels, frame, or grille—wiring them together creates a unified, stunning light show.
This advanced guide teaches you to wire both systems in parallel on a dedicated 12V circuit with relay, fuse, and controller for RGB control. You'll achieve professional results: waterproof, vibration-proof connections that handle mud, water, and rough terrain. Expect electrical knowledge like polarity, resistance checks, and chassis grounding.
Total process: 1-2 hours for experienced Jeep owners. Difficulty: advanced due to under-chassis work and DC electrical mods.
Estimated Time: 1-2 hours Difficulty: advanced
Start by disconnecting the negative battery terminal to prevent shorts. Use a 10mm socket wrench.
Plan your route: Rock lights under rock rails/wheel wells; accent lights on frame rails, wheel wells, or grille. Route wires along frame, avoiding exhaust, suspension, and pinch points. Sketch a diagram showing power from battery → fuse/relay → switch/controller → lights → ground. Why? Prevents voltage drop and damage. Expect 20-30 ft wire total.
Success looks like: Battery safely isolated (multimeter shows 0V), clear route marked with painter's tape.
💡 Tips:
⚠️ Warnings:
Secure rock lights in wheel wells or rock rails using provided brackets and stainless screws. Apply dielectric grease to contacts for waterproofing. Mount accent lights similarly—zip-tie or bracket to frame.
Why matters: Proper mounting survives 40G impacts. Expect silicone sealant on holes. Success: Lights firmly mounted, wires dangling 2-3 ft for connections—no wobble when shaking.
💡 Tips:
⚠️ Warnings:
From battery positive, run red 14AWG wire to relay input (via inline 30A fuse 12" from battery). Black ground wire from battery negative or chassis ground point (sand paint for contact).
Route to rear: Secure with zip ties every 12", use split loom over chassis. Branch to lights in parallel—splice with T-taps or crimps. Why parallel? Equal brightness, no dimming. Expect some abrasion resistance check. Success: Wires run end-to-end, tug-tested secure.
💡 Tips:
⚠️ Warnings:
Mount relay near battery (40/30A automotive). Wire: 87 to lights power, 30 from fuse/battery, 85/86 to switch (trigger). Dash-mount rocker switch.
Why: Relay handles high current without switch melt. Test continuity with multimeter. Success: Relay clicks when switch activated (pre-wire test).
💡 Tips:
⚠️ Warnings:
For RGB: Wire lights to controller outputs (R,G,B,W lines + power/ground). Parallel rock and accent lights. Crimp butt connectors, heat-shrink seal.
Solder optional for vibration-proof. Grease all joints. Why: Waterproofing lasts 5+ years off-road. Success: Clean, insulated splices—no exposed copper.
💡 Tips:
⚠️ Warnings:
Ring terminals to chassis grounds near each light cluster. Multiple grounds if >20ft run.
Test resistance <1 ohm. Success: Solid grounds confirmed by multimeter beep.
💡 Tips:
⚠️ Warnings:
Zip-tie every 6-12", add P-clips to frame. Reconnect negative terminal last.
Success: No loose wires, full circuit intact.
Power on: Check all lights, colors, no heat. Spray water test. Adjust controller app.
Success: Brilliant, flicker-free illumination—rock lights trail-bright, accents pop.
Problem: Lights flicker or dim
Solution: Check grounds/voltage drop; add thicker wire or relay.
Problem: No power to lights
Solution: Verify fuse/relay click; test switch continuity.
Problem: One color missing (RGB)
Solution: Inspect polarity on that channel; replace bad pod.
Problem: Water intrusion after rain
Solution: Re-seal with silicone/grease; add grommets.
Problem: Overheating wires
Solution: Upgrade to 12AWG; check amp draw < fuse rating. Seek pro if persistent.
IP68 waterproof, app-controlled RGB for perfect Jeep underglow sync.
Best for: Mount 2-4 per wheel well; pair with accents for trails.
Price Range: $39.99
Pre-wired 12V kit simplifies relay/fuse install, vibration-proof.
Best for: Power source for combined lights up to 288W.
Price Range: $16.99
Ratchet crimper ensures gas-tight seals for marine wire.
Best for: All splices—butts, rings—for pro connections.
Price Range: $29.99
Accurate DC voltage/resistance/continuity for troubleshooting.
Best for: Verify circuits before final test.
Price Range: $22.99
Weatherproof switches with LED backlights for dash.
Best for: Control RGB modes easily.
Price Range: $19.99
Mount 2-4 per wheel well; pair with accents for trails.
Nilight 8PCS BA09 RGB LED Rock Lights IP68 waterproof, app-controlled RGB for perfect Jeep underglow sync.
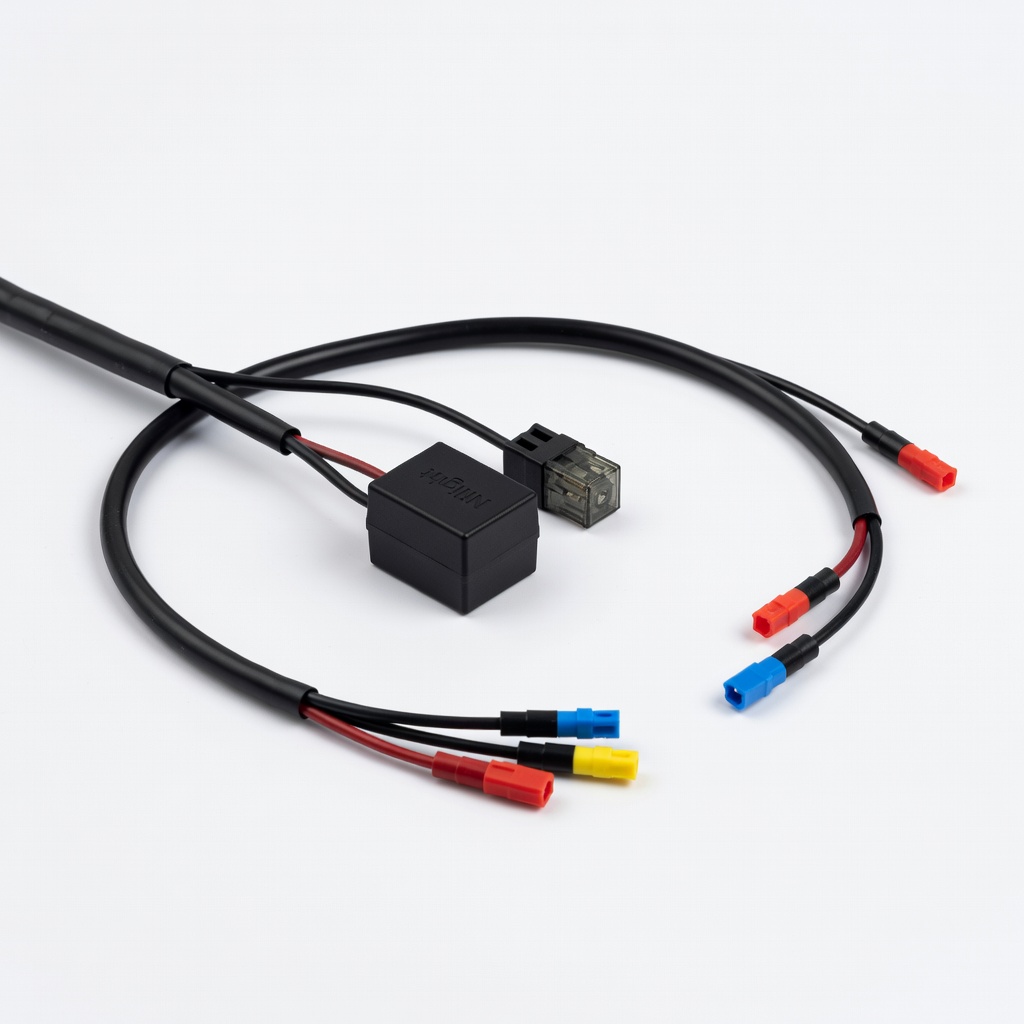
Power source for combined lights up to 288W.
Nilight 14AWG Wiring Harness with Relay Fuse Pre-wired 12V kit simplifies relay/fuse install, vibration-proof.
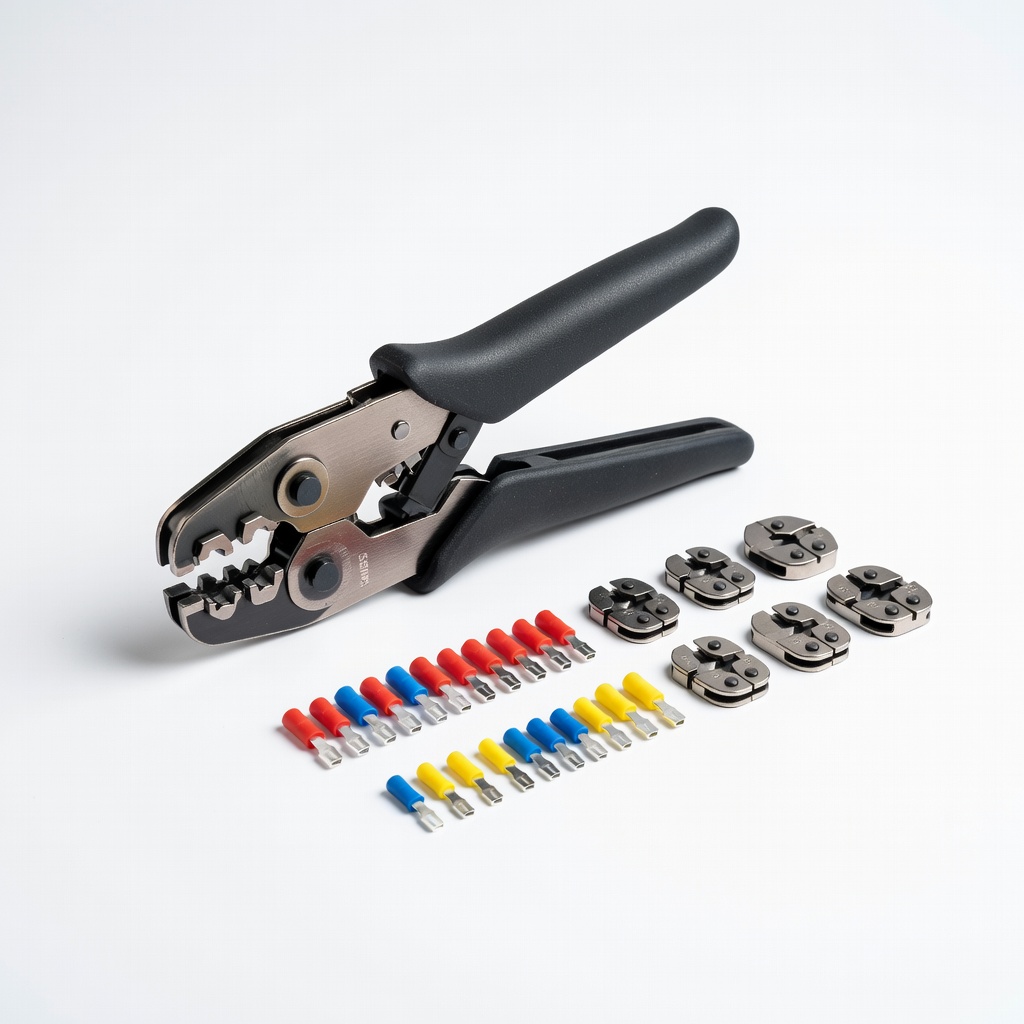
All splices—butts, rings—for pro connections.
IWISS Wire Crimping Tool Kit Ratchet crimper ensures gas-tight seals for marine wire.
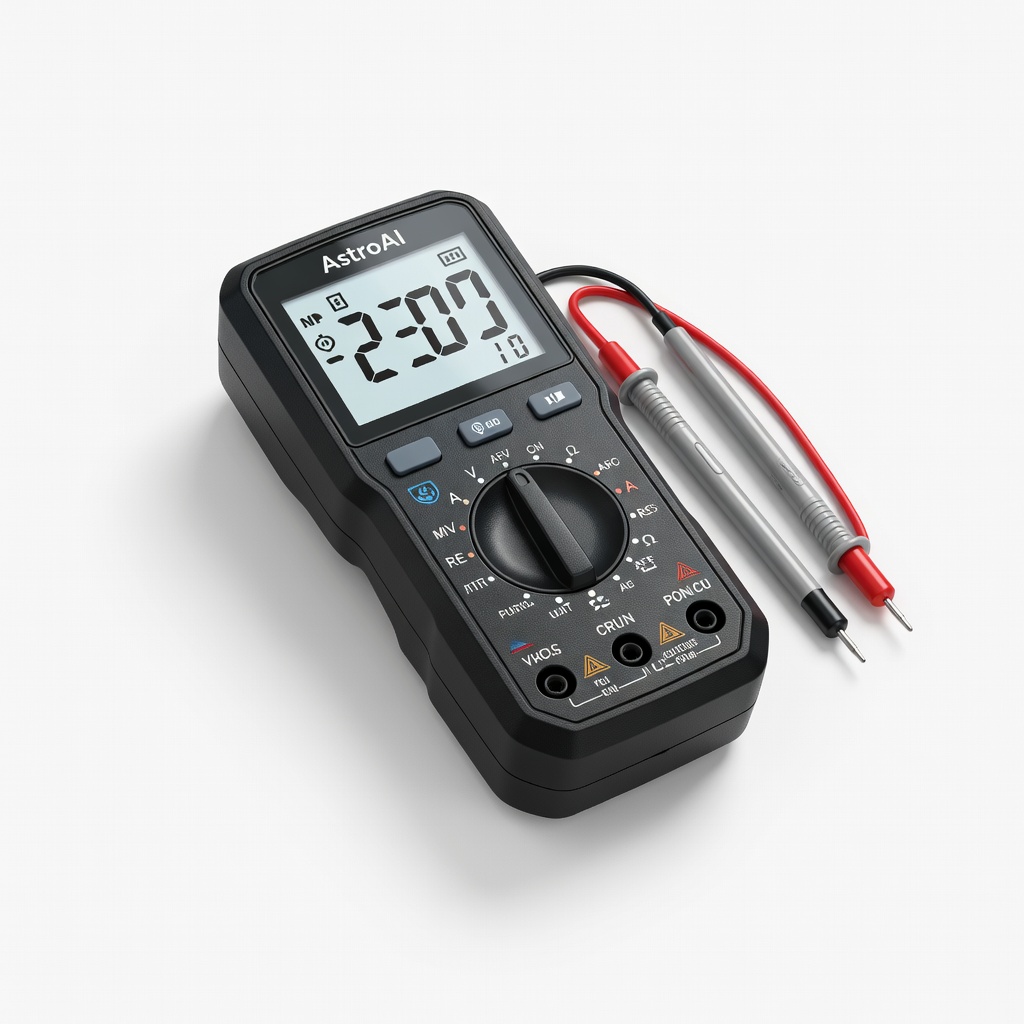
Verify circuits before final test.
AstroAI Digital Multimeter Accurate DC voltage/resistance/continuity for troubleshooting.
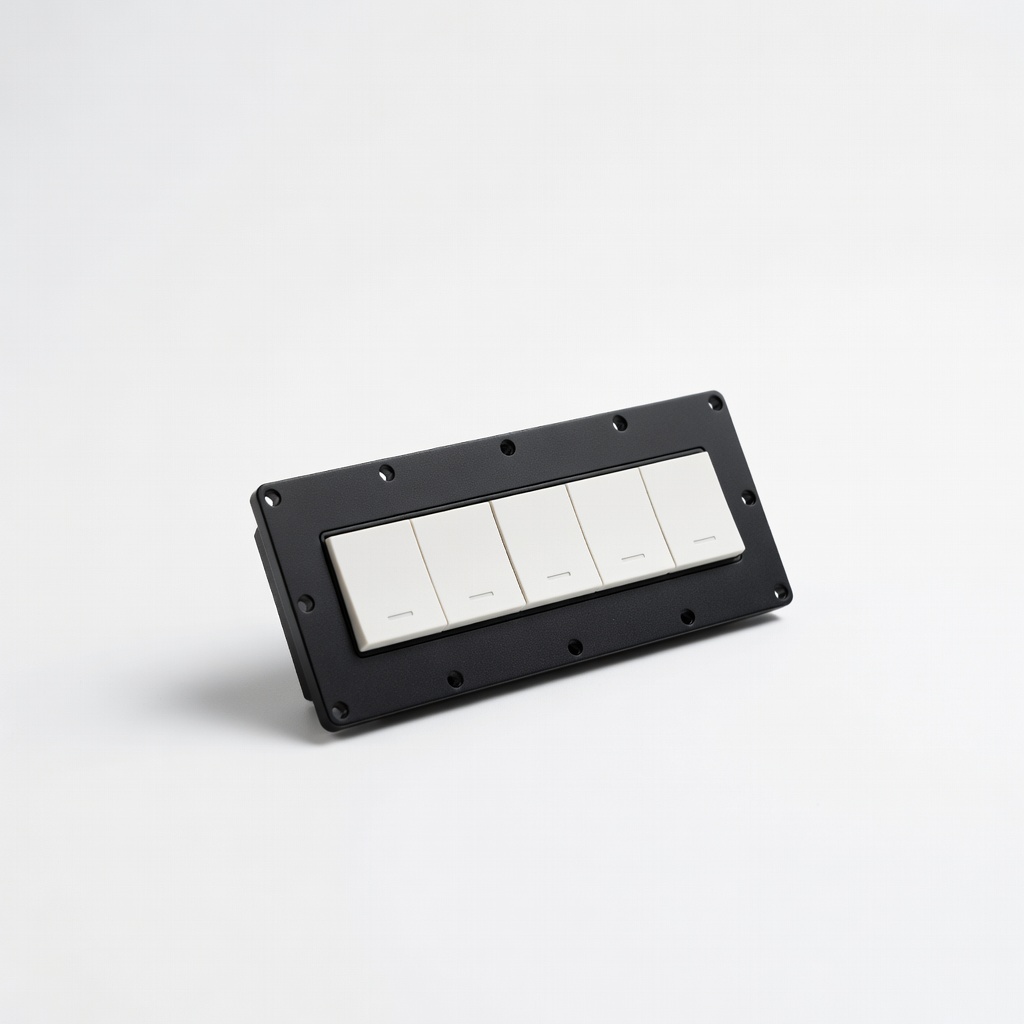
Control RGB modes easily.
Nilight Rocker Switch Panel Weatherproof switches with LED backlights for dash.