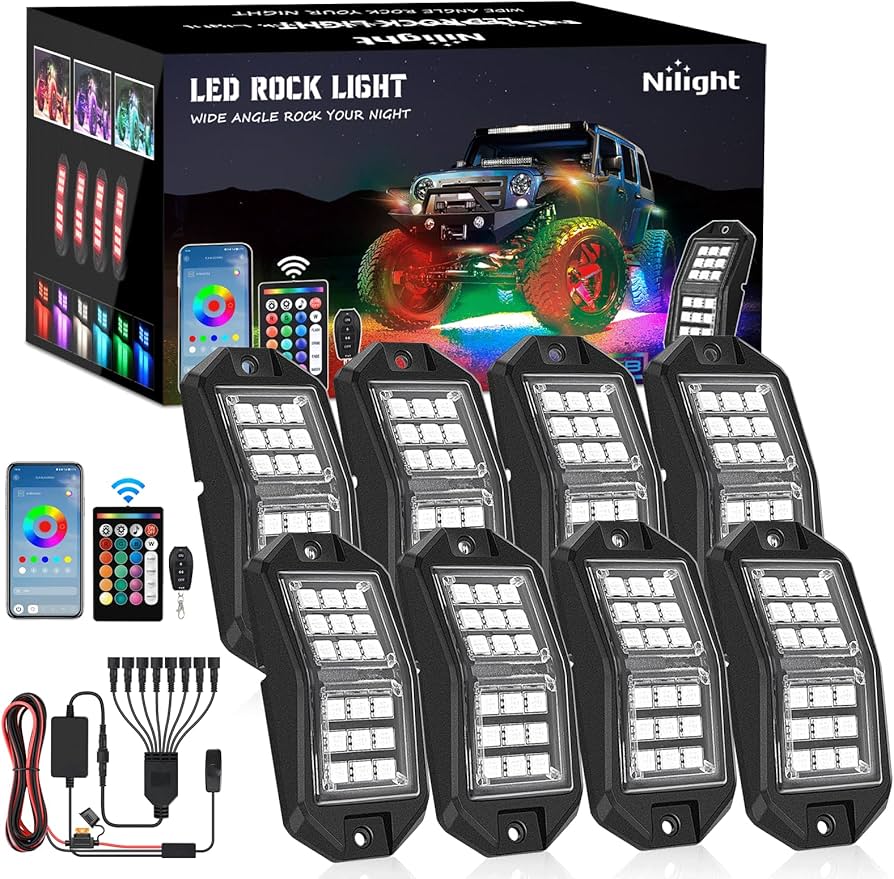
Nilight 8PCS RGB LED Rock Lights Kit
Wheel wells and underbody for trail visibility/style.
$45-55
Nilight 8PCS RGB LED Rock Lights Kit IP68 waterproof, app-controlled colors for dynamic accent effects; easy pod mounting.
Get the App
Better experience on mobile
Master advanced wiring techniques to install durable accent lights on your off-road rig for superior nighttime visibility and custom style in 1-2 hours.
Hook: Off-road enthusiasts know the thrill of night trails, but poor lighting can turn adventure into danger. Custom accent lighting—like rock lights, wheel well LEDs, or underbody strips—boosts style, safety, and functionality without draining your battery.
What you'll learn: This advanced guide walks you through professional-grade wiring, including relays, fuses, and waterproofing, ensuring your setup withstands mud, water, and vibration. Expect reliable performance on Jeeps, trucks, or UTVs.
Overview & Expectations: We'll cover planning to testing in 8 sequential steps. With intermediate electrical knowledge (e.g., understanding voltage drop), you'll finish in 1-2 hours. Tools and safety gear required—battery work demands caution.
Estimated Time: 1-2 hours (plus 30 min planning) Difficulty: advanced
Sketch your vehicle's underbody, wheel wells, and rockers. Decide on light positions for even accent glow (e.g., 4-8 rock lights per side). Calculate total amp draw (e.g., 5A per light x 8 = 40A total) to size relay/fuse.
Why it matters: Proper planning prevents voltage drop and overheating. Use 14AWG wire for runs under 15ft; 12AWG for longer.
Success: Diagram with wire routes avoiding exhaust/steering.
💡 Tips:
⚠️ Warnings:
Negative terminal first: Loosen with 10mm wrench, wrap in tape. This prevents shorts during install.
Why: Safety first—arcs can damage electronics or cause fires. Expect 5 minutes; vehicle powers down completely.
Success: Multimeter shows 0V across terminals.
💡 Tips:
⚠️ Warnings:
Drill pilot holes or use 3M VHB adhesive for rock lights/strips. Secure with stainless brackets/screws. Apply silicone sealant around mounts.
Why: Vibration-proof mounting lasts off-road abuse. Test-fit wires through grommets.
Success: Lights fixed firmly, wires accessible.
Route black ground wires from each light to a common chassis ground (sand paint for contact). Run red power wires in loom along frame to battery positive.
Use zip ties every 12". Why: Dedicated grounds reduce noise; bundled wires protect from abrasion.
Success: Wires reach battery area without kinks.
💡 Tips:
⚠️ Warnings:
Mount relay near battery. Connect: Battery + to relay pin 30 (via 30A fuse), relay 87 to light power bundle, 85/86 to switch/ground, 86 to ignition-switched + if desired.
Why: Relay handles high amps without switch melt. Crimp connections, heat-shrink.
Success: Relay clicks when powered.
Dash-mount switch: One leg to relay pin 85, other to constant +12V (fused 10A). Use grommets for firewall pass-through.
Why: On/off control without direct high-current. Waterproof switch for exposure.
Success: Continuity test with multimeter.
💡 Tips:
Crimp Deutsch or butt connectors with grease. Solder if vibration extreme. Bundle/tape everything.
Why: Waterproof, reliable joints prevent failures. Expect pro finish.
Success: No exposed copper.
⚠️ Warnings:
Reconnect battery (positive first). Turn switch: Lights should illuminate evenly, no flicker. Multimeter voltage drop <0.5V.
Drive test for rattles. Secure loose wires.
Success: Bright, stable glow; no heat buildup.
💡 Tips:
Problem: Lights flicker or dim
Solution: Check ground continuity (<1 ohm) and voltage drop; upgrade wire gauge.
Problem: No power to lights
Solution: Verify relay click and fuse integrity; test switch continuity.
Problem: Relay chatters
Solution: Add diode across coil pins or check for low voltage.
Problem: Water ingress failure
Solution: Re-seal with silicone; use IP68 lights and heat-shrink.
Problem: Overheating wires
Solution: Inspect amp draw vs. wire size; add cooling breaks.
IP68 waterproof, app-controlled colors for dynamic accent effects; easy pod mounting.
Best for: Wheel wells and underbody for trail visibility/style.
Price Range: $45-55
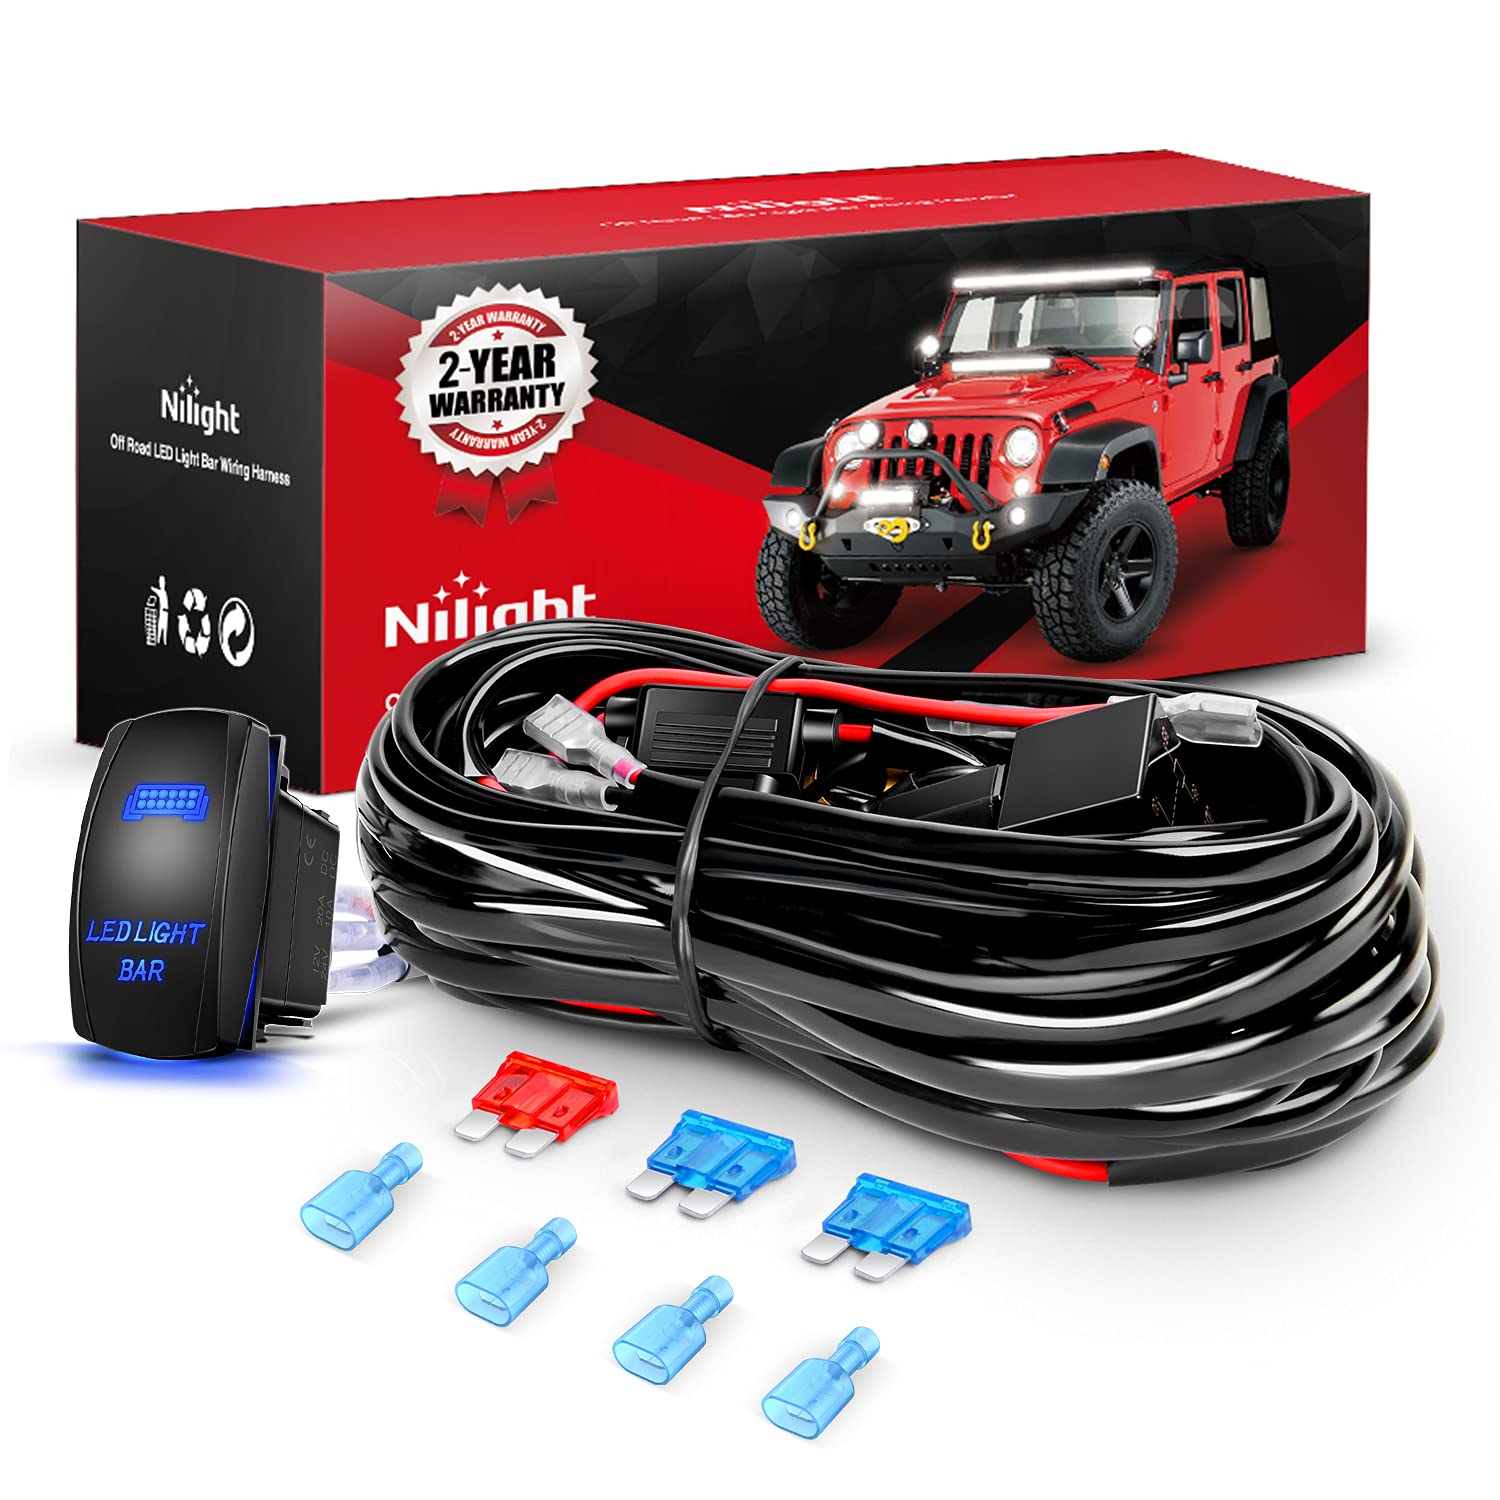
Pre-cut with relay/fuse; marine tinned copper resists corrosion in off-road environments.
Best for: Battery-to-lights runs up to 20ft.
Price Range: $20-25
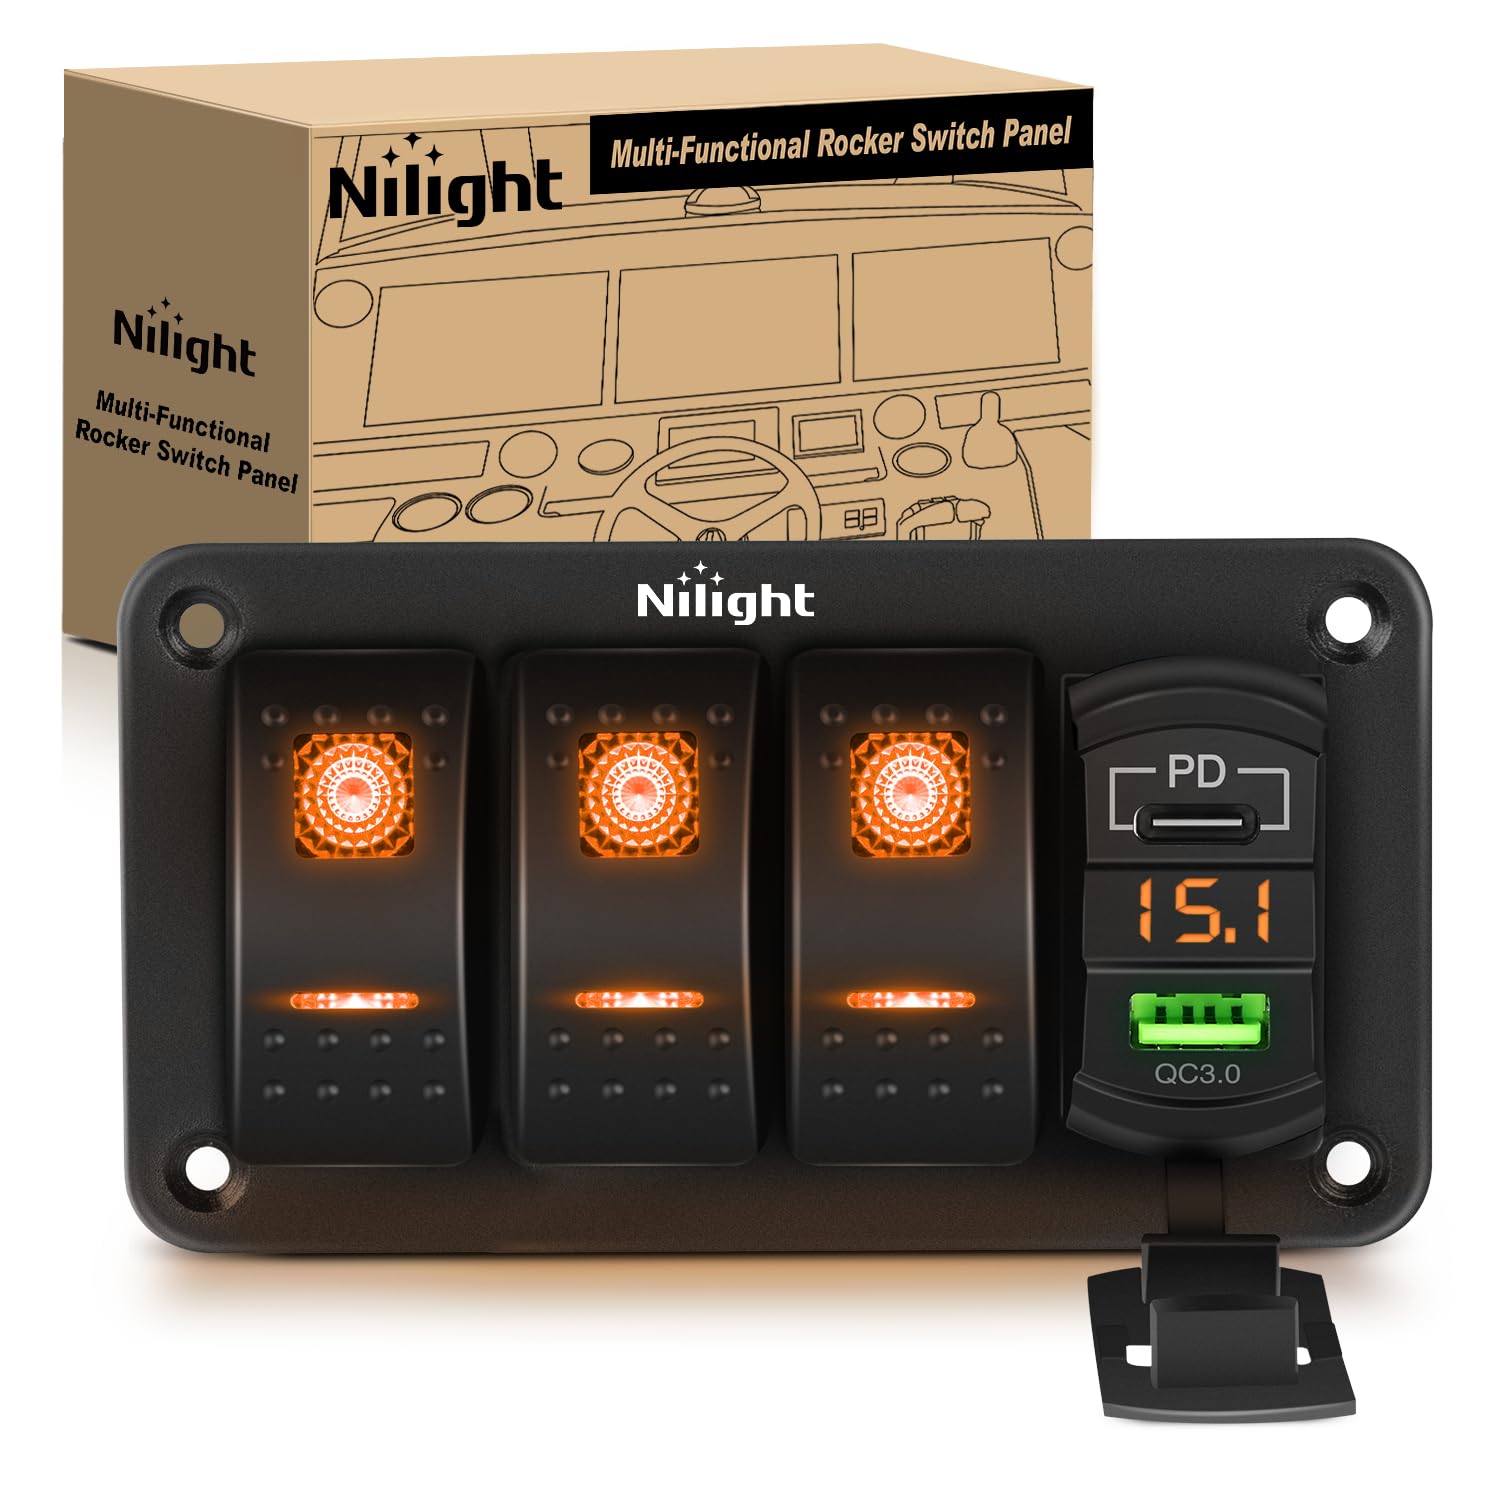
LED-backlit, multiple gangs; durable for dash mounting.
Best for: Control accents + other lights.
Price Range: $15-20
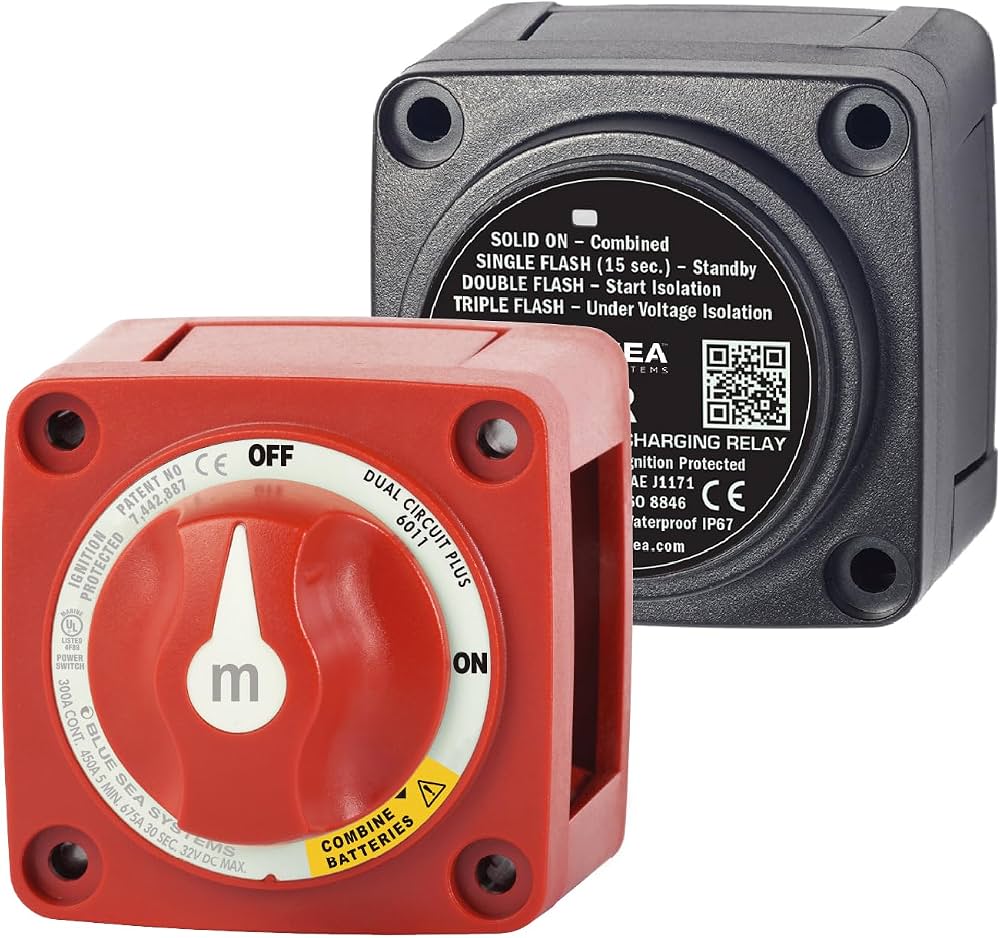
Dual battery management prevents drain; ideal for high-draw accents.
Best for: Aux battery setups on trucks/Jeeps.
Price Range: $100-120
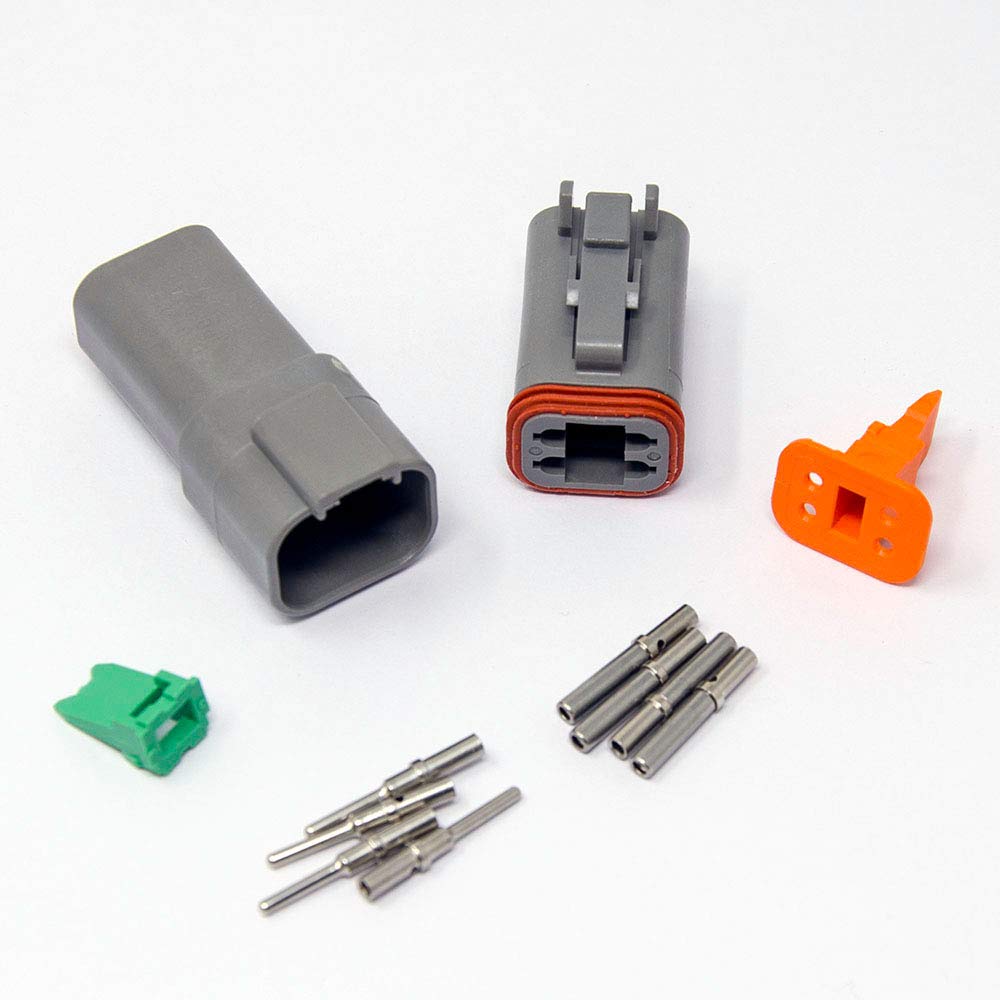
Vibration/waterproof splices for pro wiring.
Best for: Light-to-harness joins.
Price Range: $25-35
Wheel wells and underbody for trail visibility/style.
Nilight 8PCS RGB LED Rock Lights Kit IP68 waterproof, app-controlled colors for dynamic accent effects; easy pod mounting.
Battery-to-lights runs up to 20ft.
Nilight 16AWG Wiring Harness Kit Pre-cut with relay/fuse; marine tinned copper resists corrosion in off-road environments.
Control accents + other lights.
Nilight Waterproof Rocker Switch Panel LED-backlit, multiple gangs; durable for dash mounting.
Aux battery setups on trucks/Jeeps.
Blue Sea Systems Add-A-Battery Kit Dual battery management prevents drain; ideal for high-draw accents.
Light-to-harness joins.
DEutsch DT Connectors (4-pin kit) Vibration/waterproof splices for pro wiring.