
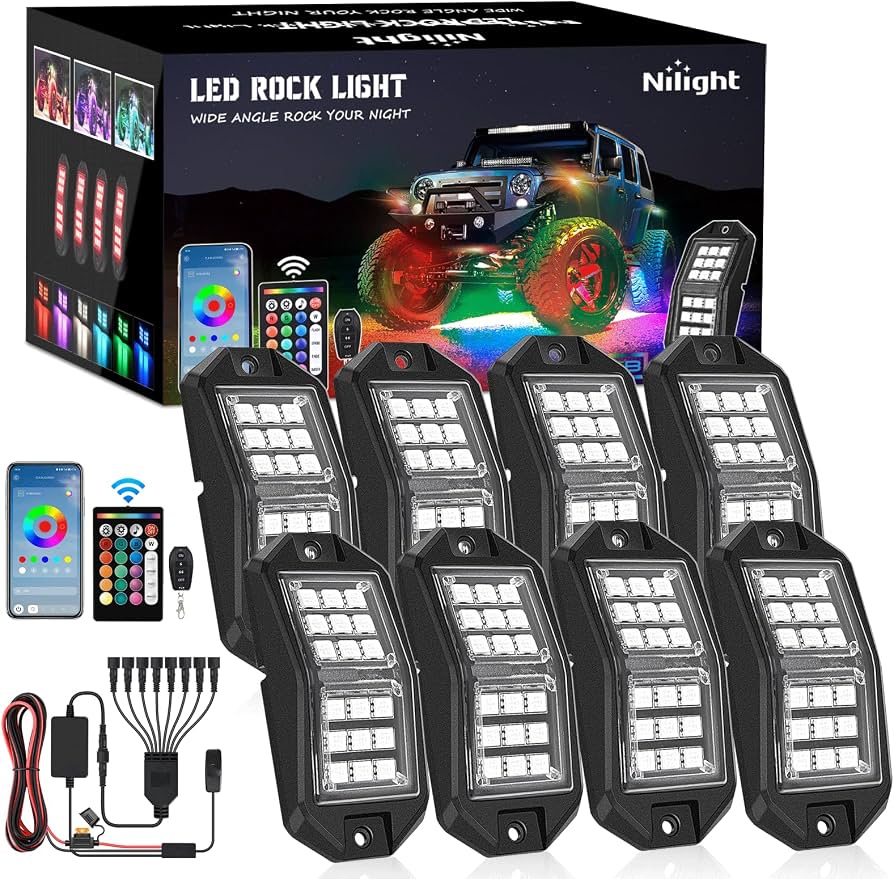
Nilight 8PCS Rock Lights Kit
Underbody accent for trails; RGB optional.
$39.99
Nilight 8PCS Rock Lights Kit Complete waterproof IP68 kit with wires—plug-and-play for Jeeps.
Get the App
Better experience on mobile
Transform your Jeep with custom accent lights like rock lights or strips—safe wiring guide for stunning off-road glow in 1-2 hours.
Accent lighting on Jeeps isn't just for show; it boosts nighttime visibility for off-roading, highlights rugged features, and turns heads at meets. But botched wiring leads to flickering lights, blown fuses, or fire hazards—common nightmares for DIYers. This guide fixes that with a proven, Jeep-specific method.
You'll learn to wire LED accent lights (rock lights, wheel well strips) from scratch, including battery taps, switches, and fuses. Expect sequential steps tailored for JK, JL, or TJ models, assuming intermediate skills like basic crimping.
Total time: 1-2 hours. Difficulty: Intermediate (electrical basics required). No prior Jeep mods needed, but a wiring kit simplifies it.
Estimated Time: 1-2 hours Difficulty: intermediate
Sketch your Jeep's underbody or wheel wells. Mark light positions for even glow—4-8 rock pods under rockers, strips along frame rails. Check clearance from exhaust/tires.
Why? Poor planning causes uneven lighting or heat damage. Success: Layout fits without rubbing.
Pro tip: Use painter's tape to mock up positions.
💡 Tips:
⚠️ Warnings:
Pop hood, loosen negative (-) battery terminal with wrench. Tape it back to prevent contact.
Why? Prevents shorts/shocks during wiring. Success: No power to accessories (test with multimeter).
Tape wires loosely for access.
💡 Tips:
⚠️ Warnings:
Drill pilot holes or use zip ties/self-tappers per light instructions. Secure rock lights/pods facing down/outward. Route short pigtails inward.
Why? Stable mount survives trails. Success: Lights firm, wires accessible.
Apply silicone sealant around holes.
💡 Tips:
⚠️ Warnings:
Attach black ground wires from each light to chassis ground points (clean metal, sand paint). Use ring terminals crimped securely.
Why? Solid grounds prevent dimming. Success: Continuity test beeps on multimeter.
Grease terminals for corrosion resistance.
💡 Tips:
⚠️ Warnings:
Drill hole in dash/pod for rocker switch (match Jeep panel). Wire switch leads: one to power, one to lights.
Why? On/off control without battery drain. Success: Switch clicks firmly.
Use waterproof switch for cabs.
💡 Tips:
⚠️ Warnings:
Run 16ga red wire from battery positive (fused inline 10ft in) through firewall grommet to switch, then split parallel to lights.
Why? Powers safely. Success: No kinks, protected routing.
Use loom tubing.
💡 Tips:
⚠️ Warnings:
Splice red wires from switch to each light positive using butt connectors or Wagos. Insulate with heat shrink.
Why? All lights same brightness. Success: No voltage drop (>11V at ends).
Test continuity.
💡 Tips:
⚠️ Warnings:
Zip-tie all wires away from moving/sharp parts. Reconnect battery, turn key on, flip switch—lights glow steady.
Why? Vibration-proof. Success: Bright, flicker-free.
Scan for hot spots.
💡 Tips:
⚠️ Warnings:
Problem: Lights flicker or dim
Solution: Check loose grounds/connections; measure voltage drop. Tighten or re-crimp.
Problem: No power at all
Solution: Verify fuse, battery connection, switch wiring. Test with multimeter.
Problem: One light out
Solution: Inspect that pod's connection—replace if water-damaged.
Problem: Overheating wires
Solution: Upgrade to 14ga or add relay. Check amp draw.
Complete waterproof IP68 kit with wires—plug-and-play for Jeeps.
Best for: Underbody accent for trails; RGB optional.
Price Range: $39.99
Pre-fused, relay-ready—handles high power without DIY splicing.
Best for: Battery-to-lights runs on JK/JL.
Price Range: $19.99
Weatherproof, illuminated—pro dash look.
Best for: Control multiple lights.
Price Range: $12.99
Essential for testing—cheap, accurate for voltage/continuity.
Best for: Verify wiring before final connect.
Price Range: $12.99
Bright white pods—OEM fit for TJ/JK.
Best for: Wheel accents without drilling.
Price Range: $79.95
Underbody accent for trails; RGB optional.
Nilight 8PCS Rock Lights Kit Complete waterproof IP68 kit with wires—plug-and-play for Jeeps.
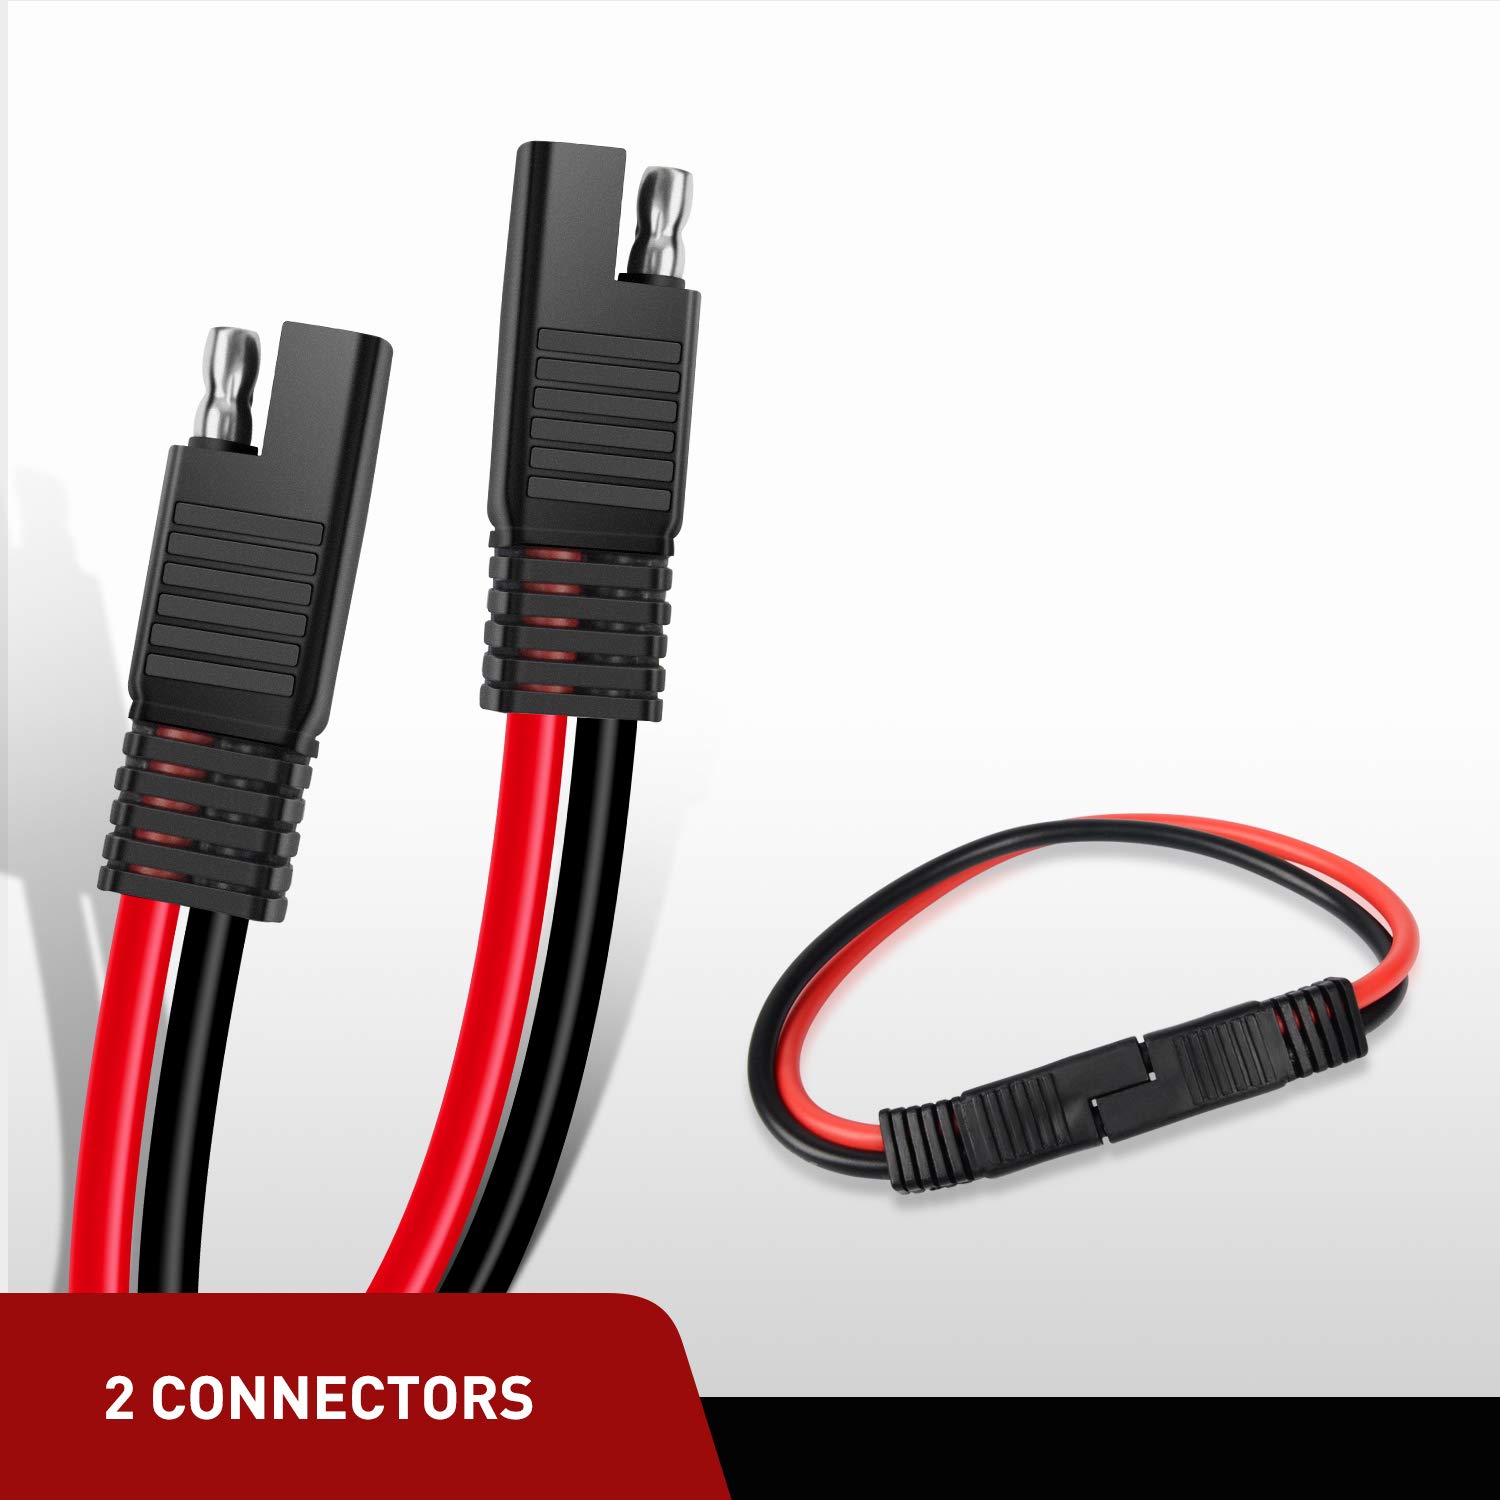
Battery-to-lights runs on JK/JL.
Nilight 10 Gauge Wiring Harness Pre-fused, relay-ready—handles high power without DIY splicing.
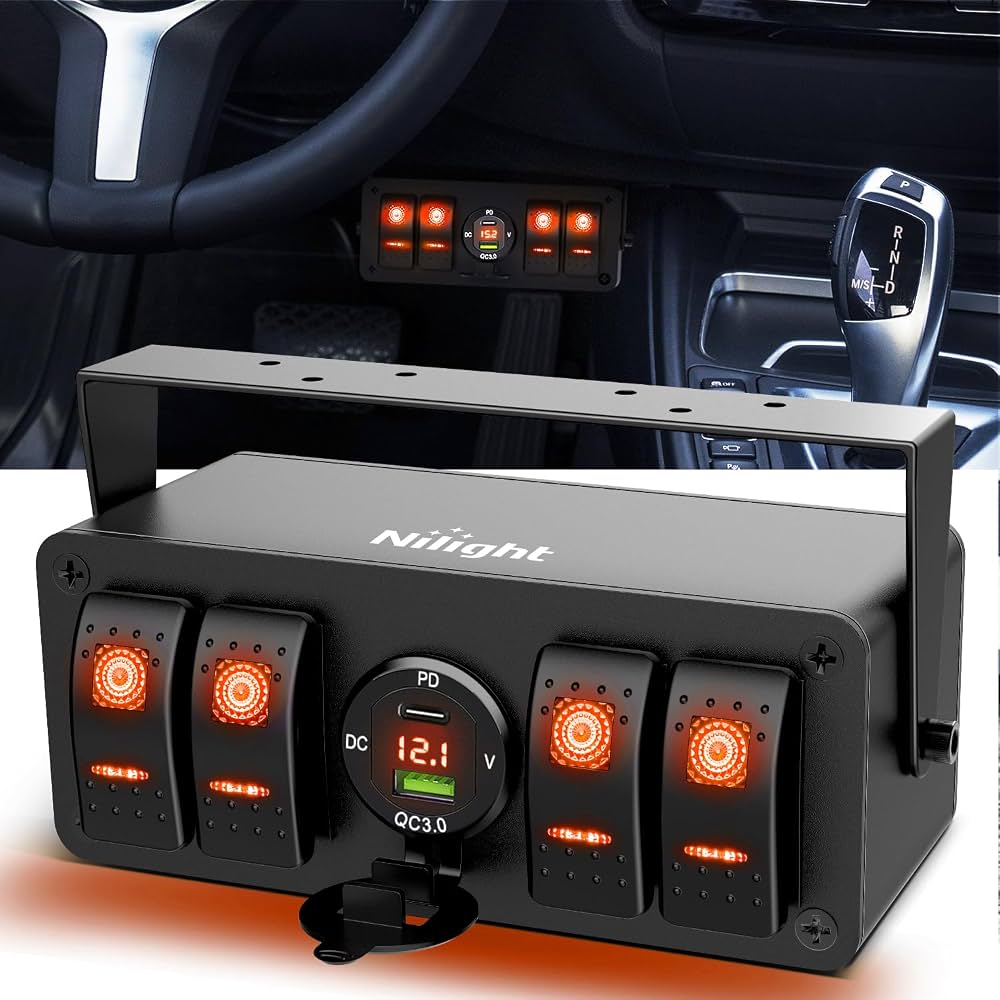
Control multiple lights.
Nilight Rocker Switch Panel Weatherproof, illuminated—pro dash look.
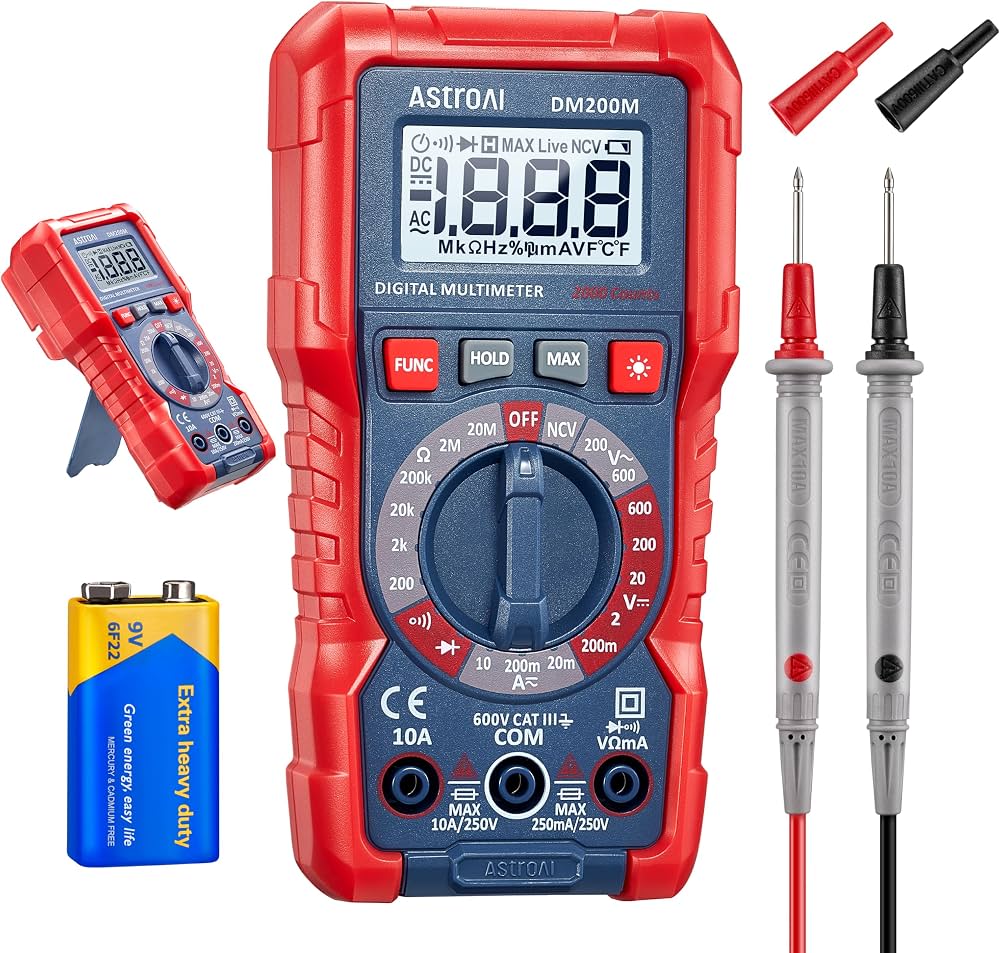
Verify wiring before final connect.
AstroAI Digital Multimeter Essential for testing—cheap, accurate for voltage/continuity.
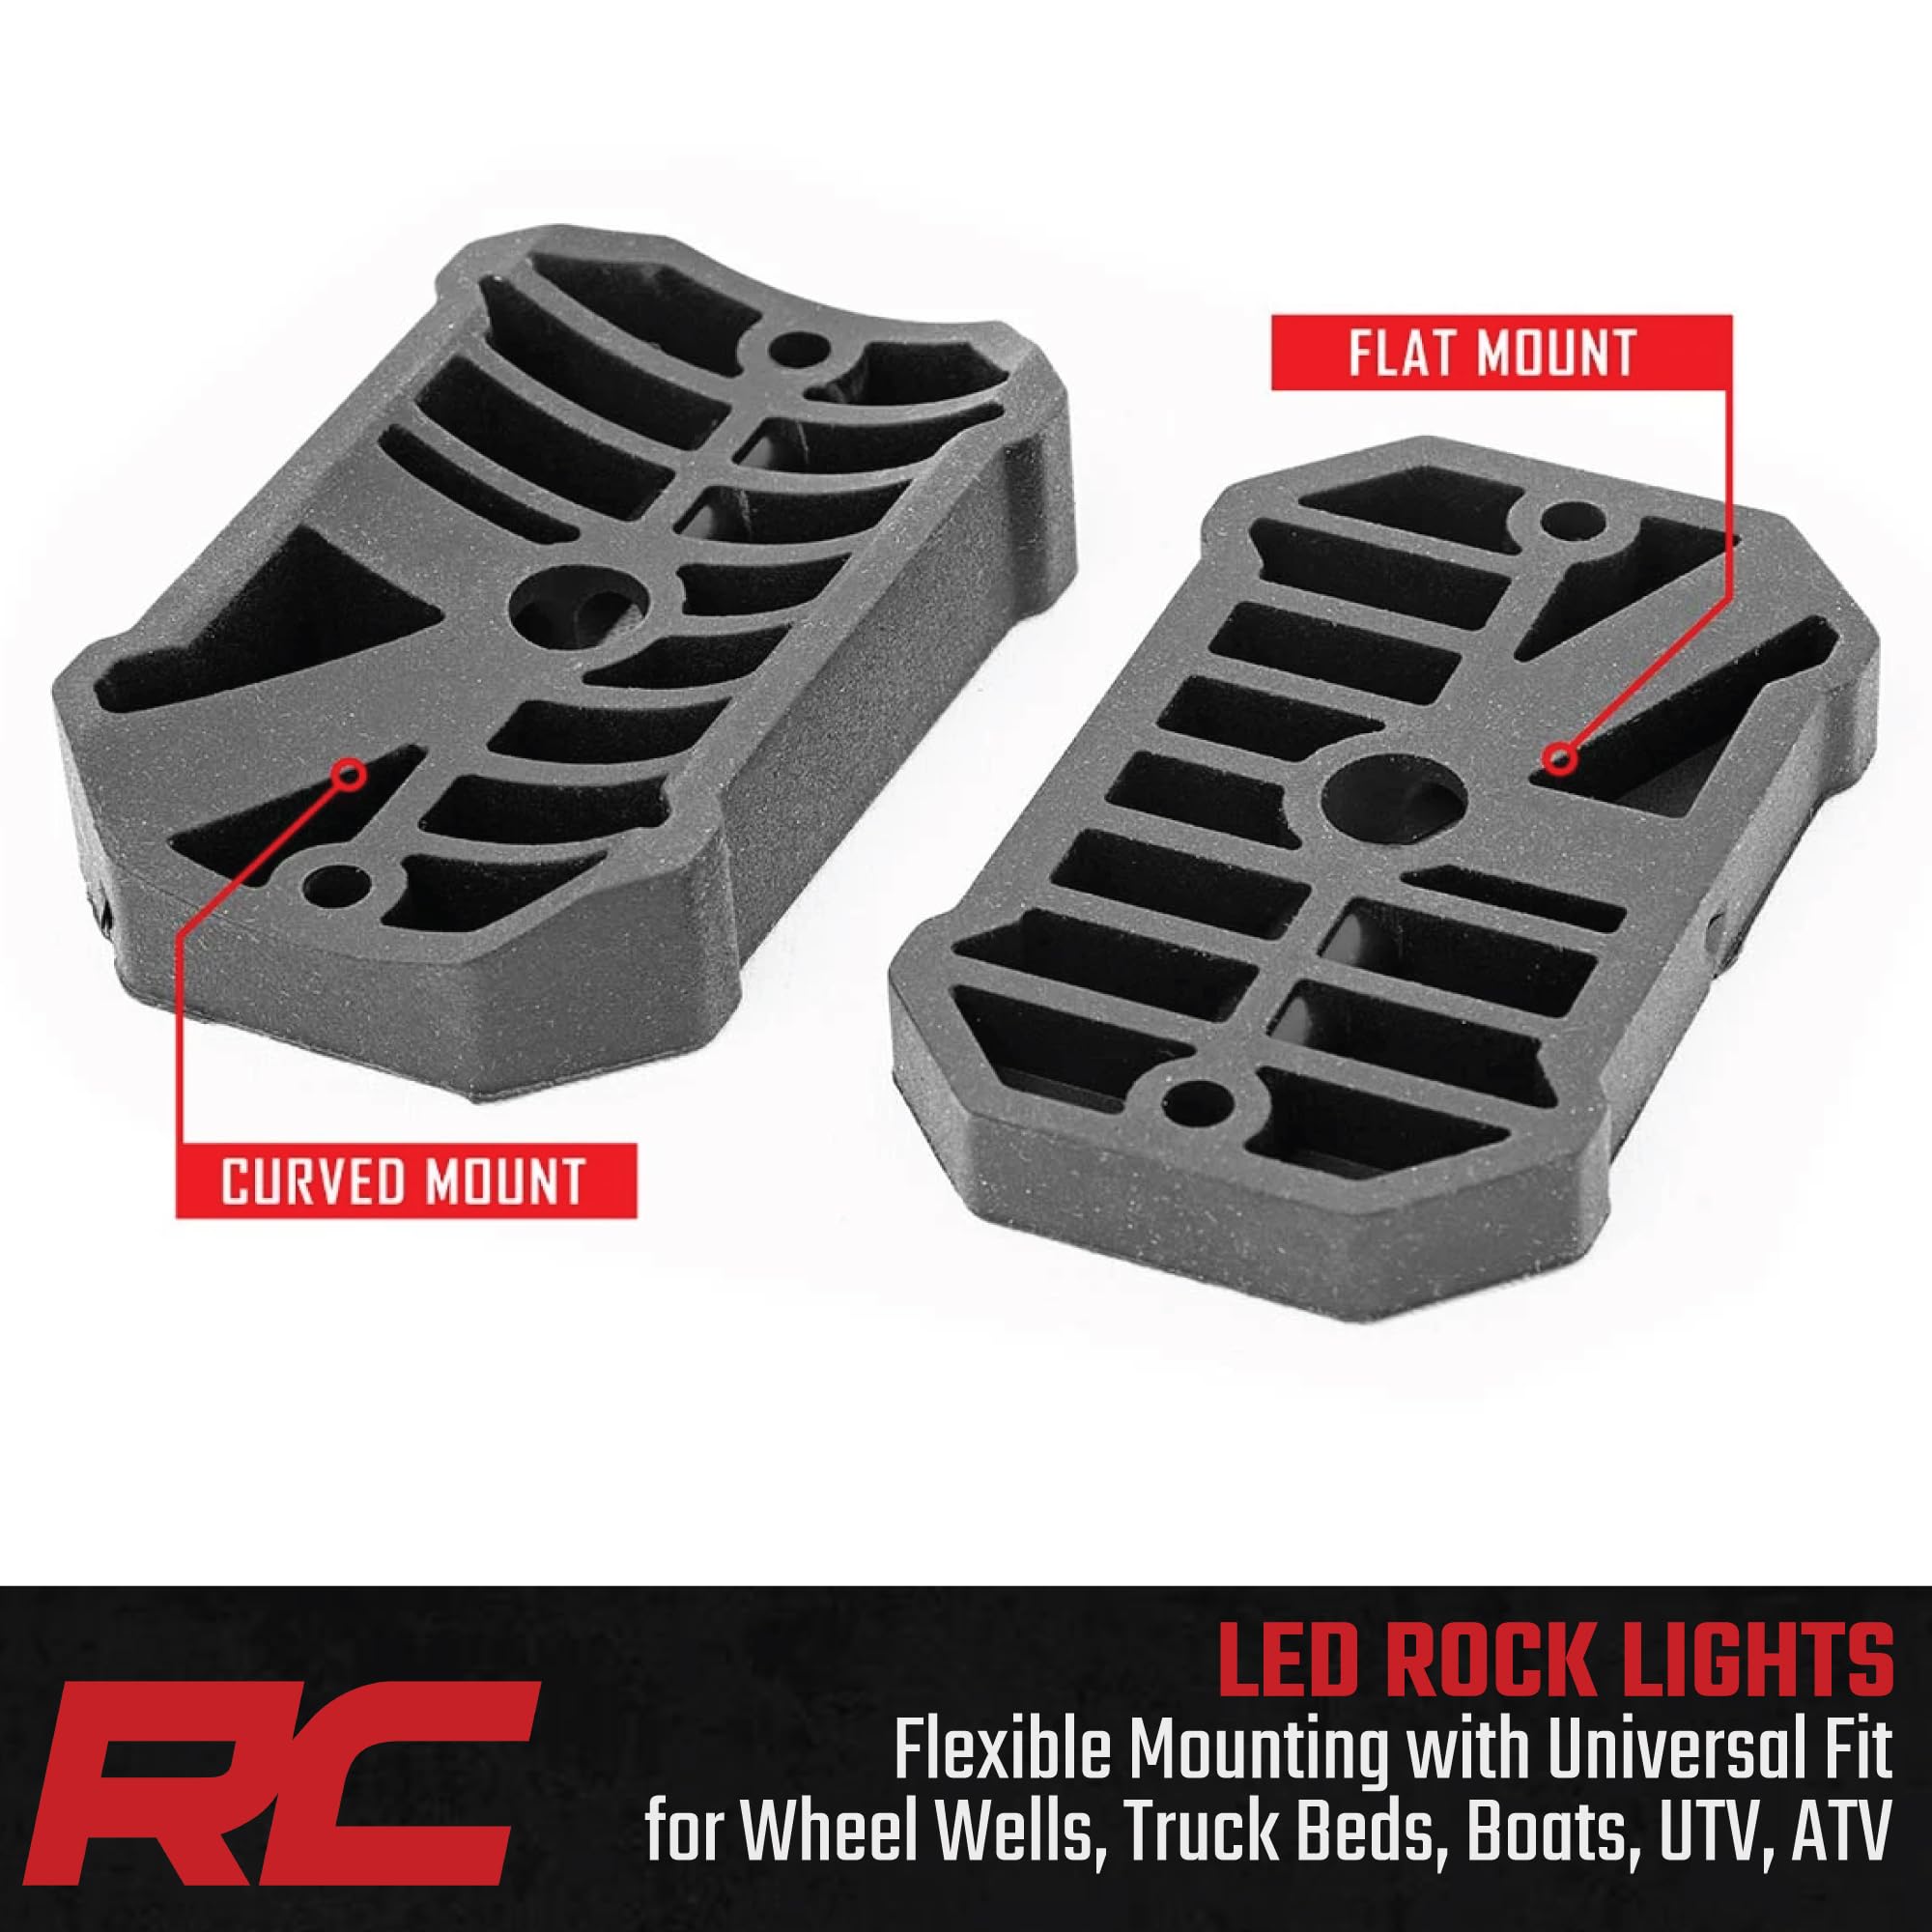
Wheel accents without drilling.
Rough Country LED Wheel Well Kit Bright white pods—OEM fit for TJ/JK.