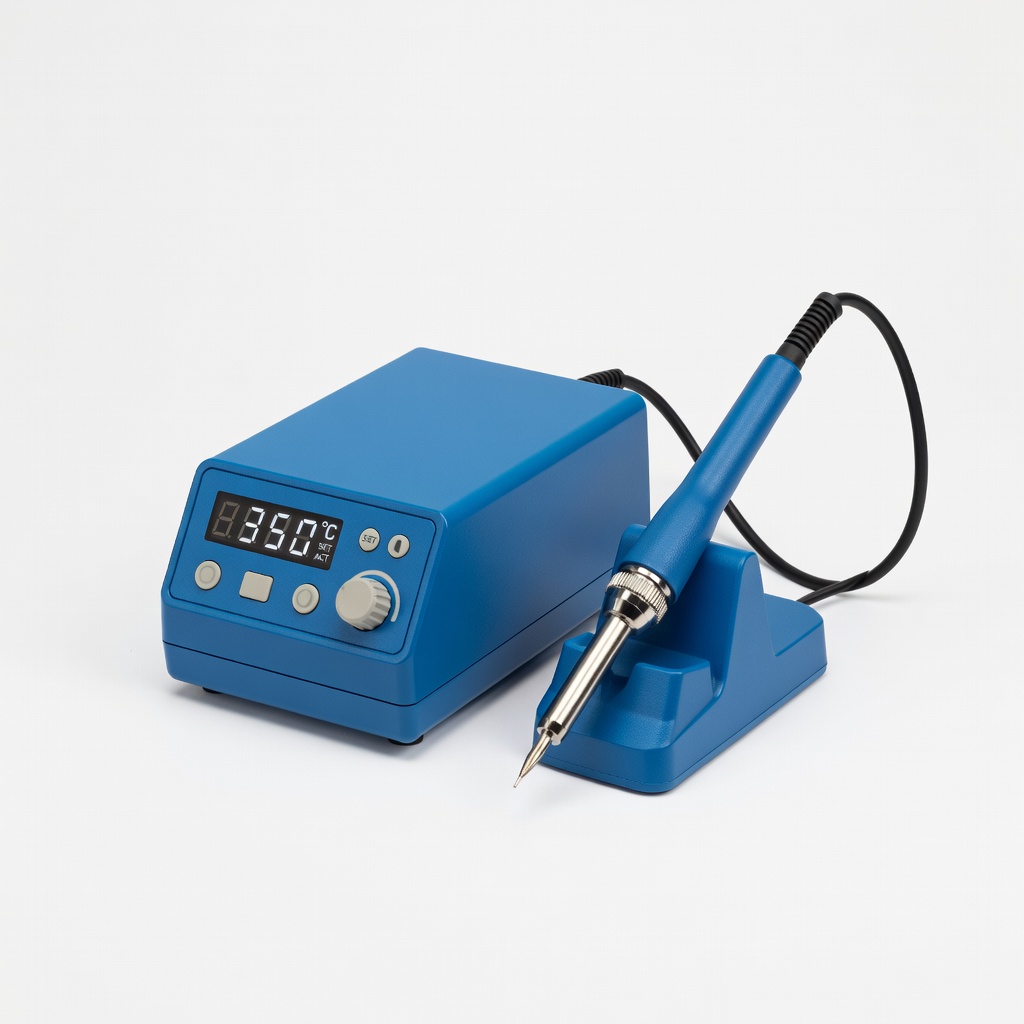
Hakko FX-888D Digital Soldering Station
All soldering steps for pro joints.
$99.99
Hakko FX-888D Digital Soldering Station Precise temp control (50-480°C) prevents overheating fine wires in adapter mods.
Get the App
Better experience on mobile
Master safe, reliable wiring of AC adapters' DC outputs for powering DIY electronics, routers, or LED strips with pro-level precision.
Tinkering with custom electronics projects often hits a snag when stock AC adapters don't fit your setup—wrong connectors, insufficient length, or mismatched polarity. For advanced makers, rewiring the DC output side unlocks endless possibilities, from arcade cabinets to Raspberry Pi clusters, without buying new adapters.
In this guide, you'll learn to disassemble, identify polarity, solder custom connections, and test for flawless power delivery. We'll cover safety protocols to avoid shorts, fires, or fried components. Expect a hands-on process emphasizing multimeter verification and heat-shrink insulation.
This advanced tutorial takes 1-2 hours, assuming soldering proficiency and basic electronics knowledge. By the end, your projects will have bulletproof power supplies tailored exactly to your needs.
Estimated Time: 1-2 hours Difficulty: advanced
Before cutting, confirm your AC adapter's output matches your project's requirements. Check the label for DC voltage (e.g., 12V), amperage (e.g., 2A), and polarity (usually center positive, shown as ⊕ inside barrel).
Use a multimeter in DC voltage mode: Plug in the adapter, touch probes to output wires or plug—positive probe to suspected +, negative to -. Expect steady voltage reading matching the label. Mismatch? Stop and source a new adapter.
Success: Accurate specs confirmed, polarity identified (typically red wire +, black -).
💡 Tips:
⚠️ Warnings:
Safety first: Unplug from wall outlet. Discharge capacitors by holding a resistor (1kΩ) across output leads for 30 seconds. This prevents shocks from stored charge.
Why? Even unplugged adapters hold lethal voltage briefly. Advanced users: Use an oscilloscope if available to confirm zero volts.
Success: Adapter cool, multimeter reads 0V across outputs.
💡 Tips:
⚠️ Warnings:
Snip off the stock connector 6-12 inches from the adapter body for flexibility. Strip 1/4 inch insulation from each wire end using precision strippers—avoid nicking strands.
Twist strands tightly to prevent fraying. Success: Clean, tinned-ready ends (tin lightly if desired).
This length allows custom routing without strain.
💡 Tips:
⚠️ Warnings:
Mount or prepare the new connector (e.g., panel-mount barrel jack). For barrel jacks: Inner pin is +, sleeve -. Screw terminals: Match polarity labels. Clean pads with isopropyl alcohol.
Why? Ensures secure, vibration-proof connection for projects like robots.
Success: Connector ready for soldering, polarity marked.
💡 Tips:
Secure wires in helping hands. Apply flux, heat pad/wire 3-5 seconds, add solder until shiny flow. Avoid cold joints (dull, cracked).
Success: Smooth, volcano-free joints holding firm tug-test.
💡 Tips:
⚠️ Warnings:
Slide heat-shrink tubing over each joint (larger size first). Shrink with heat gun or lighter (flame away)—uniform coverage, no bubbles.
Layer with larger tubing over both for strain relief. Tape base if needed.
Success: Fully insulated, flexible assembly passing flex test.
💡 Tips:
⚠️ Warnings:
Unplugged: Multimeter in continuity mode—beep across joints confirms connection, no beep to case/ground.
Plugged in: DC voltage matches specs, no AC leakage (under 0.5V AC mode).
Success: Perfect readings, no heat after 5-min run.
💡 Tips:
⚠️ Warnings:
Route wires neatly, secure with zip ties or enclosure. Add fuse (e.g., 2A polyfuse) inline for protection.
Label polarity/voltage. Success: Project-ready power supply.
💡 Tips:
Problem: No output voltage
Solution: Check polarity, continuity, wall outlet. Test adapter stock first.
Problem: Adapter gets hot
Solution: Overloaded? Match amps. Poor solder? Re-solder.
Problem: Intermittent power
Solution: Loose joint—re-solder/tighten. Frayed wire?
Problem: Sparks or smoke
Solution: Unplug immediately. Short circuit—inspect insulation.
Problem: AC hum on DC output
Solution: Faulty adapter—replace. Or rectifier issue.
Precise temp control (50-480°C) prevents overheating fine wires in adapter mods.
Best for: All soldering steps for pro joints.
Price Range: $99.99
Accurate DC/AC voltage, continuity, polarity checks essential for safe wiring.
Best for: Verification steps 1, 2, 7.
Price Range: $12.99-$15.99
Precision stripping for 10-28 AWG without nicks, perfect for adapter wires.
Best for: Step 3 prep.
Price Range: $19.97
2:1 ratio, multiple sizes/colors for bulletproof insulation.
Best for: Step 6 insulation.
Price Range: $14.99
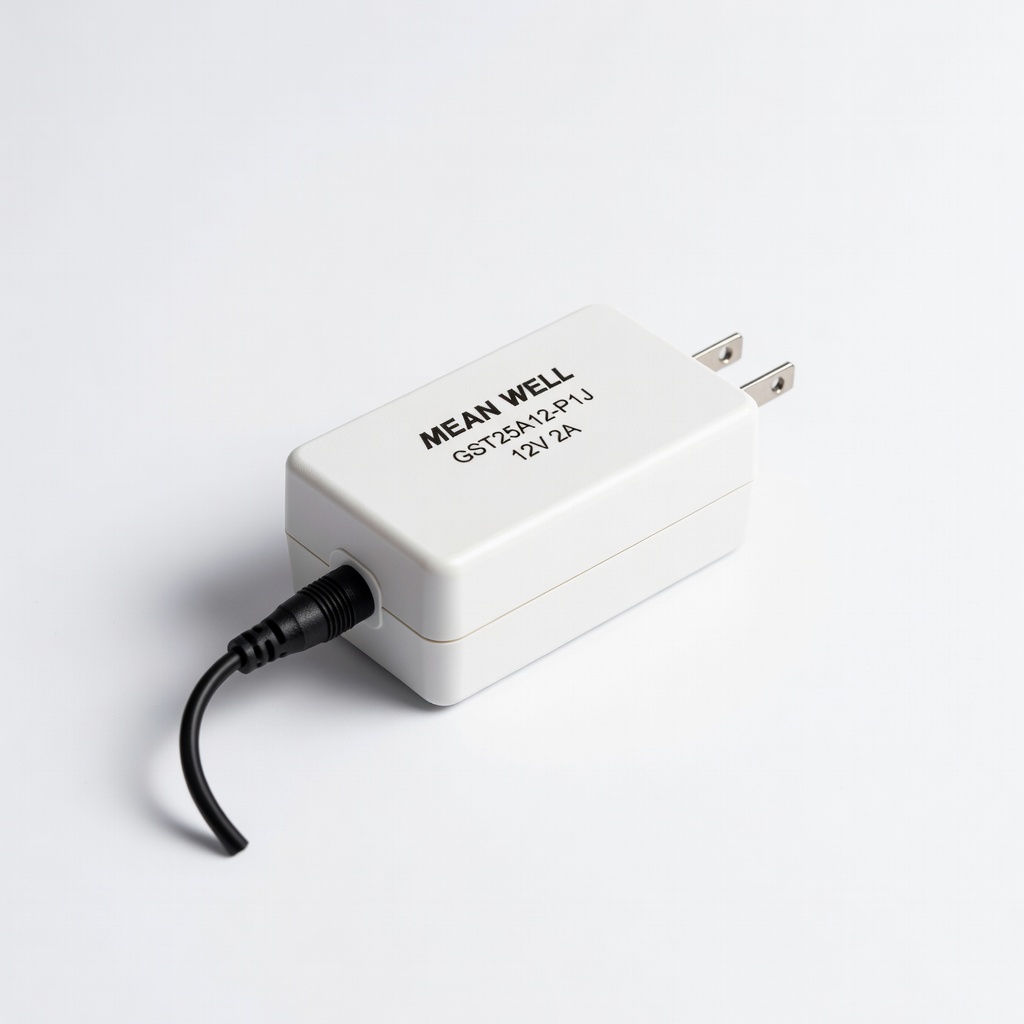
Reliable, regulated output for custom projects; easy to mod.
Best for: Base adapter for high-quality builds.
Price Range: $15-$20
All soldering steps for pro joints.
Hakko FX-888D Digital Soldering Station Precise temp control (50-480°C) prevents overheating fine wires in adapter mods.
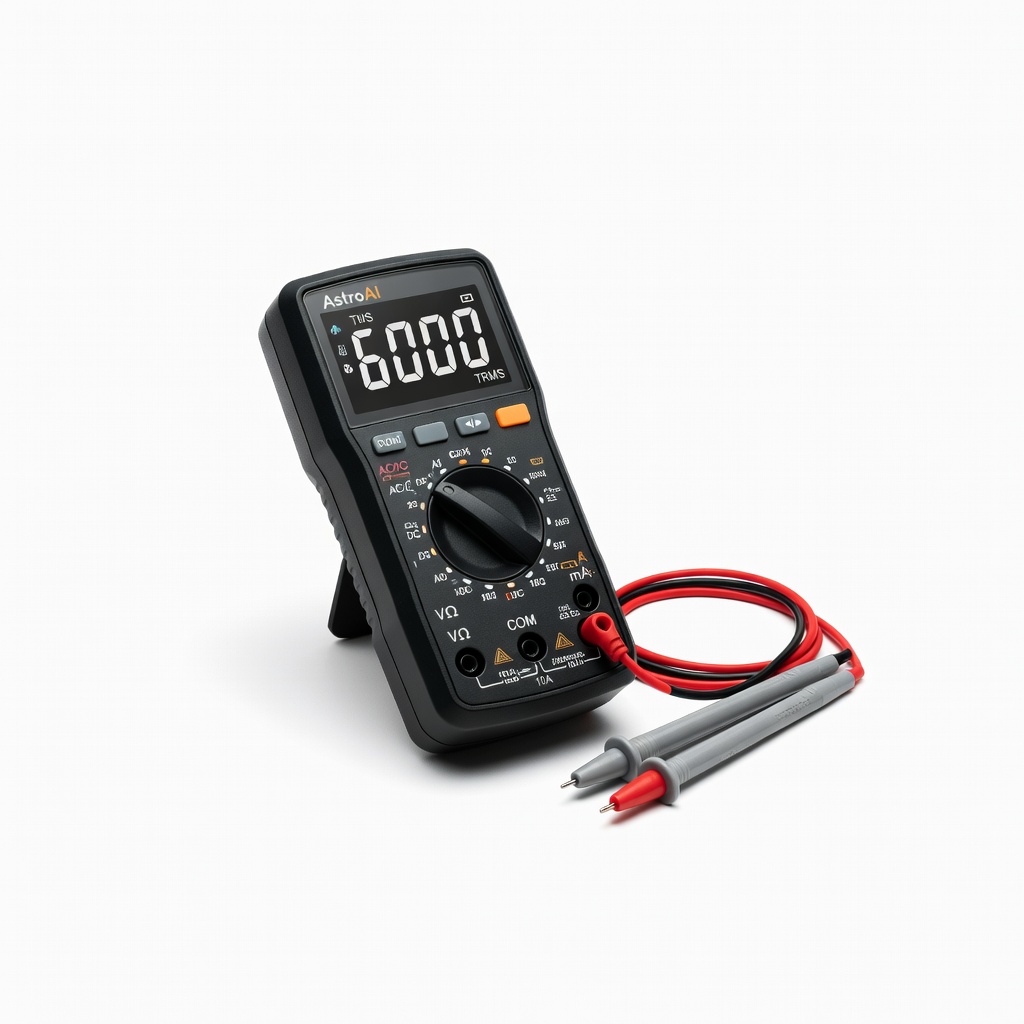
Verification steps 1, 2, 7.
AstroAI Digital Multimeter TRMS 6000 Counts Accurate DC/AC voltage, continuity, polarity checks essential for safe wiring.
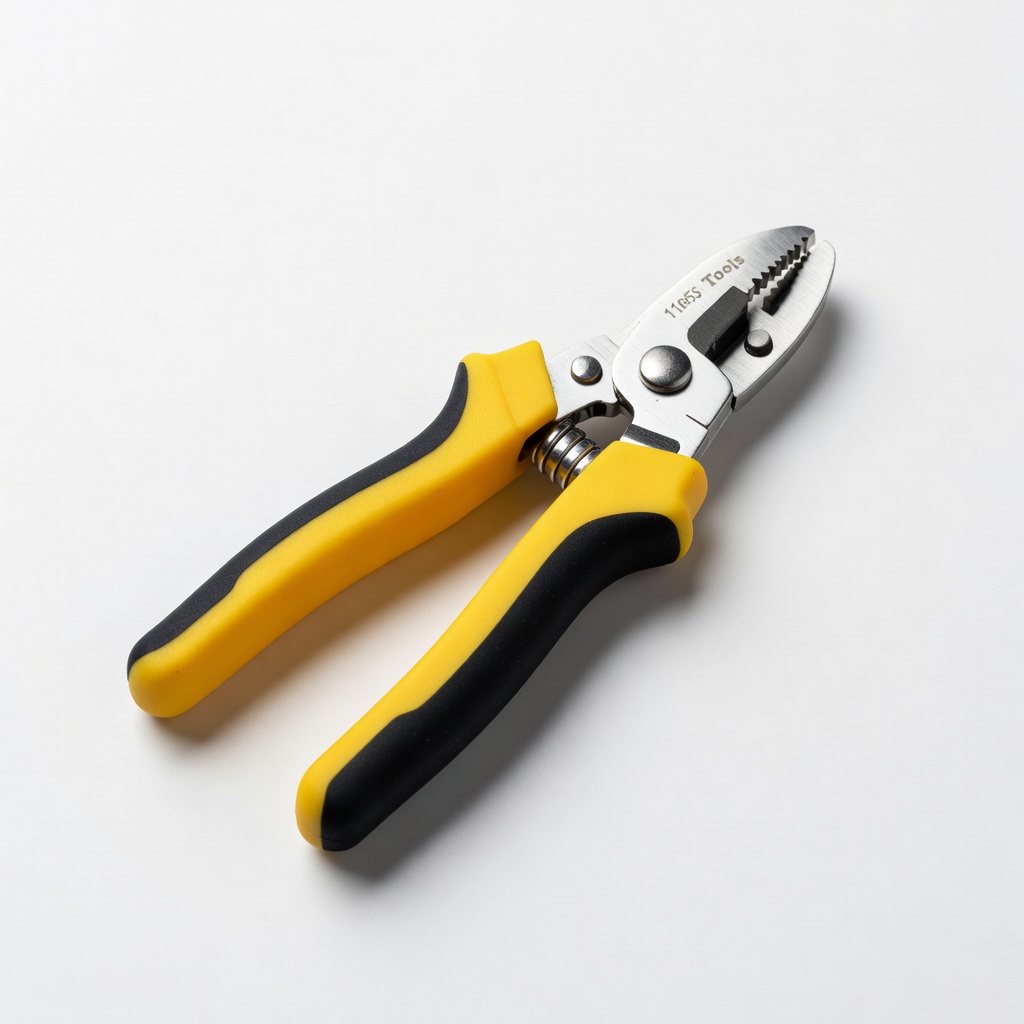
Step 3 prep.
Klein Tools 11055 Wire Stripper/Cutter Precision stripping for 10-28 AWG without nicks, perfect for adapter wires.
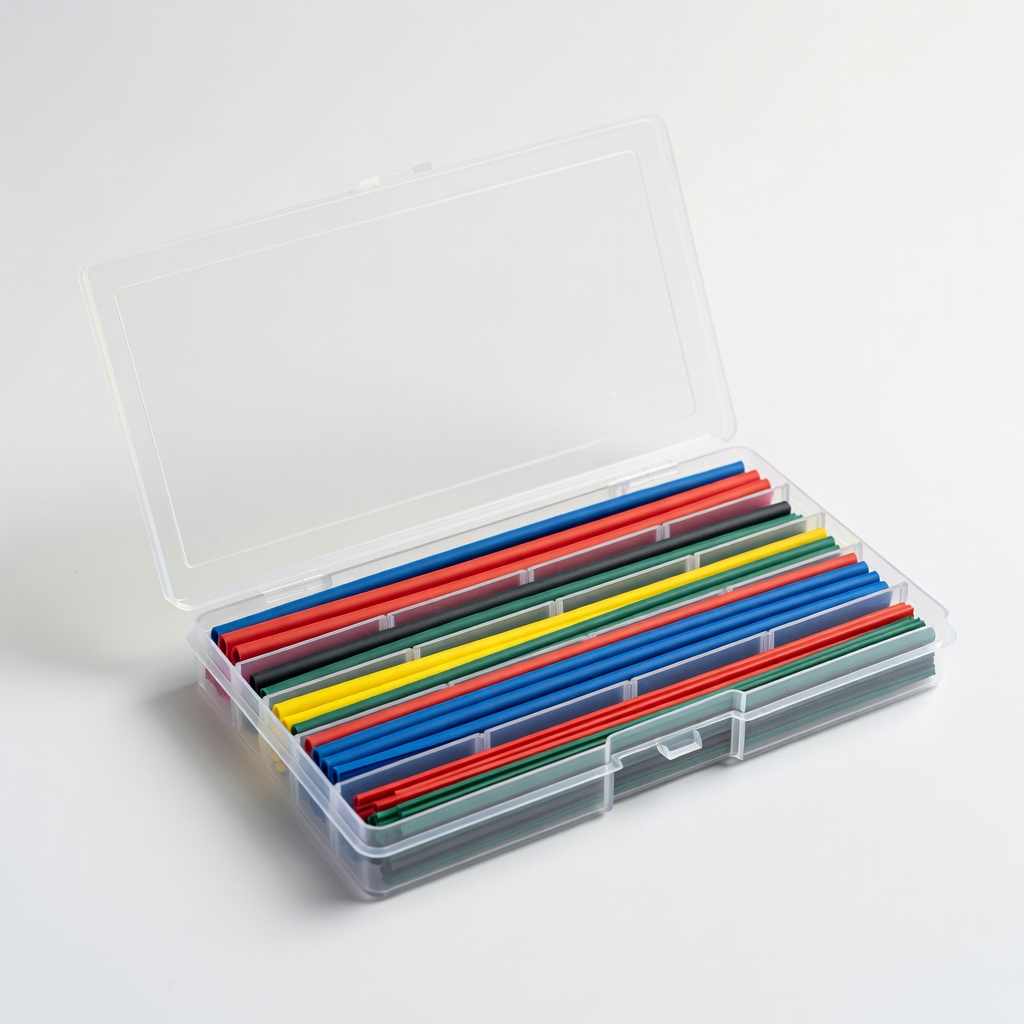
Step 6 insulation.
MG Chemicals Assorted Heat Shrink Tubing Kit 2:1 ratio, multiple sizes/colors for bulletproof insulation.
Base adapter for high-quality builds.
MEAN WELL GST25A12-P1J 12V 2A AC Adapter Reliable, regulated output for custom projects; easy to mod.