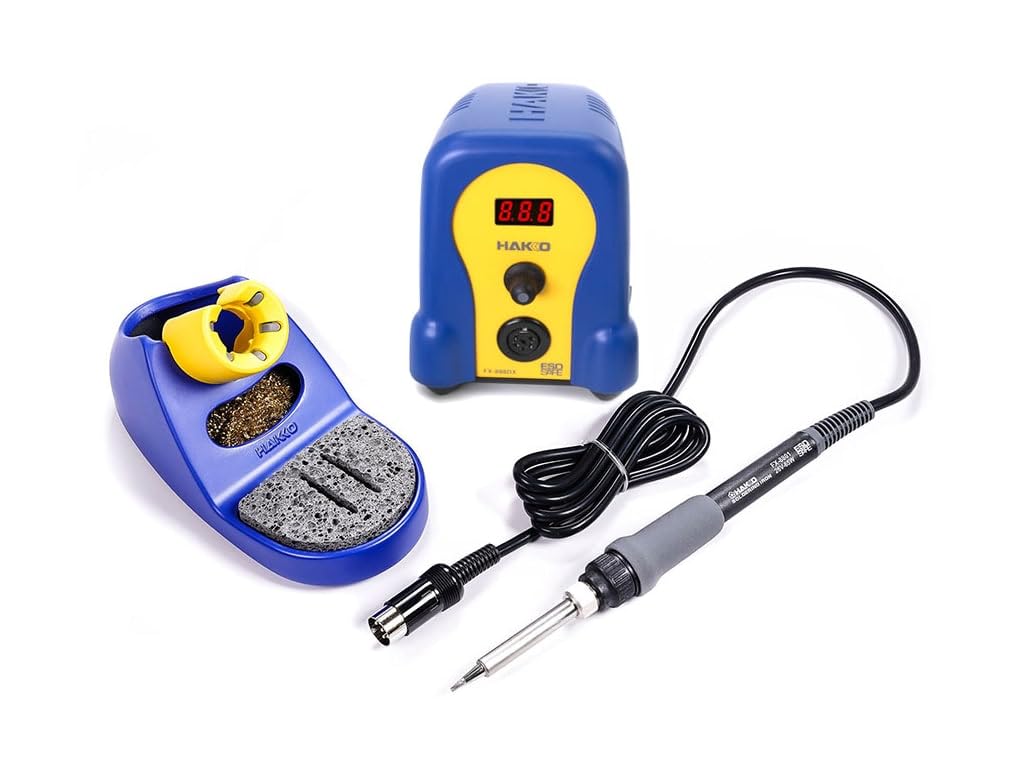
Hakko FX-888D Digital Soldering Station
All soldering steps for pro joints.
$99.99
Hakko FX-888D Digital Soldering Station Precise temp control (200-480°C) prevents overheating delicate 7V motor wires.
Get the App
Better experience on mobile
Learn advanced wiring techniques for 7V motors to achieve reliable power delivery, smooth control, and high-speed performance in your RC car builds.
Wiring 7V motors incorrectly is a top reason RC enthusiasts face motor burnout, erratic throttle response, or complete failure during high-stress runs. Whether upgrading a micro crawler or building a custom drift chassis, proper wiring ensures maximum torque and efficiency from these compact brushed motors.
In this guide, you'll master soldering secure connections, polarity management, and insulation for 7V motors (ideal for 2S LiPo or 7.4V setups). We'll cover everything from prep to bench testing, assuming you have intermediate soldering and electronics knowledge.
Expect 20-30 minutes total, with advanced steps like flux soldering and continuity checks. By the end, your motor will spin smoothly under load without voltage drops.
Estimated Time: 20-30 minutes Difficulty: advanced
Clear a well-ventilated area with a heat-resistant mat. Plug in your soldering iron and let it reach 350°C (660°F) – use the tip temperature setting if available. Wear safety glasses and ensure no flammable materials nearby.
Why it matters: Soldering fumes and hot tips cause 90% of hobby injuries. A stable setup prevents slips.
Success: Iron tinned (shiny coat of solder), tools organized.
💡 Tips:
⚠️ Warnings:
Inspect the 7V motor's two leads (positive and negative tabs or wires). If tabs, trim excess length to 5-10mm. Note polarity: usually red (+), black (-), or marked on casing.
Why: Short leads reduce resistance; polarity errors reverse motor direction or damage ESC.
Success: Leads clean, polarity marked with tape if unclear.
💡 Tips:
Cut 10-15cm silicone wire lengths (match AWG to motor current, e.g., 14AWG for 5A draw). Strip 5mm insulation from ends using strippers – avoid nicking strands.
Apply flux, heat wire end, add solder until shiny 'tin' forms. Tin motor leads similarly.
Why: Tinning prevents fraying and ensures strong solder joints.
Success: Wires shiny, no bare copper exposed beyond tin.
⚠️ Warnings:
Clamp motor/wires in helping hands. Align tinned motor lead to tinned wire (match polarity: + to +, - to -). Heat joint 2-3 seconds, flow solder in – 60/40 blend melts at 183°C.
Add flux for clean flow. Let cool undisturbed.
Why: Cold joints fail under vibration; proper solder handles 10A+ peaks.
Success: Smooth, volcano-shaped fillet around joint; pulls >5kg test force.
💡 Tips:
Slide heat shrink tubing over each joint before soldering (prevents rework). Shrink with heat gun (low flame if lighter) until tight.
Layer 2:1 or 3:1 ratio tubing; overlap by 3mm.
Why: Prevents shorts in dusty RC environments.
Success: Tubing conforms without bubbles; joints fully covered.
⚠️ Warnings:
Identify ESC motor wires (usually three for brushless, two for brushed – match to 7V motor). Tin and solder as in Step 4, or crimp bullet connectors (5.5mm gold-plated).
Secure with zip ties.
Why: ESC handles PWM signals; wrong phase = no spin.
Success: Wires routed without strain.
Set multimeter to ohms (continuity beep). Probe joints: <1Ω good, infinite = break. Check polarity: + to battery +, expect forward spin.
No power yet – bench test dry.
Why: Catches 80% faults pre-run.
Success: Beeps on all paths, no shorts (+ to -).
💡 Tips:
Connect to 7V power (fully charged 2S LiPo or bench supply). Throttle gradually: expect smooth ramp-up to 20k+ RPM.
Mount in chassis with double-sided tape or screws.
Why: Validates under load.
Success: Consistent spin, no heat after 30s; direction correct.
⚠️ Warnings:
Problem: Motor won't spin
Solution: Check polarity, continuity, ESC calibration. Verify 7V supply.
Problem: Motor spins wrong direction
Solution: Swap motor leads on ESC.
Problem: Overheats quickly
Solution: Inspect joints for resistance; upgrade wire gauge.
Problem: Erratic throttle
Solution: Secure all connections; check for loose solder.
Problem: ESC beeps alarms
Solution: Match ESC voltage rating; no load during arming.
Precise temp control (200-480°C) prevents overheating delicate 7V motor wires.
Best for: All soldering steps for pro joints.
Price Range: $99.99
High-torque 7V motor designed for RC cars with robust tabs for easy wiring.
Best for: Core component for crawlers or minis.
Price Range: $25-$35
Accurate continuity/voltage for pre-power tests on RC wiring.
Best for: Steps 7-8 troubleshooting.
Price Range: $29.99
Assorted sizes fit all RC wire gauges; adhesive-lined for waterproof seals.
Best for: Insulation on vibration-prone joints.
Price Range: $12.99
7-11.1V compatible, perfect for 7V motors with easy solder pads.
Best for: Throttle control in Step 6.
Price Range: $39.99
All soldering steps for pro joints.
Hakko FX-888D Digital Soldering Station Precise temp control (200-480°C) prevents overheating delicate 7V motor wires.
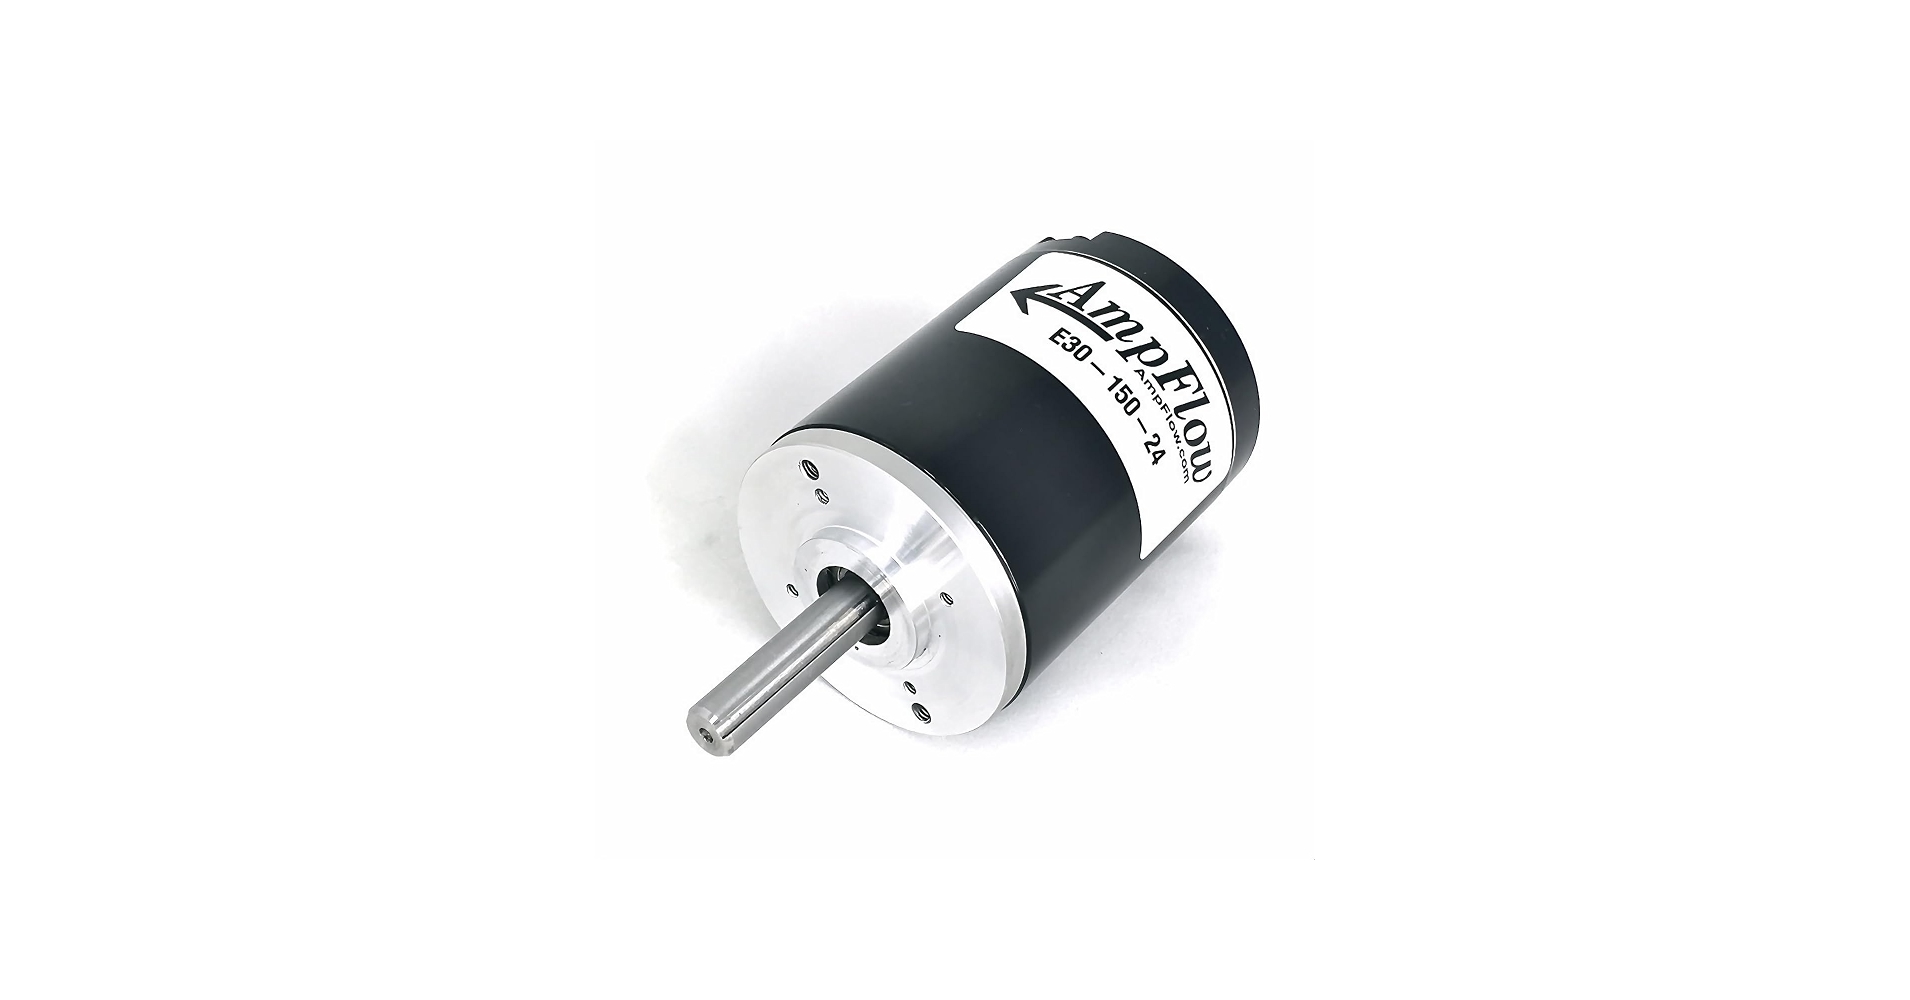
Core component for crawlers or minis.
AmpFlow E30-310 Brushed Motor (7V variant kit) High-torque 7V motor designed for RC cars with robust tabs for easy wiring.
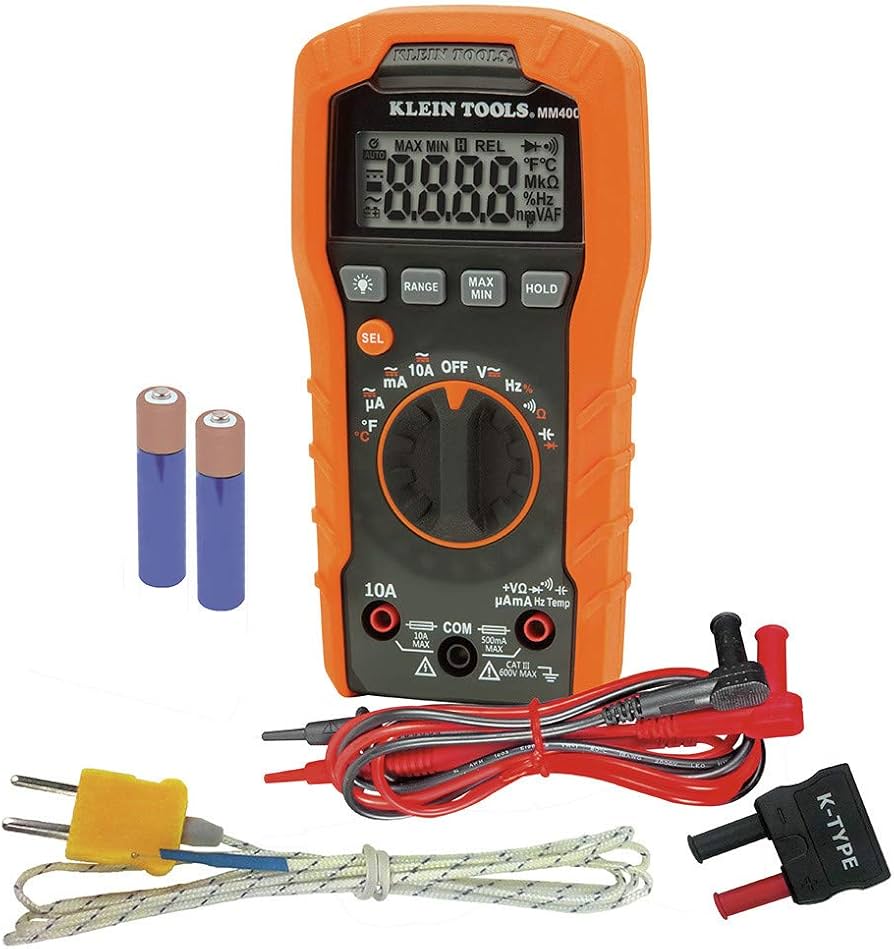
Steps 7-8 troubleshooting.
Klein Tools MM400 Multimeter Accurate continuity/voltage for pre-power tests on RC wiring.
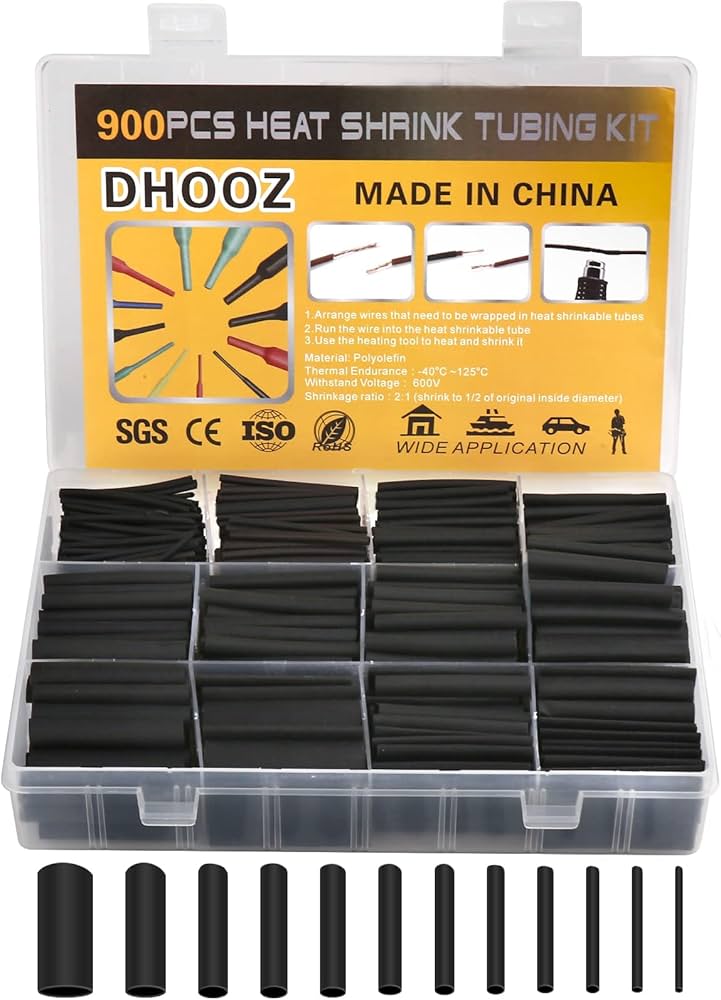
Insulation on vibration-prone joints.
Taidacent Heat Shrink Tubing Kit Assorted sizes fit all RC wire gauges; adhesive-lined for waterproof seals.
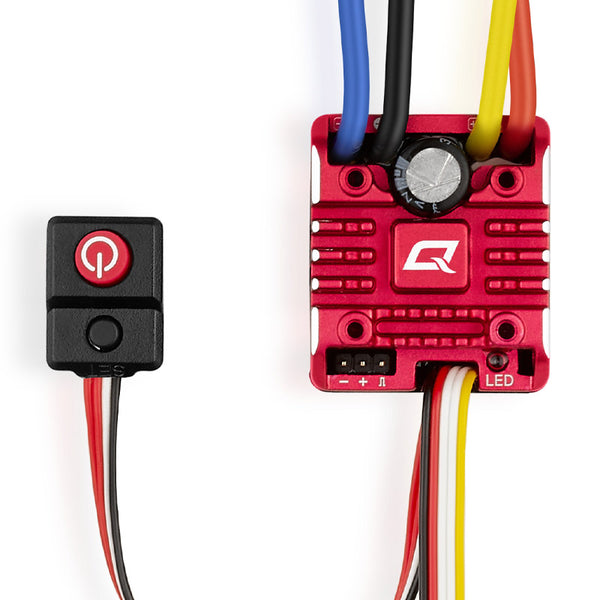
Throttle control in Step 6.
Hobbywing QuicRun 1080 Brushed ESC 7-11.1V compatible, perfect for 7V motors with easy solder pads.