
Mighty Max Battery ML4.5-6 6V 4.5Ah SLA Battery
Primary power source; parallel 2-4 for 6V systems.
$17.99
Mighty Max Battery ML4.5-6 6V 4.5Ah SLA Battery Reliable sealed lead-acid for garden lights; deep cycle for repeated use without spilling.
Get the App
Better experience on mobile
Safely connect multiple 6V batteries in series or parallel to power your garden lights for brighter, longer-lasting outdoor illumination without professional help.
Dim or flickering garden lights can ruin your outdoor ambiance, especially when batteries fail prematurely due to improper wiring. Whether you're setting up low-voltage landscape lighting or extending runtime for path lights, wiring 6V batteries correctly ensures reliable performance and safety.
In this guide, you'll learn step-by-step how to wire 6V batteries—either in parallel for more capacity at 6V or series for 12V output—to match your garden lights' needs. We'll cover safety, tools, and testing for foolproof results. Expect intermediate DIY skills like basic soldering or crimping.
The process takes 45-60 minutes, depending on the number of batteries (2-4 recommended for starters). By the end, your lights will shine steadily all night.
Estimated Time: 45-60 minutes Difficulty: intermediate
Determine if you need parallel (same 6V, doubled capacity for longer runtime) or series (12V for brighter lights/higher draw systems). For most garden lights rated 6V, start with parallel. Calculate total Ah: e.g., two 4.5Ah batteries in parallel = 9Ah at 6V.
Sketch a diagram: In parallel, connect all positives together and negatives together. In series, positive of first to negative of second. This prevents overloads and ensures even drain.
Success looks like: A clear diagram matching your lights' specs (check light manual for voltage/Ah).
💡 Tips:
⚠️ Warnings:
Work in a well-ventilated, dry area away from flammables. Wear safety glasses and gloves. Disconnect any charger and ensure batteries are at similar charge (use multimeter: 6.2-6.4V ideal for SLA).
Label wires: Red for +, black for -. Clean terminals with a brush if corroded.
Success looks like: Organized bench with labeled parts, batteries charged equally.
💡 Tips:
⚠️ Warnings:
Cut wires to length (6-12 inches between batteries). Use strippers to remove 1/2 inch insulation from ends without nicking copper.
For parallel: Prepare one long red bus wire for all + terminals, same for black. For series: Shorter jumper wires.
Success looks like: Clean, even wire ends ready for connection.
💡 Tips:
Parallel: Attach red wire to + terminal of all batteries using clips/solder. Repeat for black on - terminals. Solder for permanence: Heat terminal, apply solder, tin wire end first.
Series: Connect + of battery 1 to - of battery 2 with jumper, and so on. Final + and - are your output.
Why? Parallel extends life; series boosts voltage. Success looks like: Secure, uniform connections without bare metal exposed.
💡 Tips:
⚠️ Warnings:
Wrap each joint with electrical tape (2-3 layers) or slide on heat-shrink tubing (heat with lighter for shrink). Cover bus wires fully.
This prevents shorts from moisture—crucial for garden use.
Success looks like: No exposed metal; connections bulky but secure.
💡 Tips:
Set multimeter to DCV 20V. Touch red probe to pack + , black to -. Parallel: ~6V; Series: ~12V. No lights? Check polarity.
Load test: Connect lights briefly—steady glow means success.
Success looks like: Correct voltage reading, lights illuminate evenly.
💡 Tips:
⚠️ Warnings:
Wire pack output to light controller/transformer (match polarity). Secure pack in weatherproof box near lights.
Mount lights, bury wires if needed. Recharge as a pack.
Success looks like: Lights on dusk-to-dawn, pack holds charge overnight.
💡 Tips:
Problem: Lights dim quickly
Solution: Check parallel balance; recharge individually. Undersized batteries—upgrade Ah rating.
Problem: No power at all
Solution: Verify polarity and connections. Test each battery solo. Clean corrosion.
Problem: Overheating pack
Solution: Disconnect immediately. Short circuit likely—inspect insulation. Reduce light load.
Problem: Voltage drops under load
Solution: Wire too thin/long—use heavier gauge. Batteries sulfated—replace.
Reliable sealed lead-acid for garden lights; deep cycle for repeated use without spilling.
Best for: Primary power source; parallel 2-4 for 6V systems.
Price Range: $17.99
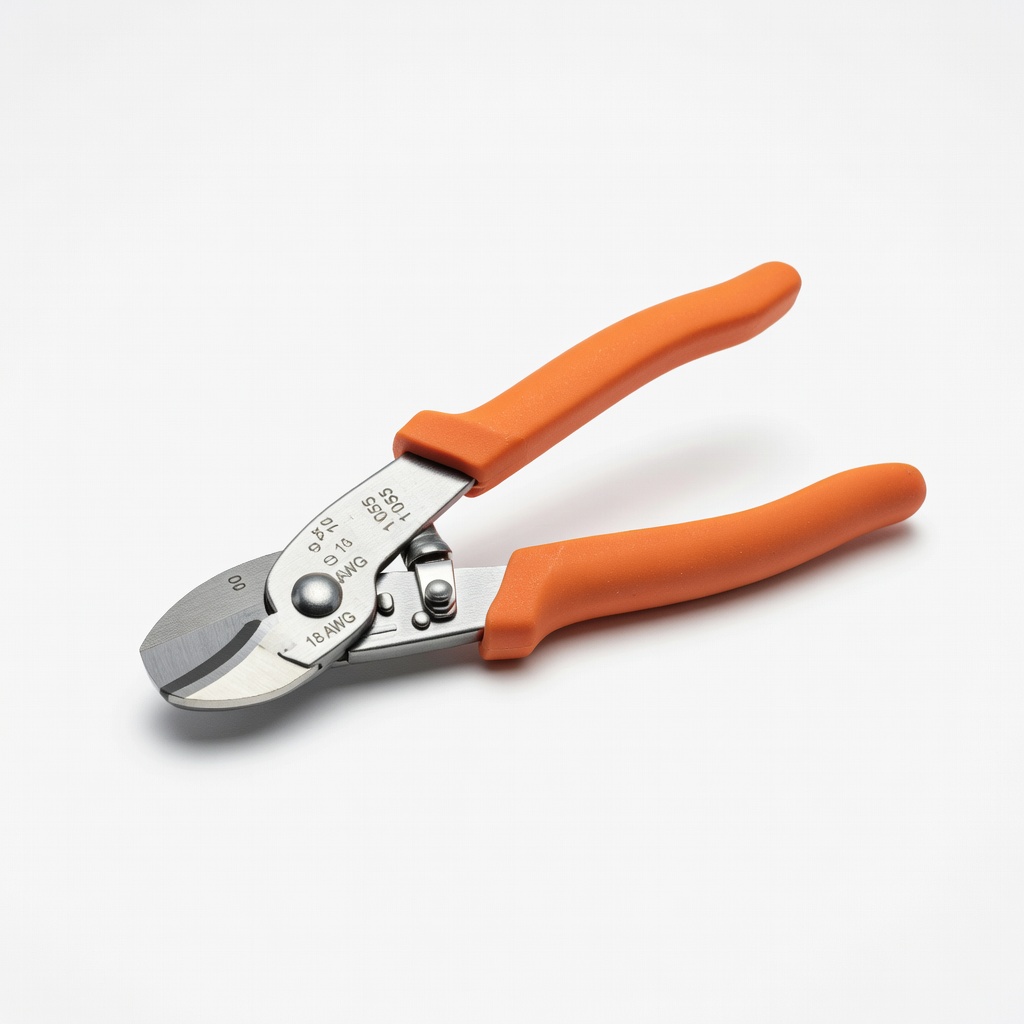
Precision stripping for 10-28 AWG without nicking—essential for clean connections.
Best for: Prep all wires accurately.
Price Range: $21.98
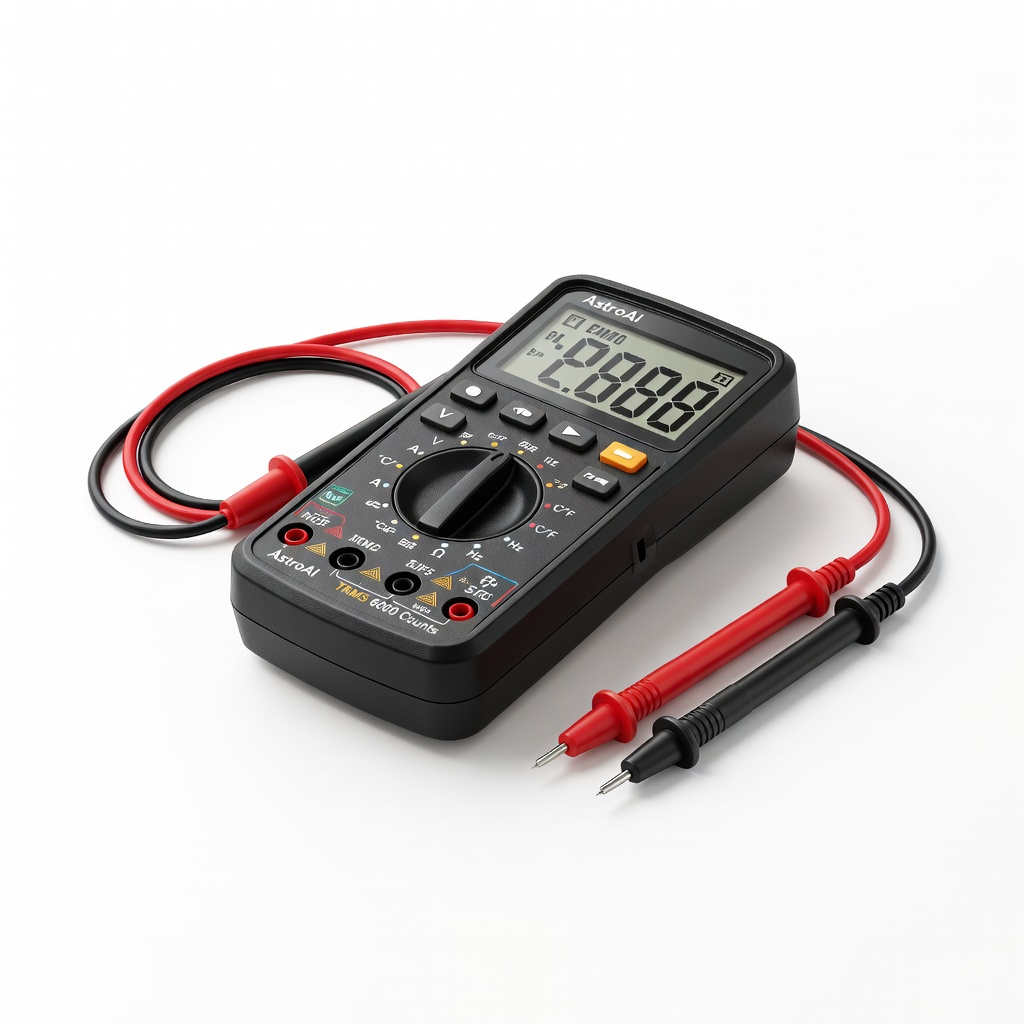
Accurate DCV testing for voltage, continuity; auto-ranging for beginners.
Best for: Verify polarity and output before/after wiring.
Price Range: $12.99
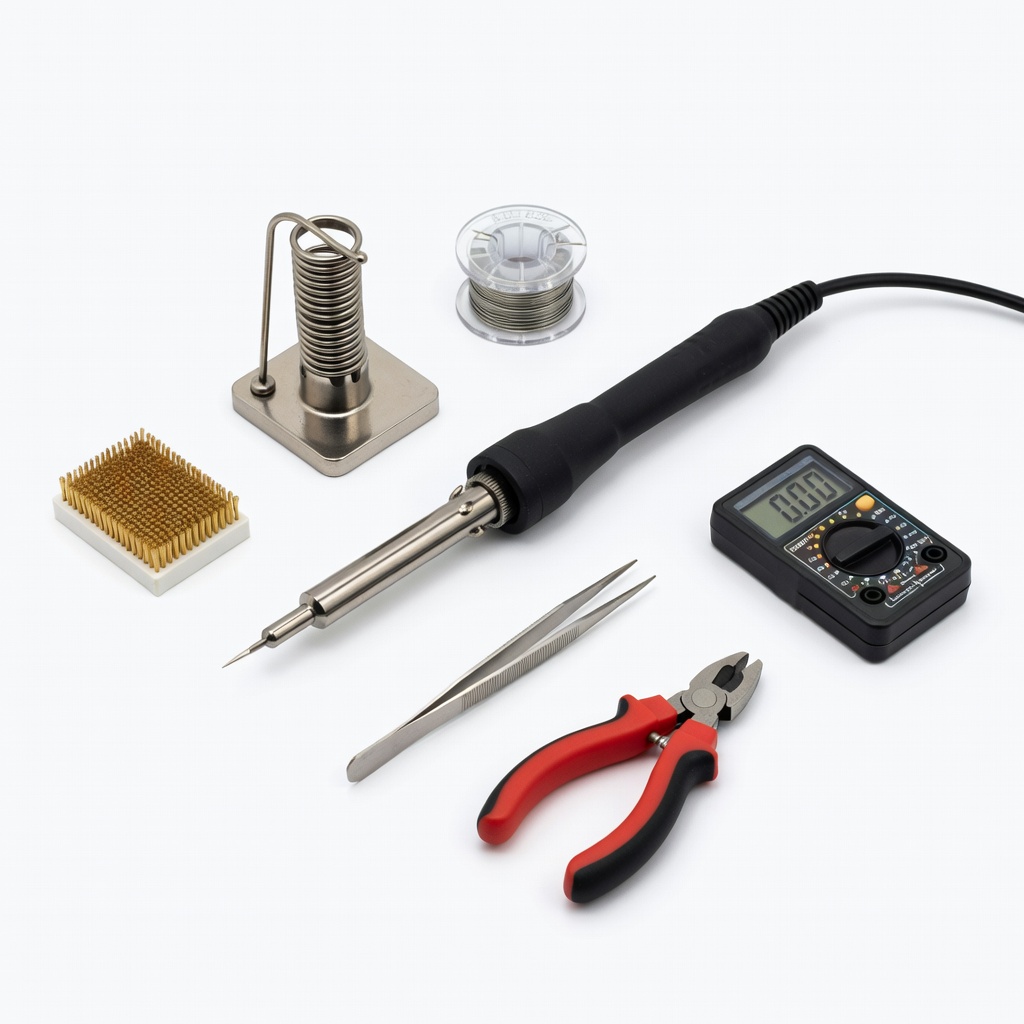
Quick heat-up with stand/solder; budget-friendly for permanent joints.
Best for: Secure connections in humid outdoor environments.
Price Range: $15.99
Quick-clip for reversible setups; no solder needed.
Best for: Temporary testing or alkaline batteries.
Price Range: $9.99
Primary power source; parallel 2-4 for 6V systems.
Mighty Max Battery ML4.5-6 6V 4.5Ah SLA Battery Reliable sealed lead-acid for garden lights; deep cycle for repeated use without spilling.
Prep all wires accurately.
Klein Tools 11055 Wire Stripper/Cutter Precision stripping for 10-28 AWG without nicking—essential for clean connections.
Verify polarity and output before/after wiring.
AstroAI Digital Multimeter TRMS 6000 Counts Accurate DCV testing for voltage, continuity; auto-ranging for beginners.
Secure connections in humid outdoor environments.
Wathai 60W Soldering Iron Kit Quick heat-up with stand/solder; budget-friendly for permanent joints.

Temporary testing or alkaline batteries.
Battery Terminal Connectors (Pack of 10) Quick-clip for reversible setups; no solder needed.