Ever bought LEDs for a craft project only to have them flicker dimly or not light up at all? Wiring 3V batteries incorrectly is a common beginner frustration, but it doesn't have to be. With the right steps, you can create reliable, glowing circuits for decorations, wearables, or prototypes.
In this guide, you'll learn how to safely connect a 3V coin cell battery (like CR2032) to LEDs using a breadboard—no soldering required. We'll cover polarity, resistors for safety, and testing, so your projects shine bright every time.
Expect a beginner-friendly process taking 15-20 minutes with household tools. No prior experience needed; just follow along for success.
▸What You'll Need
- •CR2032 3V coin cell battery (required)
- •CR2032 battery holder with wire leads (required)
- •Breadboard (mini or full-size, required for easy connections)
- •3mm or 5mm LEDs (red or green work best for 3V; required)
- •220 Ohm resistors (1 per LED; required to prevent burnout)
- •Jumper wires (male-to-male, 10-20 pieces; required)
- •Multimeter (optional, for testing voltage)
- •Wire cutters or scissors (optional)
Estimated Time: 15-20 minutes
Difficulty: beginner
▸Step-by-Step Instructions
Step 1: Insert the Battery into the Holder
Take your CR2032 battery and slide it into the battery holder with the positive (+) side facing up (usually marked). Secure the holder cover if it has one. The holder will now have exposed red (positive) and black (negative) wire leads.
Why it matters: Proper insertion ensures correct polarity from the start, preventing reverse connections that could damage your LED.
What success looks like: The holder sits flat, leads are accessible, and no battery wobble.
💡 Tips:
- •Test the holder first by touching leads to a multimeter set to DC voltage—it should read ~3V.
⚠️ Warnings:
- •Don't force the battery; if it doesn't fit, check orientation.
Step 2: Set Up Your Breadboard
Place the breadboard on a flat surface. Identify the power rails (usually labeled + and - on the sides). These are long rows connected internally for easy power distribution.
Connect the battery holder's red wire to the + rail and black wire to the - rail using jumper wires if the leads are short. Push wires firmly into the holes.
What to expect: Breadboard now powers up when battery is connected—no lights yet, that's next.
💡 Tips:
- •Use short jumper wires to keep things tidy.
Step 3: Choose and Prepare Your LED
Pick a 3mm LED (red LEDs have ~2V forward voltage, perfect for 3V). Note the longer leg is anode (+), shorter is cathode (-). Bend legs gently if needed.
Why it matters: LEDs are diodes—they only light one way. Wrong polarity = no light.
Insert the LED into the breadboard center, spanning the gap (legs in different rows).
⚠️ Warnings:
- •Never connect LED directly to battery without resistor— it will overheat and burn out in seconds.
Step 4: Add the Resistor
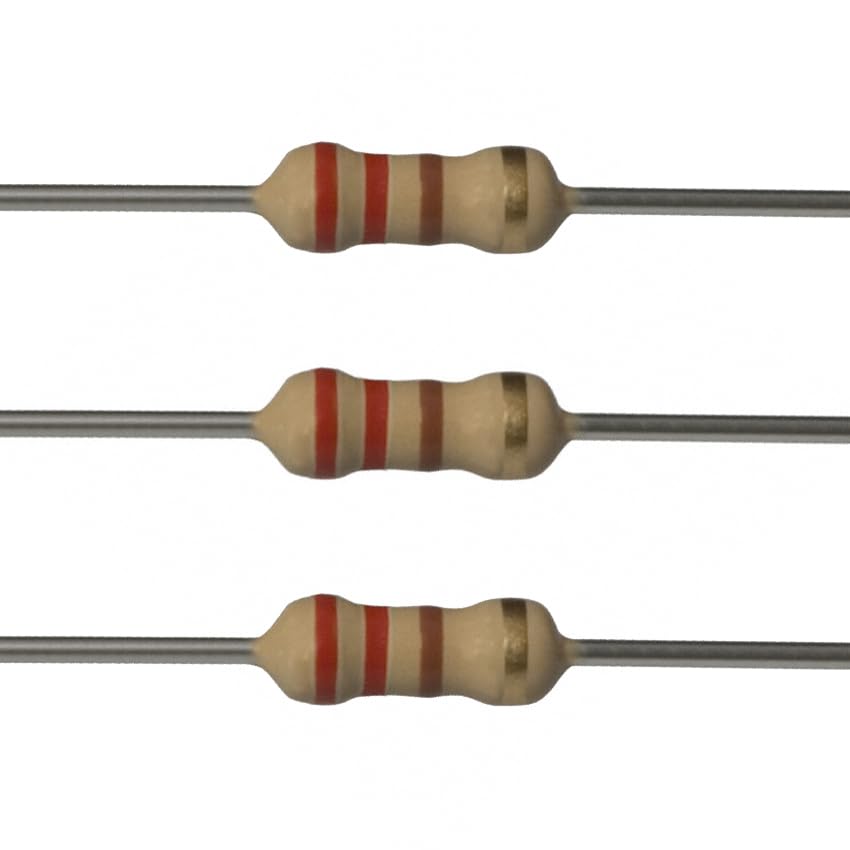
Grab a 220 Ohm resistor (color bands: red-red-brown). Insert one end into the same row as the LED's anode (+ leg), other end into an empty row.
Connect a jumper wire from the resistor's free end row to the breadboard's + power rail.
Why it matters: Resistor limits current to ~10-15mA, protecting the LED from 3V overload.
💡 Tips:
- •220Ω is ideal for most LEDs; double-check with online calculator if unsure.
Step 5: Complete the Circuit
Connect a jumper wire from the LED's cathode (- leg) row to the - power rail.
Your circuit is now: Battery + → Resistor → LED Anode → LED Cathode → Battery -.
What success looks like: All connections snug, no loose wires.
Step 6: Test and Power On
Ensure battery is inserted. The LED should light up immediately and steadily.
If not, double-check polarity and connections. Remove battery when not testing to save power.
Pro tip: For projects, hot glue or tape to secure.
⚠️ Warnings:
- •CR2032 lasts 1-10 hours depending on LED; have spares.
Step 7: Expand for Multiple LEDs
For projects with 2-3 LEDs, wire each in parallel: Share + rail via resistors, connect cathodes to - rail.
Don't series multiple—voltage drops too low.
💡 Tips:
- •Parallel keeps all LEDs full brightness.
▸Pro Tips
- •Always mark polarity with tape or labels on projects.
- •Use color-coded wires: red for +, black for -.
- •Test with multimeter in continuity mode for loose connections.
- •For wearable projects, use flexible wires and sewable holders.
- •Buy LED/resistor kits for endless experimenting.
- •Dim lights? Swap to higher resistor (330Ω) for longevity.
- •Save battery: Add a slide switch to holder.
▸Common Mistakes to Avoid
- •Reversing LED polarity—LED won't light; swap legs.
- •Skipping resistor—LED burns out fast; always include 220Ω+.
- •Loose breadboard connections—push wires fully in and wiggle test.
- •Dead battery assumed working—use multimeter to check 3V.
- •Series wiring multiple LEDs—too dim; use parallel instead.
▸Troubleshooting
Problem: LED doesn't light
Solution: Check polarity, battery voltage (>2.8V), all connections. Swap LED.
Problem: LED flickers or dim
Solution: Tighten wires, fresh battery, verify resistor value.
Problem: LED gets hot
Solution: Disconnect immediately—wrong resistor or short; add/replace 220Ω.
Problem: Battery drains fast
Solution: Too low resistor or constant power; use switch and 330Ω+.
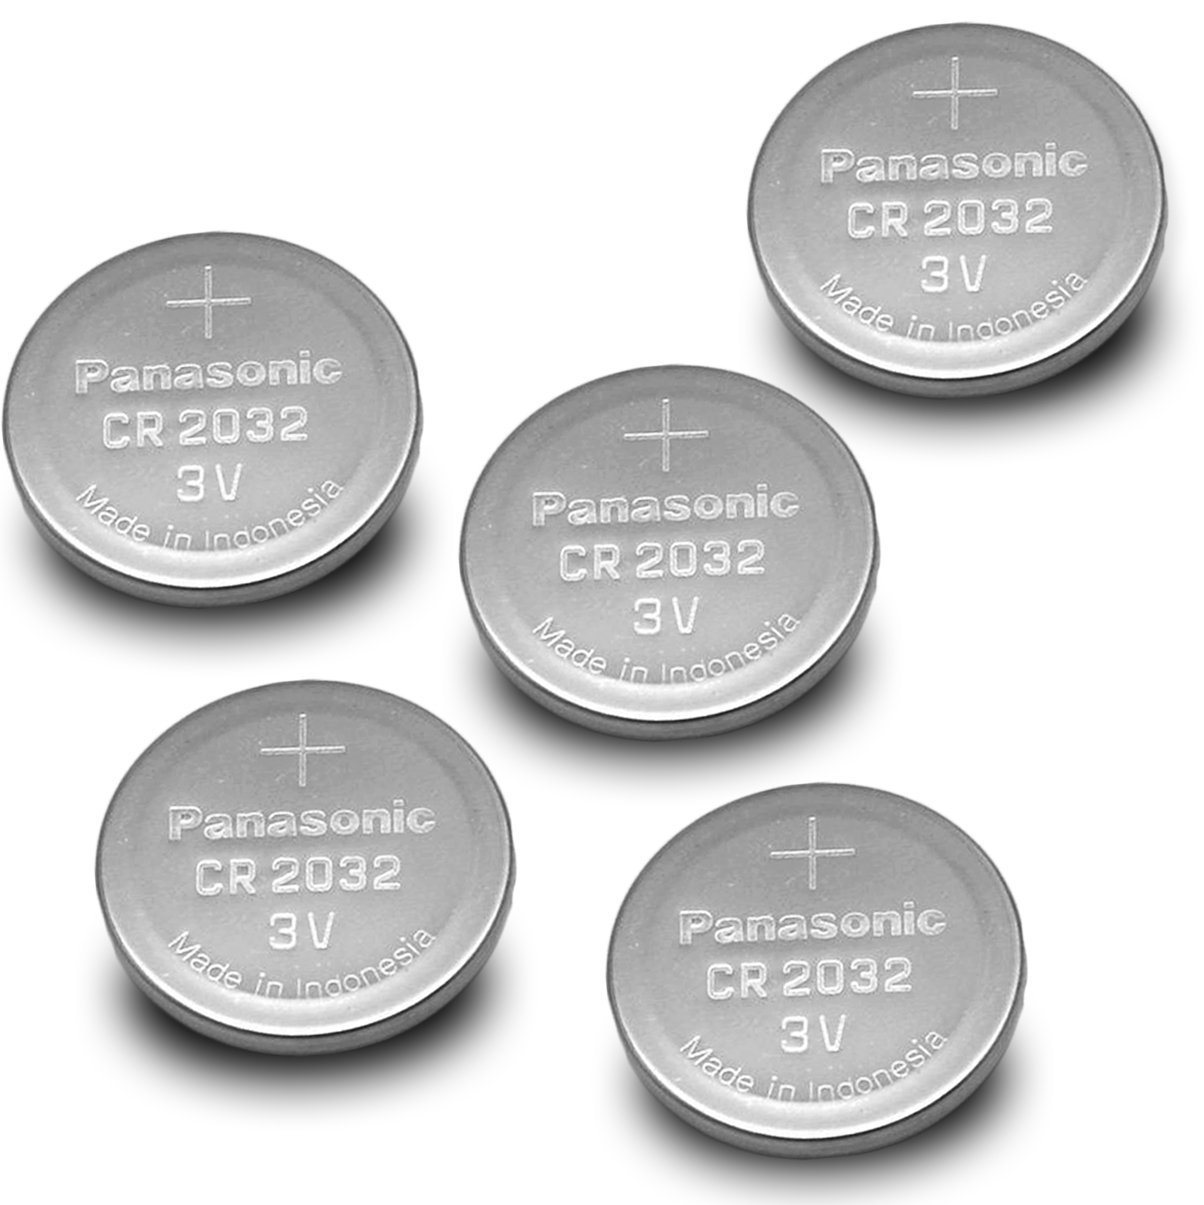
Panasonic CR2032 Lithium Coin Batteries (5-Pack)
Reliable, long-lasting 3V power source with consistent voltage output for stable LED performance.
Best for: Primary battery for all single-LED projects; fresh cells ensure bright glow.
Price Range: $5-7
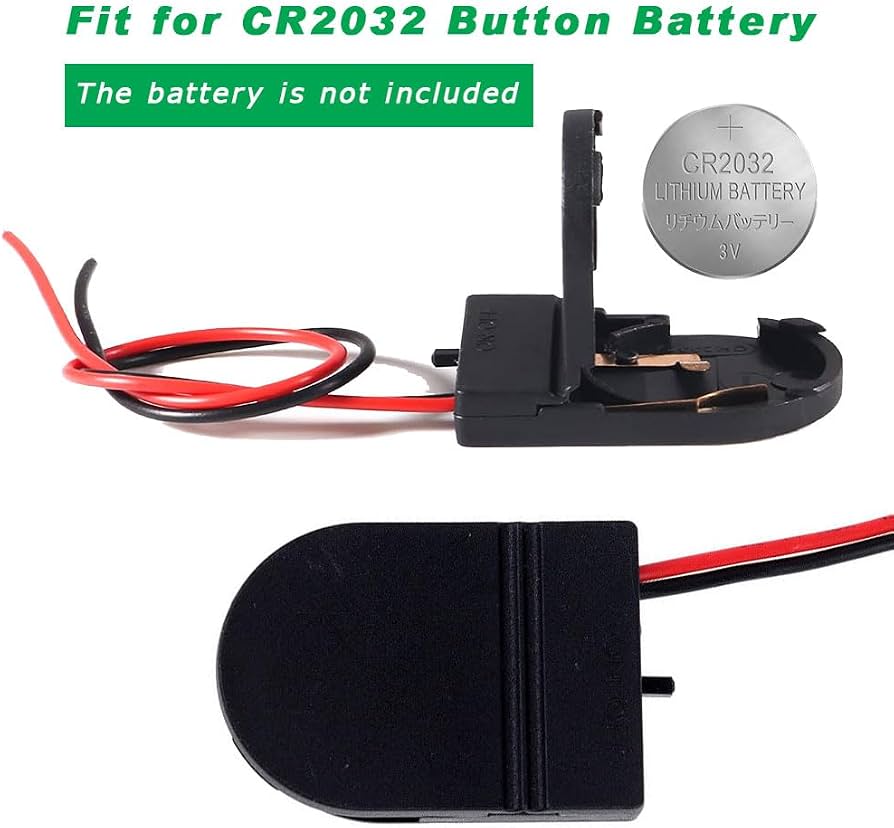
BNTECHGO CR2032 Battery Holder with Switch and Leads
Easy snap-in design with built-in switch and pre-attached wires for solder-free beginner use.
Best for: Quick power connection to breadboards; switch saves battery.
Price Range: $6-9 (pack of 5)
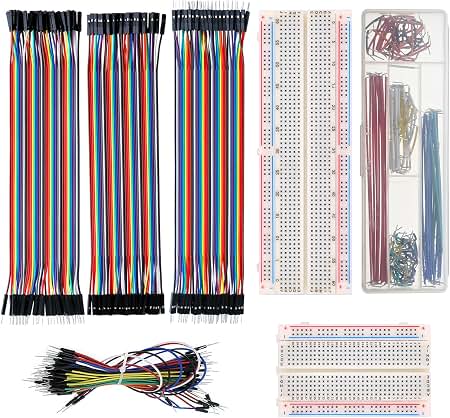
ELEGOO 120pcs Breadboard Jumper Wires Kit
Pre-cut, flexible wires in assorted lengths/colors for reliable breadboard prototyping without frustration.
Best for: Connecting battery holder, resistors, and LEDs neatly.
Price Range: $7-10
EDGELEC 100pcs 220 Ohm Resistors (1/4W)
Precise value for 3V LEDs, prevents burnout; metal film for accuracy.
Best for: One per LED in every circuit.
Price Range: $5-6
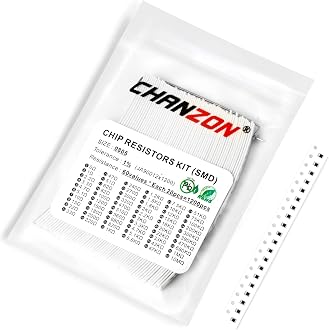
Chanzon 300pcs SMD LEDs + Resistors Kit (3mm Assorted)
Beginner assortment with matched resistors; includes 3V-friendly colors.
Best for: Experimenting with multiple projects.
Price Range: $10-12