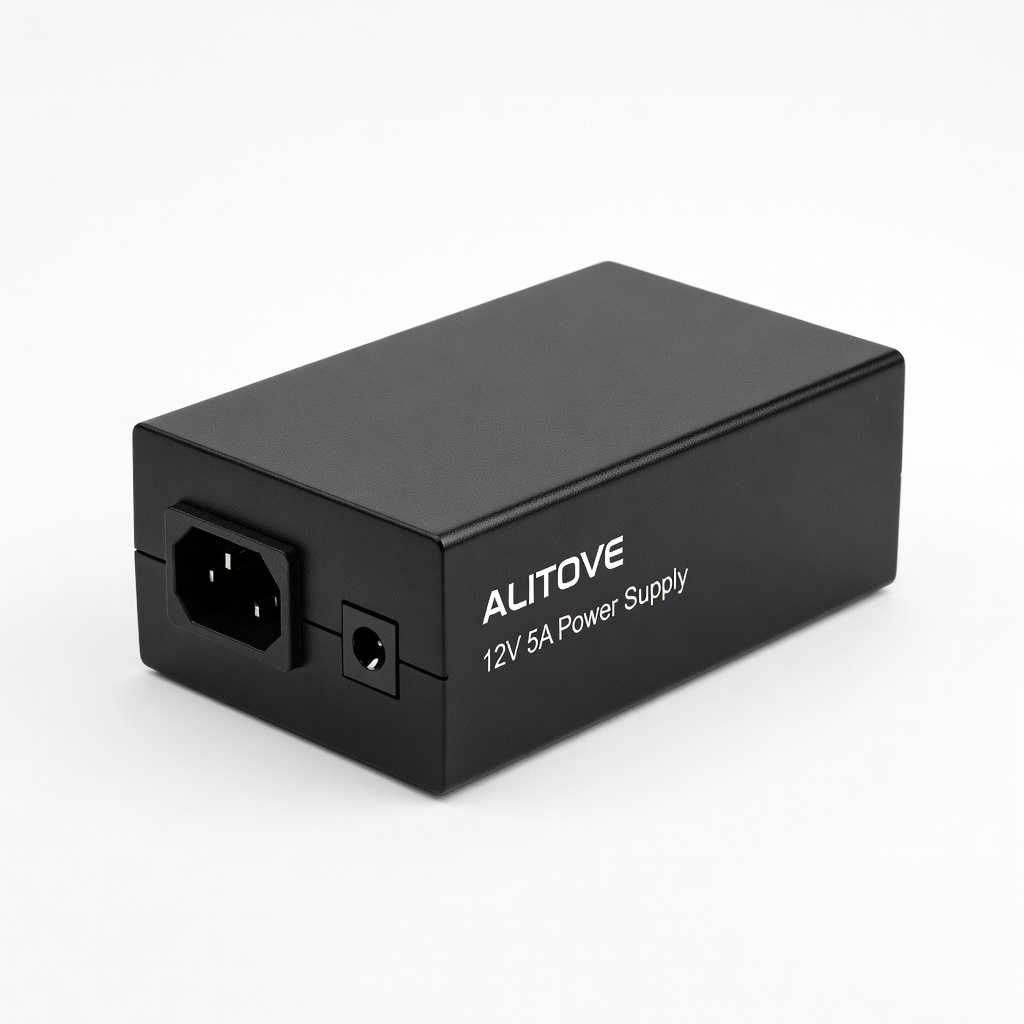
ALITOVE 12V 5A Power Supply
Powers any 12V LED project safely without dimming.
$19.99
ALITOVE 12V 5A Power Supply Reliable, overbuilt for most strips up to 50ft, short-circuit protected.
Get the App
Better experience on mobile
Master wiring 12V LED strip lights to a switch for reliable on/off control in 20-30 minutes with safe, intermediate DIY steps.
Struggling with LED strip lights that are always on or require unplugging to turn off? Wiring them to a dedicated switch gives you effortless control, perfect for under-cabinet lighting, automotive accents, or room ambiance. This guide eliminates guesswork for intermediate DIYers.
You'll learn everything from selecting components to secure connections and testing, ensuring safe operation without electrical hazards. The process involves basic wiring principles like polarity and inline switching—no advanced electrician skills needed.
Expect a straightforward project taking 20-30 minutes, assuming you have basic tools. By the end, your LEDs will flicker-free and switch-controlled, ready for permanent install.
Estimated Time: 20-30 minutes Difficulty: intermediate
Collect all tools and materials listed. Work in a well-lit, dry area on a non-conductive surface like wood or cardboard to avoid shorts.
Why it matters: Proper prep prevents accidents and ensures you have compatible parts (e.g., power supply amps ≥ strip's wattage/12V). Check LED strip specs—most draw 5-10W/meter.
Lay out components: strip, power supply, switch, wires. Unroll strip to desired length.
💡 Tips:
⚠️ Warnings:
Measure and cut the LED strip at marked copper pads (every 3-4 LEDs). Use sharp scissors—avoid nicks.
Strip 1/4 inch insulation from copper pads using wire strippers. Tin pads with solder if using soldering (heat 2-3 sec, apply solder).
Success looks like: Clean, flat copper exposed without damaging traces. Polarity marked (+/-).
💡 Tips:
⚠️ Warnings:
Cut two wires: one 2-3 ft for input (power to switch), one 1-2 ft for output (switch to strip). Strip 1/4-1/2 inch from ends.
Identify switch terminals (usually 2-3: power in, load out, ground optional). For SPST, connect power to one terminal, load to other.
Tin wire ends for strong solder joints.
💡 Tips:
⚠️ Warnings:
Inline wiring: Connect power supply positive (+) to switch input with solder or crimp. Then switch output to LED strip +.
Ground (-) runs direct: power supply - to LED strip -. Solder or crimp securely, insulate with tape/heat shrink.
Why inline: Switch interrupts + line only, safest for DC low voltage.
Success: Tug test holds firm, no exposed copper.
💡 Tips:
⚠️ Warnings:
Attach wires to power supply barrel jack or screw terminals: red to +, black to -.
Use connectors if available (e.g., 2.1mm DC plug for strips).
Secure with screws/tape. Double-check polarity with multimeter.
💡 Tips:
⚠️ Warnings:
Plug in power supply (away from metal). Flip switch: LEDs should light brightly, even across full length.
Multimeter voltage drop <0.5V under load. Toggle switch: instant on/off, no flicker.
Success: Uniform brightness, responsive switch.
💡 Tips:
⚠️ Warnings:
Adhere strip to surface (clean first). Zip-tie or tape wires neatly, avoiding pinch points.
Mount switch in accessible spot (drill hole if panel).
Final insulation check.
💡 Tips:
⚠️ Warnings:
Problem: No lights at all
Solution: Check polarity, connections, power supply voltage (12-14V). Test strip directly on supply.
Problem: Flickering or dim
Solution: Voltage drop—shorten wires, up gauge, or segment power. Verify amp rating.
Problem: Switch doesn't control
Solution: Confirm inline on + line. Test continuity with multimeter.
Problem: Overheating
Solution: Disconnect! Check for shorts, overload. Use proper gauge.
Problem: Partial lighting
Solution: Bad solder joint or cut—reflow or replace section.
Reliable, overbuilt for most strips up to 50ft, short-circuit protected.
Best for: Powers any 12V LED project safely without dimming.
Price Range: $19.99
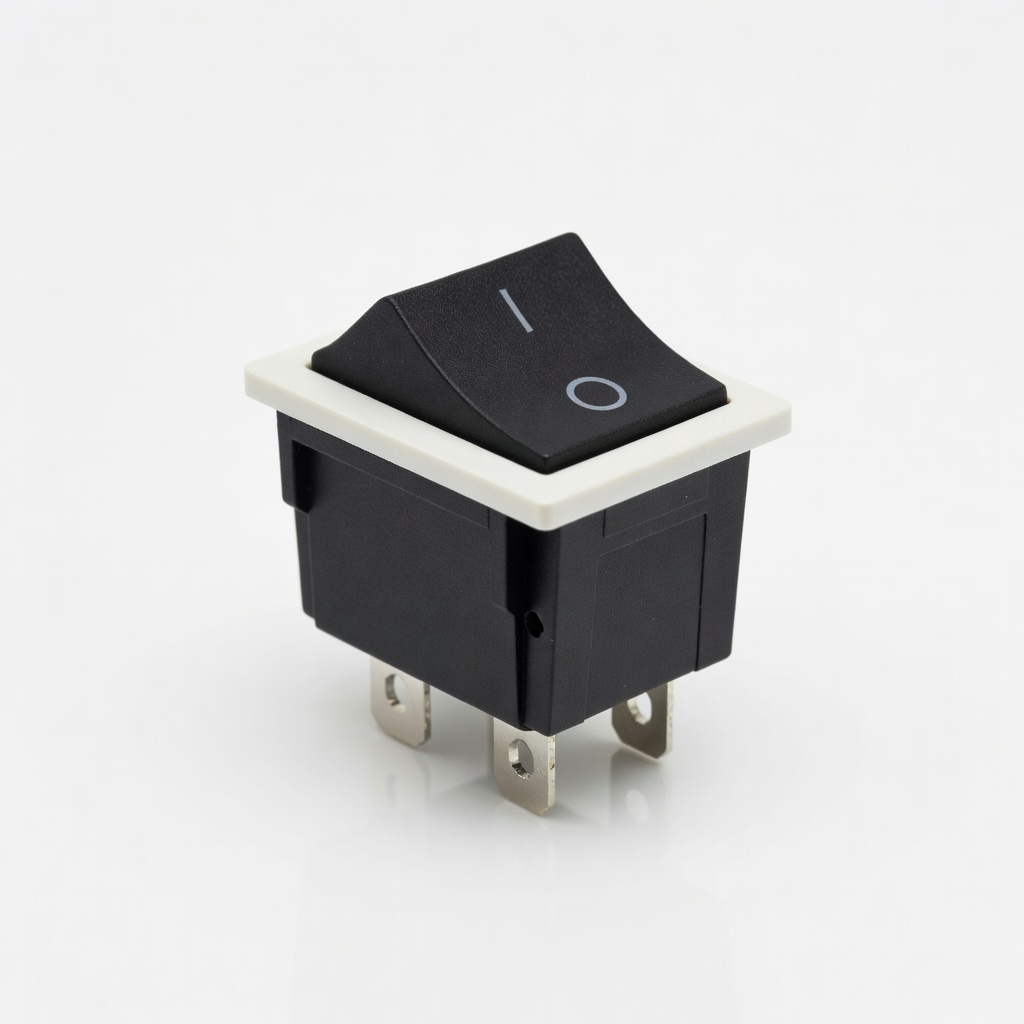
Durable SPST switch rated 20A, waterproof cover, easy panel mount.
Best for: Inline control for automotive or cabinet installs.
Price Range: $9.99
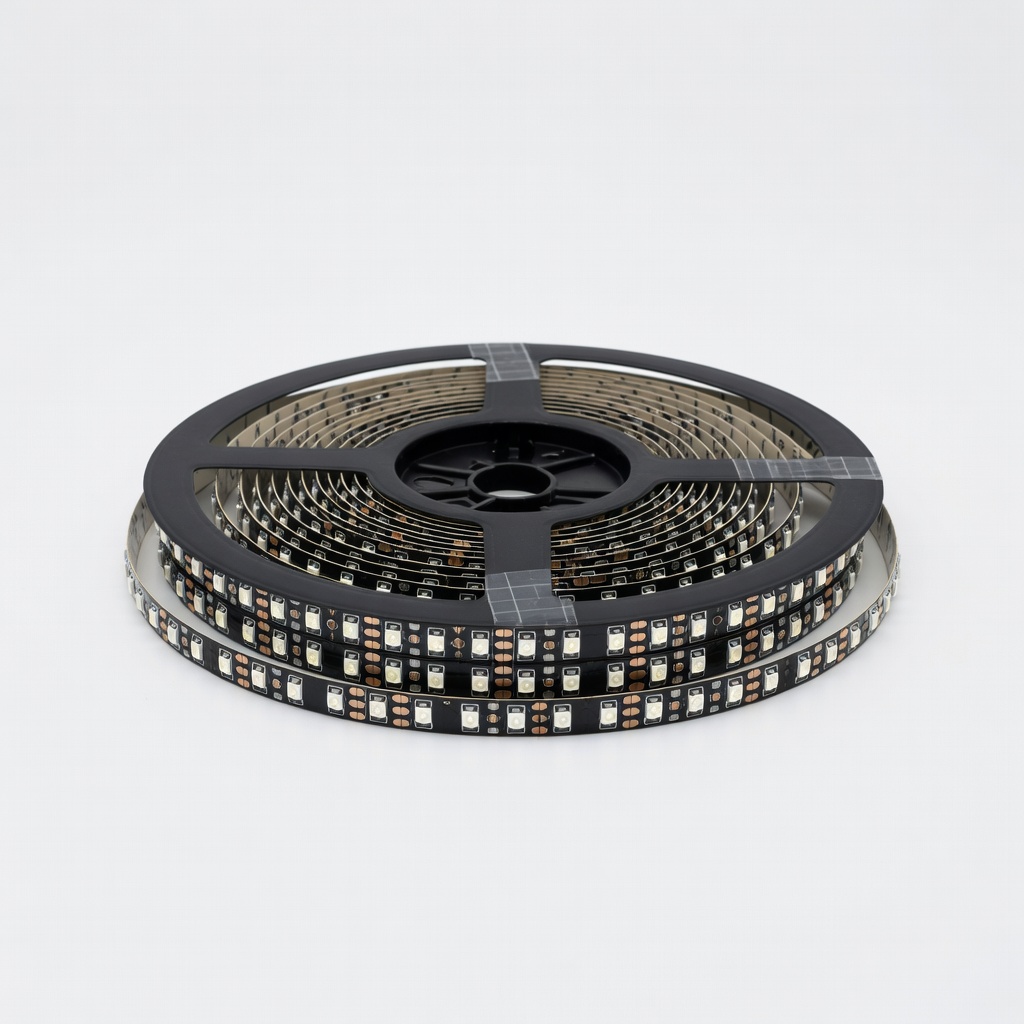
High-density 300 LEDs/m, cuttable, strong adhesive—perfect starter strip.
Best for: General accent lighting with easy wiring pads.
Price Range: $15.99
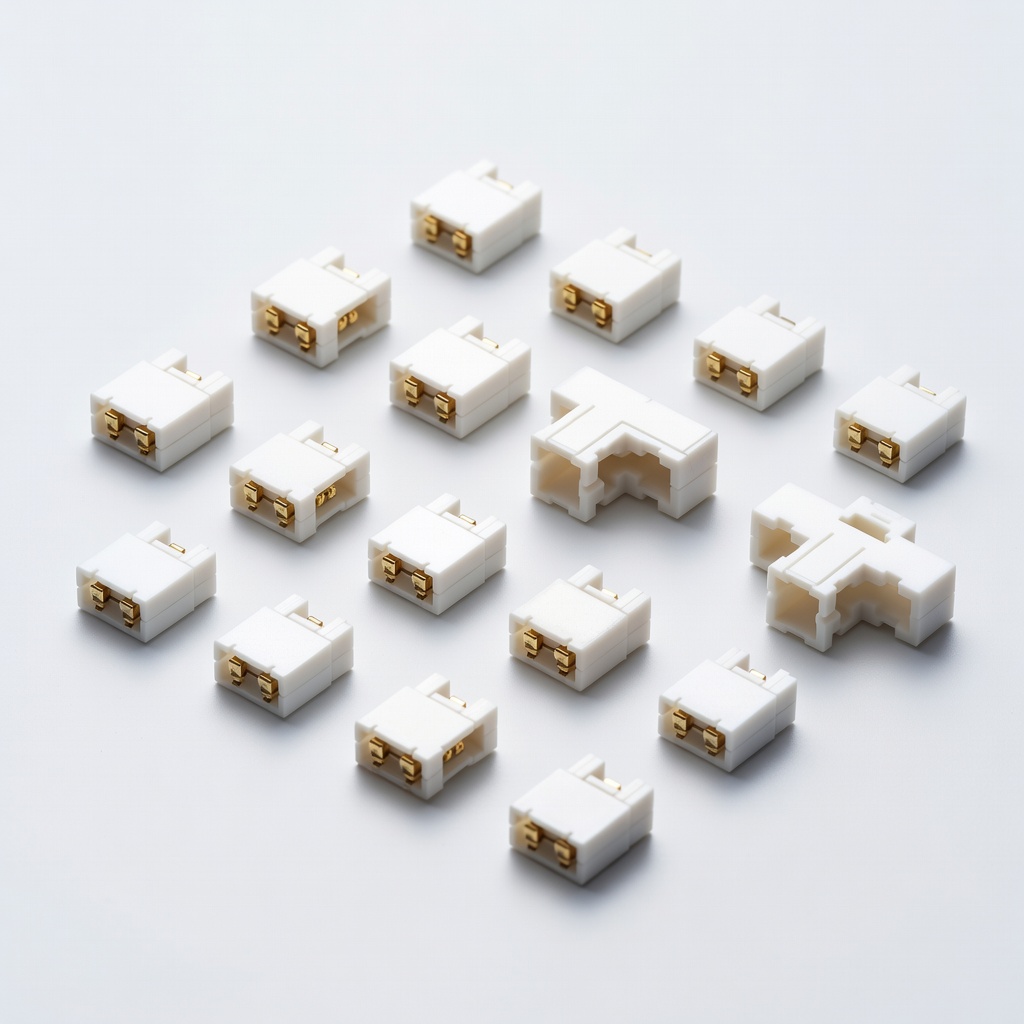
Solderless clips for quick, tool-free connections—no heat needed.
Best for: Fast prototyping or revisions without soldering.
Price Range: $12.99
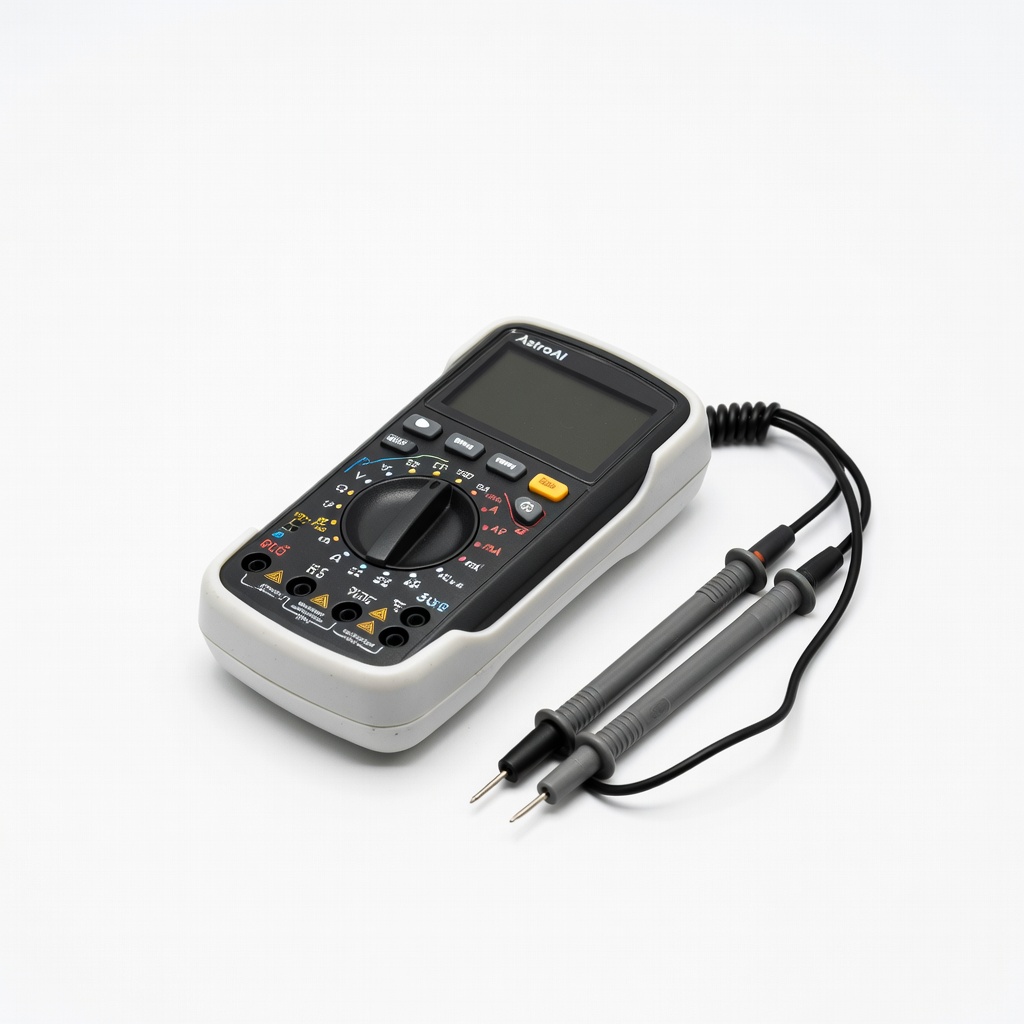
Accurate voltage/continuity tester, auto-ranging for beginners.
Best for: Verify polarity and troubleshoot every wiring job.
Price Range: $12.99
Powers any 12V LED project safely without dimming.
ALITOVE 12V 5A Power Supply Reliable, overbuilt for most strips up to 50ft, short-circuit protected.
Inline control for automotive or cabinet installs.
Nilight 12V Rocker Switch Durable SPST switch rated 20A, waterproof cover, easy panel mount.
General accent lighting with easy wiring pads.
HitLights 12V LED Strip Lights 16.4ft High-density 300 LEDs/m, cuttable, strong adhesive—perfect starter strip.
Fast prototyping or revisions without soldering.
Wathai LED Strip Connectors 10mm Solderless clips for quick, tool-free connections—no heat needed.
Verify polarity and troubleshoot every wiring job.
AstroAI Digital Multimeter Accurate voltage/continuity tester, auto-ranging for beginners.