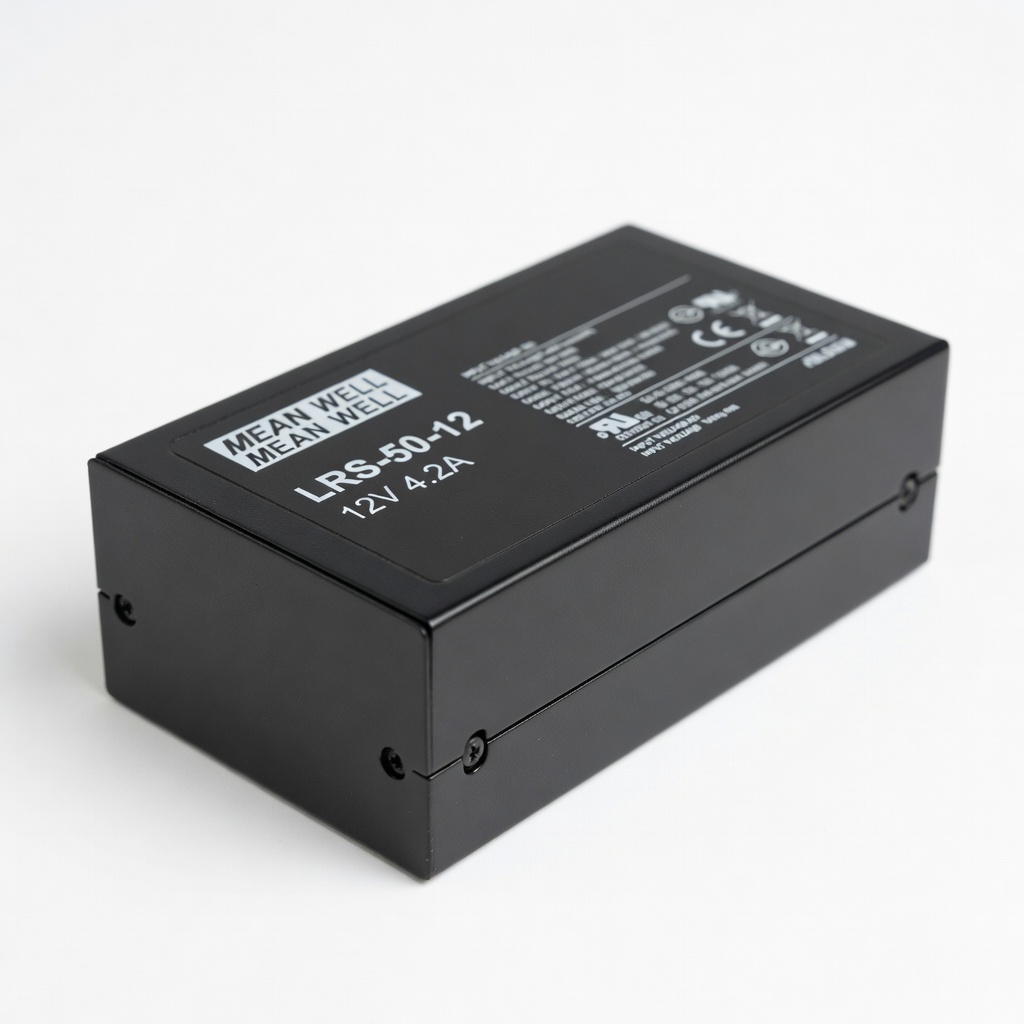
MEAN WELL LRS-50-12 12V 4.2A Power Supply
Powering 4-8m strips in homes or cars.
$24.99
MEAN WELL LRS-50-12 12V 4.2A Power Supply Reliable, industrial-grade with overload protection—perfect for up to 50W strips.
Get the App
Better experience on mobile
Master safe, professional wiring of 12V LED strips for custom lighting in cars, homes, or DIY projects in under an hour.
Struggling with dim, flickering LED lights or unsafe wiring that risks fire hazards? Wiring 12V LED strip lights correctly transforms ordinary spaces into vibrant, energy-efficient displays—perfect for under-cabinet kitchens, automotive accents, or PC builds. This guide eliminates guesswork for intermediate DIYers.
You'll learn everything from planning and cutting strips to soldering connections and troubleshooting, ensuring bright, reliable illumination. The process uses basic electrical knowledge like polarity and voltage matching—no advanced electrician skills needed.
Expect 30-60 minutes total, depending on strip length. Safety first: always unplug power sources before starting.
Estimated Time: 30-60 minutes Difficulty: intermediate
Measure the area where you'll install the LED strip and note the total length needed. Check the strip's specs (usually printed on packaging: e.g., 5W/meter). Calculate power: Total Watts = Length (m) x Watts per meter. Choose a power supply rated 20% higher (e.g., 60W strip needs 72W+ supply).
Sketch polarity: LEDs have + (red) and - (black) pads. Plan wire runs to minimize voltage drop—keep under 5m per run.
Success looks like: Accurate measurements and a power supply that won't overload.
💡 Tips:
⚠️ Warnings:
Lay the strip flat and mark cut lines (dashed lines every 3 LEDs). Use sharp scissors to cut straight across copper pads—avoid tearing.
Inspect pads: Clean if oxidized. Success: Clean, square cut exposing + and - pads clearly.
💡 Tips:
⚠️ Warnings:
Cut 18-22 AWG wire to length (e.g., 1-2m). Use wire strippers to remove 1/4 inch (6mm) insulation from ends without nicking copper strands.
Tin wires optionally: Heat soldering iron and apply solder for easier connection. Success: Exposed clean copper ready for soldering.
💡 Tips:
For soldering: Heat pad and wire tip, apply solder to form shiny joint. Match polarity: Red to +, Black to -. For connectors: Insert strip into clip-on (solderless option).
Cover with heat shrink or tape. Success: Secure, polarity-correct joints with no cold solder spots.
💡 Tips:
⚠️ Warnings:
Identify power supply terminals: DC output + and -. Strip and connect wires (solder or screw terminal). Secure with tape.
Success: Wires firmly attached, no loose strands.
💡 Tips:
Plug in power supply (ensure 12V DC output). Use multimeter to verify 12V across wires. LEDs should light evenly, full brightness.
Success: Uniform glow, no heat or sparks.
💡 Tips:
⚠️ Warnings:
Peel backing and stick to clean, dry surface. Use clips for curves or outdoors. Route wires neatly, zip-tie excess.
Success: Strip adhered firmly, lights unobstructed.
💡 Tips:
Check all connections for shorts. Power on permanently—monitor for 10 mins. Success: Stable, cool-running lights ready for use.
⚠️ Warnings:
Problem: LEDs won't light
Solution: Check polarity, power supply voltage (12V DC), and connections. Test supply alone with multimeter.
Problem: Flickering or dimming
Solution: Verify wattage match, check for loose wires or voltage drop. Shorten run or add thicker wire.
Problem: Section won't light
Solution: Inspect cut/solder at that point. Bridge with jumper wires if needed.
Problem: Overheating
Solution: Unplug immediately—wrong voltage or overload. Use correct 12V supply.
Reliable, industrial-grade with overload protection—perfect for up to 50W strips.
Best for: Powering 4-8m strips in homes or cars.
Price Range: $24.99
Quick, no-solder clips for easy wiring—saves time for intermediates.
Best for: Connecting cut strips without tools.
Price Range: $9.99
High-density, adhesive-backed with strong brightness—ideal starter kit.
Best for: Kitchen or room accent lighting.
Price Range: $15.99
Accurate voltage/polarity tester—essential for safe wiring.
Best for: Troubleshooting any DC project.
Price Range: $12.99
Precision stripping without nicks—pro tool for clean preps.
Best for: All wiring tasks.
Price Range: $19.97
Powering 4-8m strips in homes or cars.
MEAN WELL LRS-50-12 12V 4.2A Power Supply Reliable, industrial-grade with overload protection—perfect for up to 50W strips.
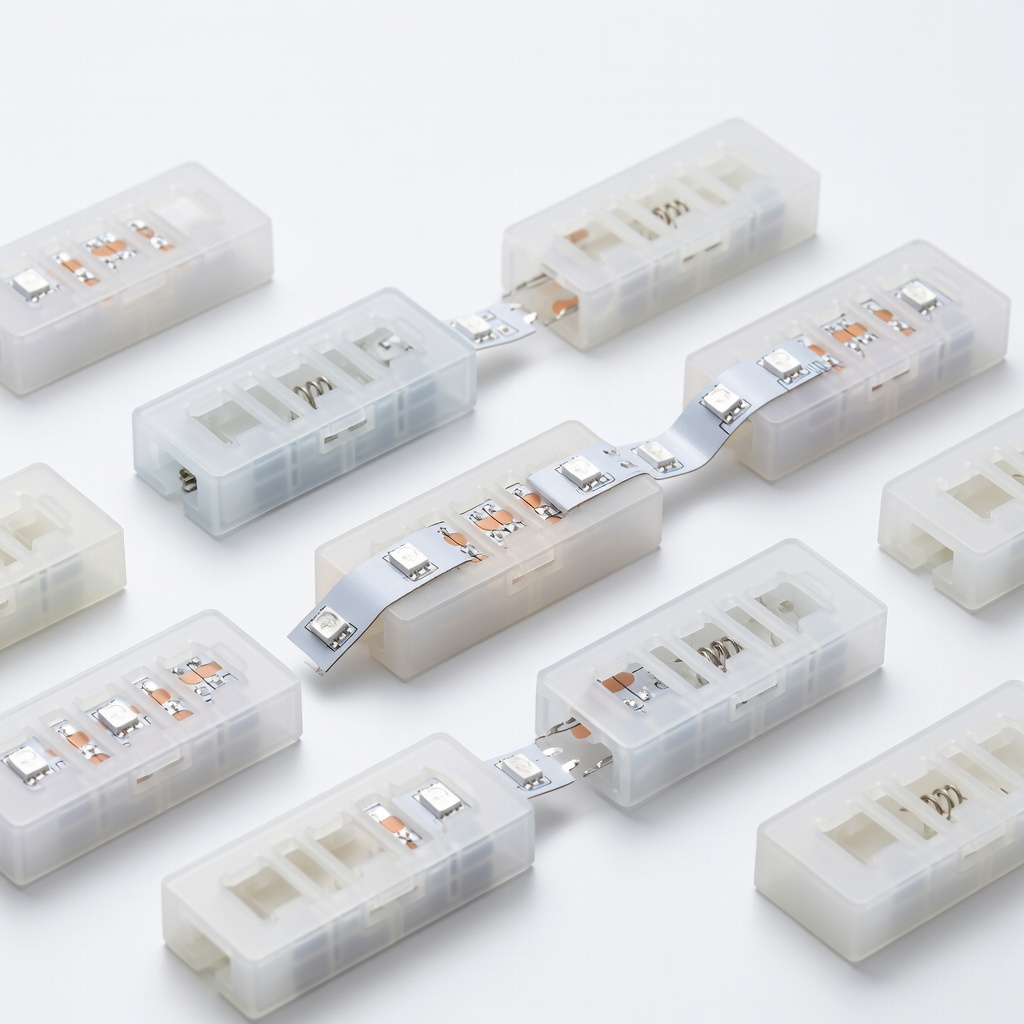
Connecting cut strips without tools.
HitLights 12V LED Strip Connectors (Solderless) Quick, no-solder clips for easy wiring—saves time for intermediates.
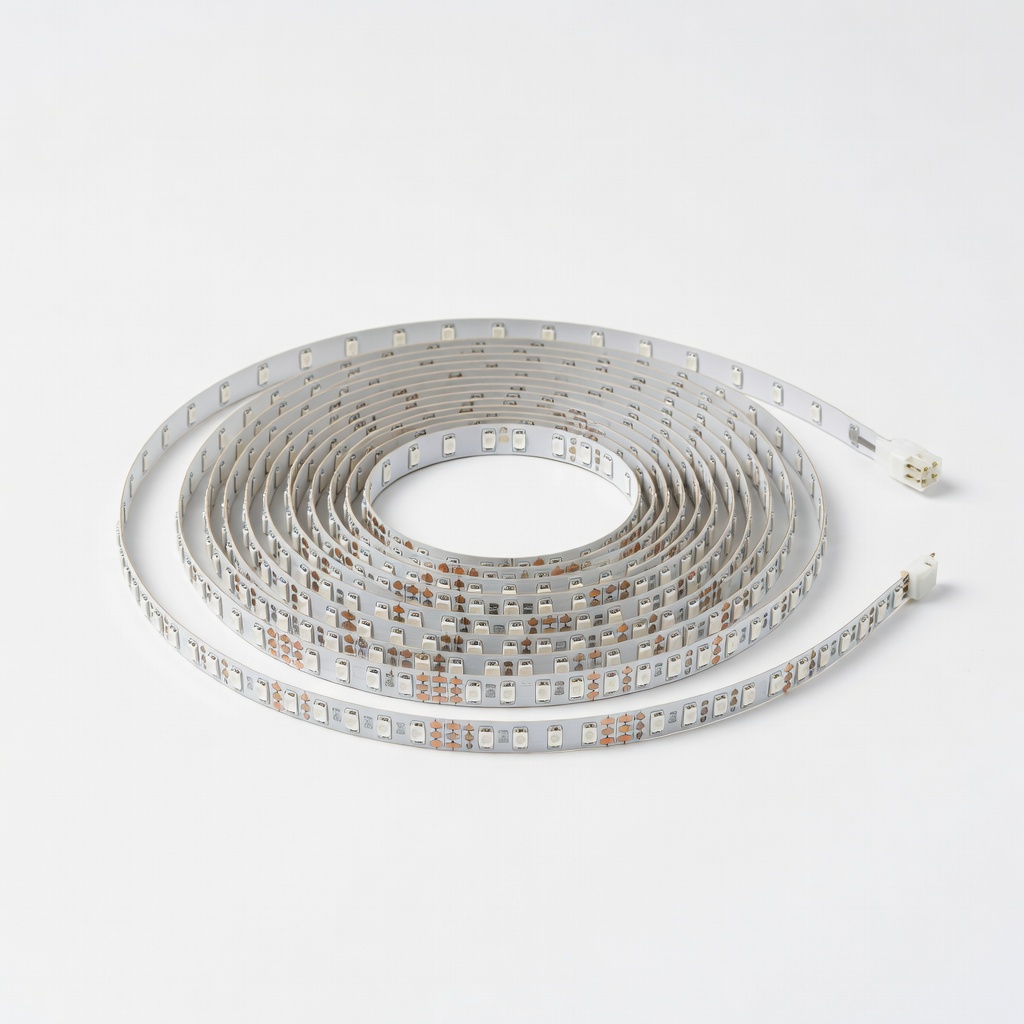
Kitchen or room accent lighting.
DAYBETTER 12V LED Strip Lights (16.4ft, 300 LEDs) High-density, adhesive-backed with strong brightness—ideal starter kit.
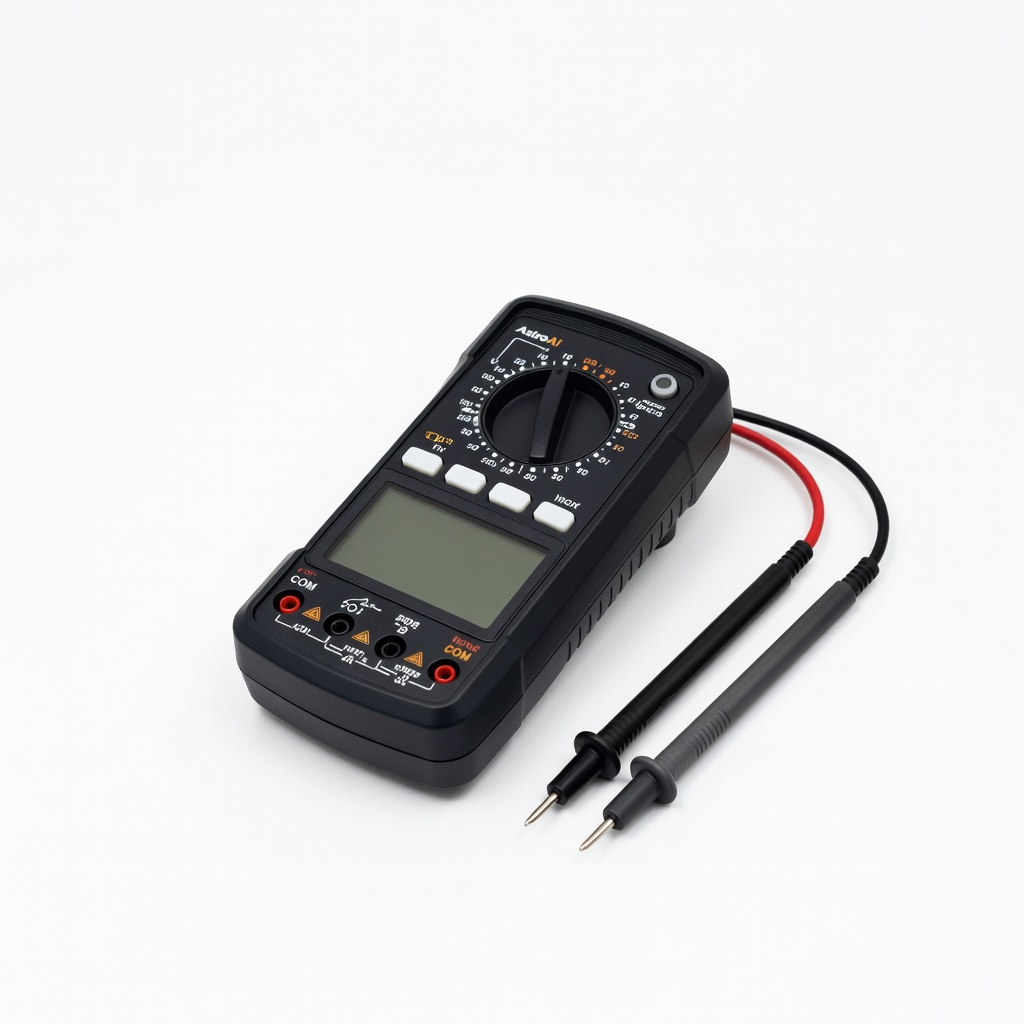
Troubleshooting any DC project.
AstroAI Digital Multimeter Accurate voltage/polarity tester—essential for safe wiring.
All wiring tasks.
Klein Tools 11055 Wire Stripper Precision stripping without nicks—pro tool for clean preps.