
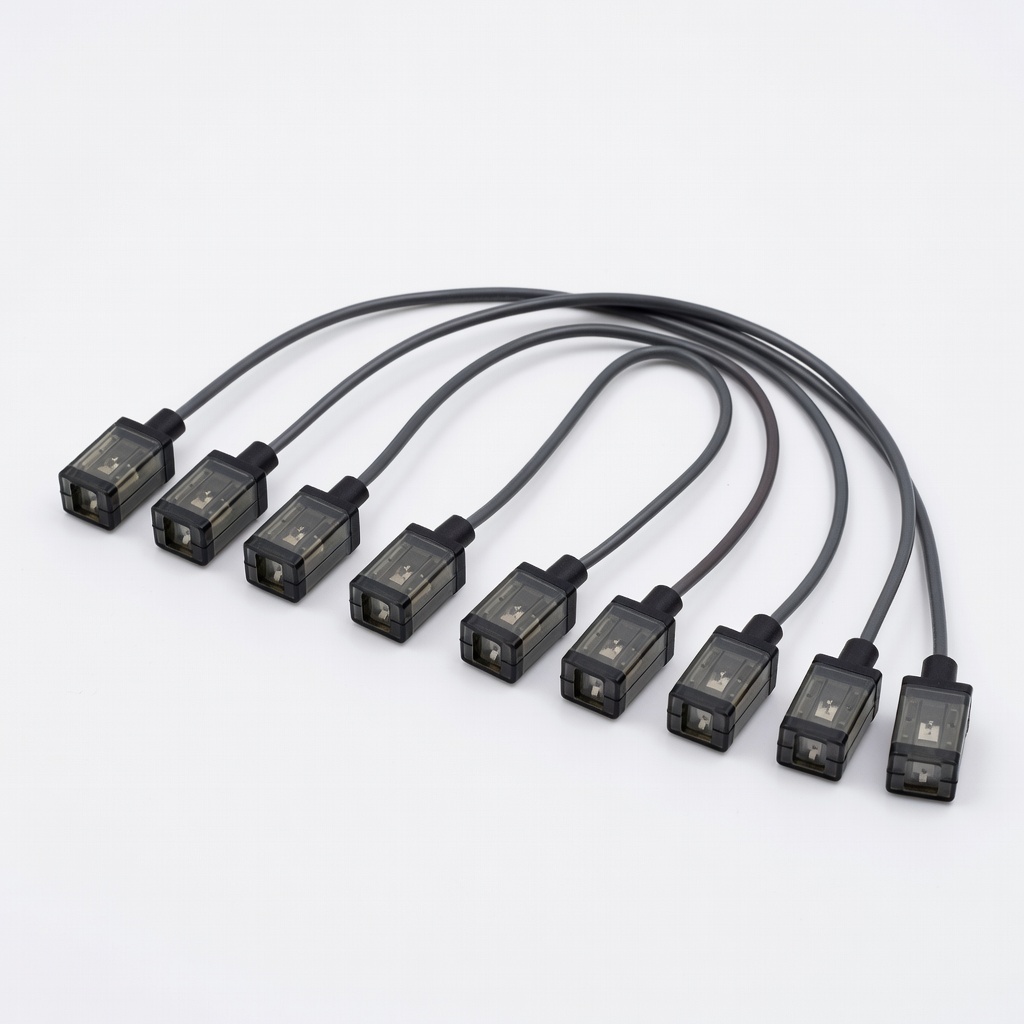
Nilight 10PCS Inline Fuse Holders with 10A Fuses
Essential for positive wire near battery.
$9.99
Nilight 10PCS Inline Fuse Holders with 10A Fuses Reliable ATC/ATO fuses protect circuits instantly; waterproof cap for car use.
Get the App
Better experience on mobile
Safely install bright 12V LED lights on your car battery for custom interior or off-road lighting in 45-60 minutes without risks.
Adding 12V LED lights to your car can transform your interior, underbody, or off-road setup with vibrant, energy-efficient illumination. However, improper wiring risks battery drain, electrical fires, or short circuits—common issues that leave DIYers frustrated and vehicles damaged.
In this intermediate guide, you'll learn a foolproof, step-by-step process to wire LEDs directly to your car battery using fuses, proper gauges, and secure connections. We'll cover planning, installation, testing, and safety to ensure reliable, long-lasting results.
Expect 45-60 minutes for a basic setup (more for complex routing), basic electrical knowledge, and no permanent modifications. By the end, your LEDs will glow brightly without hazards.
Estimated Time: 45-60 minutes Difficulty: intermediate
Start with safety: Park on a flat surface, turn off the engine, and remove the key. Locate your battery (usually under the hood) and use a 10mm wrench to loosen the negative (-) terminal clamp first, then the positive (+). This prevents accidental shorts.
Why it matters: Working on live circuits can cause sparks, shocks, or fires. Expect the car alarm to possibly chirp—ignore it.
Tape the loose ends to avoid contact.
💡 Tips:
⚠️ Warnings:
Map the path from battery to LED locations (e.g., dashboard, trunk, underbody). Avoid hot exhausts, moving parts, and sharp edges. Measure total wire length, adding 20% extra for slack.
Sketch it out: Battery → fuse → switch (if using) → LEDs → ground. This prevents voltage drop over long runs.
Success: A clutter-free path ready for clean routing.
💡 Tips:
⚠️ Warnings:
Cut red wire to length, strip 1/2 inch ends. Crimp an inline fuse holder (with 10-15A fuse) 6-12 inches from battery end on positive wire—fuses protect against shorts.
Slide heat-shrink over wire before crimping, then heat to seal. Prepare black ground wire similarly.
Test continuity with multimeter for no breaks.
💡 Tips:
⚠️ Warnings:
Attach ring terminals to wire ends (crimp securely). Connect red (fused) to positive (+) post, black to negative (-) post. Tighten clamps firmly but don't overtighten.
If using a switch, insert it inline on positive wire now.
Expect secure, no-wobble connections.
💡 Tips:
⚠️ Warnings:
Feed wires along planned path using fish tape if needed. Secure every 12 inches with zip ties; protect with loom or tape at edges.
Pass through grommets carefully to avoid pinching.
Success: Tidy, protected run without strain.
💡 Tips:
Strip LED wire ends, match positive-to-positive (usually red), negative-to-negative. Use butt connectors or solder/twist for secure joins, then tape/heat-shrink.
For strips, connect in parallel if multiple.
Multimeter check: 12-14V across terminals.
💡 Tips:
⚠️ Warnings:
Reattach negative terminal last. Turn key to accessory (don't start engine yet). Lights should illuminate steadily.
Check voltage drop (<0.5V), no heat after 5 mins.
Success: Bright, flicker-free glow.
💡 Tips:
⚠️ Warnings:
Double-check all ties/clamps. Mount LEDs with adhesive or screws. Run engine 5 mins to check alternator charging.
Label wires for future access.
Done: Professional, safe setup ready for years.
💡 Tips:
⚠️ Warnings:
Problem: Lights flicker or dim
Solution: Check loose connections/voltage drop; shorten run or up gauge. Clean grounds.
Problem: No lights at all
Solution: Verify polarity, fuse intact, 12V at LEDs with multimeter. Battery charged?
Problem: Lights blow fuses repeatedly
Solution: Short circuit—inspect for pinched wires. Match fuse to actual draw.
Problem: Overheating wires
Solution: Undersized wire/fuse; disconnect and redo with proper gauge.
Problem: Battery drains fast
Solution: No switch or always-on; add cutoff or relay. Check parasitic draw.
Reliable ATC/ATO fuses protect circuits instantly; waterproof cap for car use.
Best for: Essential for positive wire near battery.
Price Range: $9.99
Flexible, high-temp resistant for automotive vibration/heat.
Best for: Main power/ground runs.
Price Range: $15.99
Plug-and-play 12V strips with strong adhesive; app control optional.
Best for: Interior/cab lighting.
Price Range: $29.99
Accurate voltage/continuity testing for safe wiring.
Best for: Verify connections before final test.
Price Range: $19.99
Durable on/off control prevents drain; weatherproof.
Best for: Optional switch for easy access.
Price Range: $24.99
Essential for positive wire near battery.
Nilight 10PCS Inline Fuse Holders with 10A Fuses Reliable ATC/ATO fuses protect circuits instantly; waterproof cap for car use.
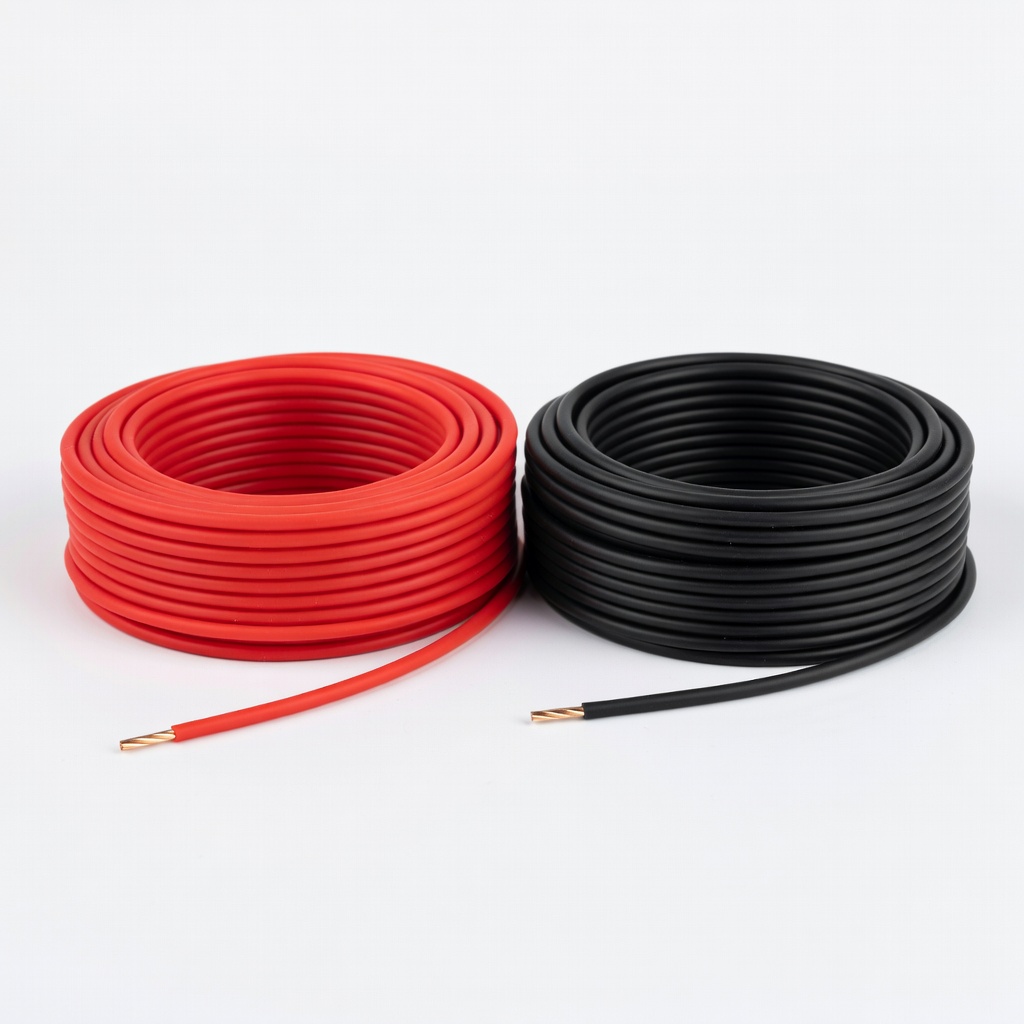
Main power/ground runs.
BNTECHGO 16 Gauge Silicone Wire (Red/Black Kit) Flexible, high-temp resistant for automotive vibration/heat.
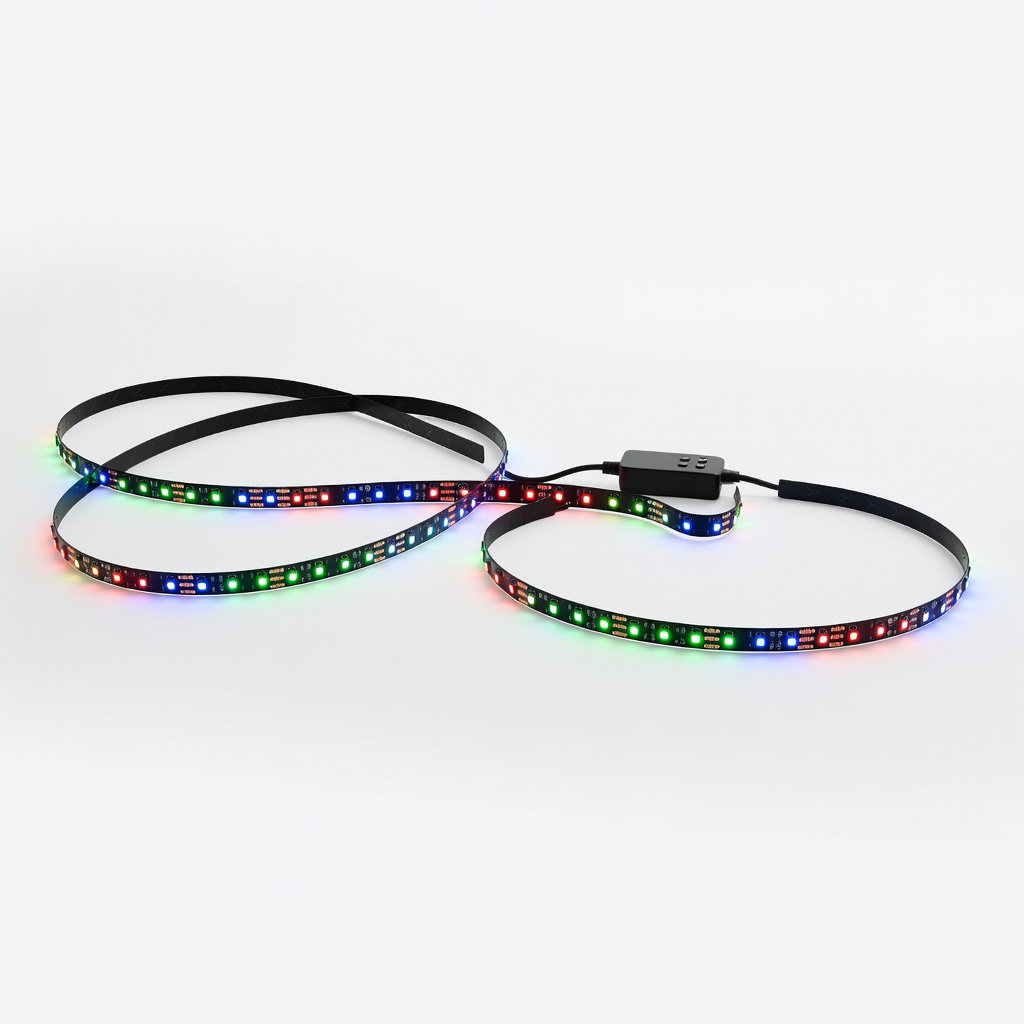
Interior/cab lighting.
Govee H619A 12V Car LED Strip Lights (16.4ft RGB) Plug-and-play 12V strips with strong adhesive; app control optional.
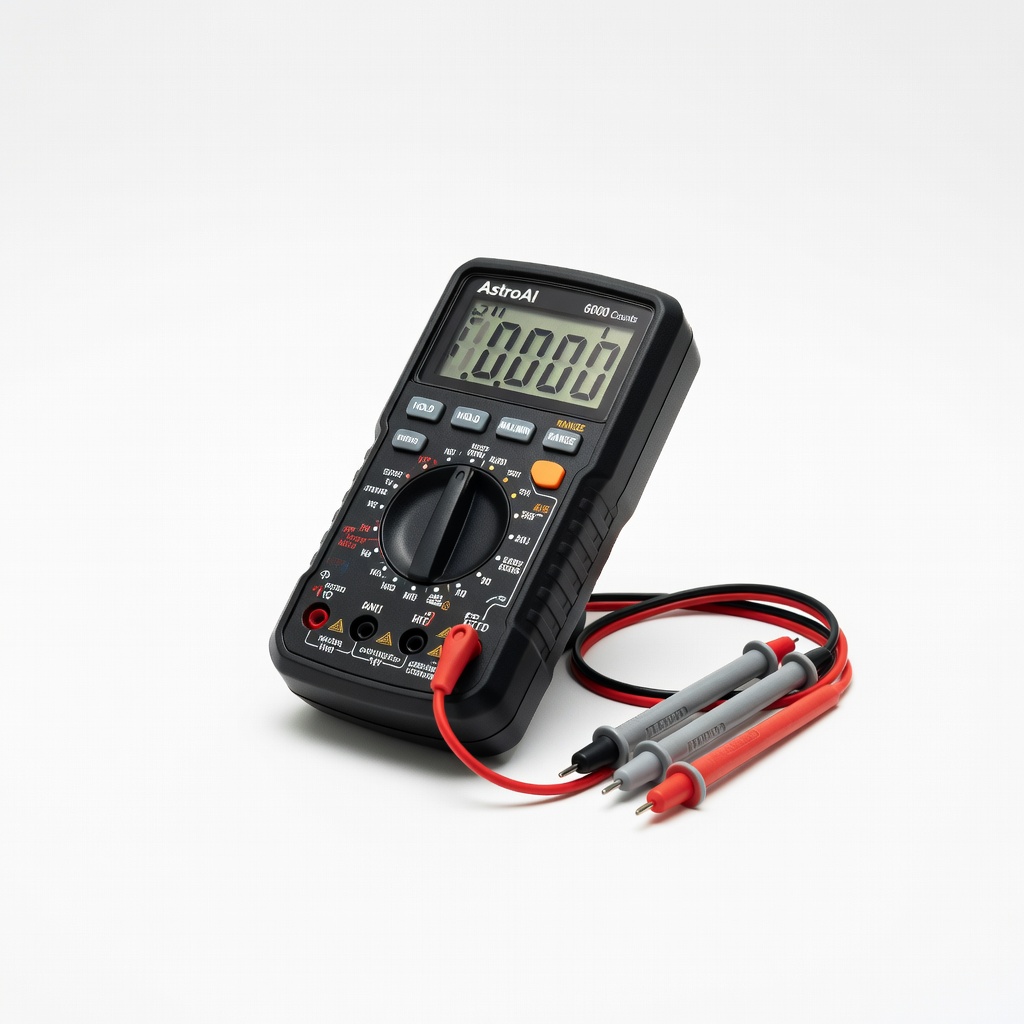
Verify connections before final test.
AstroAI Digital Multimeter 6000 Counts Accurate voltage/continuity testing for safe wiring.
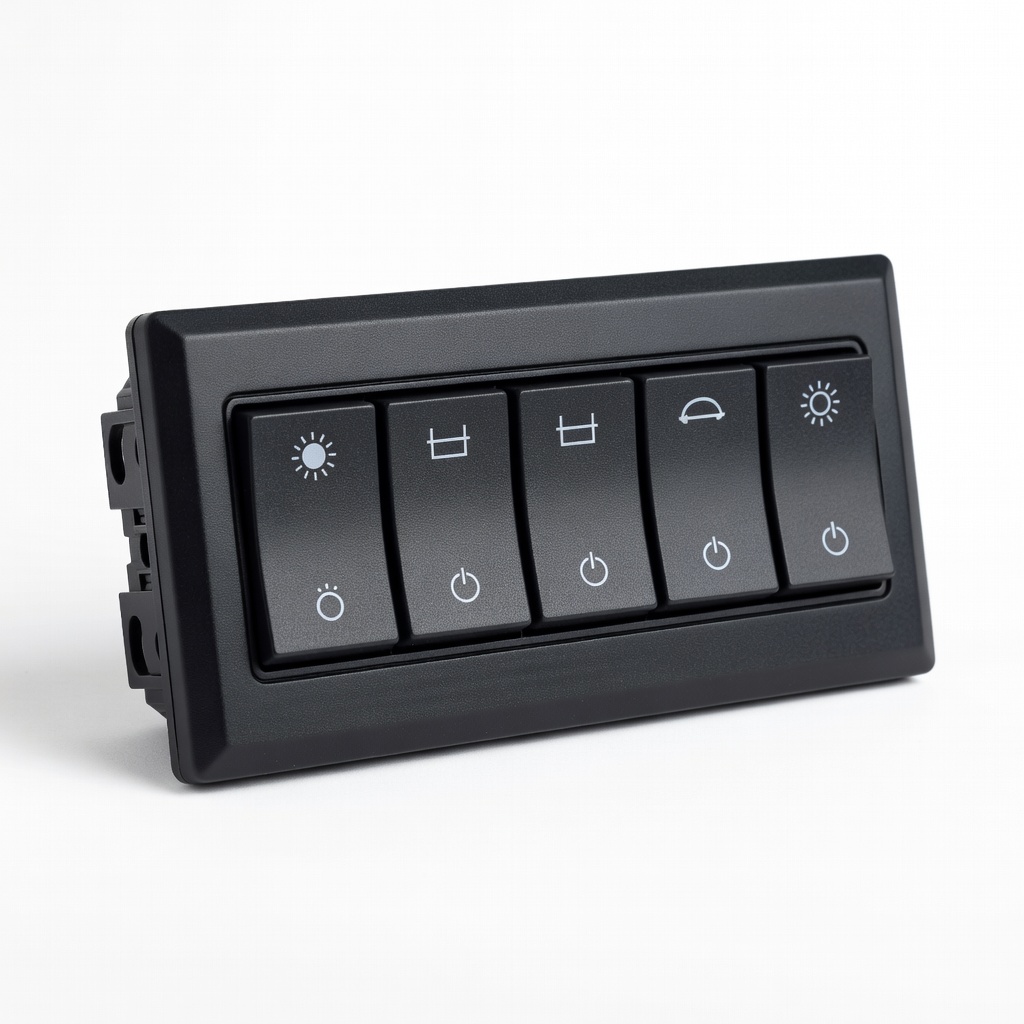
Optional switch for easy access.
Nilight Rocker Switch Panel (5 Gang) Durable on/off control prevents drain; weatherproof.