Many off-grid enthusiasts, RV owners, and solar users need more voltage to power inverters, motors, or larger systems, but buying a single 24V battery can be expensive. Wiring two 12V batteries in series doubles the voltage while keeping capacity the same, providing a cost-effective 24V solution. This guide teaches you how to do it safely and correctly.
You'll learn the step-by-step process, including safety checks, connections, and testing, so your setup runs efficiently without risks like short circuits or fires. Expect 30-60 minutes for intermediate DIYers with basic electrical knowledge—no advanced soldering required.
By the end, you'll have a verified 24V battery bank ready for use, saving money and extending your power system's life.
▸What You'll Need
- •Two identical 12V batteries (same type, capacity, and age; e.g., AGM, lithium, or flooded lead-acid)
- •Heavy-duty battery cables (2/0 or 4 AWG, at least 1-2 feet long; copper recommended)
- •Battery terminal connectors or lugs (top-post or side-post matching your batteries)
- •Digital multimeter
- •Wire crimper or hydraulic crimper
- •Insulated wrench or socket set (10mm-13mm)
- •Safety gear: gloves, safety glasses, fire extinguisher
- •Optional: Inline fuse holder and 30-50A fuse for protection
Estimated Time: 30-60 minutes
Difficulty: intermediate
▸Step-by-Step Instructions
Step 1: Prepare Your Workspace and Safety Gear
Choose a clean, well-ventilated area away from flammable materials. Lay down a non-conductive mat or cardboard to protect surfaces and prevent shorts.
Don your safety glasses and insulated gloves. Ensure both batteries are fully disconnected from any chargers, loads, or vehicles. Why? Spark hazards from hydrogen gas in lead-acid batteries can cause explosions.
Success looks like: Batteries isolated, workspace clear, gear on—no loose metal nearby.
💡 Tips:
- •Work in daylight or with bright lights for visibility.
⚠️ Warnings:
- •Never work on connected batteries; risk of severe shock or fire.
Step 2: Inspect and Charge the Batteries
Visually check each battery for damage, leaks, or corrosion. Clean terminals with a baking soda-water mix and brush if needed; rinse and dry.
Charge each battery individually to full (around 12.6-13.2V for lead-acid/lithium). Use a compatible charger. Matching charge prevents imbalance.
Success looks like: Clean terminals, batteries at equal full charge.
💡 Tips:
- •Equal batteries ensure even load sharing; mismatch causes premature failure.
⚠️ Warnings:
- •Avoid mixing battery types—lithium with lead-acid leads to damage.
Step 3: Measure Individual Battery Voltages
Set multimeter to DC volts (20V range). Touch red probe to positive (+) terminal, black to negative (-) on first battery. Note voltage (should be ~12.6V+).
Repeat for second battery. Voltages should match within 0.1V. Discharge/recharge if not.
Success looks like: Both batteries read nearly identical voltages.
💡 Tips:
- •This prevents current surges during connection.
Step 4: Prepare the Series Connection Cable
Cut one cable to bridge length (e.g., 12-18 inches for side-by-side setup). Strip 1/2 inch insulation from ends.
Crimp lugs securely onto stripped ends using a proper crimper. This low-resistance link is crucial for efficiency.
Success looks like: Secure, insulated cable ready with no exposed wire fraying.
💡 Tips:
- •Use 2/0 AWG for high-current draws over 100A.
⚠️ Warnings:
- •Poor crimps cause overheating and fire risks.
Step 5: Connect Batteries in Series
Place batteries side-by-side, positive of #1 facing negative of #2. Connect positive (+) terminal of battery 1 to negative (-) terminal of battery 2 using the prepared cable. Tighten securely.
Do not connect positives or negatives together—this is series, not parallel.
Success looks like: One jumper cable linking +1 to -2; outer terminals free.
💡 Tips:
- •Red cable for positive jumper, black for negatives later.
⚠️ Warnings:
- •Reverse polarity shorts the system—double-check!
Step 6: Verify Series Voltage
Measure across outer terminals: red probe on + of battery 1, black on - of battery 2. Expect ~24-26V.
If under 24V, disconnect and recheck steps. No voltage? Check connections.
Success looks like: Multimeter reads 24V+; no heat on jumper.
💡 Tips:
- •Let sit 5 minutes; voltage stabilizes.
Step 7: Connect to Load and Add Protection
Attach your 24V load/charger: positive load to + of battery 1, negative to - of battery 2. Install inline fuse near positive output.
Power on and monitor for 10 minutes—no excessive heat or voltage drop.
Success looks like: System powers load at stable 24V.
💡 Tips:
- •Balance charge occasionally if lithium.
⚠️ Warnings:
- •Match wire gauge to max amps (e.g., 4 AWG for 50A).
▸Pro Tips
- •Always match batteries exactly for longevity—buy pairs.
- •Use dielectric grease on terminals to prevent corrosion.
- •Elevate batteries on non-conductive stands for airflow.
- •Label terminals (+1, -2) for easy troubleshooting.
- •For mobile setups, use flexible stranded copper cable.
- •Monitor with a battery monitor like Victron BMV-712.
- •Test under load gradually to spot issues early.
▸Common Mistakes to Avoid
- •Using mismatched batteries: Causes uneven drain and failure—always match specs.
- •Insufficient cable gauge: Leads to voltage drop/heat—use 2/0 AWG min for big banks.
- •Connecting positives together: Creates parallel, not series—results in 12V output.
- •Skipping voltage check: Risks damaging loads—verify 24V first.
- •Ignoring fuses: No protection from shorts—add 1.25x max fuse rating.
▸Troubleshooting
Problem: Voltage reads 12V instead of 24V
Solution: Check jumper is on +1 to -2, not same polarity. Verify individual batteries >12V.
Problem: Jumper cable gets hot
Solution: Crimp tighter or upgrade gauge. Check for corrosion.
Problem: One battery drains faster
Solution: Batteries mismatched—separate and equalize charge.
Problem: Sparks or smoke on connect
Solution: Immediate disconnect. Check polarity; clean terminals. Seek pro if damaged.
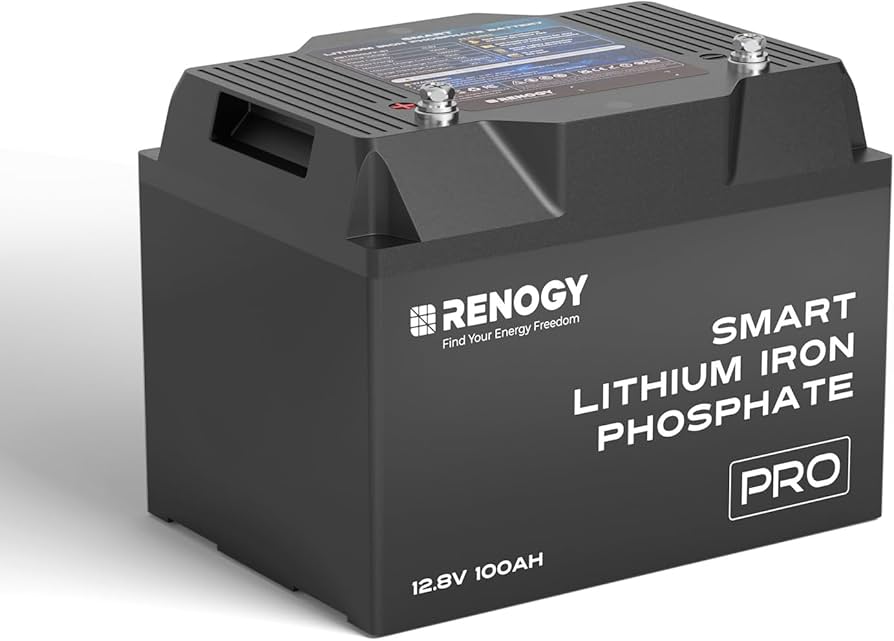
Renogy 12V 100Ah Smart Lithium Iron Phosphate Battery
Perfect matching pair for series; lightweight, long-life LiFePO4 with built-in BMS for safety.
Best for: Solar/RV 24V banks needing high cycles.
Price Range: $600-$700 each (buy two)
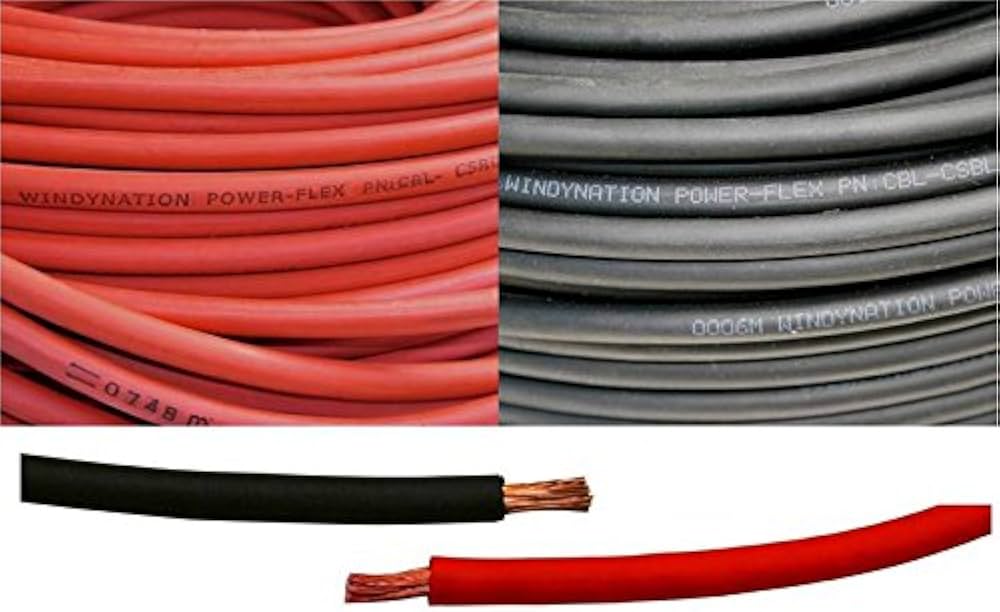
WindyNation 2/0 AWG Battery Interconnect Cable 12 Inch
Heavy-duty, pre-crimped copper for low resistance series links.
Best for: Secure jumper between batteries.
Price Range: $15-$20
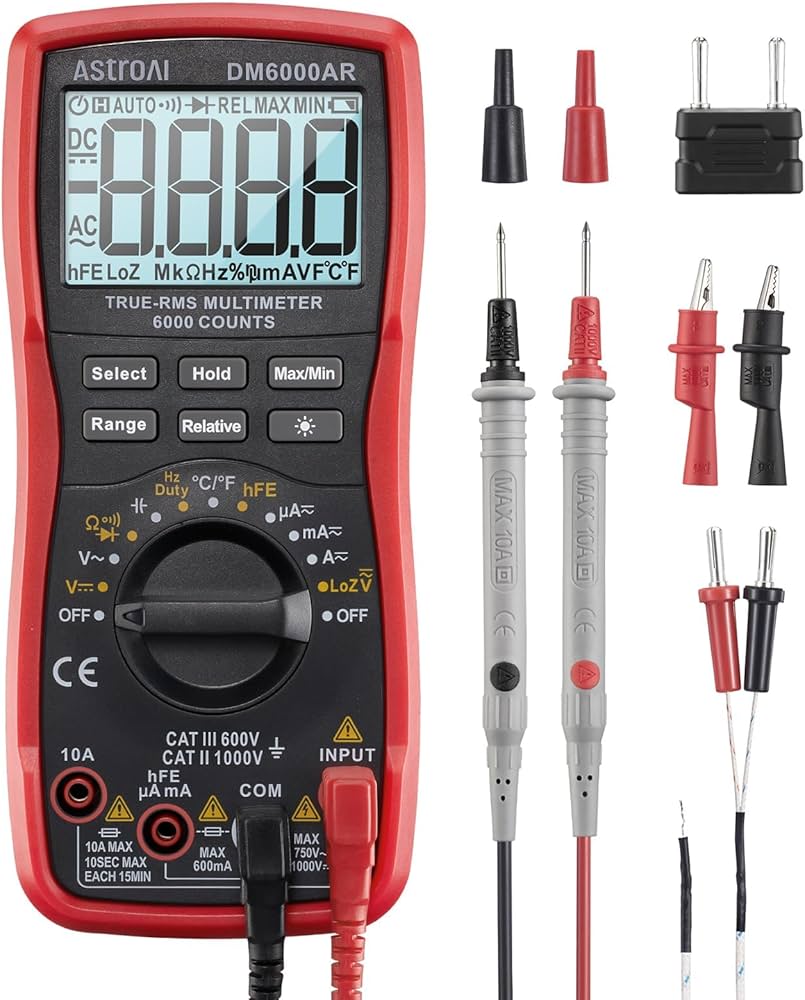
AstroAI Digital Multimeter 6000 Counts
Accurate voltage testing with auto-ranging; essential for verification.
Best for: Pre/post-connection checks.
Price Range: $30-$40
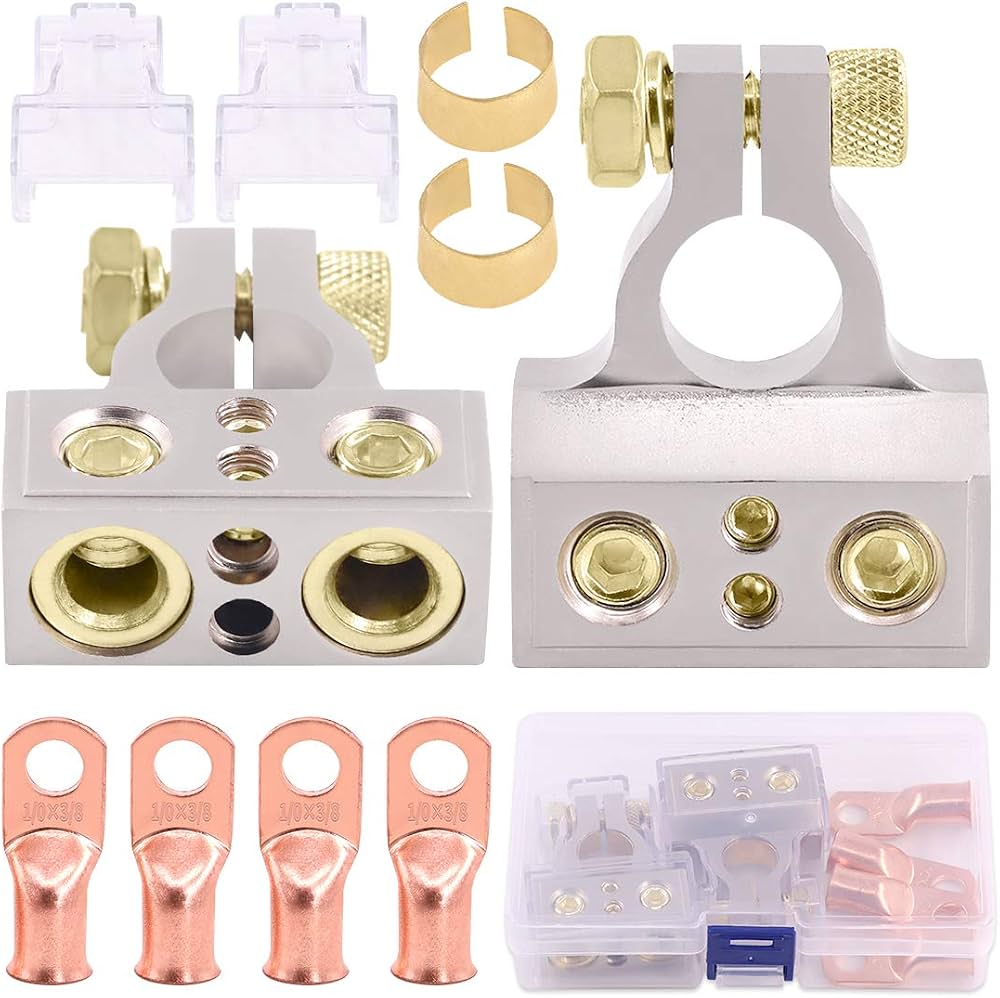
GOOACC 8pcs Battery Terminal Connectors
Universal top/side-post for secure, color-coded connections.
Best for: Load and jumper attachments.
Price Range: $10-$15
Spartan Power 2/0 AWG ANL Fuse Kit
Essential protection prevents fires in high-amp 24V setups.
Best for: Inline on positive output.
Price Range: $25-$35