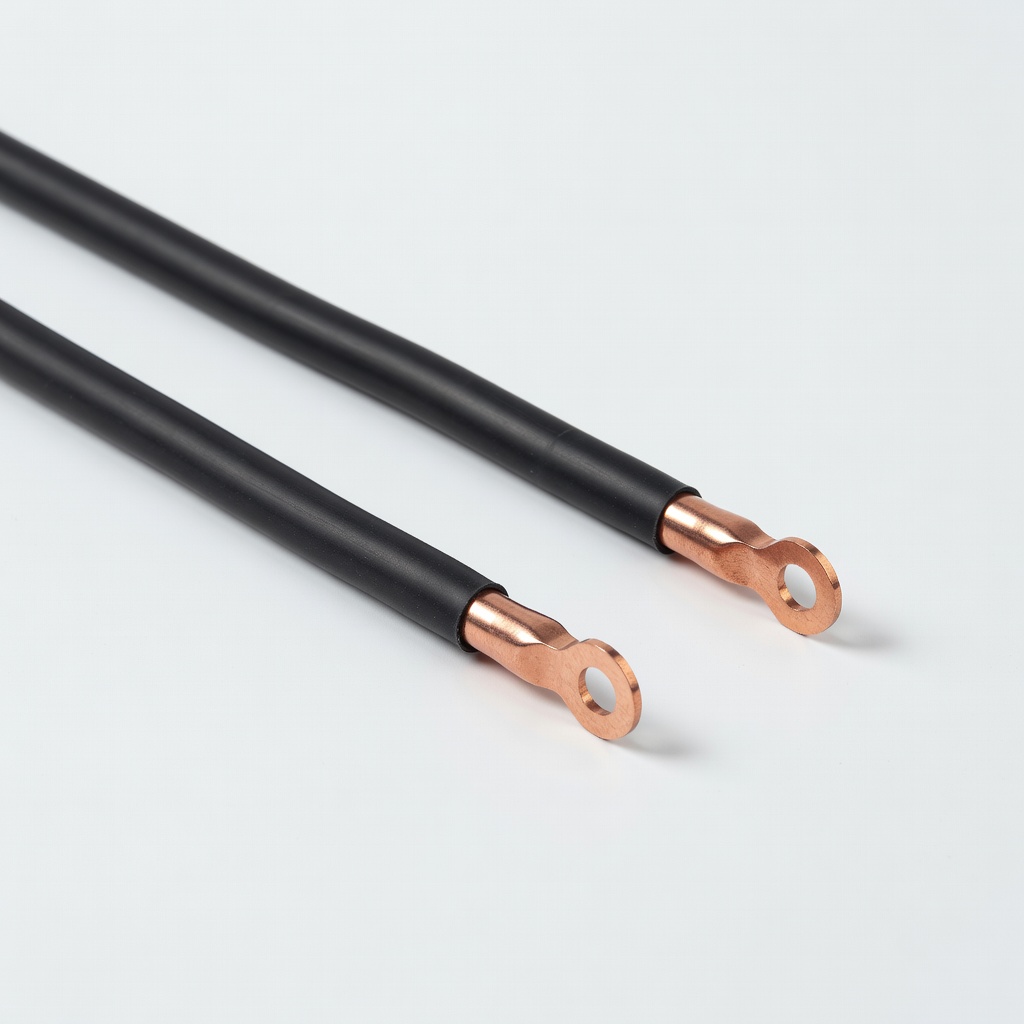
Ampper 2/0 AWG Battery Cable Set (10ft Pair)
Interconnecting high-capacity banks (200Ah+).
$35-45
Ampper 2/0 AWG Battery Cable Set (10ft Pair) Heavy-duty, pure copper cables with lugs—perfect for low-loss parallel connections in RVs.
Get the App
Better experience on mobile
Boost your RV's power by connecting 12V batteries in parallel safely—double capacity, same voltage, step-by-step guide for intermediates.
Running out of power on your RV road trip? Wiring 12V batteries in parallel lets you combine multiple batteries to increase your total amp-hour (Ah) capacity while keeping the 12V voltage, perfect for powering lights, appliances, and inverters longer without frequent recharges.
This guide walks you through the entire process safely and effectively. You'll learn to select compatible batteries, make secure connections, and test your setup. Expect to spend 1-2 hours, depending on your experience—no advanced electrical knowledge needed, but basic wiring skills help.
By the end, you'll have a reliable parallel bank ready for your next adventure, with tips to avoid costly mistakes like uneven charging.
Estimated Time: 1-2 hours Difficulty: intermediate
Choose a well-ventilated, flat area away from flammables. Disconnect any chargers, inverters, or loads from the batteries. Wear insulated gloves and goggles to protect against sparks or acid spills.
Why it matters: Hydrogen gas from batteries can ignite, and shorts cause fires. Expect a clean, organized space ready for work—no tools scattered.
Image description: Workspace with batteries laid out, safety gear nearby, and warning signs.
💡 Tips:
⚠️ Warnings:
Verify all batteries are 12V deep-cycle types with identical capacity (e.g., all 100Ah) and similar charge levels (within 0.1V). Use your multimeter to measure each battery's voltage individually.
Charge any low ones to match. Clean terminals with a wire brush.
Success: All batteries read ~12.6-13.2V (fully charged lead-acid). Mismatched batteries cause uneven drain.
💡 Tips:
⚠️ Warnings:
Place batteries side-by-side in your RV's battery compartment or tray, positives on the same side for short cables. Secure loosely if needed.
Keep at least 1-2 inches apart for airflow. This setup minimizes cable length, reducing voltage drop.
💡 Tips:
Cut cables to equal lengths (e.g., 12-18 inches). Strip 1/2 inch insulation, slide on heat-shrink tubing, crimp tinned copper lugs securely with a ratcheting crimper.
Heat-shrink the tubing for insulation. Why equal lengths? Ensures balanced current sharing.
💡 Tips:
Connect all positive (+) terminals together using the short jumper cables. Tighten securely with wrench (10-15 ft-lbs torque). Install the main positive cable from the first battery's + to your RV system, with an inline fuse within 12 inches.
Cover connections with heat-shrink or caps. Expect no sparks if done right.
⚠️ Warnings:
Repeat for negatives (-): jumper all together, then main negative to chassis ground or bus bar.
This completes the parallel circuit—voltage stays 12V, capacity multiplies (e.g., 2x100Ah = 200Ah).
Use multimeter across the main + and - leads: should read the average battery voltage (~12.6V). Check each battery individually—no more than 0.05V difference.
Reconnect charger/load and monitor for heat or voltage sag.
Success: Stable voltage, even across batteries.
💡 Tips:
Strap batteries down, route cables away from heat/moving parts, add terminal covers. Label the bank as 'Parallel 12V [total Ah]'.
Your RV now has extended runtime!
Problem: Voltage drop across batteries
Solution: Check cable lengths/gauges; clean connections; equalize charge.
Problem: One battery drains faster
Solution: Swap positions and retest; replace mismatched battery.
Problem: Sparks or heat on connect
Solution: Disconnect immediately; check for shorts; use thicker cables.
Problem: No power to RV system
Solution: Verify fuse intact, polarity correct; test at bus bar.
Problem: Overheating
Solution: Shut off; check for loose connections or undersized cables—seek pro if persists.
Heavy-duty, pure copper cables with lugs—perfect for low-loss parallel connections in RVs.
Best for: Interconnecting high-capacity banks (200Ah+).
Price Range: $35-45
Accurate voltage testing with auto-ranging—essential for verifying balance.
Best for: Pre/post-wiring checks and ongoing monitoring.
Price Range: $13-20
Waterproof, high-amp protection—safety must for RV positive leads.
Best for: Protecting parallel bank from shorts.
Price Range: $10-15
Corrosion-resistant with covers—secure, easy install for marine/RV use.
Best for: Top-post batteries common in RVs.
Price Range: $15-25
Tracks state of charge for parallel banks—prevents deep discharge.
Best for: Ongoing RV power management.
Price Range: $50-70
Interconnecting high-capacity banks (200Ah+).
Ampper 2/0 AWG Battery Cable Set (10ft Pair) Heavy-duty, pure copper cables with lugs—perfect for low-loss parallel connections in RVs.

Pre/post-wiring checks and ongoing monitoring.
AstroAI Digital Multimeter Accurate voltage testing with auto-ranging—essential for verifying balance.
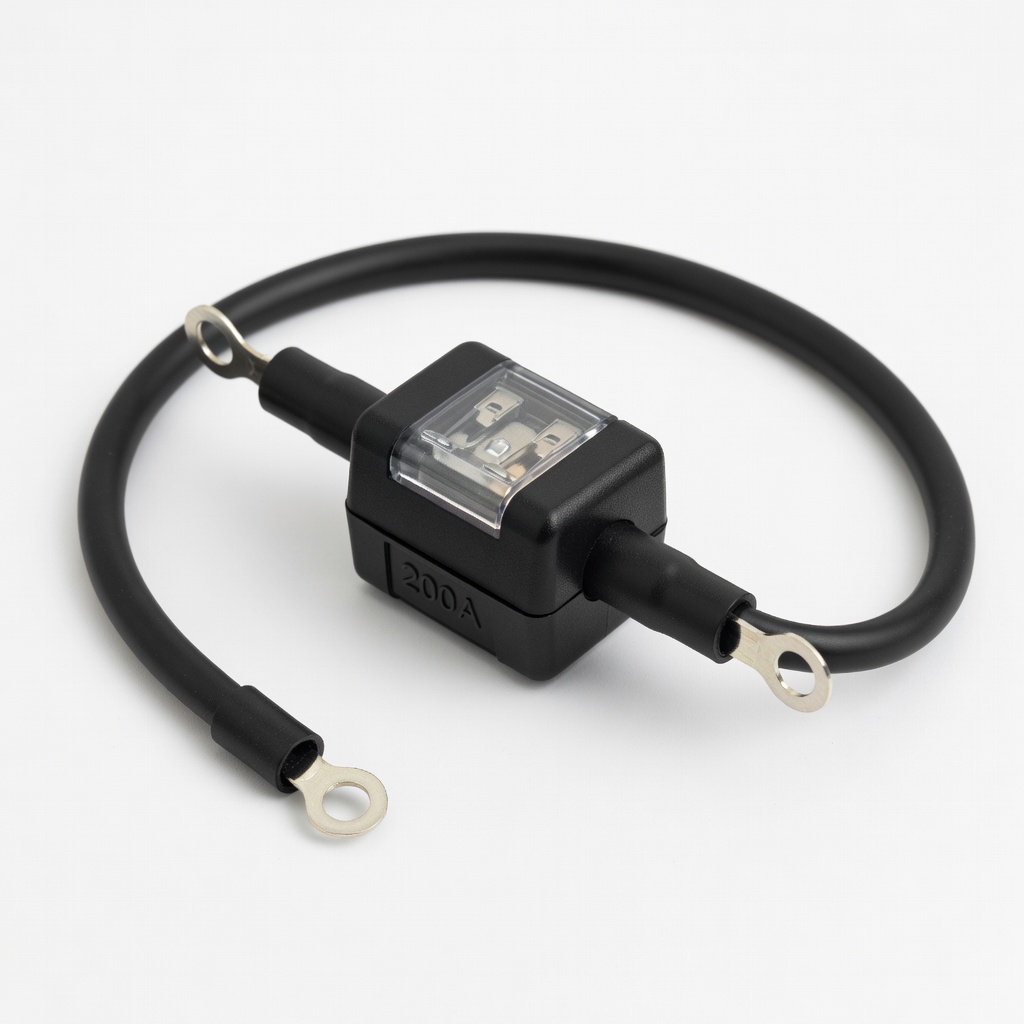
Protecting parallel bank from shorts.
Nilight 200A Inline Fuse Holder Waterproof, high-amp protection—safety must for RV positive leads.
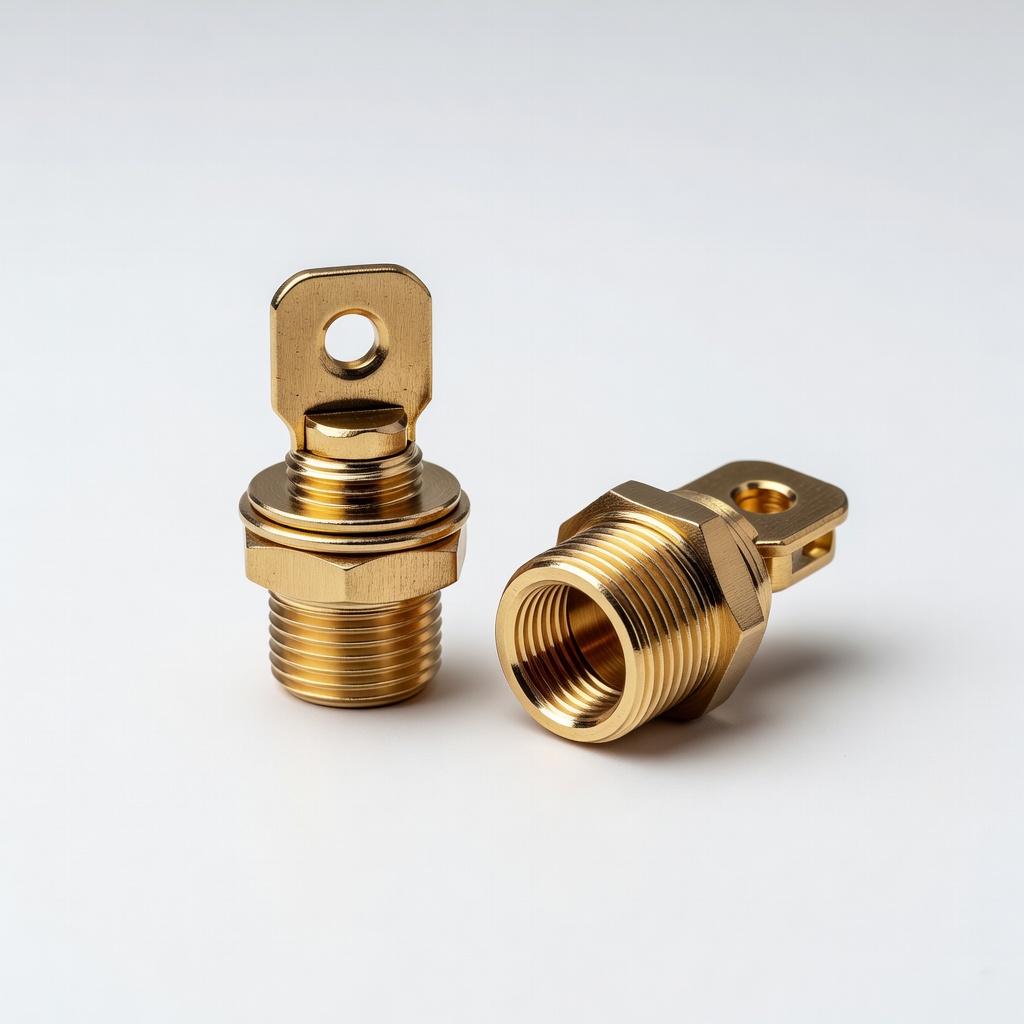
Top-post batteries common in RVs.
Spartan Power Battery Terminal Connectors (Top Post) Corrosion-resistant with covers—secure, easy install for marine/RV use.

Ongoing RV power management.
Renogy Battery Monitor Shunt Tracks state of charge for parallel banks—prevents deep discharge.