
Ancor 2/0 AWG Tinned Marine Battery Cable (Red/Black)
Main jumpers and feeds for 200A+ systems.
$5-7 per foot
Ancor 2/0 AWG Tinned Marine Battery Cable (Red/Black) Corrosion-resistant tinned copper ideal for boat parallels; flexible, ABYC compliant.
Get the App
Better experience on mobile
Master parallel wiring to boost your boat's 12V battery capacity safely, extending runtime for trolling motors, electronics, and lights without voltage loss.
Boaters often face power shortages during long outings, leaving trolling motors dead or nav lights dim. Wiring 12V batteries in parallel doubles (or more) your amp-hour (Ah) capacity while keeping voltage at 12V—perfect for marine deep-cycle setups. This guide targets advanced users familiar with basic electrics.
You'll learn a foolproof, marine-safe method using tinned cables and fuses to prevent fires or shorts. Expect 1-2 hours total, including testing; no prior parallel wiring needed but electrical safety knowledge assumed.
Overview: Match batteries, connect positives first, negatives second, fuse the bank, and verify. Safety first—always disconnect shore power.
Estimated Time: 1-2 hours (plus charging time if batteries unequal) Difficulty: advanced
Park your boat on a stable surface, disconnect shore power, charger, and all loads (lights, bilge, etc.). Wear gloves and eye protection. Ventilate if using flooded lead-acid batteries to avoid hydrogen gas buildup.
Inspect batteries for damage, leaks, or swelling. Clean terminals with a wire brush and baking soda solution. Why? Clean connections prevent resistance heating and fires. Success: Terminals shine, workspace clear.
Image Description: Boat battery compartment with tools laid out, safety gear on workbench.
💡 Tips:
⚠️ Warnings:
Select 2+ identical 12V batteries (e.g., both 100Ah Group 31 AGM). Charge to same voltage (12.6-12.8V resting). Position side-by-side in battery box/tray, positives closest for short jumps.
Secure with straps/hold-downs to prevent movement underway. Why match? Unequal batteries cause charging imbalances, shortening life. Success: Batteries stable, voltmeter shows <0.1V difference.
Image Description: Two 12V marine batteries side-by-side in tray, multimeter probes on terminals.
💡 Tips:
⚠️ Warnings:
Measure cable lengths for minimal slack (jumpers short, main feed longer). Cut with cable cutters. Strip 1/2" insulation, slide heat-shrink over.
Crimp lugs tightly (use ratcheting tool for 90kpsi crimp). Heat-shrink for waterproof seal. Connect all positive terminals in parallel: jumper between batteries first, then main + cable to load/charger.
Why first? Positives isolated if short occurs. Success: Solid, insulated + connections, no bare wire.
Image Description: Crimping tool compressing lug on red cable, heat gun sealing tubing.
💡 Tips:
⚠️ Warnings:
Mount inline fuse holder near battery bank (within 7" of + terminal per ABYC). Insert appropriately sized fuse (e.g., 300A for 20A continuous draw).
Why? Protects wiring from shorts/overloads. Success: Fuse secure, visible for inspection.
Image Description: ANL fuse holder bolted near battery +, cable routed neatly.
💡 Tips:
Repeat crimping for black cables. Connect all negatives together with jumper, then main - to bus bar or engine ground.
Use same lengths as positives for balance. Add terminal covers. Why last? Completes circuit safely.
Success: All wired, insulated.
Image Description: Complete parallel bank with red/black cables, covers on.
💡 Tips:
Zip-tie cables away from heat/sharp edges. Chafe protection on rub points. Why? Prevents shorts from vibration.
Success: Neat, strain-free install.
Image Description: Routed cables with zip ties, entering battery box.
Multimeter across main terminals: 12.6V+. Check each battery: same voltage. Apply light load (e.g., 12V bulb), monitor voltage drop <0.2V.
Reconnect charger—equalizes. Success: Stable 12V, doubled Ah capacity.
Image Description: Multimeter reading 12.7V on parallel bank under load.
💡 Tips:
⚠️ Warnings:
Problem: Voltage reads low (under 12V)
Solution: Check connections for looseness/corrosion; measure each battery separately—replace weak one. Retest under no load.
Problem: One battery drains faster
Solution: Unequal cells; disconnect, individually charge/balance, or replace. Add diodes if persistent (advanced).
Problem: Overheating cables
Solution: Undersized wire or bad crimp; upgrade gauge, re-crimp. Check fuse rating.
Problem: No power after wiring
Solution: Blown fuse or reversed polarity; inspect with multimeter. Seek marine electrician if wiring damaged.
Corrosion-resistant tinned copper ideal for boat parallels; flexible, ABYC compliant.
Best for: Main jumpers and feeds for 200A+ systems.
Price Range: $5-7 per foot
Compact, surface-mount fuse holder for safe marine fusing near batteries.
Best for: Mount within 7" of + terminal for parallel banks.
Price Range: $25-35
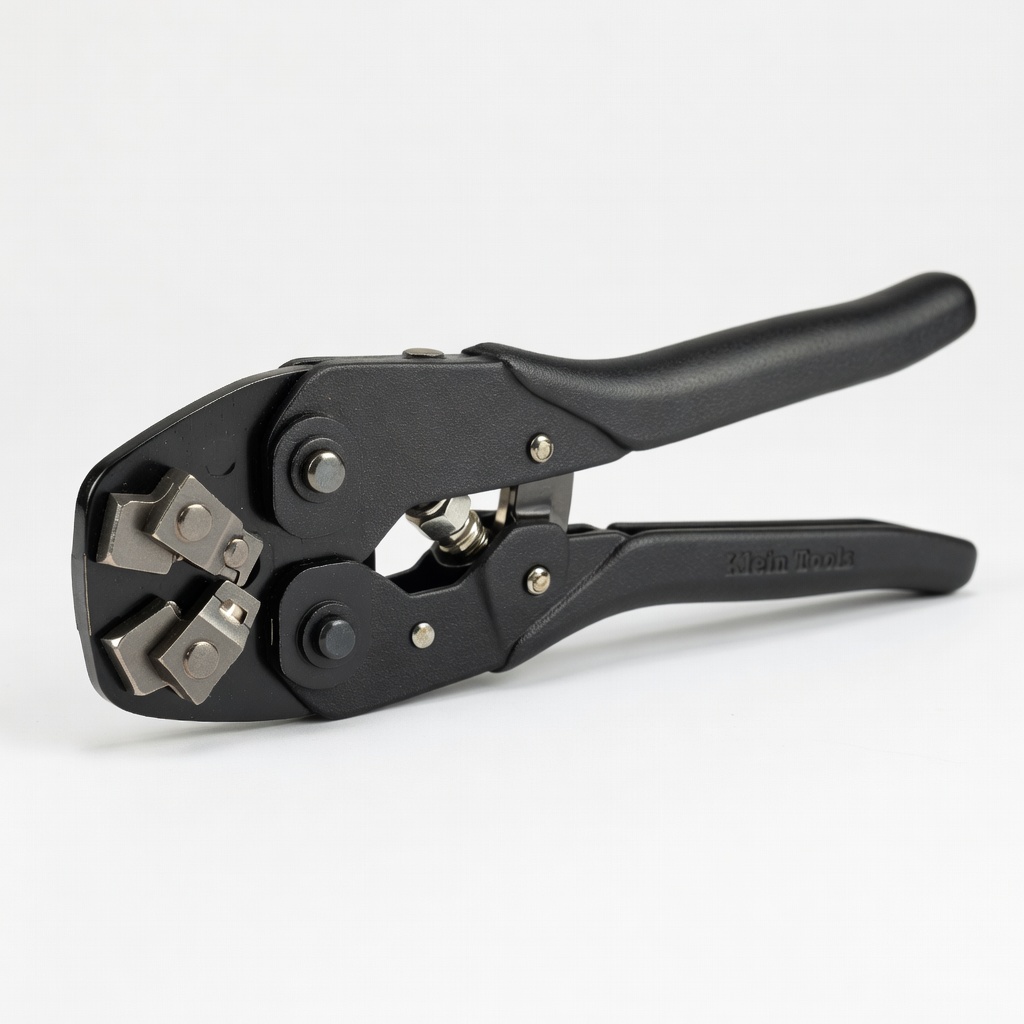
Heavy-duty ratcheting crimper for secure 2/0 AWG lugs—prevents loose connections.
Best for: Pro crimps on all battery cables.
Price Range: $40-50
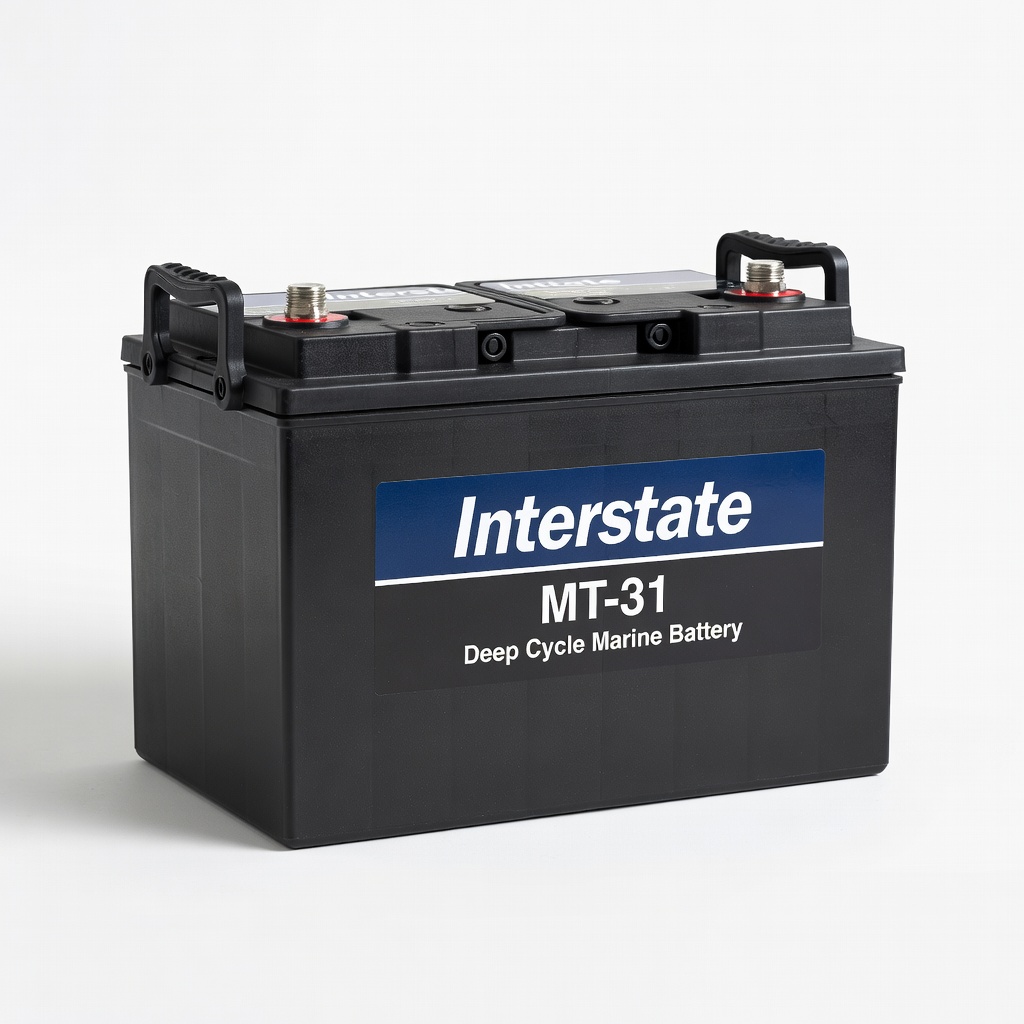
Reliable AGM 105Ah group 31—vibration-proof for boats.
Best for: Matched pairs for parallel setups.
Price Range: $200-250 each
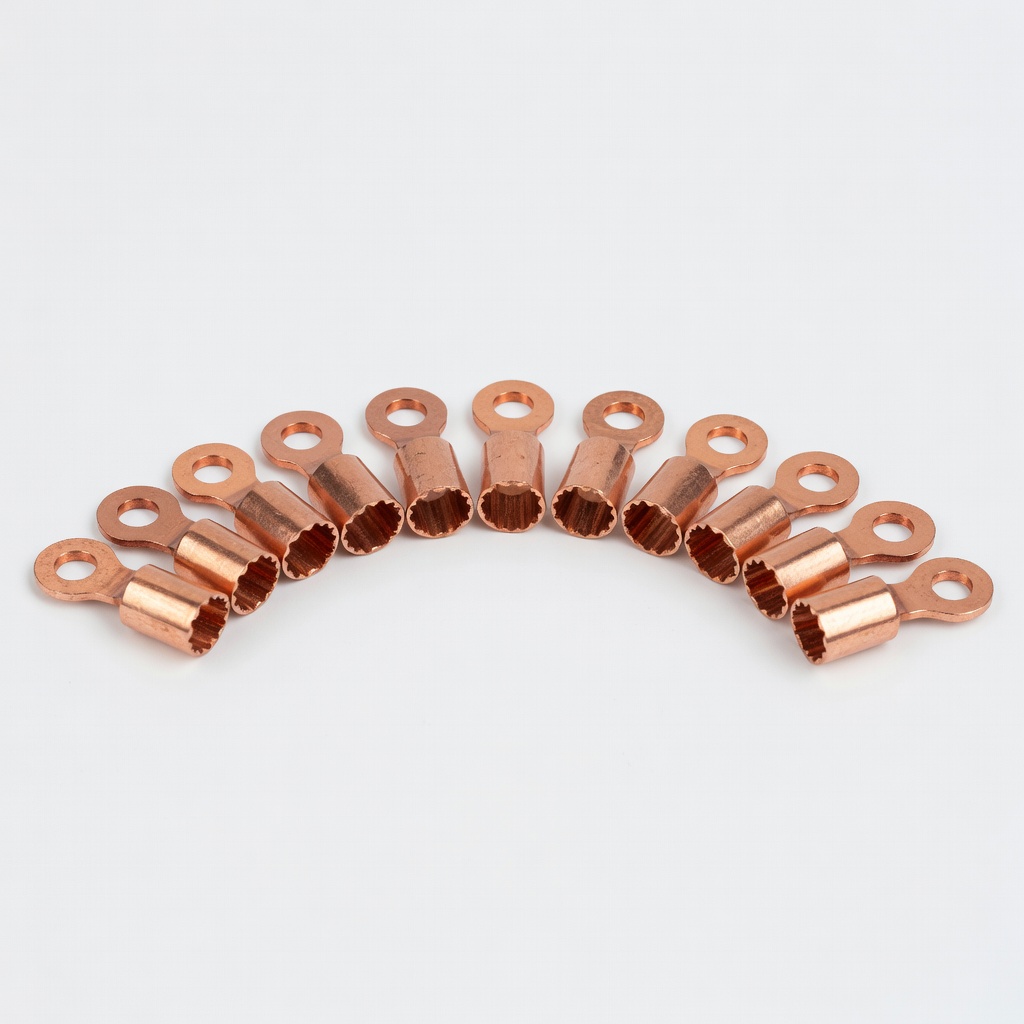
Tinned copper lugs for waterproof crimps.
Best for: Terminals for all connections.
Price Range: $15-20
Main jumpers and feeds for 200A+ systems.
Ancor 2/0 AWG Tinned Marine Battery Cable (Red/Black) Corrosion-resistant tinned copper ideal for boat parallels; flexible, ABYC compliant.
Mount within 7" of + terminal for parallel banks.
Blue Sea Systems MRBF Terminal Fuse Block Compact, surface-mount fuse holder for safe marine fusing near batteries.
Pro crimps on all battery cables.
Klein Tools 50711 Battery Terminal Crimper Heavy-duty ratcheting crimper for secure 2/0 AWG lugs—prevents loose connections.
Matched pairs for parallel setups.
Interstate MT-31 Deep Cycle Marine Battery Reliable AGM 105Ah group 31—vibration-proof for boats.
Terminals for all connections.
TEMCo 4 AWG Battery Lugs (Pack of 10) Tinned copper lugs for waterproof crimps.