
Renogy Wanderer 30A PWM Solar Charge Controller
Core brain of your solar setup for safe battery charging.
$19.99
Renogy Wanderer 30A PWM Solar Charge Controller Reliable, affordable entry for 12V systems up to 400W panels; built-in protections.
Get the App
Better experience on mobile
Master safe, reliable wiring of 12V battery banks to solar panels for off-grid power with this intermediate step-by-step guide.
Building a solar power system for your RV, cabin, or boat? Properly wiring 12V batteries to solar panels is crucial for efficient charging and preventing costly damage from shorts or overloads. Many DIYers skip safety steps, leading to fires or dead batteries—don't be one of them.
In this guide, you'll learn how to connect multiple 12V batteries in parallel for increased capacity, integrate a charge controller, and link everything safely. Expect clear steps covering planning, wiring, and testing. This intermediate project assumes basic electrical knowledge like polarity.
Total time: 1-2 hours. Difficulty: Intermediate. By the end, you'll have a functional 12V solar battery bank delivering steady power.
Estimated Time: 1-2 hours Difficulty: intermediate
Determine if wiring batteries in parallel (same voltage, more capacity) or series (higher voltage—stick to parallel for 12V systems). Calculate total amp-hours (Ah): e.g., two 100Ah batteries in parallel = 200Ah at 12V.
Match your solar panels' output: Panels should produce ~10-20% of battery capacity daily. Use an online solar calculator for sizing. Sketch a diagram: Solar panels → Charge controller → Battery positive/negative bus → Loads/inverter.
Success: A clear wiring diagram on paper or app, confirming fuses sized to max charge current (controller rating x 1.25).
💡 Tips:
⚠️ Warnings:
Disconnect all power sources. Work in a well-ventilated, dry area away from flammables. Charge batteries to full individually first using a smart charger.
Label cables: Red for positive (+), black for negative (-). Inspect for damage. Torque specs: Battery terminals 5-7 Nm.
Success: Batteries fully charged, tools ready, workspace clear.
💡 Tips:
⚠️ Warnings:
Place batteries close together (<3ft apart to minimize voltage drop). Connect all positives together first using interconnect cables and bus bar. Then connect all negatives.
Start with shortest cables on ends to balance current. Tighten terminals firmly but don't over-torque.
Success: Multimeter shows ~12.6-12.8V across the bank; no heat buildup.
💡 Tips:
⚠️ Warnings:
Place a fuse on the positive line from battery bank to charge controller (within 7 inches of battery). Size: Controller max amps x 1.25 (e.g., 40A fuse for 30A controller).
Add a breaker or fuse between controller and panels too. Use marine-grade holders.
Success: Fuses in place, no exposed wire.
💡 Tips:
⚠️ Warnings:
Connect controller's battery + to bank + bus (after fuse), then - to - bus. Use 8-10 AWG wire for controllers up to 30A.
Mount controller securely, away from heat. Follow manual polarity.
Success: Controller powers on (LEDs light), shows battery voltage matching multimeter.
💡 Tips:
⚠️ Warnings:
Use MC4 connectors for panels to controller PV inputs. Wire in parallel for 12V (Y-branch if multiple). Max PV voltage < controller limit (e.g., 25V for 12V PWM).
Route cables neatly, seal connections.
Success: Controller detects PV voltage/input current.
💡 Tips:
⚠️ Warnings:
Wire inverter/loads from battery bank (separate fused positives). Double-check all connections for tightness, polarity, insulation.
Scan for loose wires or heat.
Success: System diagram matches reality.
💡 Tips:
⚠️ Warnings:
Expose panels to sun. Multimeter: PV voltage > battery voltage, charging current flows. Monitor for 30 mins—no heat, steady charge.
Cycle with small load.
Success: Batteries charging at expected rate (e.g., 10A from 200W panels).
💡 Tips:
⚠️ Warnings:
Problem: No charging from panels
Solution: Check PV voltage (>17V), MC4 connections, fuse. Clean panels/shade.
Problem: Batteries not holding charge
Solution: Test individual batteries; sulfation? Equalize or replace old ones.
Problem: Overheating cables/connections
Solution: Tighten/upgrade gauge. Check amp draw < fuse rating.
Problem: Controller error lights
Solution: Verify polarity/voltage limits. Reset or replace if fried.
Problem: Voltage drop under load
Solution: Shorten cables or upsize gauge. Clean terminals.
Reliable, affordable entry for 12V systems up to 400W panels; built-in protections.
Best for: Core brain of your solar setup for safe battery charging.
Price Range: $19.99
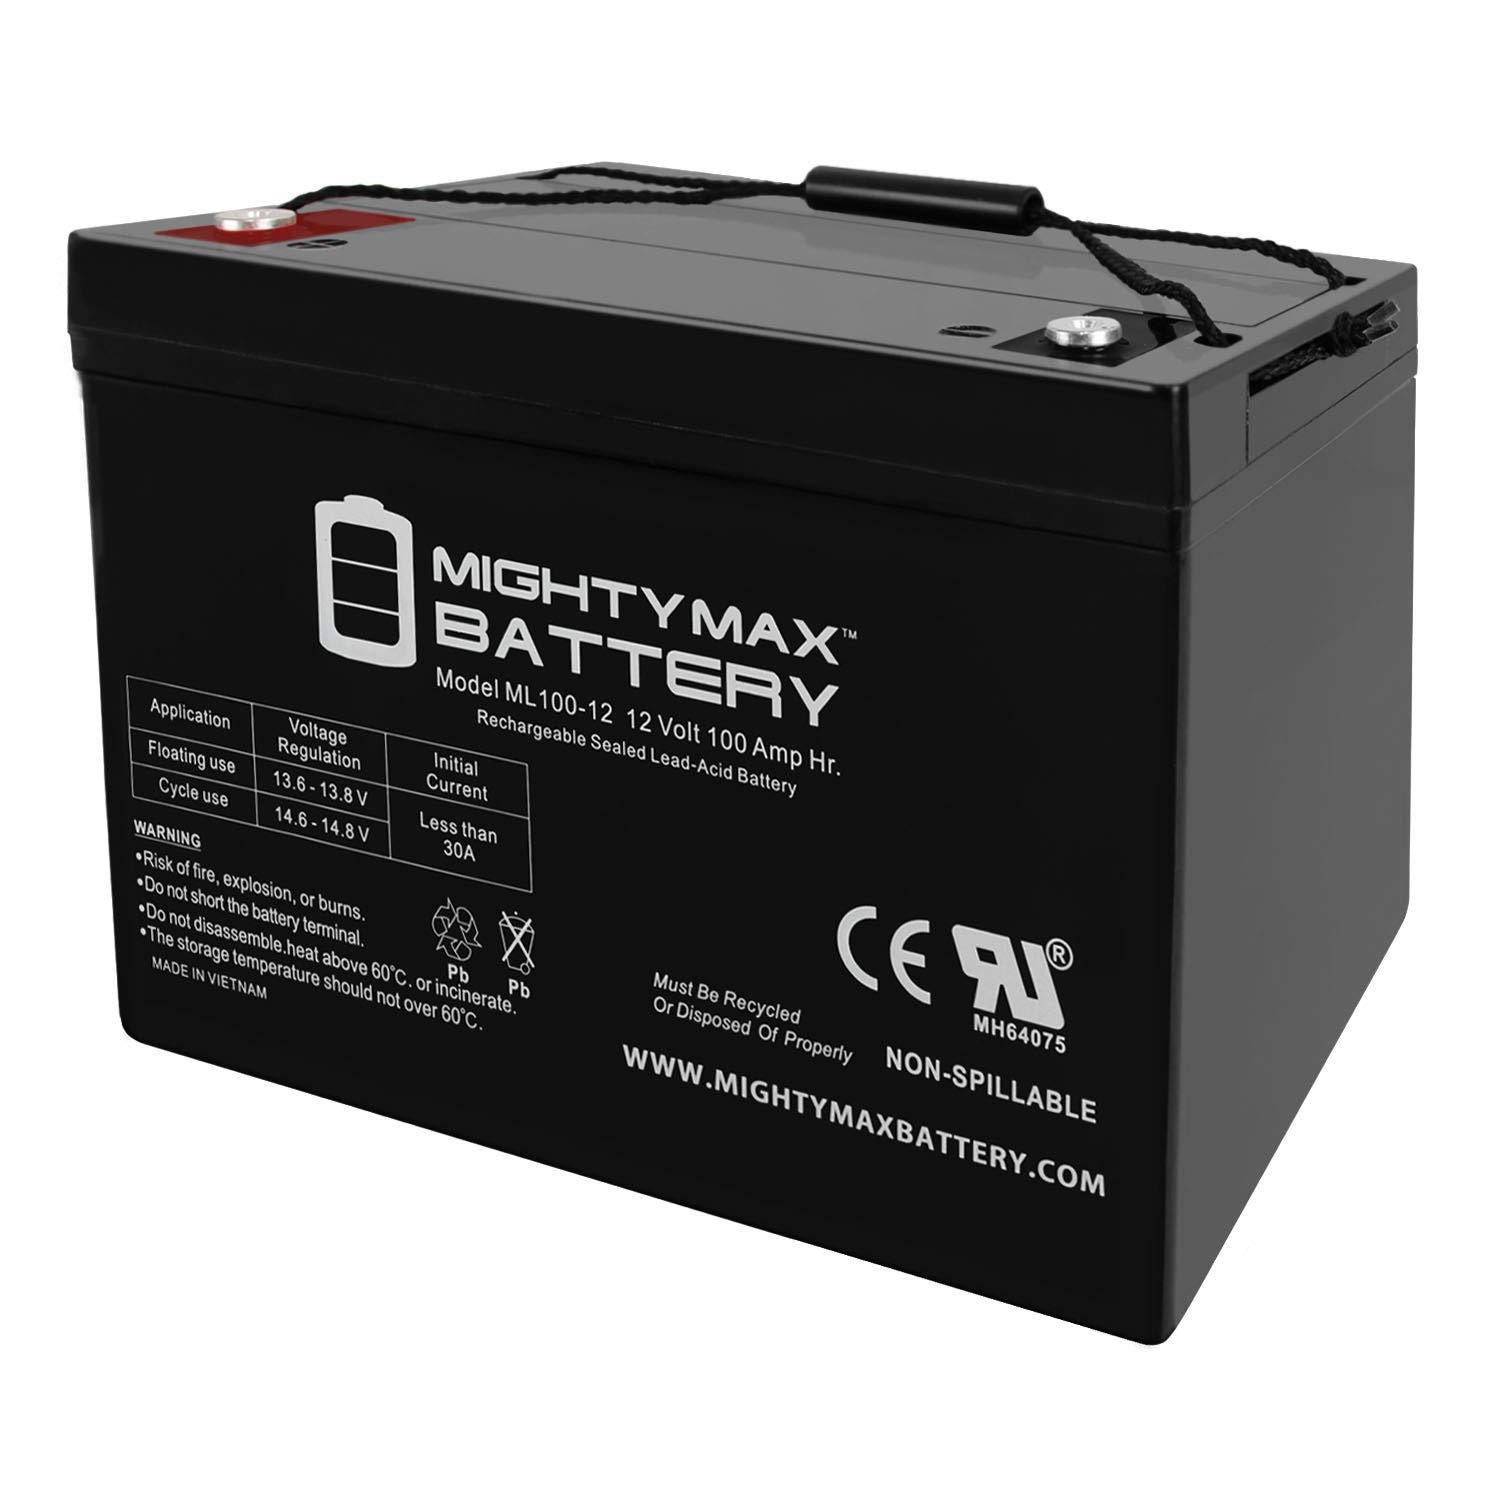
Deep-cycle, spill-proof, maintenance-free; great for parallel banks.
Best for: Building a 200-400Ah 12V bank for RVs or cabins.
Price Range: $179.99
UV-resistant, tinned copper for low loss over distance.
Best for: Connecting panels to controller (20-50ft runs).
Price Range: $25.99
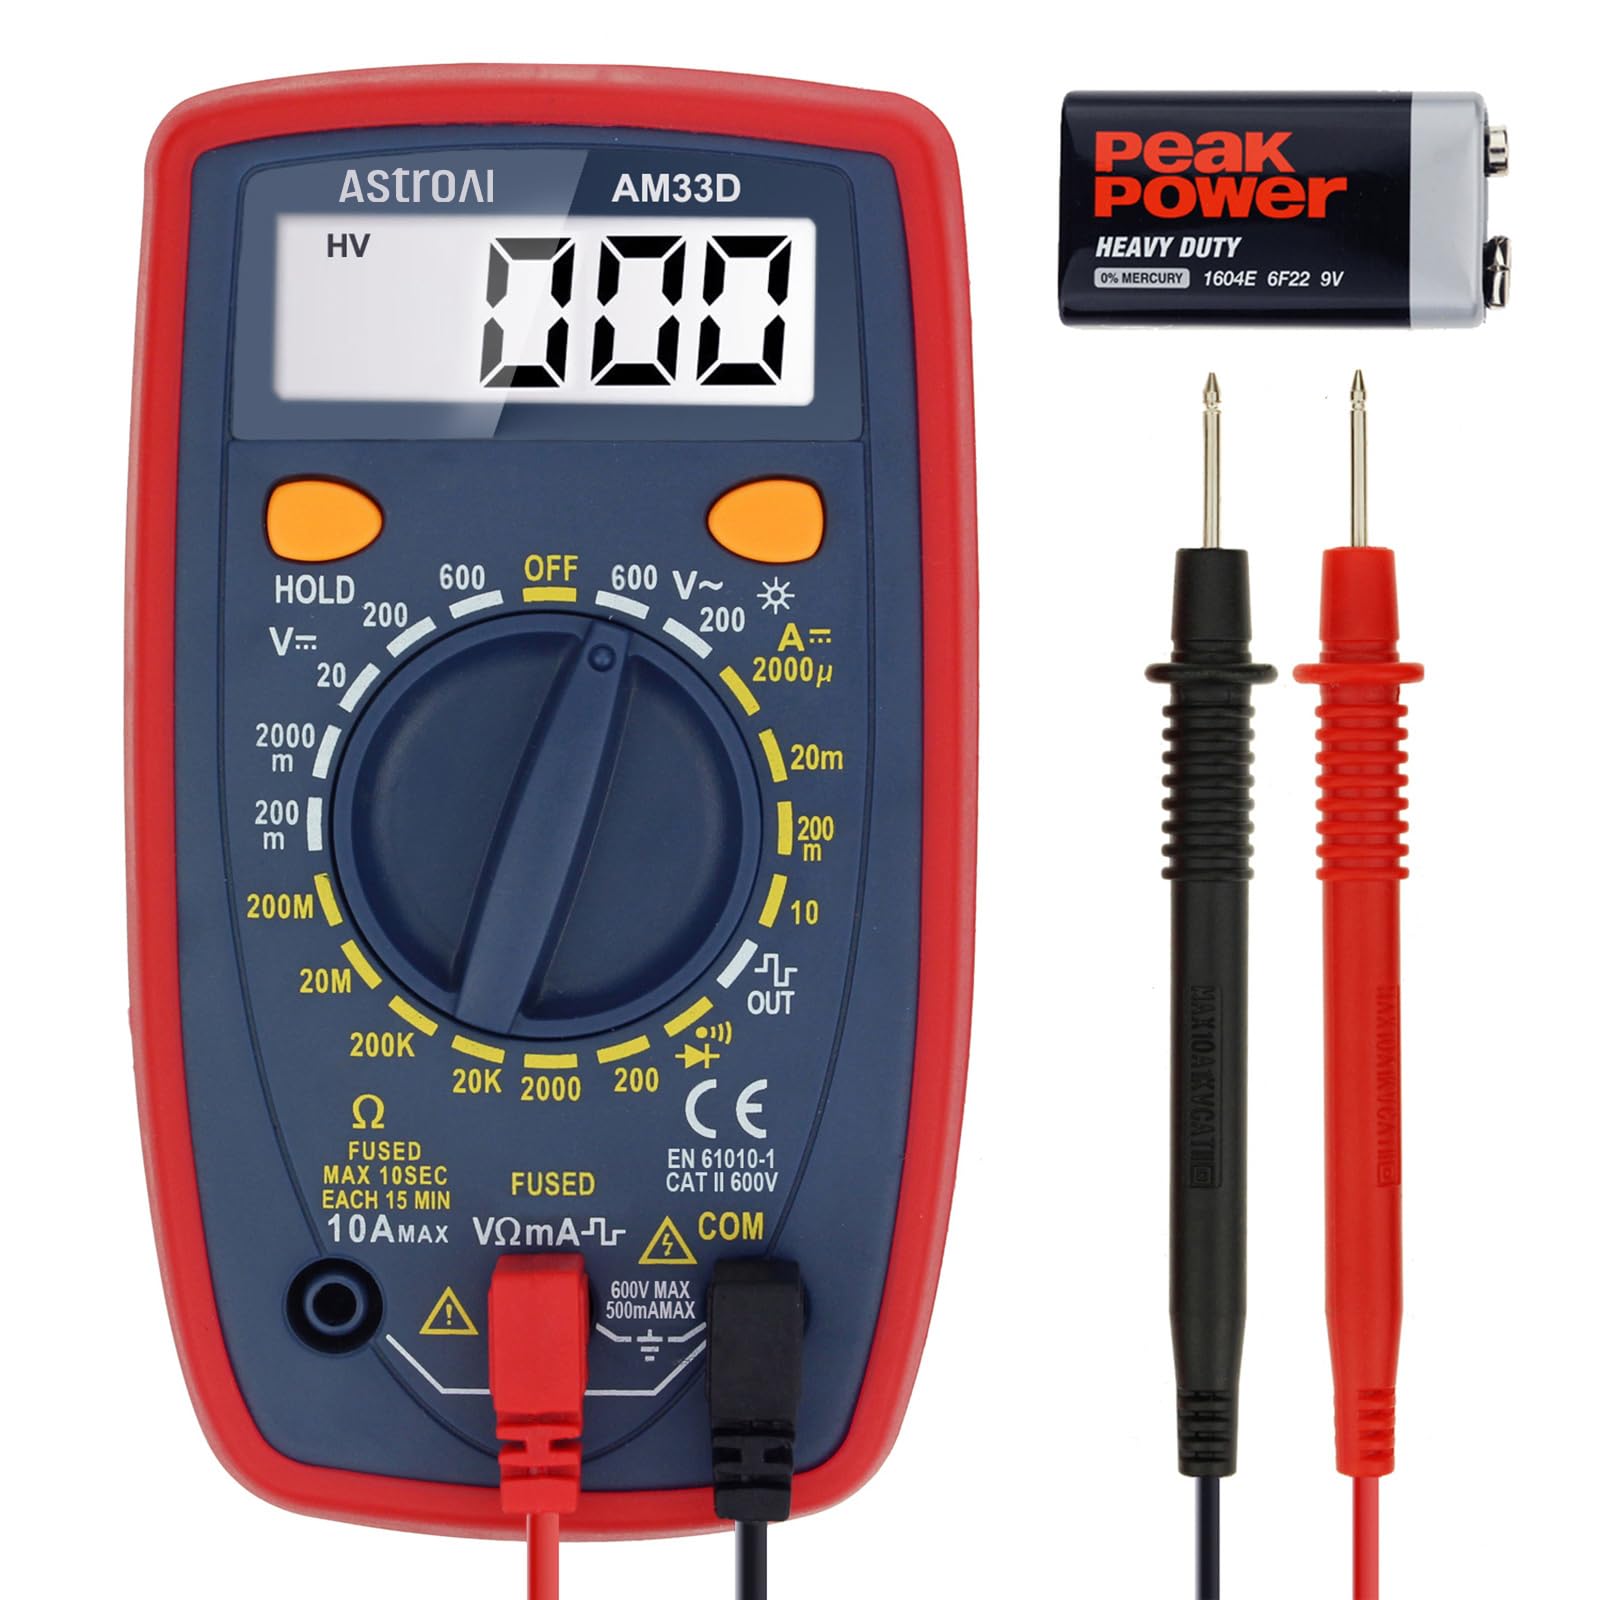
Accurate DC voltage/current testing; essential for verification.
Best for: Testing every connection and charge rate.
Price Range: $12.99
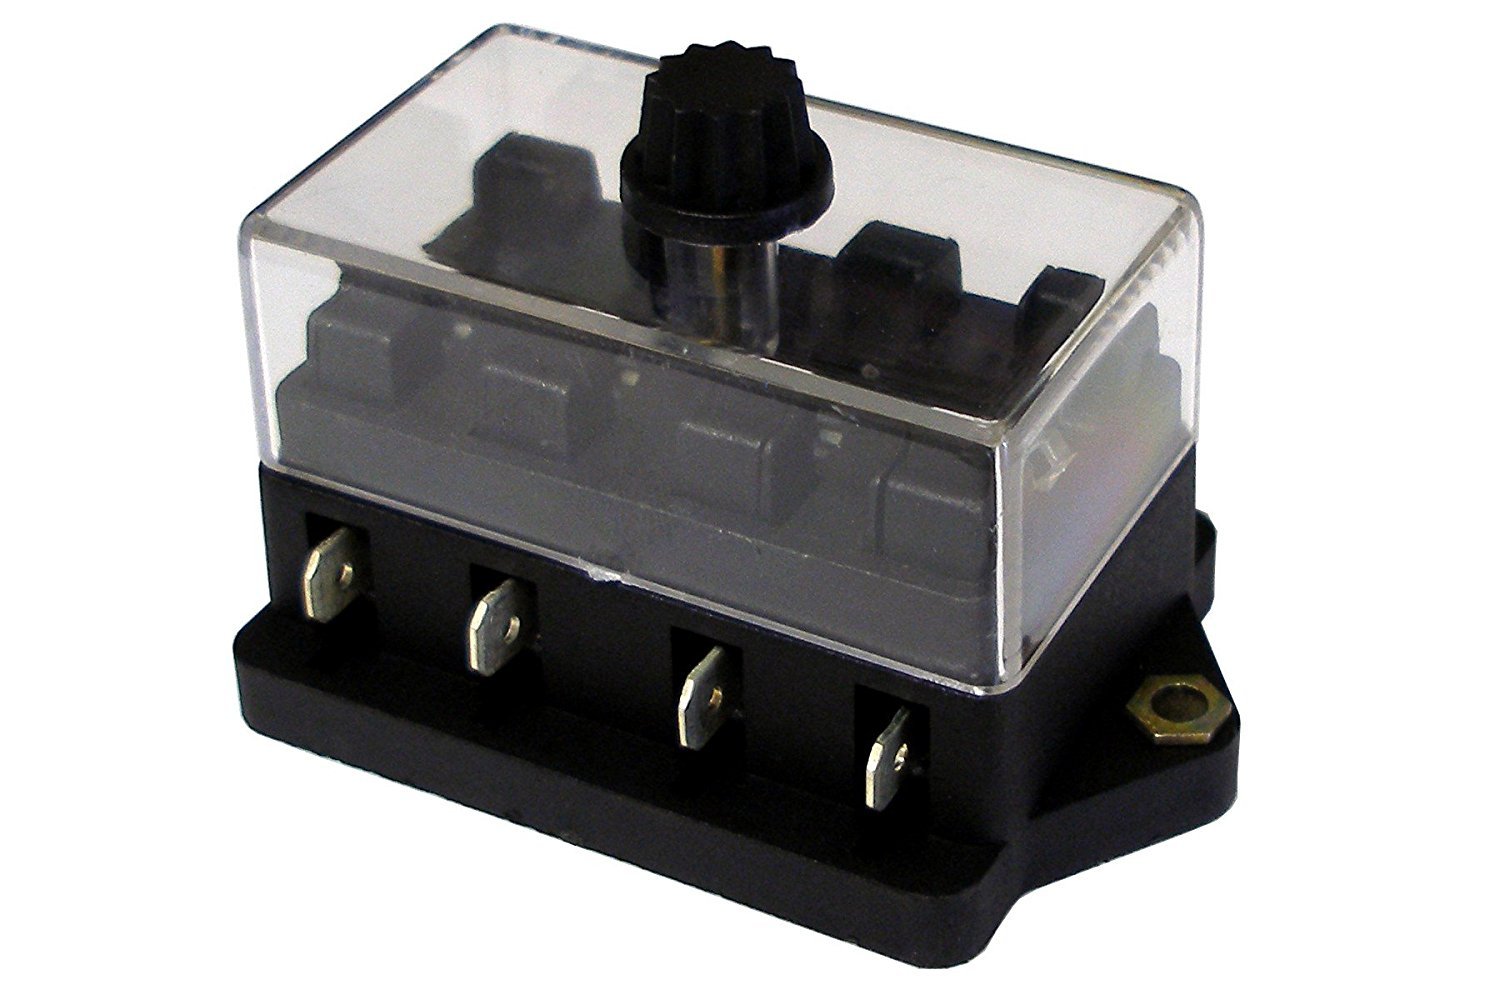
Holds multiple ANL fuses; clean protection hub.
Best for: Multi-branch systems with inverter + controller.
Price Range: $29.99
Core brain of your solar setup for safe battery charging.
Renogy Wanderer 30A PWM Solar Charge Controller Reliable, affordable entry for 12V systems up to 400W panels; built-in protections.
Building a 200-400Ah 12V bank for RVs or cabins.
Mighty Max ML100-12 12V 100Ah AGM Battery Deep-cycle, spill-proof, maintenance-free; great for parallel banks.

Connecting panels to controller (20-50ft runs).
Ampper 10 Gauge Solar Extension Cable with MC4 UV-resistant, tinned copper for low loss over distance.
Testing every connection and charge rate.
AstroAI Digital Multimeter Accurate DC voltage/current testing; essential for verification.
Multi-branch systems with inverter + controller.
WirthCo 31421 Battery Doctor Fuse Block Holds multiple ANL fuses; clean protection hub.