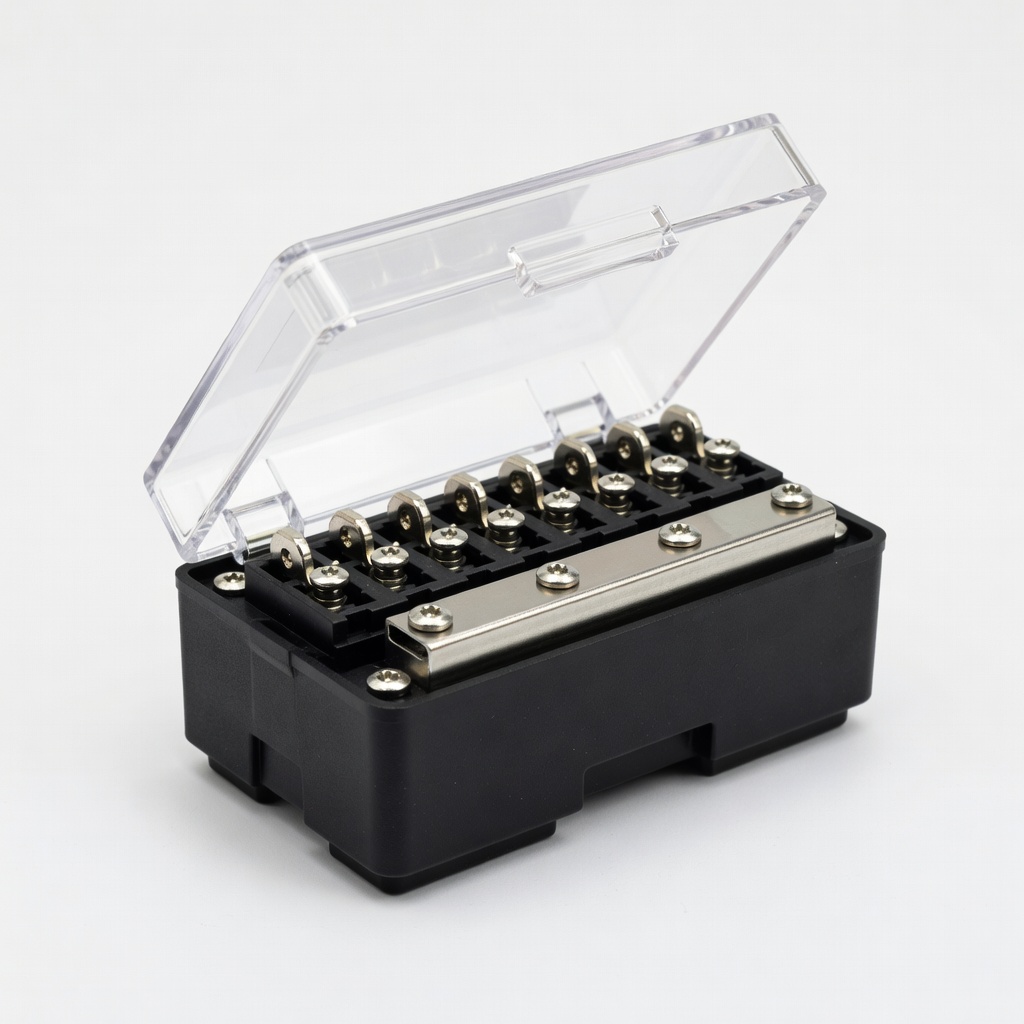
Blue Sea Systems 5026 ST Blade Fuse Block
Central hub for all 12V accessories; handles up to 100A total.
$45-55
Blue Sea Systems 5026 ST Blade Fuse Block 12 circuits with negative bus and cover—perfect for clean van distribution.
Get the App
Better experience on mobile
Master safe, reliable 12V wiring for lights, fans, and USB ports in your van build with this intermediate step-by-step guide.
Building out a van conversion? One of the biggest pain points is getting your 12V accessories—like LED lights, roof vents, and fridge compressors—powered up reliably without frying your house battery or risking fires. Poor wiring leads to dim lights, tripped fuses, and costly repairs on the road.
In this guide, you'll learn how to plan, wire, and test a 12V accessory system from your house battery. We'll cover fusing, grounding, and distribution for up to 10 accessories. Expect 2-4 hours of work for a basic setup, assuming intermediate skills like basic soldering or crimping.
By the end, you'll have a clean, code-compliant electrical backbone that powers your off-grid adventures safely.
Estimated Time: 2-4 hours (plus planning) Difficulty: intermediate
Sketch your van's electrical system. List accessories (e.g., lights: 5A each; fan: 10A; USB hubs: 3A) and calculate total load (aim under 100A). Determine wire gauge using an online calculator—e.g., 8 AWG for 20ft runs at 20A to minimize voltage drop.
Why? Proper planning prevents overloads and ensures even power distribution. Expect a diagram showing battery → main fuse → positive bus → accessories, with chassis grounds.
Image: Simple wiring schematic with labeled components.
💡 Tips:
⚠️ Warnings:
Turn off solar input (if any) and disconnect the house battery negative terminal first. Use a wrench and insulate the terminal.
This de-energizes the system for safe work. You'll hear no hums or see no sparks—confirmation it's safe.
Pro tip: Label cables before disconnecting.
💡 Tips:
⚠️ Warnings:
Secure a 12-circuit fuse block and ground bus bar near your battery (e.g., in a cabinet). Use screws into plywood with star washers for solid contact.
The fuse block handles positive distribution; bus bar consolidates negatives. Success: Firm mounts, no wobble.
Image: Fuse block screwed to van wall.
💡 Tips:
⚠️ Warnings:
Cut 4-6 AWG red wire from battery positive to fuse block input. Crimp a 100-200A ANL fuse inline 6-12in from battery. Route along frame rails, secure with zip ties.
Fuse protects the whole system. Expect slight resistance test with multimeter (under 0.1 ohm).
Use heat-shrink for waterproof crimps.
💡 Tips:
⚠️ Warnings:
Connect battery negative to ground bus bar with 4 AWG black wire. Bond bus bar to chassis with 8 AWG to frame.
Clean paint for ground contact. This provides low-resistance return path. Test continuity from bus to battery neg.
💡 Tips:
⚠️ Warnings:
For each accessory: Run 12-16 AWG wire from fuse block output (fuse sized to load, e.g., 10A for fan) to switch panel, then to device. Return negative to ground bus.
Label every circuit. Success: Neat looms, no exposed copper.
💡 Tips:
⚠️ Warnings:
Wire rocker switches or a panel between fuse outputs and loads. Cover all terminals with heat-shrink or boots.
Switches control usage. Test switch continuity.
💡 Tips:
⚠️ Warnings:
Check all connections with multimeter (no shorts). Reconnect battery negative. Power on one circuit at a time, measure voltage at loads (>11.5V under load).
Full success: All accessories work, no heat or smoke.
💡 Tips:
⚠️ Warnings:
Problem: Accessory won't power on
Solution: Check fuse, continuity, and voltage at terminals. Verify switch and ground.
Problem: Lights flicker or dim
Solution: Inspect for loose connections or undersized wire. Tighten crimps and check voltage drop.
Problem: Fuse blows immediately
Solution: Short circuit—trace with multimeter. Wrong polarity or pinched wire.
Problem: Low voltage at loads
Solution: Upgrade wire gauge or shorten runs. Clean corroded terminals.
12 circuits with negative bus and cover—perfect for clean van distribution.
Best for: Central hub for all 12V accessories; handles up to 100A total.
Price Range: $45-55
Pre-wired with voltmeter and fuses—saves wiring time for intermediates.
Best for: Dashboard control for lights, fan, USB; Bluetooth monitoring.
Price Range: $50-60
Auto-ranging, durable for van vibrations—essential for testing.
Best for: Verify voltage, continuity, and amps during install.
Price Range: $30-40
UV/corrosion resistant—lasts in vans vs. cheap auto wire.
Best for: Accessory runs; red/black pair for polarity.
Price Range: $0.50/ft ($25 for 50ft)
Hex crimps for secure, gas-tight connections—no soldering needed.
Best for: Main battery cables and terminals.
Price Range: $25-35
Central hub for all 12V accessories; handles up to 100A total.
Blue Sea Systems 5026 ST Blade Fuse Block 12 circuits with negative bus and cover—perfect for clean van distribution.
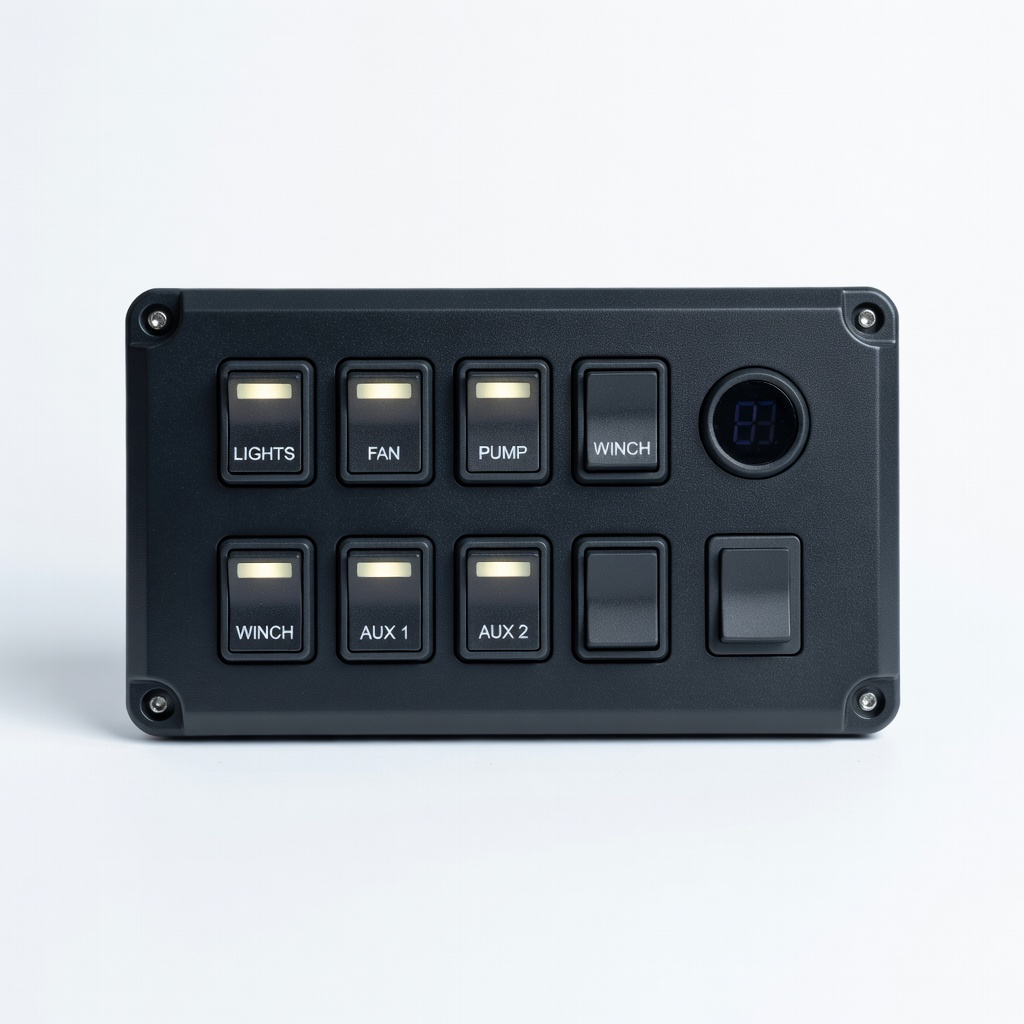
Dashboard control for lights, fan, USB; Bluetooth monitoring.
Renogy 6 Gang Switch Panel Pre-wired with voltmeter and fuses—saves wiring time for intermediates.
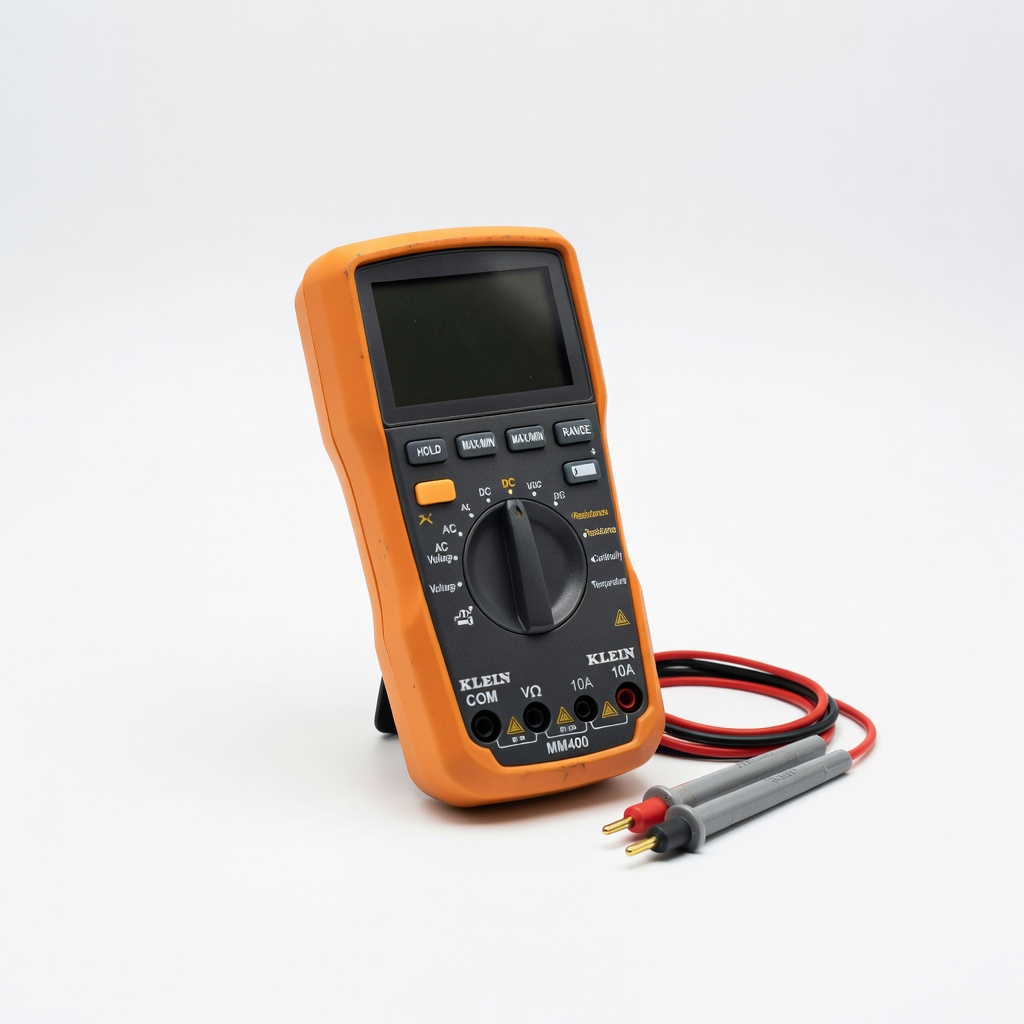
Verify voltage, continuity, and amps during install.
Klein Tools MM400 Multimeter Auto-ranging, durable for van vibrations—essential for testing.
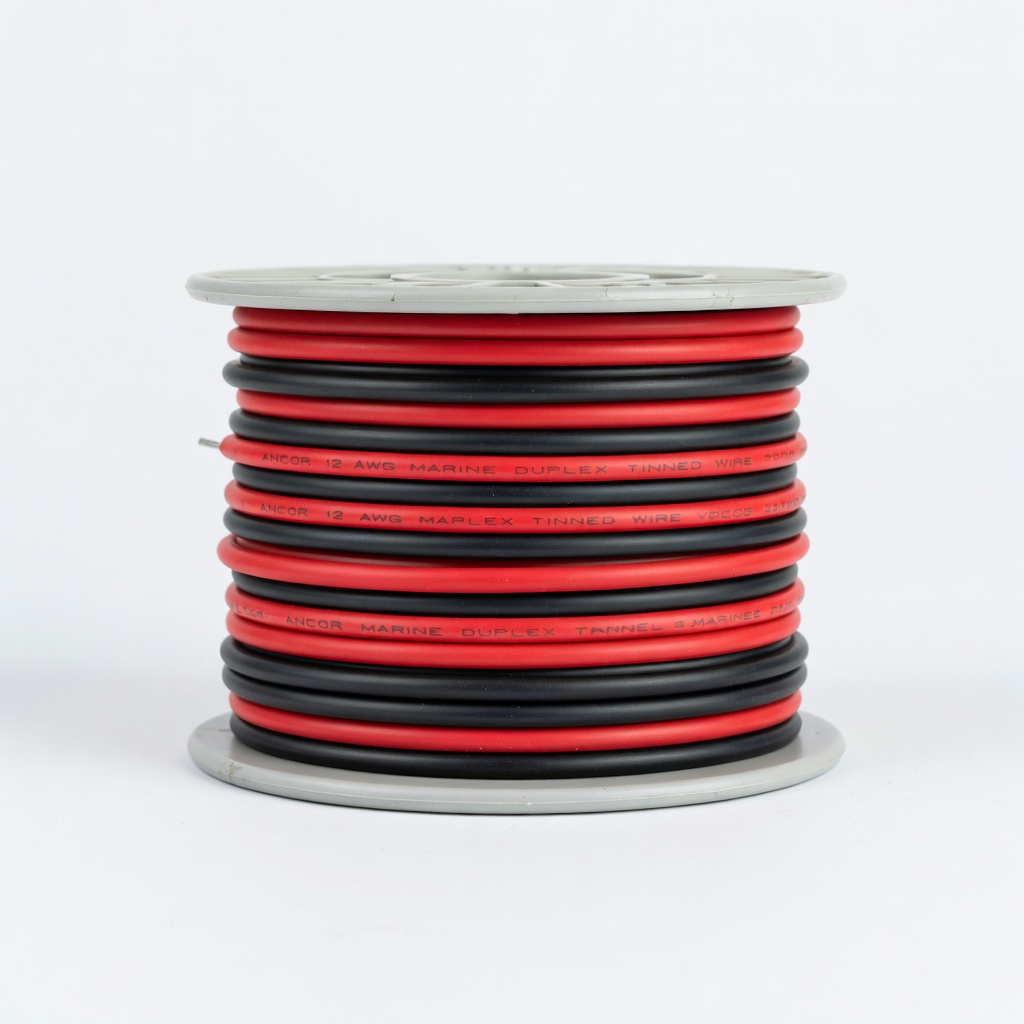
Accessory runs; red/black pair for polarity.
Ancor 12 AWG Marine Duplex Tinned Wire UV/corrosion resistant—lasts in vans vs. cheap auto wire.
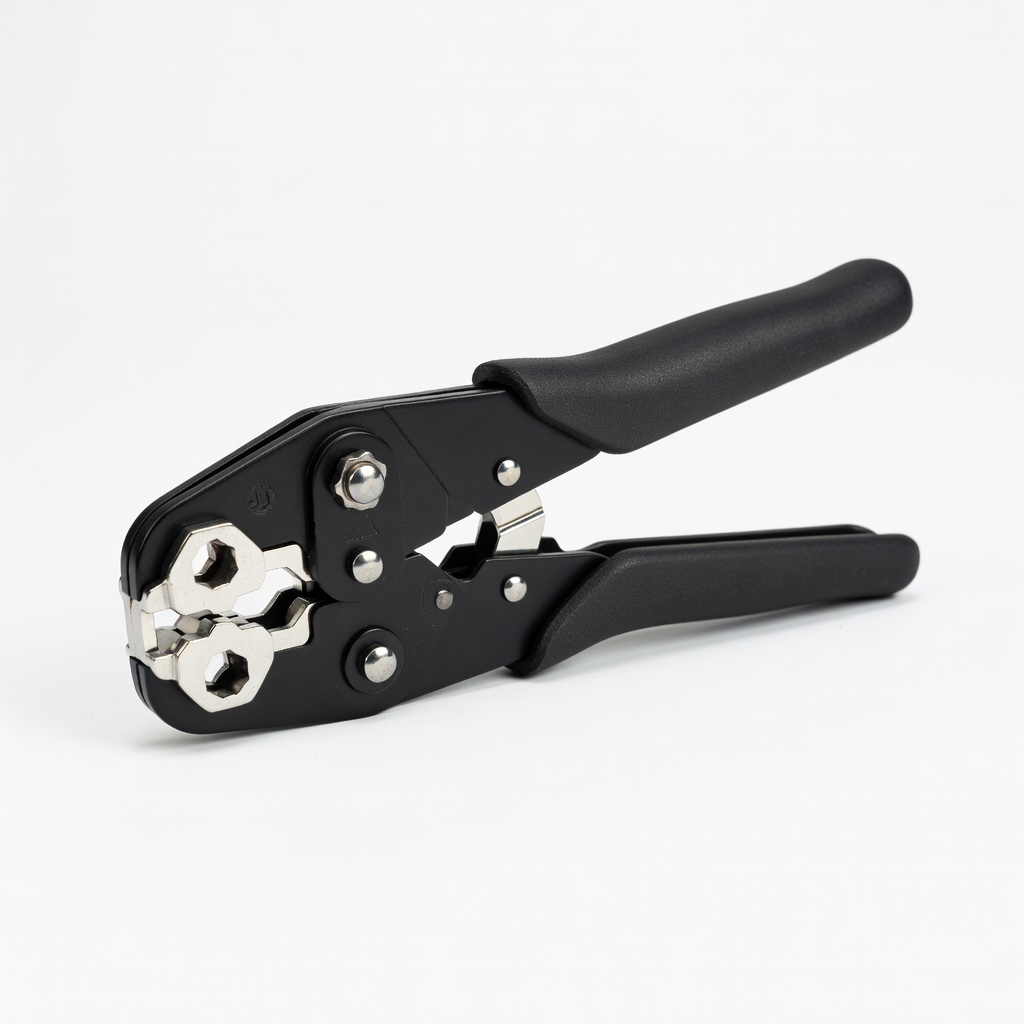
Main battery cables and terminals.
IWISS Battery Cable Lug Crimper Hex crimps for secure, gas-tight connections—no soldering needed.