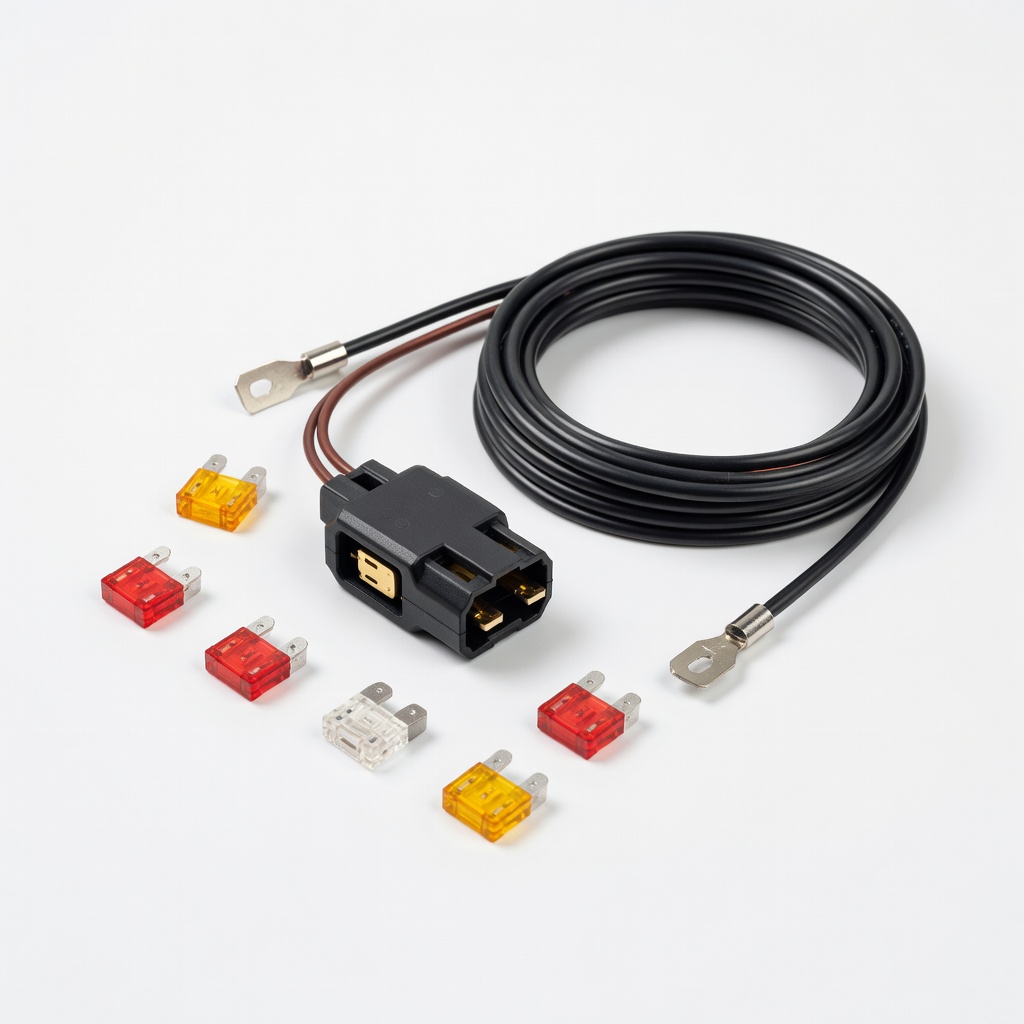
KAFEEK Add A Circuit Fuse Tap Kit
Essential for safe power tapping without modifying stock fuses.
$12.99
KAFEEK Add A Circuit Fuse Tap Kit Reliable low-profile taps prevent fuse box damage and include assorted fuses for any amp need.
Get the App
Better experience on mobile
Safely install lights, fans, or chargers on your car's 12V system with this intermediate step-by-step guide—no electrician needed.
Running out of power outlets in your car? Whether you're adding LED lights, a fridge, or phone chargers, wiring 12V accessories unlocks endless customization. But doing it wrong can blow fuses, drain your battery, or cause fires. This guide shows you how to do it right.
You'll learn to tap into your fuse box safely, run wires properly, and test everything. Perfect for intermediate DIYers comfortable with basic tools. The process covers planning, installation, and troubleshooting.
Expect 1-2 hours total, depending on your car's layout and accessory complexity. No prior electrical experience required beyond basic wiring knowledge.
Estimated Time: 1-2 hours Difficulty: intermediate
Identify your accessory's power needs: check voltage (12V), amp draw (e.g., 5A for lights), and ideal location. Consult your car's fuse box diagram (in manual or online) to pick a switched fuse (powers on with ignition) or always-hot for constant power.
Calculate wire length: measure from fuse box to accessory + 20% extra. Choose fuse size: accessory amps x 1.25 (e.g., 5A accessory = 7.5A fuse).
Success looks like: A sketched diagram with fuse location, wire route, and ground point (chassis metal).
💡 Tips:
⚠️ Warnings:
Park on level ground, turn off engine, and remove the negative (-) battery terminal first using a wrench. This prevents shorts and shocks.
Why it matters: Working live can spark or damage electronics.
Success: Battery disconnected; no lights or accessories powered.
💡 Tips:
⚠️ Warnings:
Most cars have fuse boxes under dash or hood. Pop the cover and use your diagram to find the right fuse.
Remove trim panels with plastic pry tools to run wires cleanly.
Success: Fuse box exposed; target fuse identified.
💡 Tips:
Pull the target fuse. Insert it into the 'input' slot of the add-a-circuit tap. Plug the tap into the slot. Attach your new fuse (matching calculated size) to the 'output' slot.
Crimp or solder red wire to the tap's output lead.
Success: Fuse tap secure; wire attached without loose strands.
💡 Tips:
⚠️ Warnings:
Route red wire from fuse tap along factory wiring paths (under carpet, behind panels). Avoid hot/sharp areas like exhaust.
Strip 1/2 inch insulation, slide on heat-shrink, crimp connector if needed.
Success: Wire reaches accessory without kinks; secured with zip ties every 12 inches.
💡 Tips:
⚠️ Warnings:
Find clean chassis metal (scrape paint if needed). Strip black wire, crimp ring terminal, bolt securely.
Why: Poor ground causes flickering or failure.
Success: Multimeter shows continuity between ground and battery negative.
💡 Tips:
Match red to positive (+), black to negative (-) on accessory. Use heat gun to shrink tubing over connections.
Wrap all joints with electrical tape.
Success: Wires connected; no exposed copper.
💡 Tips:
Reattach battery positive then negative. Turn key to ON; accessory should power up.
Use multimeter: Check 12-14V at accessory, no shorts.
Success: Accessory functions; no blown fuses, smoke, or heat.
⚠️ Warnings:
Problem: Accessory doesn't power on
Solution: Check fuse, connections, polarity, and ground continuity with multimeter. Verify fuse tap slot is powered.
Problem: Blowing fuses
Solution: Reduce load, check for shorts (beep test on multimeter), upsize wire if voltage drop.
Problem: Flickering or dim
Solution: Tighten ground, shorten wire run, or add relay for high draw.
Problem: Battery drains overnight
Solution: Switch to ignition-powered fuse; add cutoff switch.
Reliable low-profile taps prevent fuse box damage and include assorted fuses for any amp need.
Best for: Essential for safe power tapping without modifying stock fuses.
Price Range: $12.99
Flexible, marine-grade wire resists vibration and corrosion in cars.
Best for: Power and ground runs for most 12V accessories under 10A.
Price Range: $15.99
Accurate voltage/continuity testing with auto-ranging for beginners to pros.
Best for: Verify power, grounds, and shorts during install and troubleshooting.
Price Range: $12.99
Precise crimps on automotive terminals without damaging wire.
Best for: Secure connections on fuse taps, grounds, and plugs.
Price Range: $16.99
Waterproof backup protection for exposed wire runs.
Best for: High-draw or off-fuse-box accessories like roof lights.
Price Range: $9.99
Essential for safe power tapping without modifying stock fuses.
KAFEEK Add A Circuit Fuse Tap Kit Reliable low-profile taps prevent fuse box damage and include assorted fuses for any amp need.
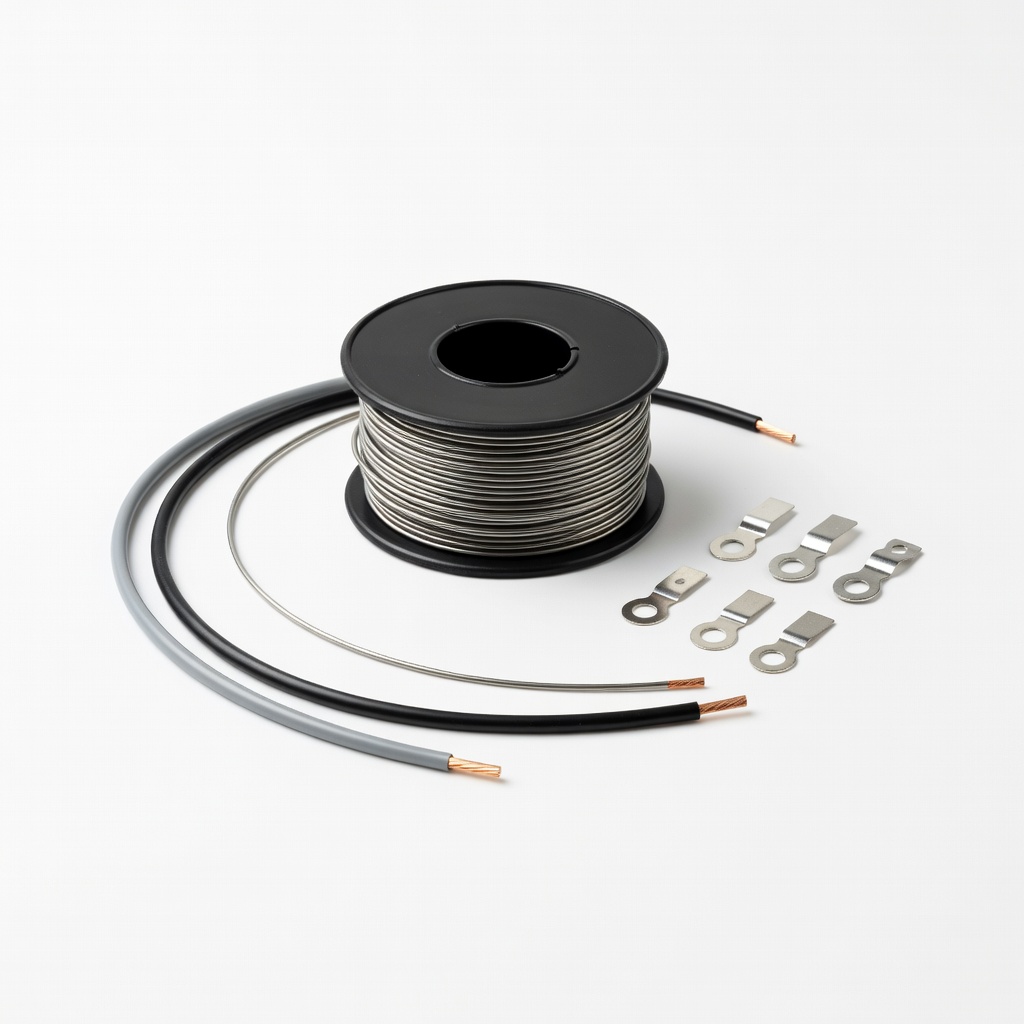
Power and ground runs for most 12V accessories under 10A.
Nilight 16 Gauge Tinned Copper Wire Kit Flexible, marine-grade wire resists vibration and corrosion in cars.
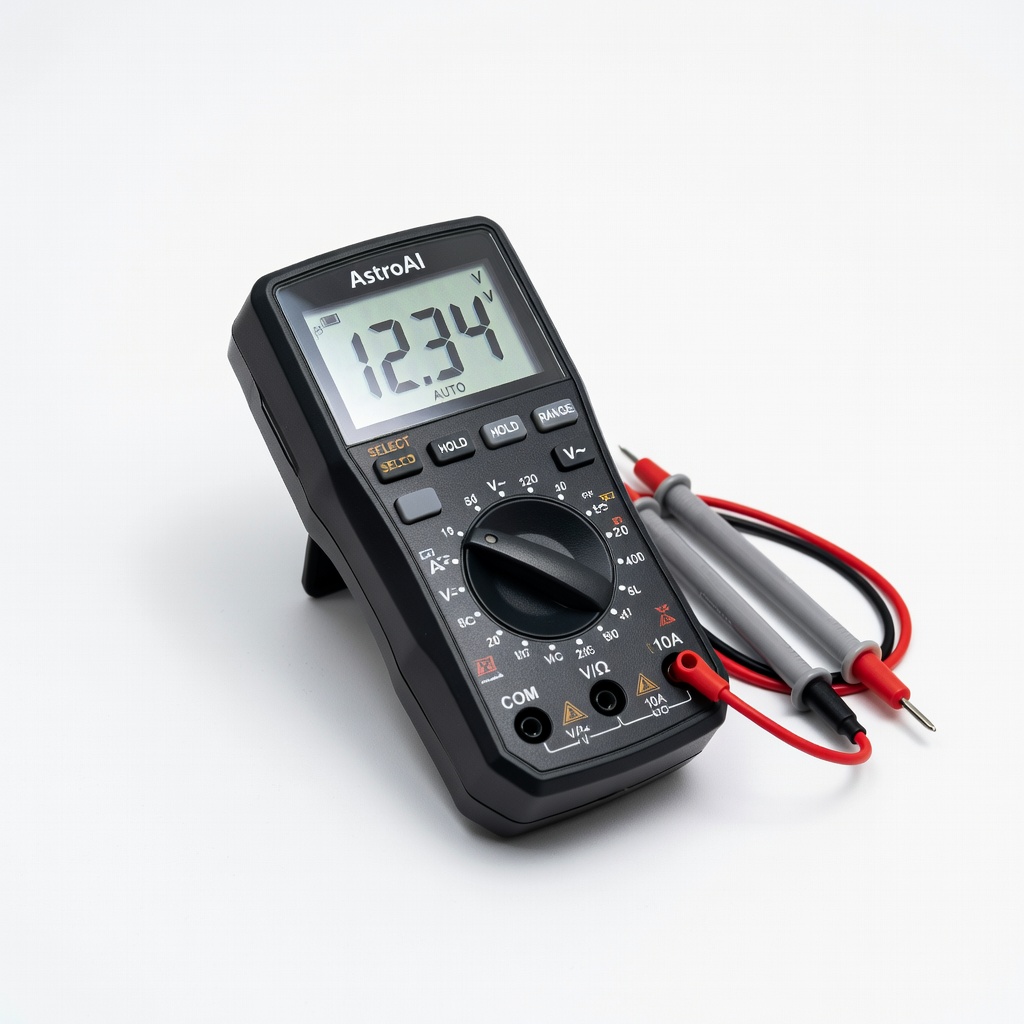
Verify power, grounds, and shorts during install and troubleshooting.
AstroAI Digital Multimeter Accurate voltage/continuity testing with auto-ranging for beginners to pros.
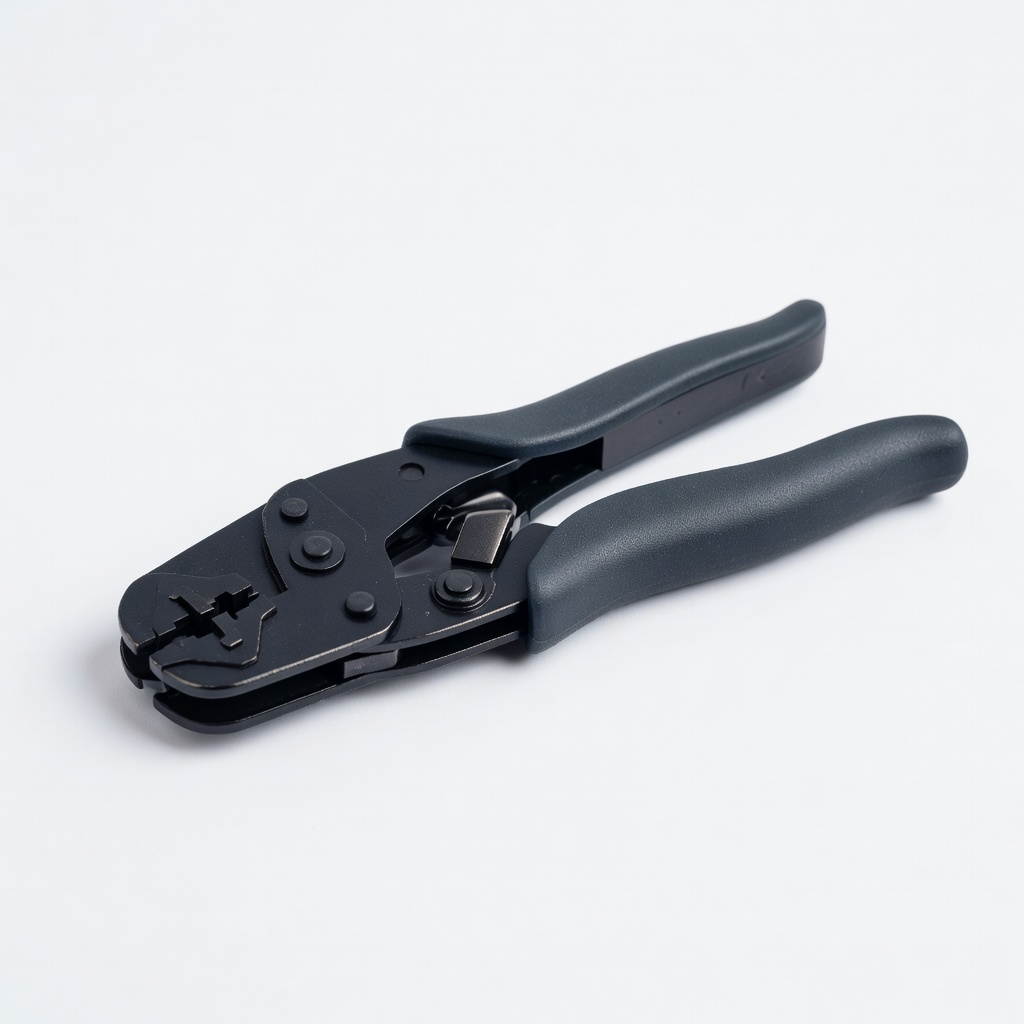
Secure connections on fuse taps, grounds, and plugs.
Glarks Ratcheting Wire Crimper Precise crimps on automotive terminals without damaging wire.
High-draw or off-fuse-box accessories like roof lights.
Nilight Inline Fuse Holder Waterproof backup protection for exposed wire runs.