As winter approaches, freezing temperatures can turn a simple oversight into a major headache—burst pipes from frozen outdoor faucets often lead to water damage, mold, and repair bills exceeding $1,000. If you've ever dealt with a flooded basement or icy leaks, you know the stress. The good news? Winterizing your faucets is a quick DIY task that prevents these issues and keeps your plumbing intact.
In this guide, you'll learn the essential steps to shut off water supply, drain lines, and insulate faucets, even if you're new to home maintenance. We'll cover everything from tools needed to pro tips, ensuring you achieve a frost-proof setup. The process is straightforward, requiring no advanced skills, and typically takes 15-30 minutes per faucet.
By the end, your outdoor faucets will be ready to withstand sub-zero temps, saving you time and money while giving you peace of mind through the cold months.
▸What You'll Need
- •Adjustable wrench or pliers (required for disconnecting hoses)
- •Screwdriver (optional, if your indoor shut-off valve needs it)
- •Insulated faucet covers (required; foam or plastic dome-style)
- •Pipe insulation foam or heat tape (optional for exposed pipes)
- •Bucket or towel (required to catch residual water)
- •Gloves (optional for comfort in cold weather)
Estimated Time: 15-30 minutes per faucet
Difficulty: beginner
▸Step-by-Step Instructions
Step 1: Locate and Shut Off the Indoor Water Supply
Start by finding the indoor shut-off valve for your outdoor faucet, usually located in the basement, crawl space, or utility room near where the pipe enters the house. This valve controls water flow to the outdoor spigot. Turn it clockwise to close it fully—this prevents water from reaching the faucet and freezing inside the line.
Why it matters: Shutting off the supply is the first line of defense against freezing, as standing water expands when it turns to ice, potentially cracking pipes. Expect a slight resistance when turning; if it's stiff, apply some lubricant or use pliers gently. Success looks like no water flowing from the faucet when you test it later.
Once closed, open the outdoor faucet fully to relieve pressure and start draining.
💡 Tips:
- •Label the valve if it's not marked, so you remember next season.
- •Take a photo of the valve location for future reference.
⚠️ Warnings:
- •Don't force a stuck valve; call a plumber to avoid breaking it.
Step 2: Disconnect and Drain Any Attached Hoses
If a garden hose is connected to the outdoor faucet, unscrew it counterclockwise using an adjustable wrench if it's tight. Hold a bucket or towel underneath to catch dripping water. Once removed, lift the hose's end higher than the other to fully drain it, then store it indoors or in a dry area.
This step is crucial because water trapped in the hose can freeze and damage both the hose and the faucet threads. You'll notice residual water spilling out— that's normal and indicates you're draining effectively. Success: The hose is empty, and no water remains at the connection point.
Pro tip: Inspect the hose for cracks while handling it; replace if damaged to avoid spring leaks.
💡 Tips:
- •Drain hoses by holding them vertically and shaking gently.
- •Coil hoses loosely to prevent kinks before storage.
⚠️ Warnings:
- •Never leave hoses attached during winter; they act like a reservoir for freezing water.
Step 3: Open and Drain the Outdoor Faucet
With the indoor valve shut off, fully open the outdoor spigot (both the main handle and any bleeder cap if present) to allow any remaining water in the line to drain out. Let it run for a minute or two, tilting the faucet downward if possible to aid gravity drainage. Use a towel to wipe away any drips.
Draining removes the water that could freeze and expand, causing cracks. You might hear gurgling or see a small trickle—that's the line emptying. If your faucet has a sillcock with a separate drain valve (a small screw or lever at the base), open that too for complete drainage. Success: No water flows when you briefly turn it on (though it shouldn't with the supply off).
In colder climates, repeat this if temps fluctuate.
💡 Tips:
- •If water doesn't drain fully, gently tap the faucet with a rubber mallet to dislodge air pockets.
⚠️ Warnings:
- •Avoid using excessive force on older faucets; they can be brittle.
Step 4: Insulate Exposed Pipes (If Applicable)
Check for any exposed pipes leading to the faucet, especially in unheated areas like garages or against exterior walls. Wrap them with foam pipe insulation, securing it with tape. For added protection in extreme cold, apply self-regulating heat tape plugged into an outdoor-rated outlet.
This prevents heat loss and freezing in vulnerable sections. Expect the insulation to fit snugly around the pipe—cut to length with scissors if needed. Success: Pipes are fully covered without gaps, feeling cushioned to the touch.
Not all setups need this, but it's essential if pipes are above ground or in drafty spots.
💡 Tips:
- •Overlap insulation ends by 1-2 inches for seamless coverage.
- •Choose UV-resistant insulation for long-term outdoor use.
⚠️ Warnings:
- •Don't use electric heat tape without a GFCI outlet to prevent fire risks.
Step 5: Install a Faucet Cover
Place a fitted insulated cover over the faucet, ensuring it seals tightly against the wall to block wind and moisture. Most covers are foam or plastic domes that slip on and strap or tape in place. For sillcocks, use a specific cover that accommodates the design.
The cover traps heat and repels ice formation, acting as a thermal barrier. You'll want it snug but not compressing the faucet. Success: The cover is secure, covering the entire spigot without gaps, ready for winter winds.
Remove and replace annually to check for wear.
💡 Tips:
- •Stuff loose foam inside the cover for extra insulation in harsh winters.
- •Secure with weatherproof tape if straps are flimsy.
⚠️ Warnings:
- •Covers aren't foolproof; combine with shut-off for best results.
Step 6: Test and Final Check
Double-check all steps: Confirm the indoor valve is closed, no water drips from the faucet, hoses are stored, and the cover is secure. In spring, reverse the process by closing the outdoor faucet first, then opening the indoor valve slowly to repressurize.
This ensures nothing was missed, preventing surprises. Expect everything to feel dry and protected. If you have multiple faucets, repeat for each. Success: Peace of mind knowing your system is winter-ready.
Document the date for next year's maintenance.
💡 Tips:
- •Test the setup by simulating cold with a freezer bag of ice if curious (but not necessary).
⚠️ Warnings:
- •Never test with live water flow in freezing temps.
▸Pro Tips
- •Work on a mild day before the first freeze to avoid slippery conditions.
- •Use WD-40 on valves beforehand to make turning easier next time.
- •For apartment dwellers, check with your landlord if you can't access indoor valves.
- •Combine winterizing with a full yard cleanup to save time.
- •Invest in color-coded covers for multiple faucets to track them easily.
- •If in a very cold area (below -10°F), add straw or newspaper inside covers for bonus insulation.
- •Schedule a reminder on your phone for spring de-winterizing in March.
▸Common Mistakes to Avoid
- •Forgetting to shut off the indoor valve, leading to frozen and burst pipes—always verify by opening the spigot.
- •Leaving hoses connected, which traps water and damages threads—disconnect every time.
- •Using ill-fitting covers that allow wind entry—measure your faucet type (sillcock vs. standard) before buying.
- •Skipping pipe insulation on exposed lines, causing hidden freezes—inspect thoroughly.
- •Rushing drainage, resulting in residual water—let it drip fully for 5-10 minutes.
▸Troubleshooting
Problem: Indoor shut-off valve is stuck or won't turn
Solution: Apply penetrating oil like WD-40 and wait 10 minutes; tap gently with a hammer. If still stuck, call a plumber to avoid damage.
Problem: Water won't fully drain from the faucet
Solution: Ensure the valve is fully closed and the spigot is tilted down. Use compressed air to blow out lines if needed, or consult a pro for anti-siphon valves.
Problem: Faucet cover keeps falling off
Solution: Secure with duct tape or zip ties. Upgrade to a heavier-duty cover designed for high winds.
Problem: Pipes are already frozen (emergency)
Solution: Thaw slowly with warm (not hot) towels or a space heater from the inside out. Shut off main water and call a plumber if burst.
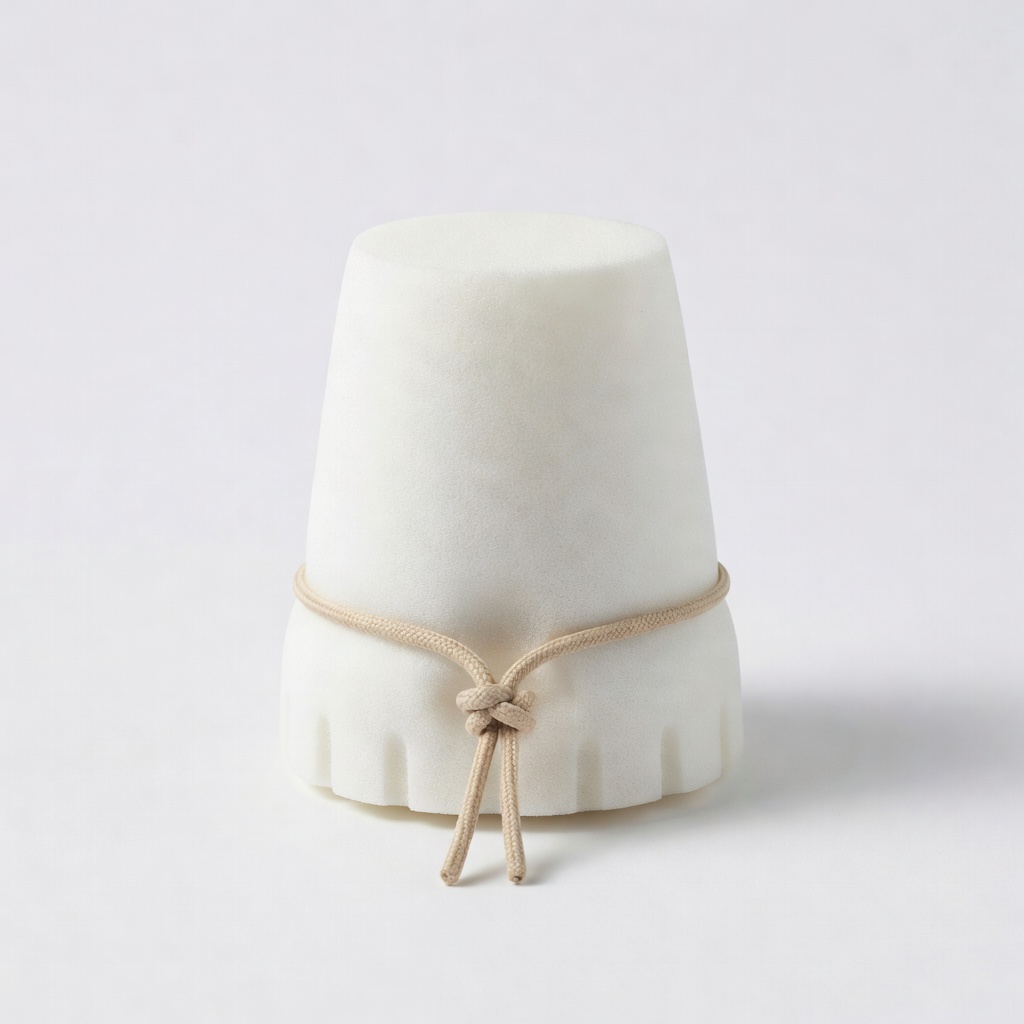
Frost King FC12 Outdoor Faucet Cover
This durable foam cover provides excellent insulation against freezing temps and fits most standard faucets securely.
Best for: Ideal for covering sillcock or hose bib faucets after draining to block wind and retain heat.
Price Range: $4.99
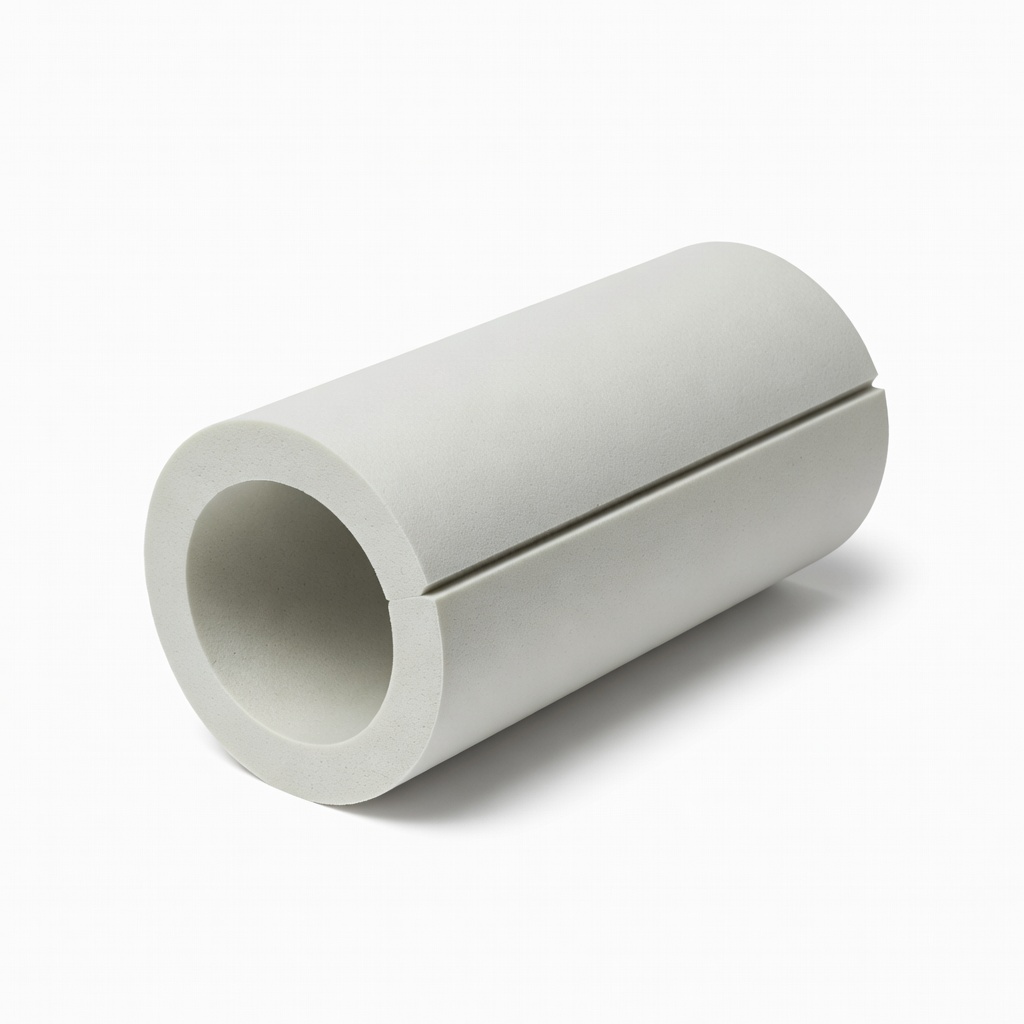
Frost King PIF34 Pipe Insulation Foam
Pre-slit foam wraps easily around exposed pipes, offering R-3 insulation value to prevent heat loss.
Best for: Use on any visible pipes near the faucet in unheated spaces for extra freeze protection.
Price Range: $5.98
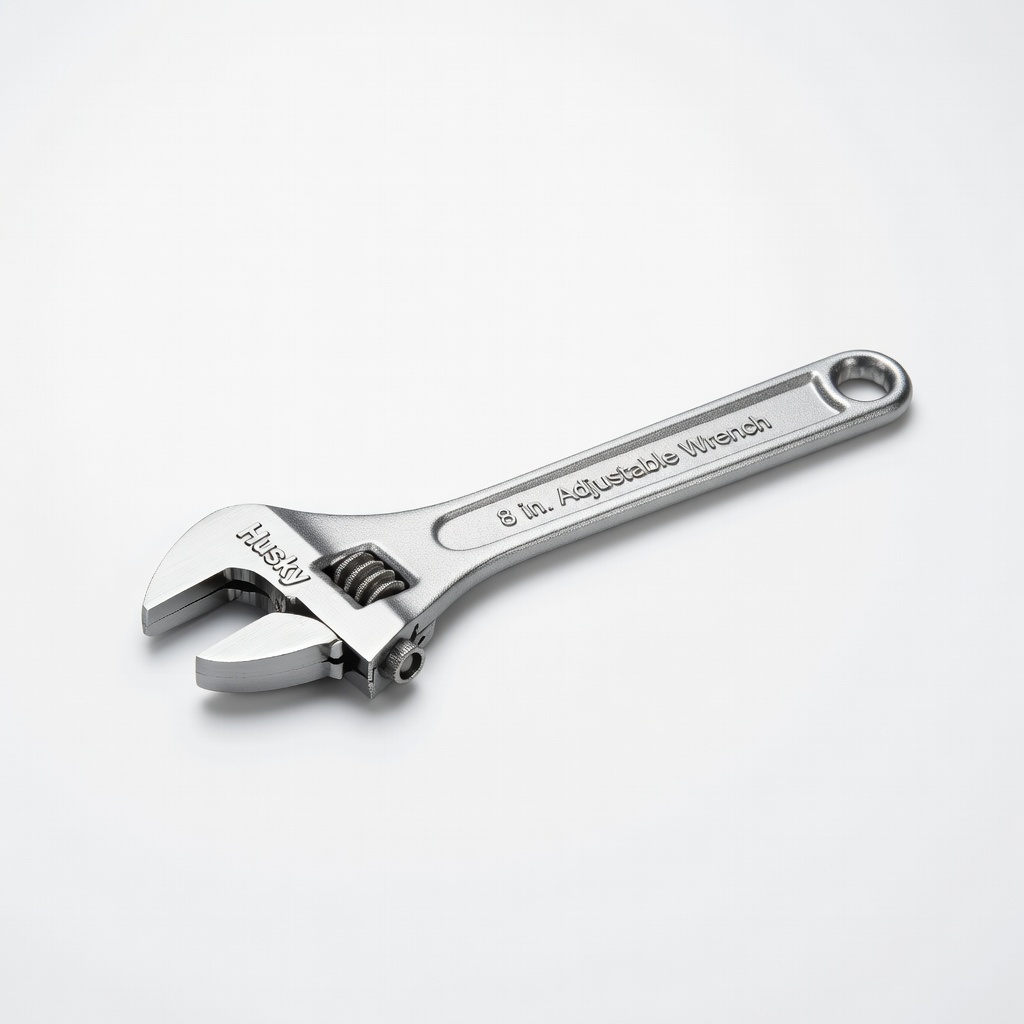
Husky 8 in. Adjustable Wrench
Chrome-plated for rust resistance, this wrench grips hoses and valves tightly without slipping.
Best for: Essential for loosening stubborn hose connections or valves during the disconnect step.
Price Range: $9.97
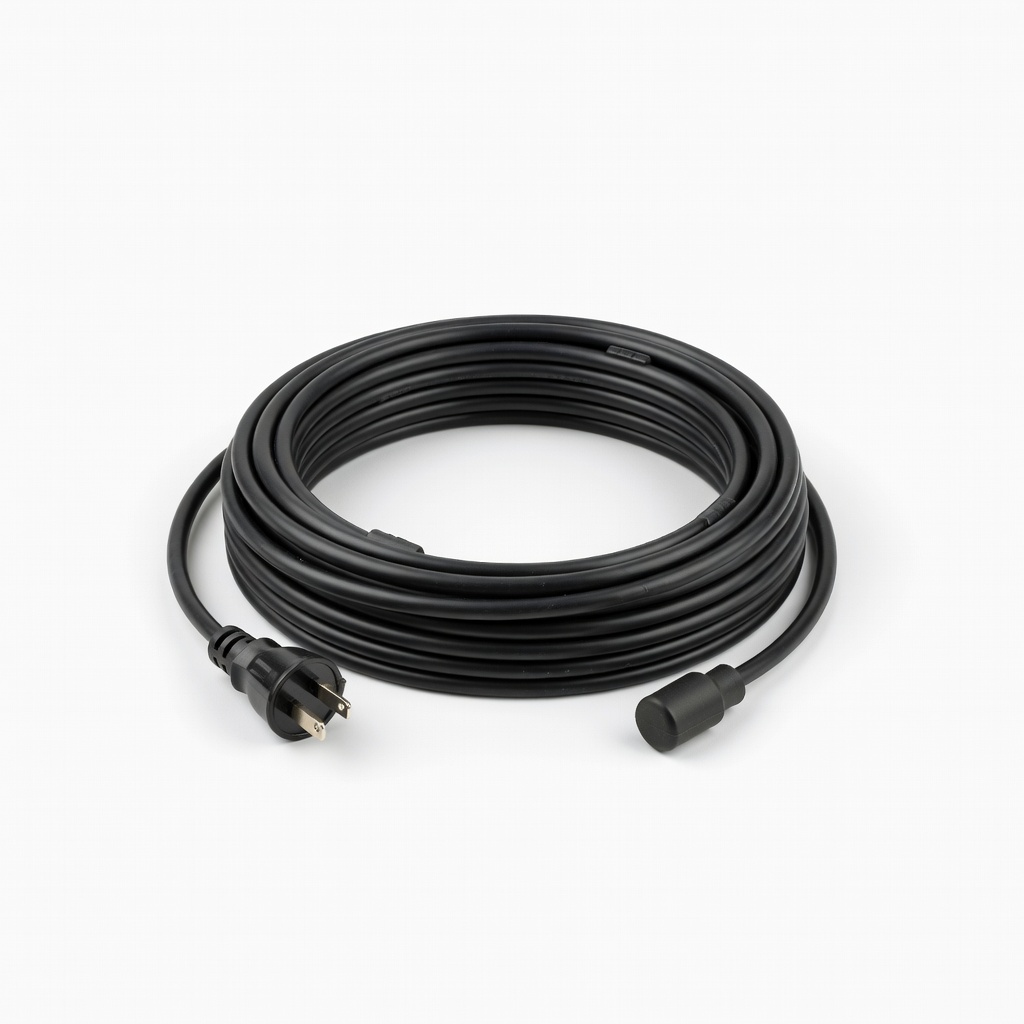
Easy Heat ADKS-500-3 Pre-Assembled Freeze Protection Cable
Self-regulating heat tape activates only when needed, safely warming pipes without overheating.
Best for: For extreme cold areas, wrap around exposed pipes and plug in for automatic protection.
Price Range: $29.99
WD-40 Specialist Penetrating Lubricant
Breaks down rust and corrosion on valves, making future shut-offs easier and preventing seizures.
Best for: Spray on indoor valves before turning to ensure smooth operation year after year.
Price Range: $6.99