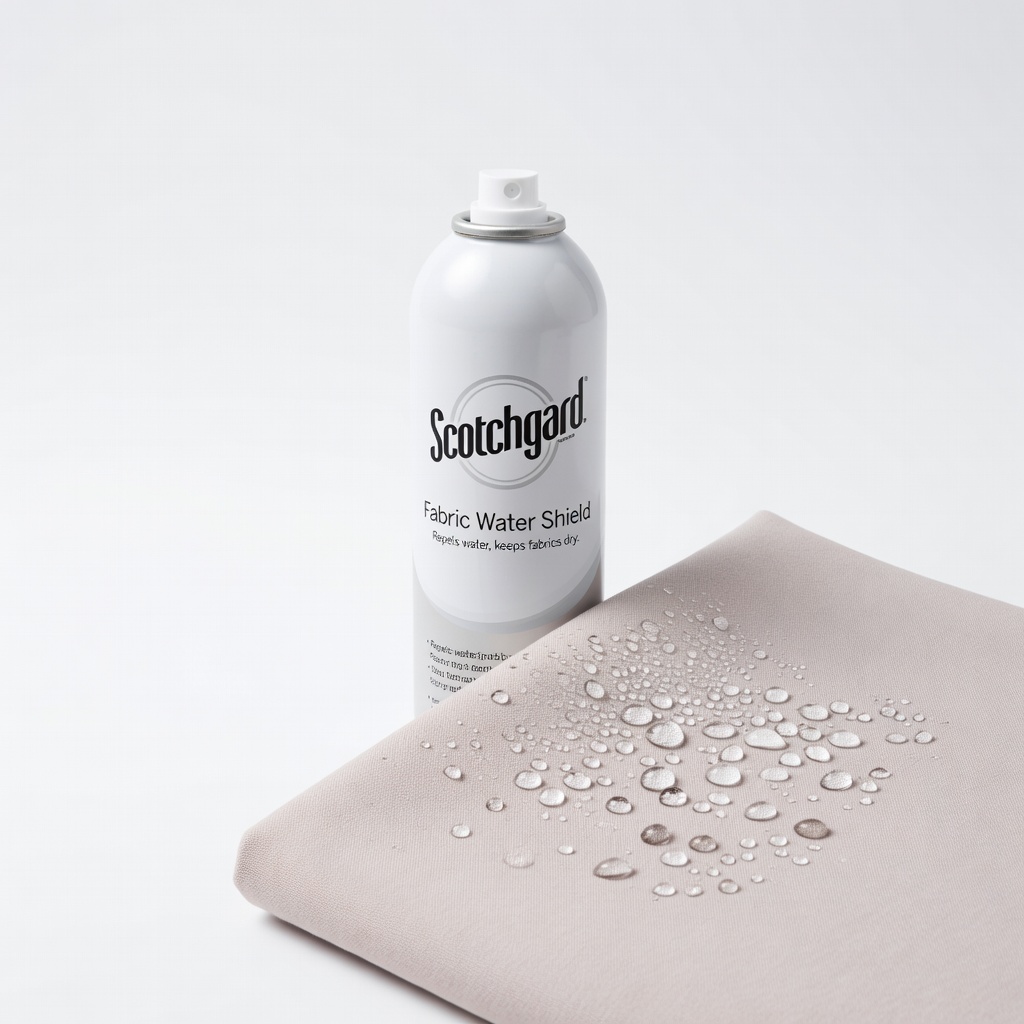
Scotchgard Fabric Water Shield
Primary exterior spray for soft cases during outdoor prep.
$10-$15
Scotchgard Fabric Water Shield Proven for nylon/polyester cases; creates breathable barrier that beads water instantly.
Get the App
Better experience on mobile
Protect your acoustic guitar case from rain and moisture with proven DIY methods to ensure reliable performance at outdoor gigs.
Outdoor gigs can be thrilling, but nothing kills the vibe like rain soaking your acoustic guitar case and risking damage to your instrument. Gigging musicians often face unexpected weather, and standard cases aren't always built for it. This guide teaches you how to waterproof your existing acoustic guitar case effectively.
You'll learn simple, intermediate-level techniques using sprays, sealants, and liners that create a durable water barrier. The process takes 2-3 hours active time plus drying, and it's reversible on most fabric or softshell cases. No advanced skills needed—just patience and safety precautions.
By the end, your case will repel water like a pro-grade gig bag, keeping your guitar safe and dry.
Estimated Time: 2-3 hours active time + 24 hours drying Difficulty: intermediate
Start by removing your guitar and emptying the case. Mix isopropyl alcohol with water (1:1 ratio) and wipe down the entire exterior, seams, and zippers using a soft cloth. Use a soft-bristle brush for stubborn dirt in crevices. Rinse with clean water if needed, then air dry completely (at least 1 hour).
Why it matters: Dirt, oils, or residue prevent waterproofers from bonding properly, leading to peeling or weak protection. Expect a clean, dry surface ready for treatment—success looks like no visible grime or stickiness.
💡 Tips:
⚠️ Warnings:
Examine seams, zippers, and fabric for tears, loose threads, or worn areas. Patch small holes with waterproof tape or fabric glue. Test zippers for smooth operation.
This step ensures a solid base—no point waterproofing a leaky case. Success: All repairs done, case structurally sound.
💡 Tips:
⚠️ Warnings:
Apply painter's masking tape over zippers, buckles, logos, and any non-fabric parts. Cover the interior opening with plastic sheeting taped in place.
Why: Protects hardware from spray overspray, which can gum up zippers. Expect a taped-up case ready for even application.
💡 Tips:
⚠️ Warnings:
Spray a small, inconspicuous area (like inside a pocket) with your waterproof spray. Let dry 30 minutes, then sprinkle water to test repellency—water should bead up.
This confirms compatibility; some sprays darken fabrics. Success: Beading water, no discoloration.
💡 Tips:
⚠️ Warnings:
In a well-ventilated area, hold can 8-10 inches away and apply even, sweeping coats to the entire exterior. Cover all surfaces lightly—no puddles.
Why: Thin coats penetrate fibers for breathable protection. Let dry 1 hour. Expect uniform sheen.
💡 Tips:
⚠️ Warnings:
Once dry, add a second light coat for durability. Remove tape while still tacky. Hang case to dry 24 hours in a dust-free area.
Multiple layers build lasting repellency. Success: Matte or slight sheen finish, fully dry.
💡 Tips:
⚠️ Warnings:
Apply seam sealer to all exterior seams, zippers, and edges using a brush or toothpick. Wipe excess, let cure 12-24 hours.
Why: Sprays don't fill gaps; sealant waterproofs vulnerabilities. Expect clear, flexible seal.
💡 Tips:
⚠️ Warnings:
Measure and cut waterproof nylon fabric to line the interior. Sew or glue in place.
Boosts protection against condensation. Success: Snug, seamless liner.
💡 Tips:
⚠️ Warnings:
Spray or sprinkle water generously; it should bead and roll off. Hose lightly if confident. Wipe and dry.
Final check—protection lasts 6-12 months outdoors. Reapply as needed.
💡 Tips:
⚠️ Warnings:
Problem: Spray not beading water
Solution: Surface not clean; reclean and reapply. Use stronger formula like silicone-based.
Problem: Sealer too thick and cracks
Solution: Apply thinner layers. Sand lightly and reseal.
Problem: Discoloration or stiffness
Solution: Wrong product for fabric; switch to Nikwax for naturals. Condition with fabric softener post-cure.
Problem: Zippers sticky
Solution: Wipe with silicone lubricant; avoid future overspray.
Proven for nylon/polyester cases; creates breathable barrier that beads water instantly.
Best for: Primary exterior spray for soft cases during outdoor prep.
Price Range: $10-$15
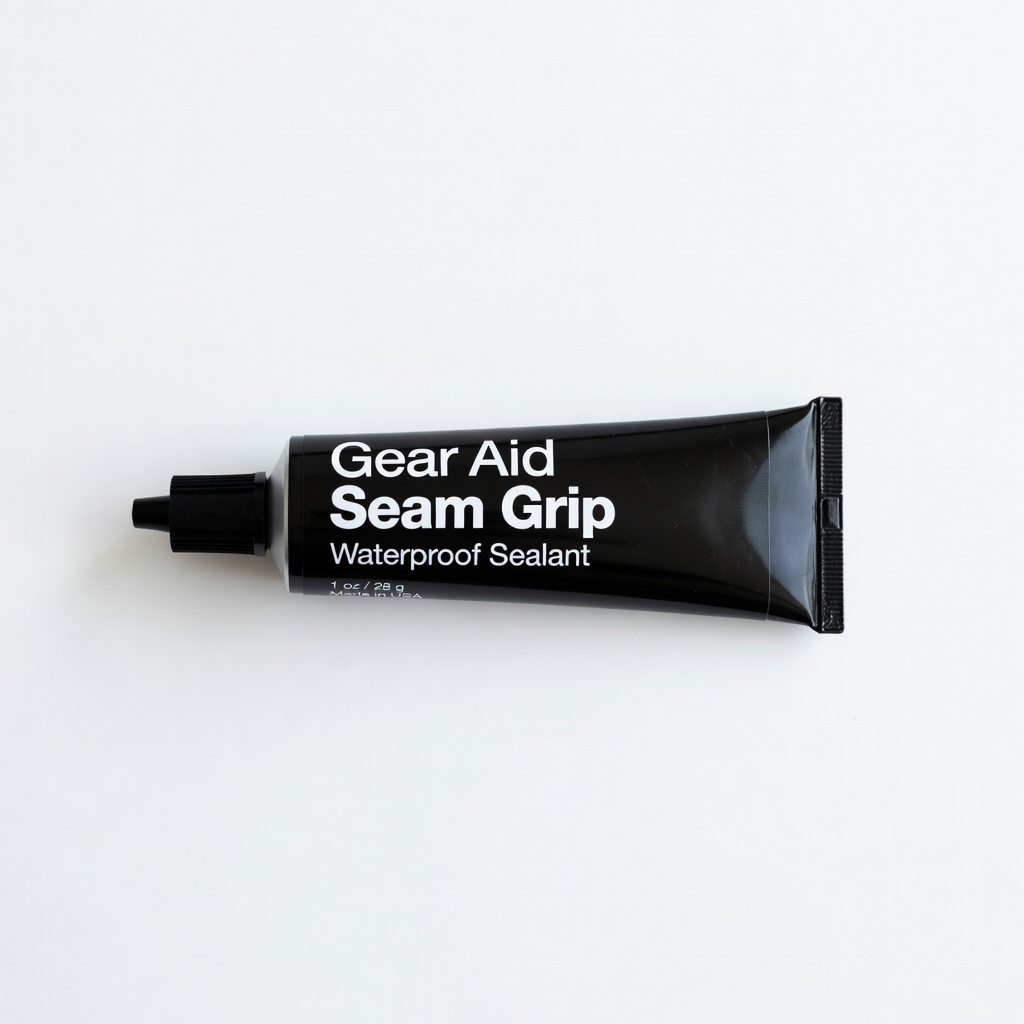
Flexible, durable sealant fills gaps perfectly without cracking.
Best for: Sealing seams on high-wear gig cases.
Price Range: $8-$12
Eco-friendly, adds DWR without darkening; great for mixed materials.
Best for: All-around treatment for cases with leather accents.
Price Range: $12-$18
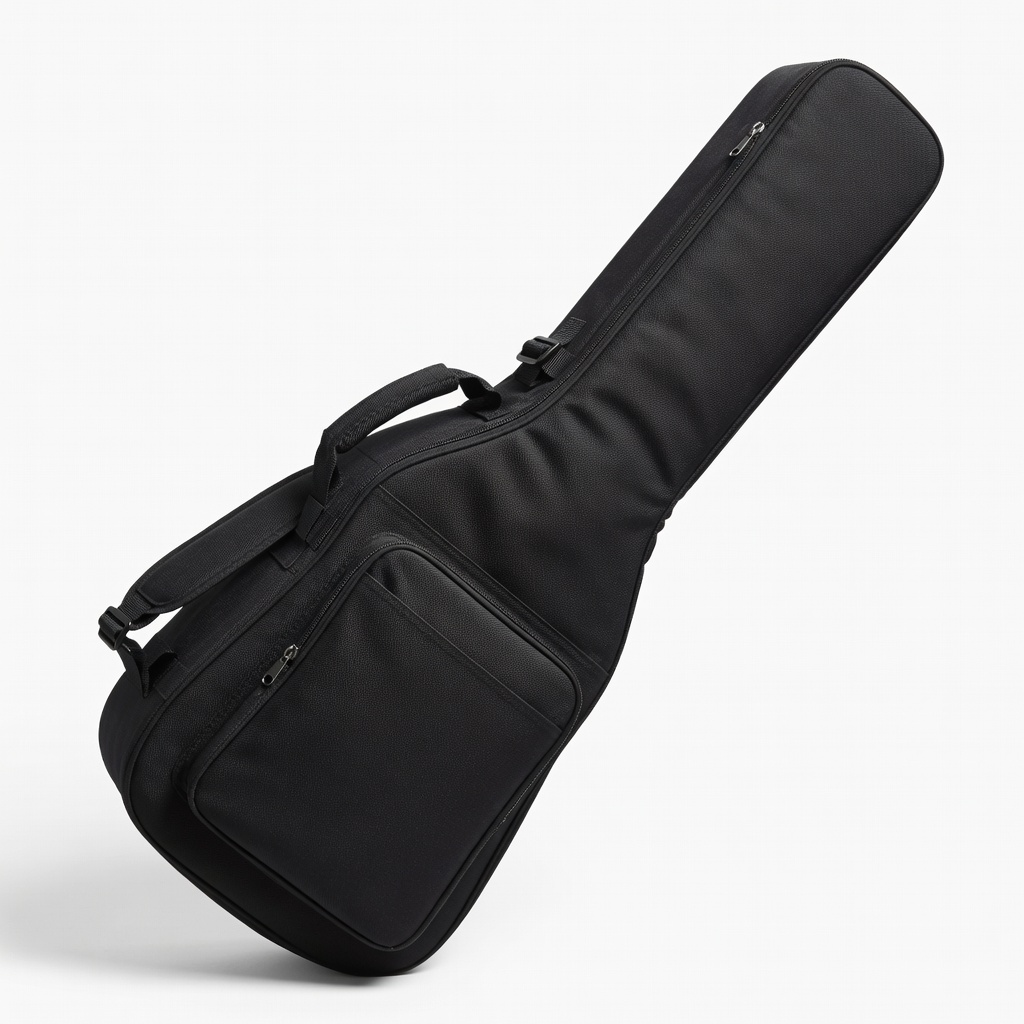
Pre-water-resistant upgrade if DIY fails; lightweight for gigs.
Best for: Replacement for heavily damaged cases.
Price Range: $50-$70
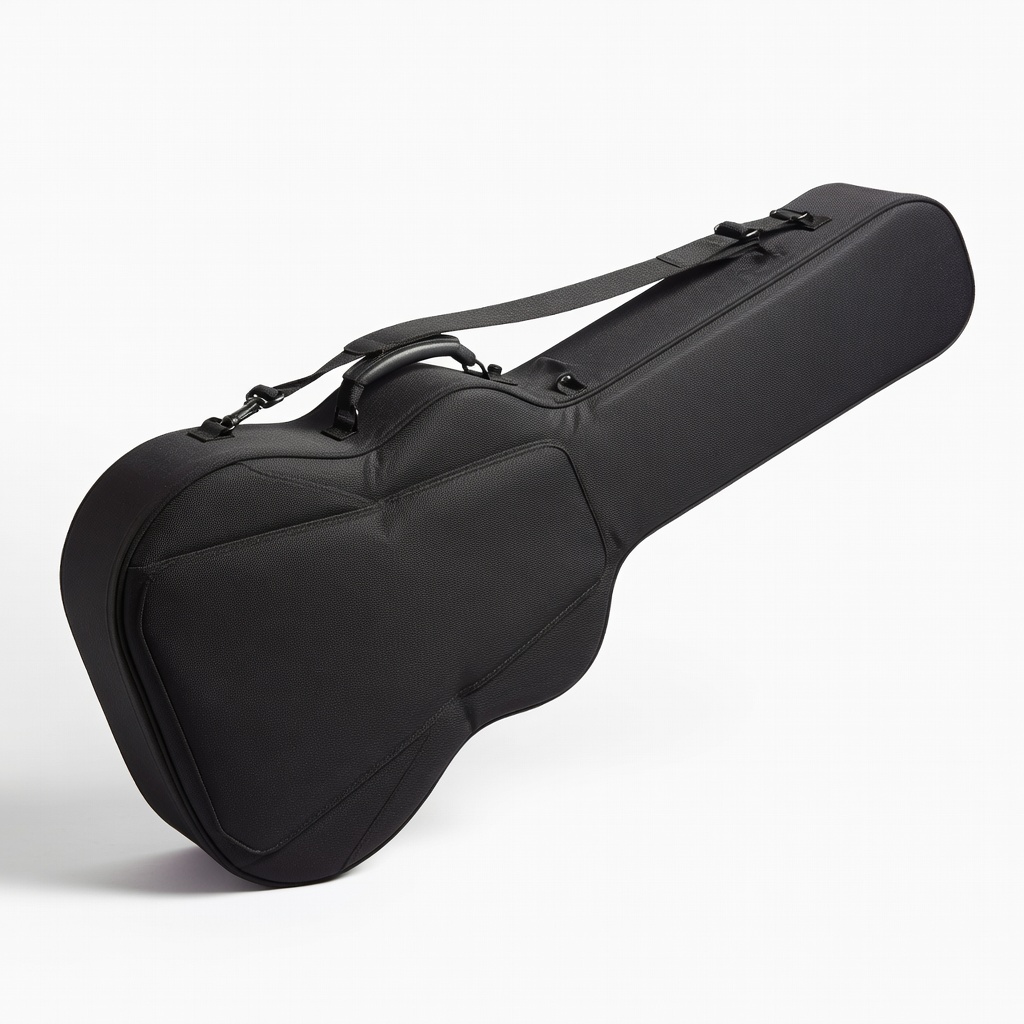
Fully waterproof out-of-box; rigid EVA shell for ultimate protection.
Best for: Pro gig alternative to modding old cases.
Price Range: $200-$250
Primary exterior spray for soft cases during outdoor prep.
Scotchgard Fabric Water Shield Proven for nylon/polyester cases; creates breathable barrier that beads water instantly.
Sealing seams on high-wear gig cases.
Gear Aid Seam Grip Waterproof Sealant Flexible, durable sealant fills gaps perfectly without cracking.

All-around treatment for cases with leather accents.
Nikwax Fabric & Leather Proof Spray Eco-friendly, adds DWR without darkening; great for mixed materials.
Replacement for heavily damaged cases.
Gator Cases G-PG-Classic Gig Bag Pre-water-resistant upgrade if DIY fails; lightweight for gigs.
Pro gig alternative to modding old cases.
Mono M80 Acoustic Guitar Case Fully waterproof out-of-box; rigid EVA shell for ultimate protection.