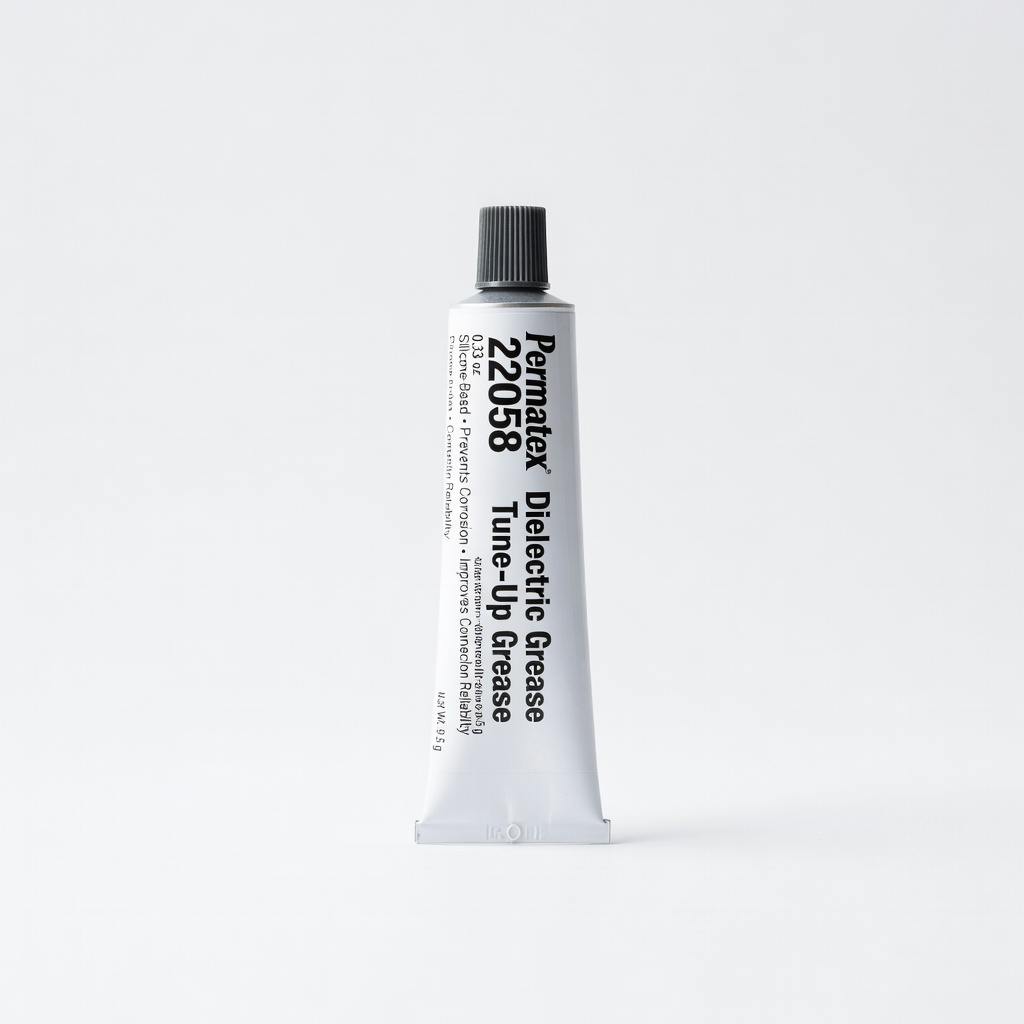
Permatex 22058 Dielectric Tune-Up Grease
All plugs, terminals, battery posts.
$7-10
Permatex 22058 Dielectric Tune-Up Grease Repels water from contacts without conductivity issues; marine-proven.
Get the App
Better experience on mobile
Protect your boat's 12V electrical systems from saltwater corrosion with this step-by-step guide to reliable, waterproof wiring and components.
Saltwater exposure can quickly corrode unprotected 12V systems on boats, leading to failures like flickering lights, dead batteries, or fire hazards mid-voyage. Whether you're outfitting a new vessel or retrofitting an old one, waterproofing ensures longevity and safety.
In this guide, you'll learn to assess, seal, and test your 12V setup using marine-grade techniques. We'll cover everything from connectors to enclosures, so your electronics stay dry and functional even in rough seas.
Expect 2-4 hours for a typical small system (e.g., bilge pump, lights, VHF). This intermediate guide assumes basic wiring knowledge—no prior marine experience needed.
Estimated Time: 2-4 hours (depending on system size) Difficulty: intermediate
Start by mapping your entire 12V setup: identify all wires, connections, fuses, switches, and devices (e.g., bilge pumps, nav lights, radios). Turn off the battery and note vulnerable spots like exposed splices or deck-mounted boxes.
Why it matters: This prevents missing hidden issues, ensuring comprehensive protection. Expect to find 80% of problems at connections.
Document with photos for reference.
💡 Tips:
⚠️ Warnings:
Disconnect the battery negative terminal first. Spray components with isopropyl alcohol or contact cleaner to remove corrosion, salt, and grime. Dry thoroughly with compressed air.
Cleaning ensures sealants adhere properly—dirty surfaces lead to failures. You'll see fizzing from cleaner reacting with residue; let dry 15-30 mins.
Inspect for damaged insulation; replace if cracked.
💡 Tips:
Strip wires, crimp marine-grade butt connectors or use adhesive-lined heat shrink tubing. Slide tubing over, crimp, then heat with a gun until adhesive oozes out, forming a waterproof seal.
This shrinks 50-60% and bonds, blocking moisture. Success: No gaps, uniform seal. Do all splices and terminals.
Why: Standard tape fails in marine environments.
💡 Tips:
⚠️ Warnings:
Coat all metal contacts, plugs, and battery terminals with dielectric grease using a brush or applicator. Wipe excess; it repels water without conducting electricity.
Grease displaces moisture and prevents oxidation. Expect a shiny, non-sticky film. Reapply annually.
Critical for plugs that disconnect often.
💡 Tips:
Mount fuses, switches, and relays in IP67-rated boxes. Drill glands for wire entry, seal with grommets or sealant. Secure with marine screws.
Enclosures protect from spray/immersion. Test seal by shaking water inside (dry method first).
Route wires downward to shed water.
💡 Tips:
⚠️ Warnings:
For custom PCBs or electronics, mask non-coated areas and spray conformal coating. Let cure 1-2 hours per layer (2-3 coats).
Forms invisible moisture barrier. PCBs will look glossy; test resistance post-cure.
Skip for simple wiring.
💡 Tips:
Reattach battery, route wires in conduit or chafe protection. Use zip ties or clips; avoid tight bends.
Prevents vibration damage. Tug-test all connections.
Label wires for maintenance.
💡 Tips:
Power on, check voltages/continuity with multimeter. Spray with hose or submerge testable parts (e.g., connectors) for 30 mins, then retest.
No shorts, stable voltage = success. Dry and monitor for 24 hours.
Final check mimics real use.
⚠️ Warnings:
Problem: System shorts after waterproofing
Solution: Check for pinched wires or excess grease bridging contacts; dry, clean, reapply sparingly.
Problem: Corrosion reappears quickly
Solution: Verify marine-grade materials; re-clean and add conformal coating.
Problem: Enclosures fog up
Solution: Add vent plugs or desiccant packs; ensure glands are tight.
Problem: Intermittent power loss
Solution: Tug-test connections; use multimeter under load.
Repels water from contacts without conductivity issues; marine-proven.
Best for: All plugs, terminals, battery posts.
Price Range: $7-10
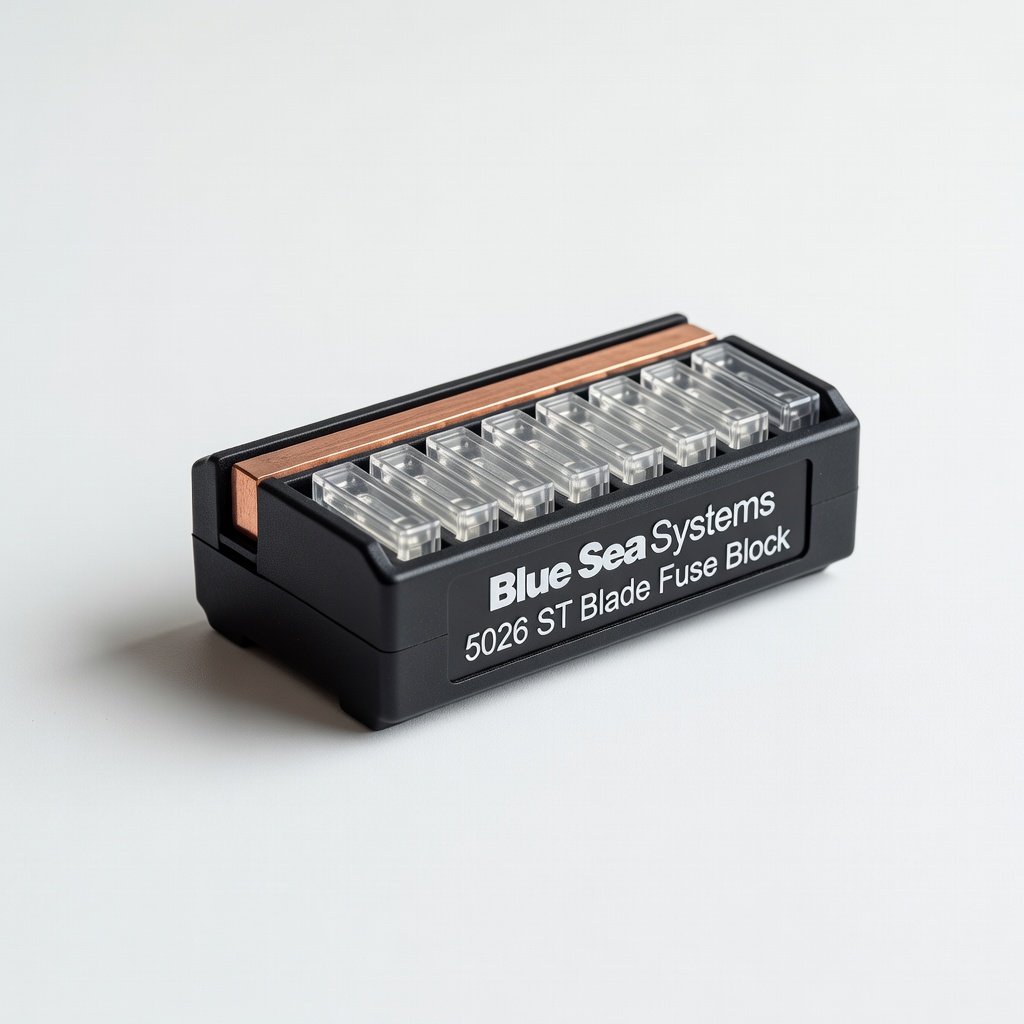
IP66 waterproof cover, tinned bus for corrosion resistance.
Best for: Central fuse panel replacement.
Price Range: $45-60
Flexible, waterproof spray for PCBs; easy application.
Best for: Electronics boards like controllers.
Price Range: $20-25
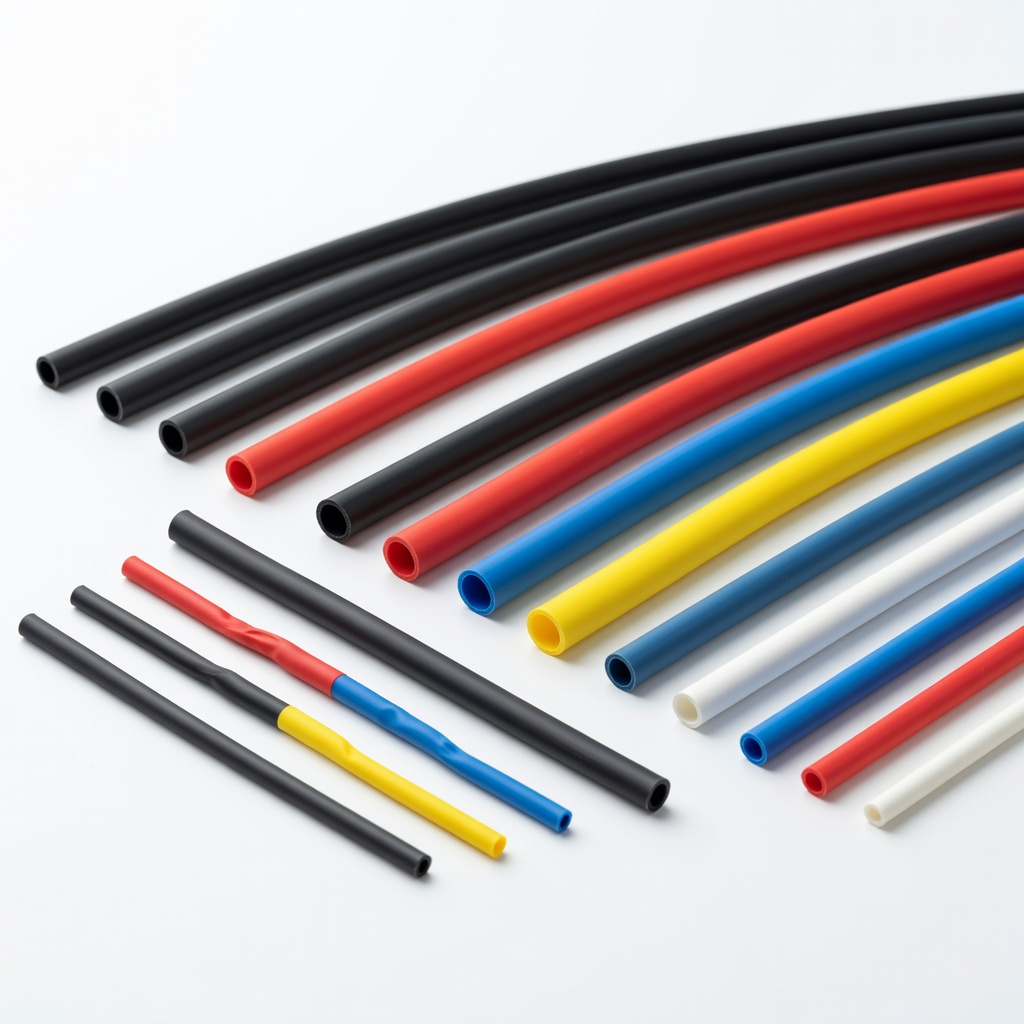
Adhesive-lined assortment for perfect waterproof splices.
Best for: All wire connections.
Price Range: $15-20
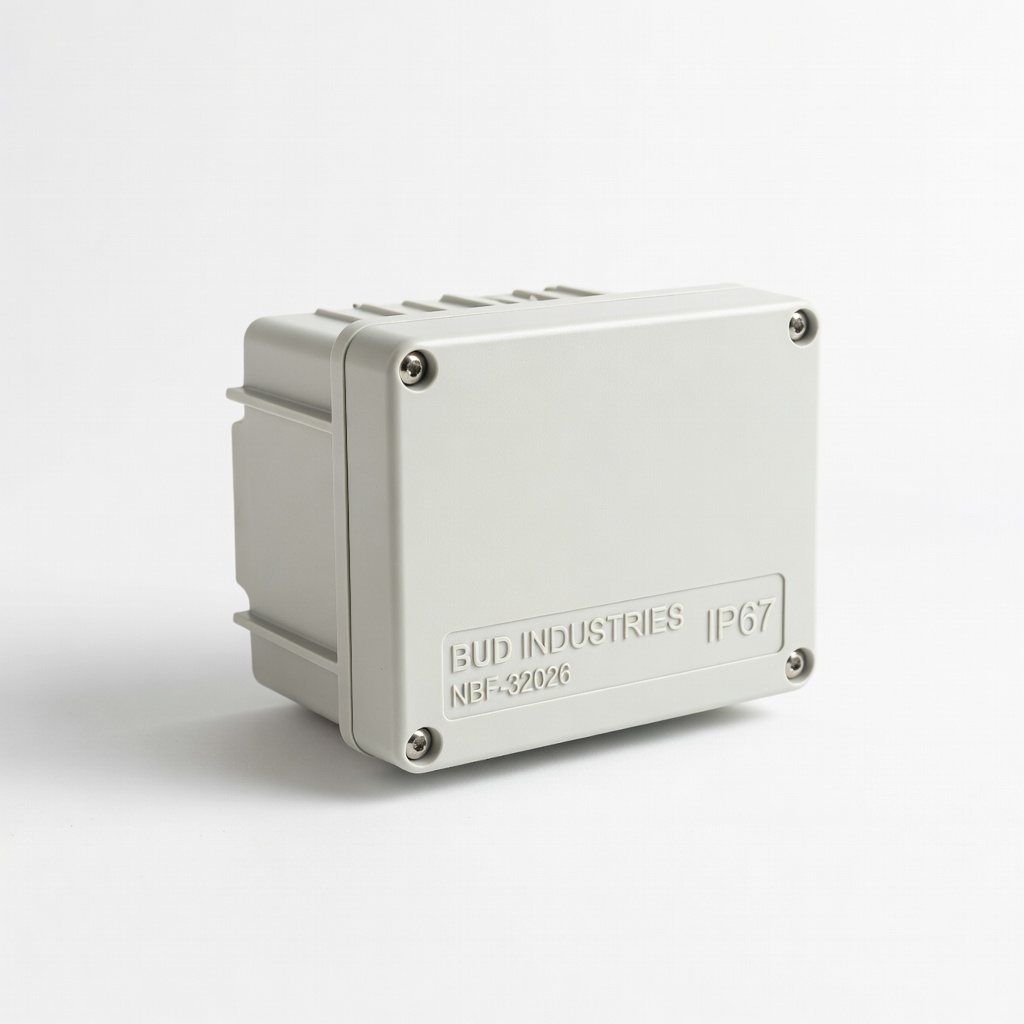
Durable polycarbonate enclosure for harsh marine environments.
Best for: Housing switches/relays.
Price Range: $20-30
All plugs, terminals, battery posts.
Permatex 22058 Dielectric Tune-Up Grease Repels water from contacts without conductivity issues; marine-proven.
Central fuse panel replacement.
Blue Sea Systems 5026 ST Blade Fuse Block IP66 waterproof cover, tinned bus for corrosion resistance.

Electronics boards like controllers.
MG Chemicals 422B Silicone Conformal Coating Flexible, waterproof spray for PCBs; easy application.
All wire connections.
Wirefy Heat Shrink Tubing Kit Adhesive-lined assortment for perfect waterproof splices.
Housing switches/relays.
BUD Industries NBF-32026 IP67 Junction Box Durable polycarbonate enclosure for harsh marine environments.