Ever bought a planner in January, used it for a week, and then abandoned it by March? If so, you're not alone. Printable planners offer a fresh approach because they're customizable, budget-friendly, and easy to change whenever your goals do. But simply printing a bunch of pages won't automatically make you more organized. To truly harness a printable planner for goal setting, you need a clear system that turns your ambitions into daily actions.
In this guide, you'll learn a simple 9-step method for selecting the right template, printing it efficiently, organizing the pages, setting SMART goals, breaking them down into weekly and daily tasks, and reviewing your progress. No complicated software or rigid rules—just a practical approach that has helped countless people go from overwhelmed to intentional.
By the end, you'll have a working planner setup that keeps your goals front and center every day. All you need is about an hour to get started, a few basic supplies, and a willingness to make planning a habit.
▸What You'll Need
- •Printable planner templates (free or paid)
- •Printer (or access to a print shop/library)
- •Heavyweight printer paper (28-32 lb recommended)
- •Hole punch or bound/discbound system (binder or notebook)
- •Pens, highlighters, and markers
- •Sticky notes or washi tape (optional)
Estimated Time: 45-60 minutes for initial setup, plus 10 minutes per week
Difficulty: beginner
▸Step-by-Step Instructions
Step 1: Choose a Template That Aligns With Your Goals
Before you print anything, decide what you want to track and achieve. A printable planner is just a blank canvas—it only works if the structure supports your goals. Look for templates that match your lifestyle: if you plan by the day, choose a daily spread; if you're a big-picture thinker, find a monthly view with a goal section. Many free and paid template packs include a mix of monthly, weekly, daily, and habit tracker pages. Pick one with clearly labeled sections like 'Goals', 'Action Steps', and 'Progress Tracker' to make goal setting easier.
Don't overthink it. You can always switch templates later or customize pages to fit your needs. The key is to choose a layout that you'll genuinely enjoy writing in, because a pretty planner you ignore won't help you move the needle.
💡 Tips:
- •Start with a free template from a respected productivity blog.
- •Look for templates with space for both to-dos and notes.
- •Choose a color scheme that makes you happy when you open it.
⚠️ Warnings:
- •Avoid complicated templates with too many tiny boxes—they're hard to fill consistently.
Step 2: Print on Good Paper
Once you've chosen your templates, it's time to print. Use a printer that handles standard A4 or 8.5x11 inch paper. For a professional feel, use 28-32 lb paper instead of standard 20 lb weight—it's thicker, resists ink bleed, and holds up to erasing and sticky notes. Load the paper, select 'high quality' in the print dialog, and set the scale to 'Fit to Page' to prevent cropping. Before printing your entire month, run a single test page to verify alignment.
If you don't have a printer, you can take the PDF to a local print shop or library. Many also print at big box stores. Just choose a matte or satin finish if possible, so your pens glide smoothly.
💡 Tips:
- •Print on the 'best' quality for a crisper result.
- •Purchase a ream of paper so you're not tempted to use flimsy sheets.
- •Consider duplex printing (both sides) for a slimmer planner.
⚠️ Warnings:
- •Don't print all pages at once; start with a week or month to test.
Step 3: Organize Pages in a Binder or Discbound System
Hole-punch your printed pages so they fit in a 3-ring binder or a discbound notebook. Discbound systems (like Happy Planner or Arc) let you open and move pages instantly, and they lie completely flat so writing is easier. Binders are more affordable, but pages can shift when turned. Either way, add dividers for major sections: 'Goals', 'Monthly', 'Weekly', 'Daily', 'Notes'. Use tabs or sticky labels so you can flip to the right section in seconds.
Take a moment to set up your divider order logically—you might want your monthly overview first, followed by all weekly spreads, then the habit trackers. Test the orientation (landscape vs portrait) and ensure the paper punches cleanly.
💡 Tips:
- •Use a 1/2-inch binder for a lightweight system.
- •Invest in a good hole punch—the small keychain ones are frustrating.
- •Add a pen loop on the binder to keep your writer handy.
⚠️ Warnings:
- •If holes tear, reinforce the edge with washi tape before punching.
Step 4: Set Your Big-Picture Goals (Quarterly and Monthly)
Open your planner to the monthly or quarterly goal page. Spend 20-30 minutes brainstorming what you want to achieve in the next 90 days, then choose 3-5 SMART goals. Write each as a complete sentence, e.g., 'Run a 5K without stopping' or 'Save $3,000 for travel'. Make them measurable and time-bound: include how often and by when. Then, break each goal into 3-5 monthly milestones—just the next steps needed in the next 30 days.
Write these on your monthly spread, using a dedicated goal section. This big-picture view serves as a filter for everything you'll put in your weekly and daily plans. If a task doesn't support at least one of these goals, you'll know to either schedule it later or drop it.
💡 Tips:
- •Use a separate goal-setting worksheet to clarify your ideas before transferring.
- •Share your goals with a friend or challenge partner.
- •Put the 'why' next to each goal to stay motivated.
⚠️ Warnings:
- •Don't write more than 5 goals—your energy is finite.
Step 5: Break Goals Down Into Weekly and Daily Actions
Now translate your monthly milestones into a weekly action list. At the start of each week, review your quarterly goals and monthly milestones, then choose 1-3 tasks that will move you closest to them. These are your high-priority 'Big Rocks'—do these before anything else. Phrase them as concrete actions: instead of 'Work on project', write 'Finish project outline'.
During the day, select just one Most Important Task (MIT) from your weekly list and put it in a prominent spot on your daily spread. Then fill the day with two or three other tasks, being careful not to overload. Success is about completing the right tasks, not the most tasks.
💡 Tips:
- •Use the 1-3-5 rule: 1 large task, 3 medium tasks, 5 small tasks each day.
- •Invert your habit tracker—'don't break the chain'.
⚠️ Warnings:
- •Don't list more than 5-7 tasks per day; it becomes unrealistic.
Step 6: Plan Your Week in Advance (Sunday Evening or Monday Morning)
Set aside 10-15 minutes each week to fill in your weekly spread. Start by writing down all your appointments, meetings, and deadlines. Then block out time slots for deep work that aligns with your goals, like '9-10am: Marketing Plan'. Include meals, workouts, and family time so you don't double-book yourself. If you use a color-coding system, assign each area a color: blue for work, green for health, pink for relationships.
When you schedule, be realistic about how long things take—most people underestimate by 20%. Leave buffer time between tasks so you're not rushing around. This weekly overview prevents daily conflicts and helps you notice if you're over-planning.
💡 Tips:
- •Set an alarm on your phone for your planning session.
- •Use a ruler to draw clean time blocks.
- •Make sure to schedule breaks—a rested brain is a productive one.
⚠️ Warnings:
- •Avoid time-blocking every minute; leave at least one hour open.
Step 7: Track Habits and Measurements
Goals are achieved through consistent small actions, and a habit tracker makes those actions visible. Create a simple grid on your monthly spread, with one row per habit and columns for each day. Fill in a square (or add a sticker) every day you complete the habit. For example, if your goal is to write a novel, track 'Write 500 words' as a habit. If it's fitness, track 'Exercise 20 minutes'.
You can also track measurable progress, like weekly weight, savings balance, or pages read. Use a progress log table to record numbers and notice trends. This data helps you decide whether to push harder or adjust your approach.
💡 Tips:
- •Start with one or two habits per goal, not ten.
- •Use a highlighter to mark off 7 consecutive days—the motivation spike is real.
- •If you miss a day, don't break the chain—course correct immediately.
⚠️ Warnings:
- •Don't track more than 5-6 habits at a time—it becomes tedious.
Step 8: Review and Reflect Weekly
Schedule a 10-15 minute weekly review, ideally Sunday afternoon or Monday morning. Flip through the past week's pages. Count how many of your priority tasks you completed and note which ones got pushed. Ask yourself: Did I spend my time on what actually matters? Did I say yes to commitments that don't align with my goals? Write down one win and one lesson in a 'Weekly Review' note.
Carry over unfinished tasks deliberately—add them to next week's list only if they still serve your goal. If you find yourself repeatedly carrying over the same task, evaluate whether it's truly important or if you're procrastinating. This reflection turns planning into a powerful feedback loop for constant improvement.
💡 Tips:
- •Use a red pen to mark what didn't work and a green pen for wins.
- •Keep your review notes on one page so you can spot patterns.
- •Praise yourself for the wins—progress, not perfection.
⚠️ Warnings:
- •Don't skip this step—it's where the real growth happens.
Step 9: Adjust and Personalize as You Go
After a few weeks, you'll know what parts of your planner work and what feels like a chore. Maybe the classic weekly layout isn't giving you enough room, or you want to add a budget page. Because you're using printables, you can simply swap pages without wasting money. Add new templates, remove unused ones, or repurpose a notes page as a gratitude log.
Don't be afraid to make the planner your own. Use washi tape to highlight important dates, add sticky notes for temporary thoughts, and write in the margins. The more you tailor it to your life, the more you'll look forward to planning. If something stops working, fix it. If the whole system feels off, start fresh with a new template and apply what you've learned.
💡 Tips:
- •Keep backup PDFs of templates you like.
- •Create a master 'contents' page so you know what you're working with.
- •Print additional daily pages if you tend to write long to-dos.
⚠️ Warnings:
- •Avoid switching systems every week—give each template at least two weeks to prove itself.
▸Pro Tips
- •Use the 'One Page Per Day' rule if you're planning for multiple people—print separate pages for bite-size goals.
- •Take a photo of your weekly spread and set it as your phone lock screen for constant motivation.
- •Pair your planner with a daily digital reminder to check your tasks (but don't duplicate every appointment).
- •Create a 'Master Goal' card that fits in your wallet—portable accountability.
- •If you're a perfectionist, intentionally leave one box blank each day to practice flexibility.
- •Leverage color psychology: blue for deep work, red for urgent, green for growth.
- •Use a paperclip to mark today's page so you don't have to search for it.
- •Revisit your quarterly goals every Friday to see if the current month's actions still align.
▸Common Mistakes to Avoid
- •Over-printing dozens of pages you'll never use, creating clutter and guilt.
- •Filling in tomorrow's tasks tonight on autopilot without considering your goals.
- •Copying every appointment from your phone calendar into your planner, wasting time.
- •Making daily to-do lists that are too long, leading to constant feelings of failure.
- •Failing to connect your daily actions back to your big goals, so days feel busy but aimless.
▸Troubleshooting
Problem: My printer cuts off the edges of the planner pages.
Solution: Open the PDF settings and choose 'Fit to Page' under scale, then click 'Print'. Check that your printer isn't set to 'Draft' quality.
Problem: Ink smudges when I use a highlighter on my planner.
Solution: Use quick-dry pigment pens like Sakura Pigma Micron, or wait a few seconds after writing before highlighting. Choose alcohol-based markers instead of permanent felt-tip.
Problem: My pages keep falling out of the binder.
Solution: Reinforce the punched holes with clear tape or use a discbound system, which is sturdier. Invest in a quality hole punch with a 5mm punch head.
Problem: I stop planning after a week or two.
Solution: Make the habit tiny: just fill in one day and carry it over. Attach your planning session to an existing habit, like drinking your morning coffee. If it feels like a chore, change your template so it's fun again.
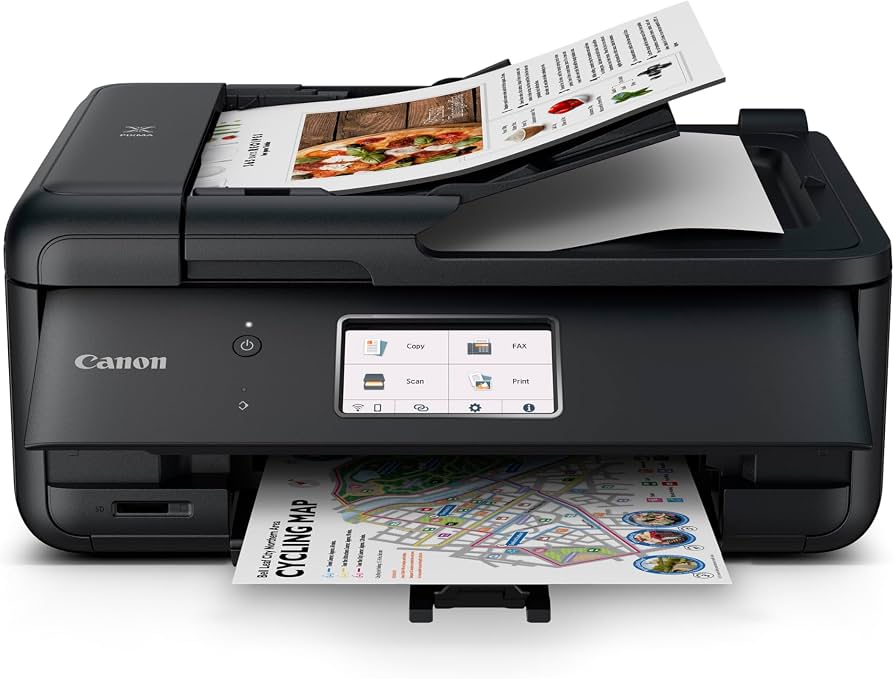
Canon PIXMA TR8620 Wireless Printer
A versatile all-in-one printer that produces crisp, borderless pages—perfect for printing planner templates at home without cutting off margins.
Best for: Printing your selected planner pages in color or black-and-white.
Price Range: $150-$250
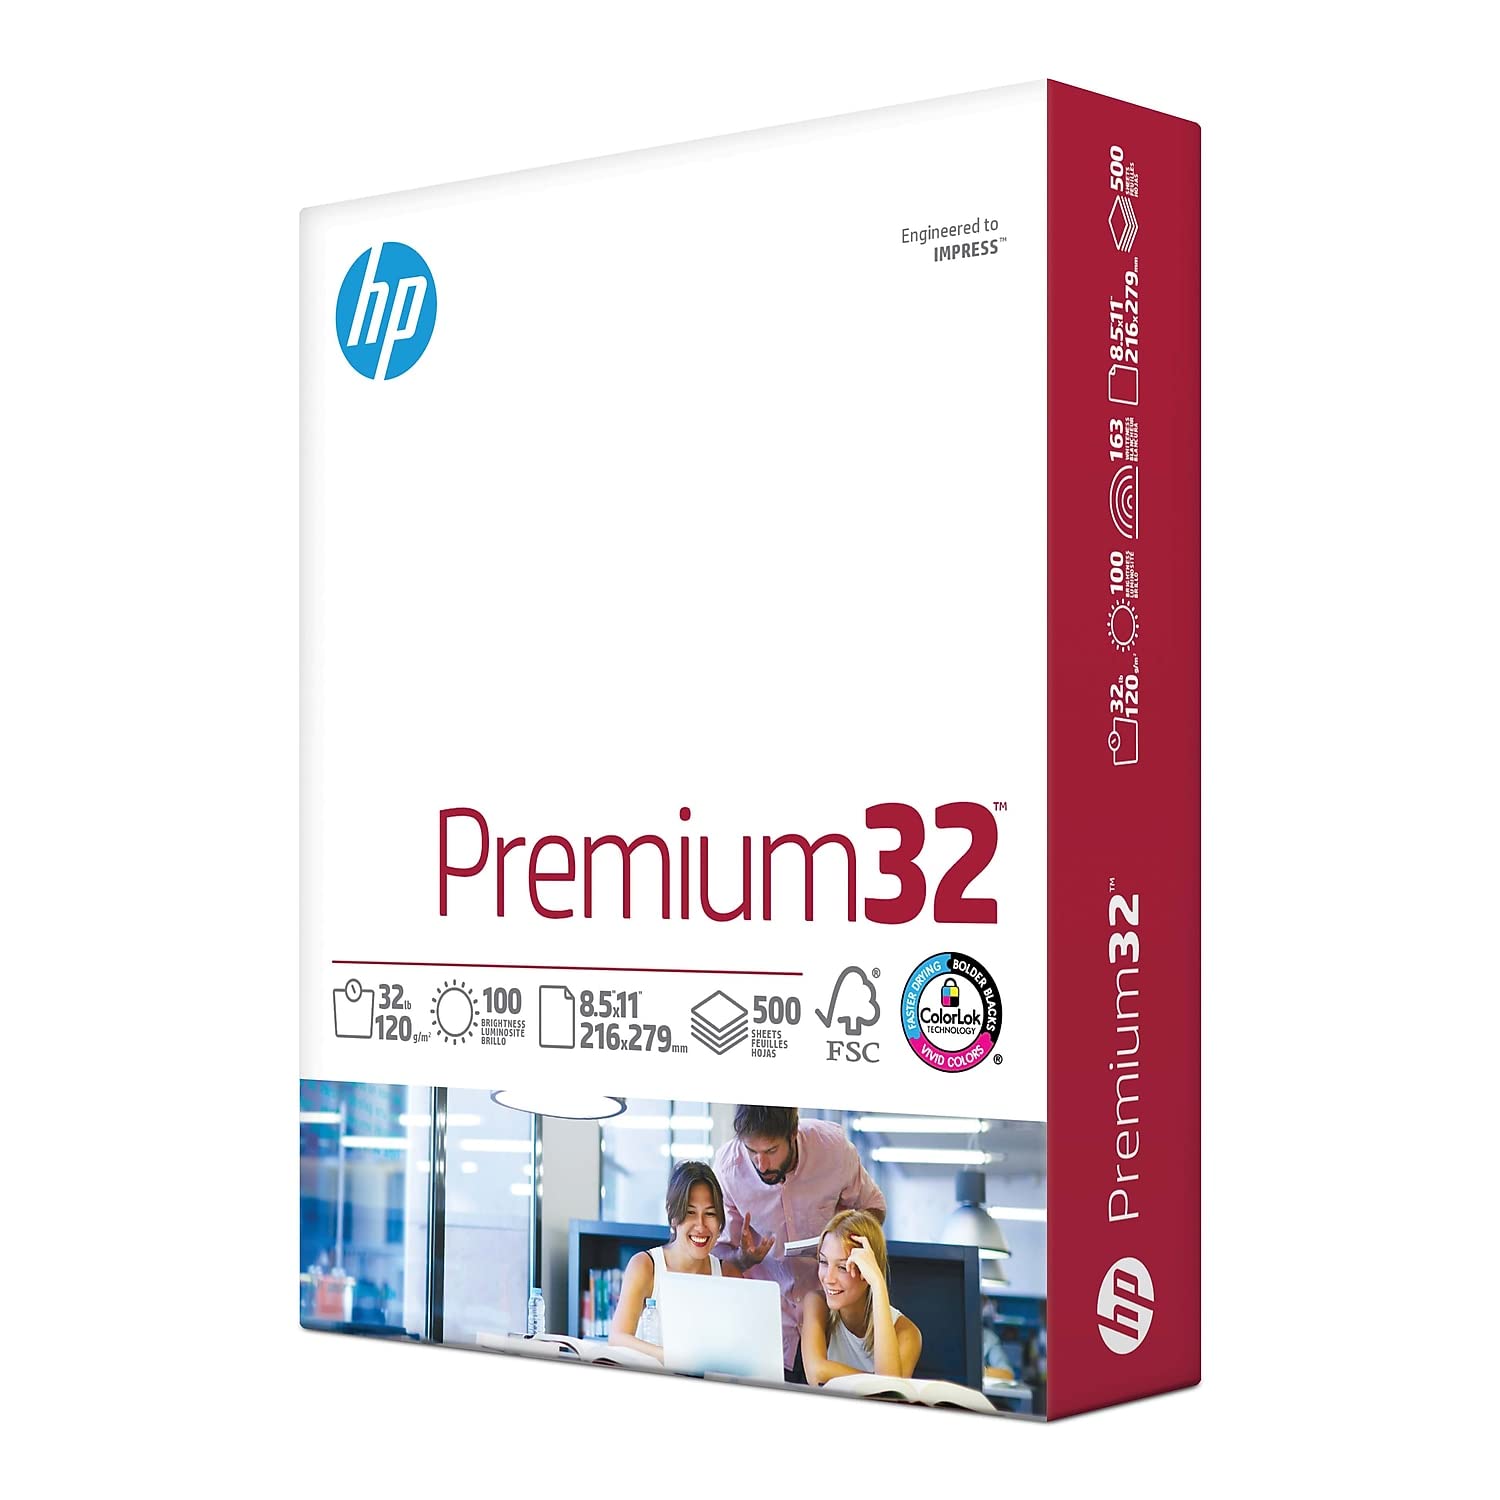
HP Premium 32 Printer Paper
Heavyweight 32 lb paper prevents ink bleed, so your pages stay neat and feel substantial—much better than standard white copy paper.
Best for: Printing planner pages for a smooth writing surface and professional look.
Price Range: $10-$15
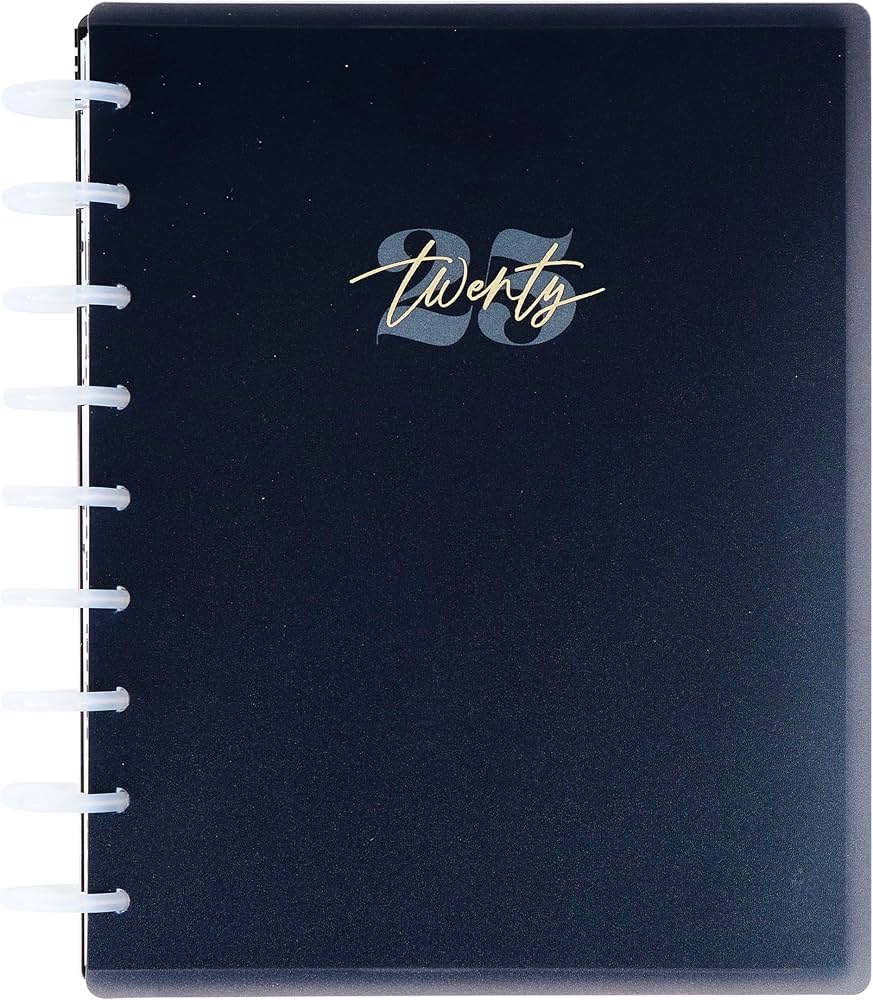
Happy Planner Classic Discbound Notebook
A durable discbound system that allows you to move pages easily and lies flat while writing—ideal for planners who want to rearrange sections without removing papers.
Best for: Holding your printable planner pages in an organized, customizable format.
Price Range: $20-$30
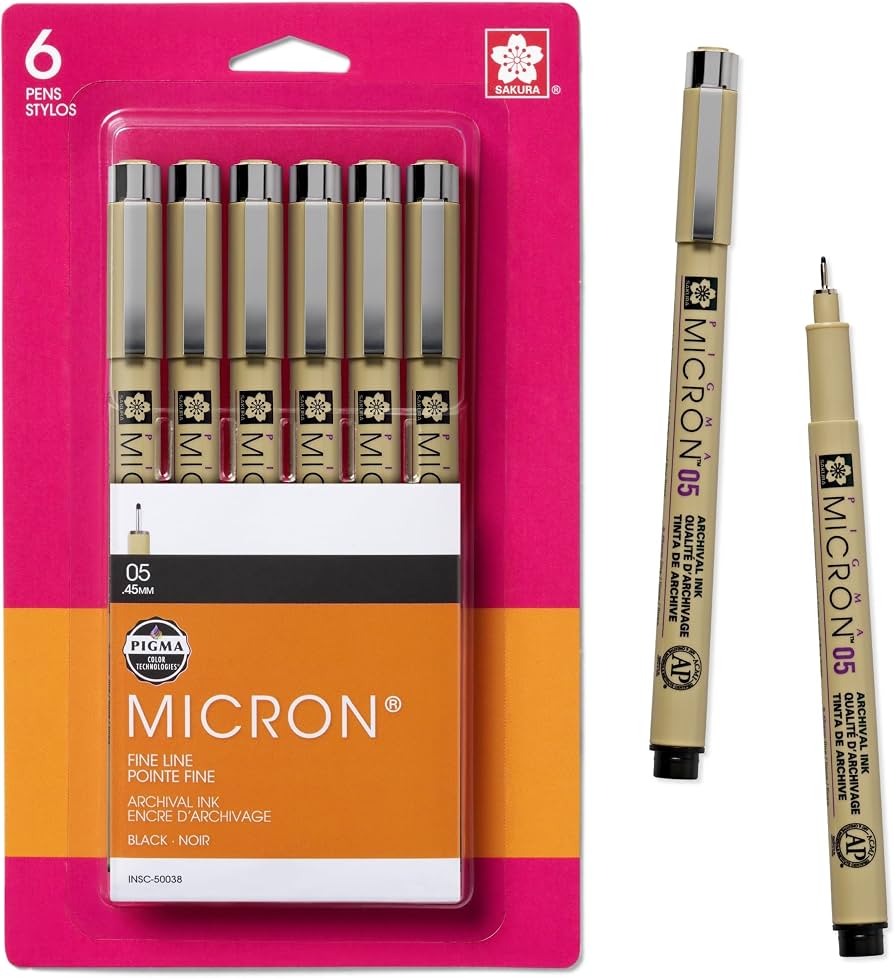
Sakura Pigma Micron Ink Pen Set
Archival-quality, fade-resistant ink that dries quickly and resists smudging, making it a favorite among planner enthusiasts.
Best for: Writing down goals, to-dos, and daily notes with precision and no smears.
Price Range: $15-$25
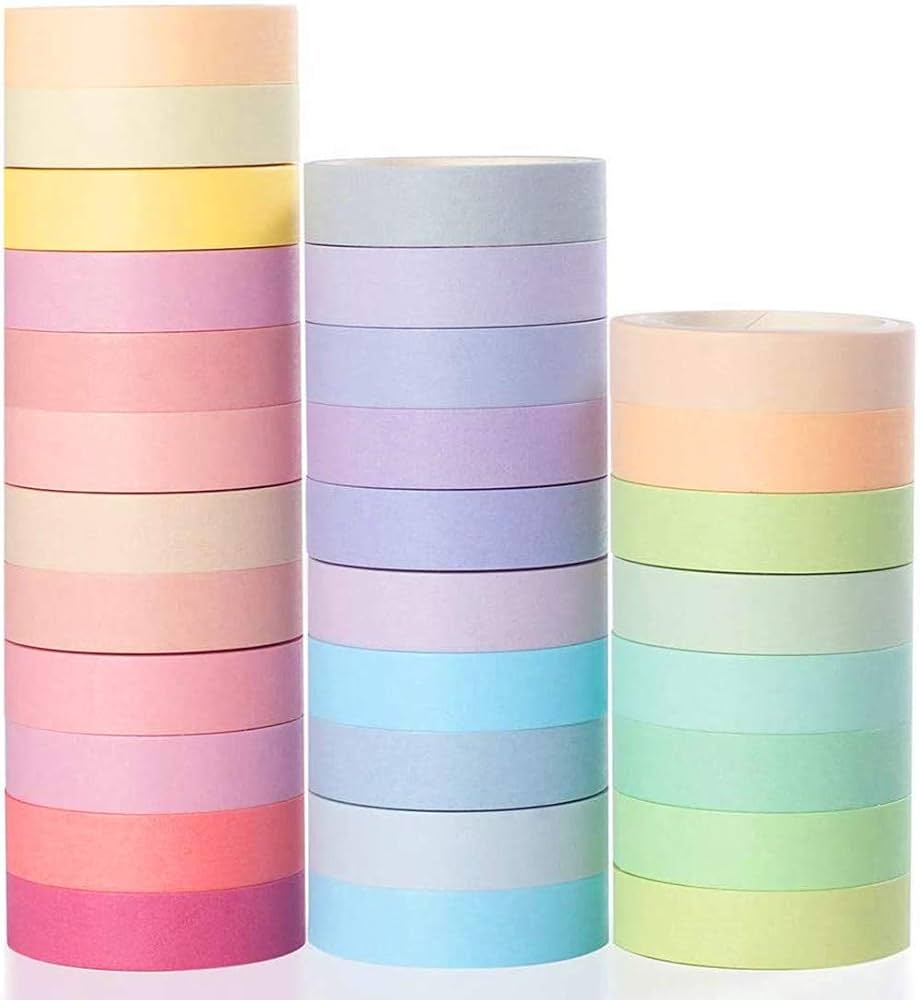
Pastel Washi Tape Set
A fun way to color-code tabs, mark important dates, and add a bit of joy to your planner layout without adding bulk.
Best for: Highlighting recurring tasks, sectioning your planner, or decorating weekly spreads.
Price Range: $8-$12