Struggling with sanding discs that slip off mid-project or leave swirl marks on your woodwork? Hook and loop (Velcro-style) abrasive discs make sanding faster and easier on random orbital sanders, but improper use leads to frustration. This guide fixes that.
You'll learn to select, attach, and use these discs safely for smooth results on wood, metal, or paint. The process is simple: prep, attach, sand, and clean up. Expect pro-level finishes without the hassle.
Total time: 10-15 minutes for setup and first sanding session. Perfect for DIY beginners—no prior experience needed.
▸What You'll Need
- •Random orbital sander or disc sander with hook and loop backing pad (5-inch common size)
- •Hook and loop abrasive sanding discs (start with 80-220 grit assortment)
- •Safety gear: dust mask (NIOSH-approved), safety goggles, work gloves
- •Workpiece (e.g., wood board, furniture)
- •Dust collection system or shop vac with adapter (optional but recommended)
- •Clean rag or compressed air for cleaning
Estimated Time: 10-20 minutes
Difficulty: beginner
▸Step-by-Step Instructions
Step 1: Select the Right Grit Discs
Choose discs based on your project. Coarse grits (40-80) remove material fast; medium (120-220) smooth surfaces; fine (320+) polish.
For beginners, start with 80-grit for rough stock, progressing finer. Match disc size to your sander's backing pad (e.g., 5-inch). Buy multi-packs for variety.
Success looks like: Discs with intact hook backing, no tears, fitting your pad perfectly.
💡 Tips:
- •Match holes in disc to pad's dust ports for better extraction.
⚠️ Warnings:
- •Avoid mismatched sizes—discs won't stay on.
Step 2: Prepare Your Workspace and Safety Gear
Work in a well-ventilated area. Put on dust mask, goggles, and gloves to protect from fine particles.
Secure your workpiece with clamps. Plug in sander but don't turn on yet.
Success looks like: Safe setup, no loose clothing or jewelry.
💡 Tips:
- •Tape edges if refinishing furniture to avoid over-sanding.
⚠️ Warnings:
- •Never sand without eye protection—debris flies everywhere.
Step 3: Clean the Sander's Backing Pad
Turn off and unplug sander. Inspect hook pad for debris, old adhesive, or wear. Use compressed air or rag to remove dust/sawdust.
If hooks are clogged, gently pick out debris with tweezers. A clean pad ensures strong grip.
Success looks like: Velcro hooks fluffy and debris-free, no bald spots.
💡 Tips:
- •Blow out pad weekly to extend disc life.
⚠️ Warnings:
- •Don't use solvents—they damage hooks.
Step 4: Attach the Disc to the Backing Pad
Peel disc from backing paper carefully. Align center hole with pad's arbor hole, then center disc over pad.
Press firmly from center outward with palms for even attachment. Rotate slightly while pressing for max hook engagement.
Success looks like: Disc sits flat, no bubbles or edges lifting.
💡 Tips:
- •Press in a spiral motion for uniform grip.
⚠️ Warnings:
- •Don't force if misaligned—remove and retry.
Step 5: Test the Attachment
Tug edges and corners firmly. Disc should not peel or shift. Tap pad lightly—if secure, no flapping.
Reattach if loose. This prevents mid-sand disasters.
Success looks like: Rock-solid hold under pull test.
💡 Tips:
- •Do this every time—better safe than sorry.
⚠️ Warnings:
- •Loose discs can fly off and damage work or cause injury.
Step 6: Connect Dust Collection
Attach shop vac hose to sander's port or use dust bag. Ensures 80-90% dust capture.
Test vacuum suction before sanding.
Success looks like: Strong airflow, minimal dust escape.
💡 Tips:
- •HEPA filter vac best for health.
Step 7: Start Sanding on Scrap First
Power on sander at low speed. Lower gently onto scrap wood—let weight do work, don't press.
Move in random overlapping circles. Feel for even cut.
Success looks like: Smooth, even removal without gouges or swirls.
💡 Tips:
- •Keep sander moving—stationary causes burns.
⚠️ Warnings:
- •Avoid edges; angle slightly to prevent dig-in.
Step 8: Sand Your Project and Change Discs
Progress to workpiece. Sand until flat/smooth, then switch to finer grit (repeat steps 4-7).
To change: Peel off worn disc (hooks release easily), clean pad, attach new.
Success looks like: Glass-smooth surface ready for finish.
💡 Tips:
- •Vacuum between grits for accurate progress check.
⚠️ Warnings:
- •Don't reuse clogged discs—clogs cause scratches.
Step 9: Clean Up and Store
Turn off/unplug. Remove disc, store flat in original pack. Empty dust collection.
Wipe tools.
Success looks like: Organized space, reusable discs.
💡 Tips:
- •Label grits for quick grabs.
▸Pro Tips
- •Always sand with the grain on wood for scratch-free results.
- •Use progressive grits: halve grit number each time (80→120→220).
- •Light pressure yields best finish—let RPM do the work.
- •For curves, use flexible sanding sponges between discs.
- •Store discs in airtight container to prevent gum-up.
- •Variable speed sanders? Start low for fine work.
- •Mark progress with pencil lines—erase as sanded.
▸Common Mistakes to Avoid
- •Skipping pad cleaning: Leads to poor adhesion and flying discs.
- •Pressing too hard while sanding: Causes uneven burn marks or overheating.
- •Using wrong grit sequence: Scratches show through finishes.
- •Ignoring dust control: Health risks and messy workspace.
- •Overlooking safety gear: Dust inhalation or eye injuries.
▸Troubleshooting
Problem: Disc won't stick
Solution: Clean pad thoroughly; replace worn pad if hooks are flat. Ensure disc is hook-loop type.
Problem: Swirl marks on surface
Solution: Use finer grit next; sand with random motion, not circles. Check pad is flat.
Problem: Sander vibrates excessively
Solution: Imbalanced disc or worn pad—replace both. Tighten pad nut.
Problem: Dust everywhere
Solution: Connect vac properly; replace clogged filter. Use discs with more extraction holes.
Problem: Disc tears easily
Solution: Upgrade to premium discs; reduce pressure. Avoid nails/screws in workpiece.
SPTA 5-Inch 80-320 Grit Hook and Loop Sanding Discs (50-Pack)
Affordable assortment for beginners; durable aluminum oxide for long life and various grits.
Best for: All-purpose sanding from rough to finish on wood/metal.
Price Range: $15.99
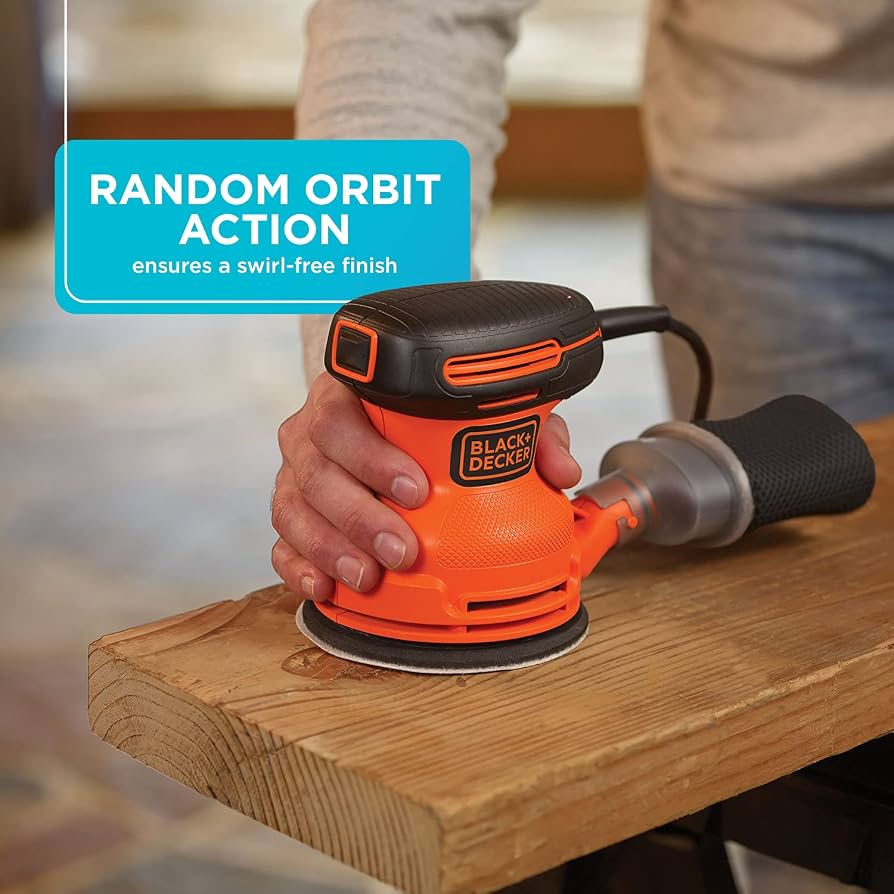
BLACK+DECKER 5-Inch Random Orbital Sander (BDERO100)
Lightweight, beginner-friendly with hook-loop pad and dust collection port.
Best for: DIY projects like furniture refinishing.
Price Range: $39.00
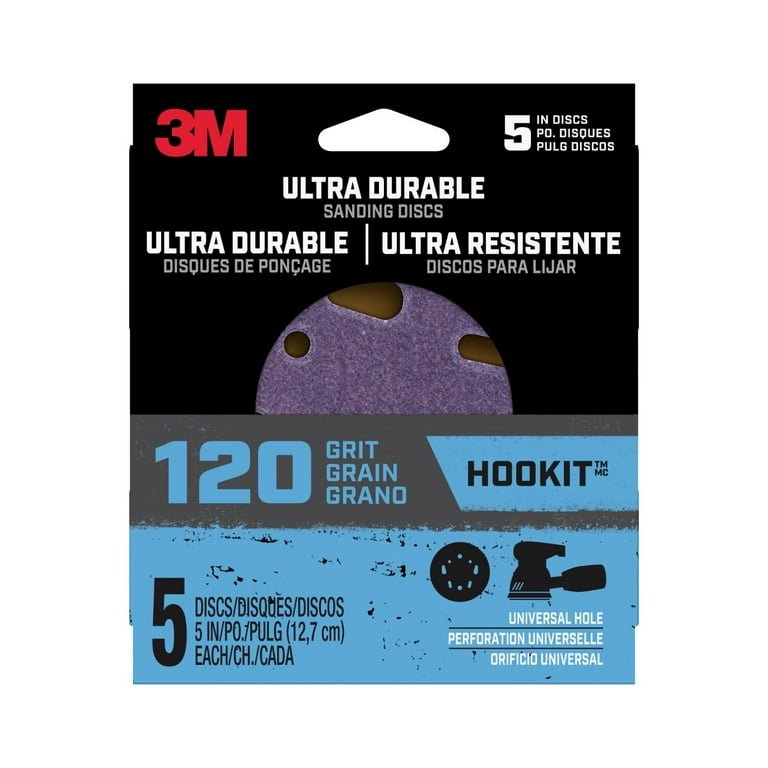
3M Hookit Sanding Discs 5-Inch 120-Grit (6-Pack)
Premium hooks for easy changes; dust extraction holes reduce mess.
Best for: Intermediate smoothing after coarse sanding.
Price Range: $12.99
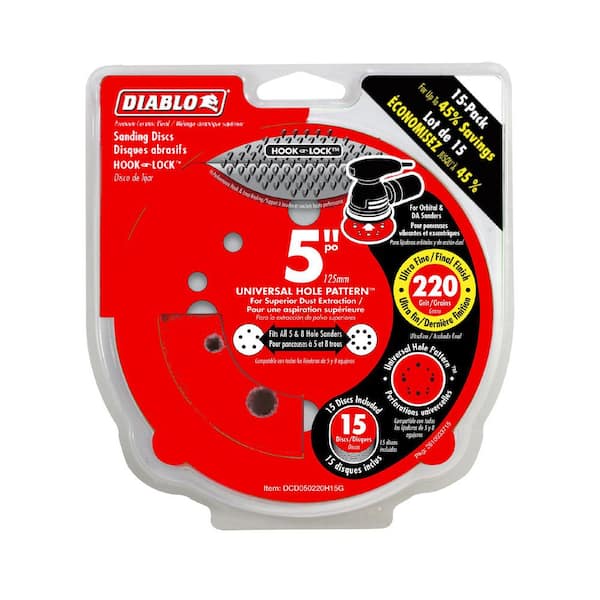
Diablo 5" Hook & Loop Sanding Discs 220-Grit (10-Pack)
High-performance for swirl-free finishes; great value.
Best for: Final prep before painting/staining.
Price Range: $14.97
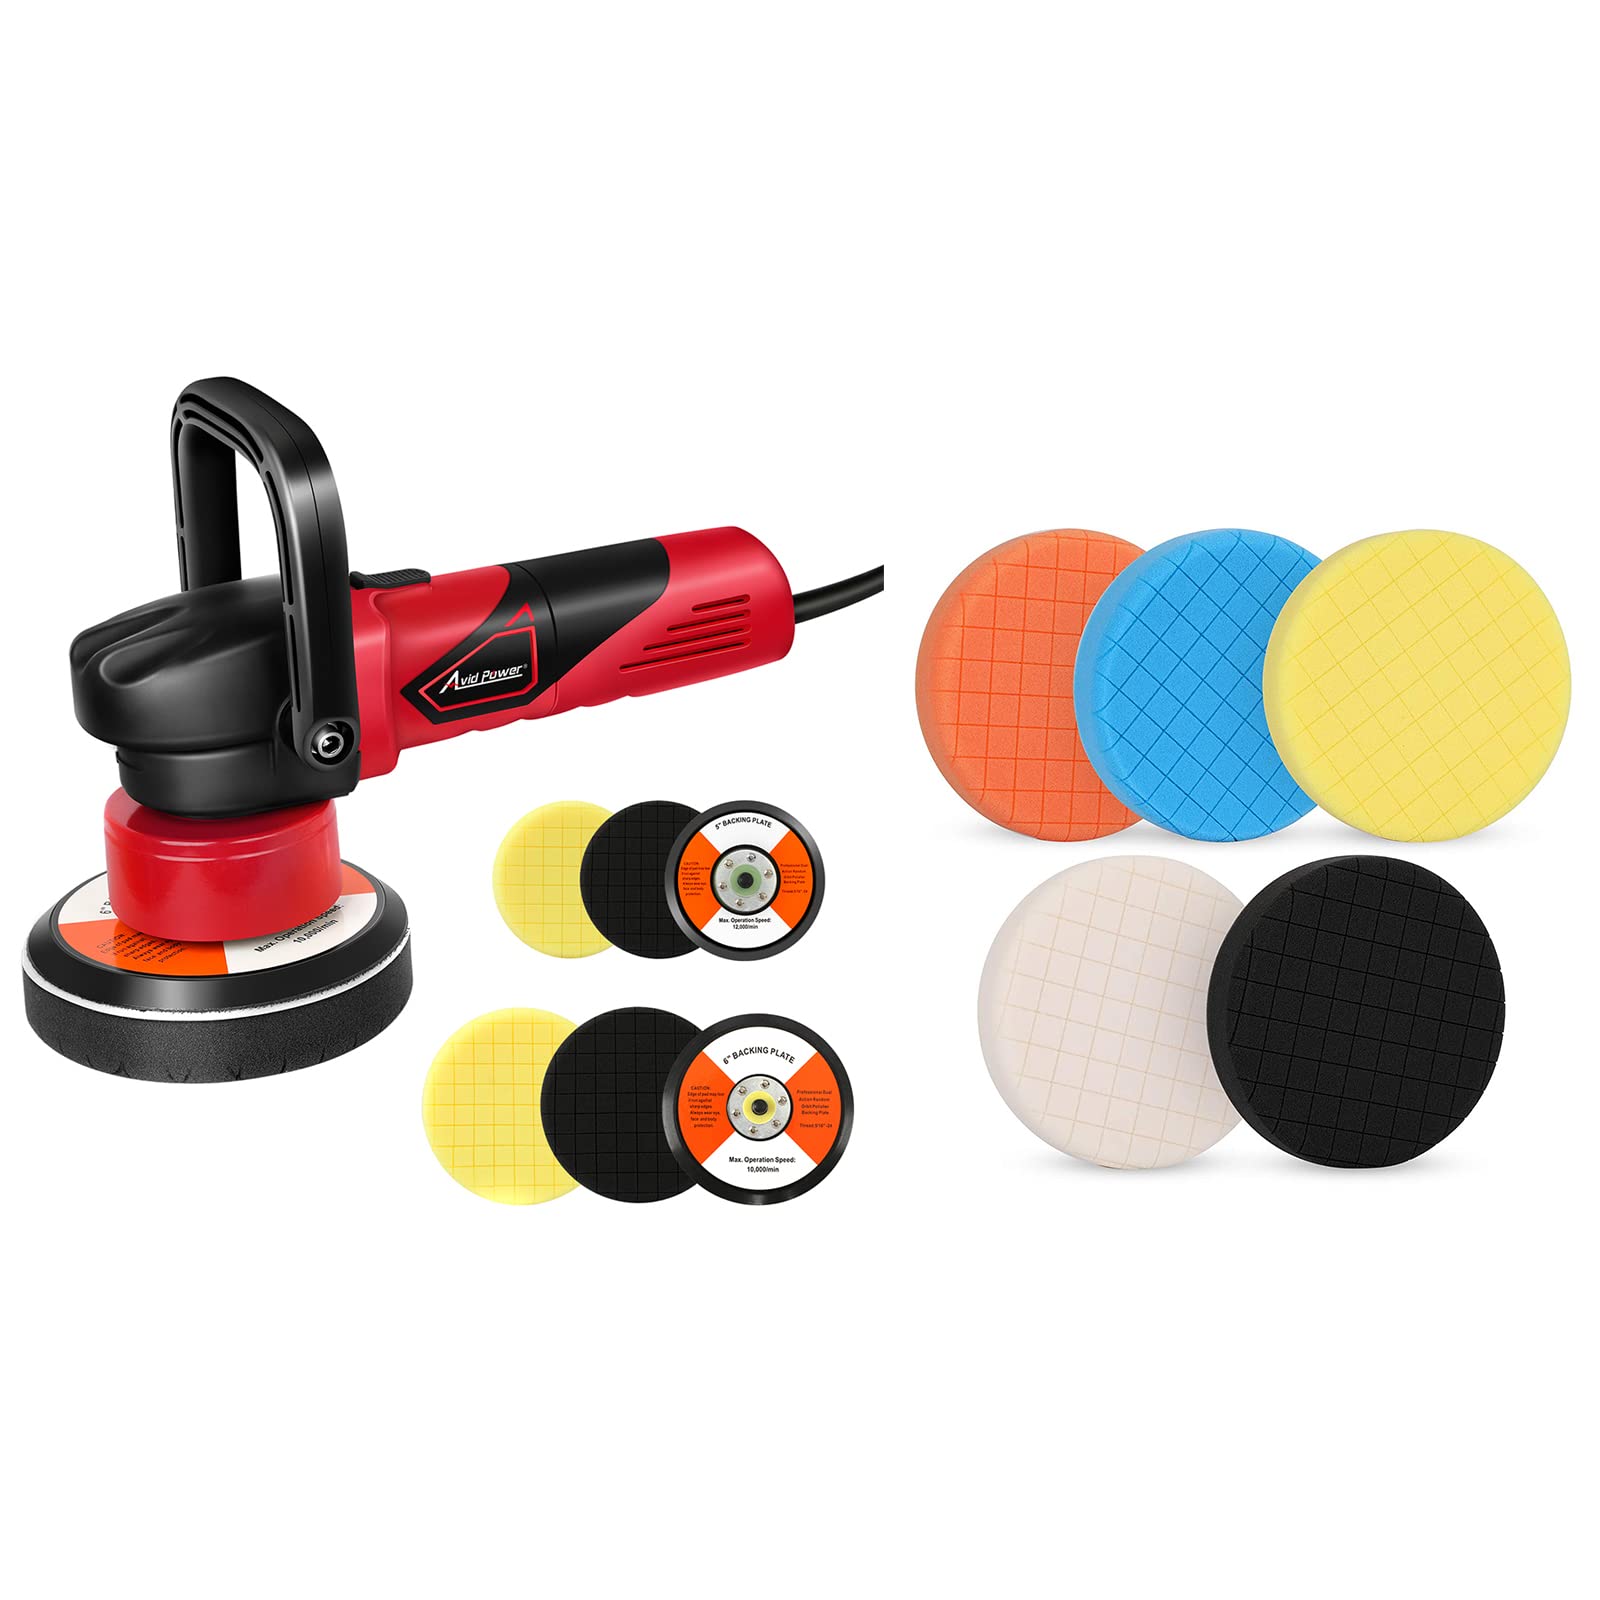
Avid Power 5-Inch Hook & Loop Backing Pad Replacement
Quick fix for worn pads; fits most 5-inch sanders.
Best for: Revive old sanders for like-new performance.
Price Range: $9.99