

Huion H420 Graphics Drawing Tablet
Drawing accurate rectangles and offsets in SketchUp.
$19.99
Huion H420 Graphics Drawing Tablet Enables precise line drawing with stylus, mimicking pen-on-paper for floor plans.
Get the App
Better experience on mobile
Master SketchUp Free to design home projects like a pro – create 3D models of rooms or sheds without spending a dime.
Dreaming of redesigning your home but intimidated by pricey architecture software? As a hobbyist, you don't need expensive tools like AutoCAD. Free options like SketchUp make professional-level 3D modeling accessible from your browser.
In this guide, you'll learn to build a simple backyard shed model step-by-step using SketchUp Free (web version). By the end, you'll have a shareable 3D design ready to visualize or print. Expect intermediate complexity – basic computer skills and familiarity with mouse navigation help.
Total project time: 1-2 hours. No downloads required, just a browser and creativity.
Estimated Time: 1-2 hours Difficulty: intermediate
Head to sketchup.com and click 'Start Modeling.' Enter your email, create a free Trimble account, and launch SketchUp in your browser.
This web-based version is perfect for hobbyists – no installation, unlimited projects, and 10GB storage. Success: You'll see the welcome screen with a 3D person model.
Why it matters: Free tier supports all basic tools for home designs.
💡 Tips:
Click 'New' to open a blank modeling space. Delete the default model (select all with Ctrl+A, then Delete). Set units to feet/inches via Window > Model Info > Units.
Expect a clean grid plane (ground). This is your canvas for the shed base.
Pro tip: Save early (File > Save As) with a name like 'MyShed.skp'.
⚠️ Warnings:
Select Rectangle tool (shortcut R). Click origin, drag to 10ft x 8ft (type dimensions in Measurements bar). Hit Enter.
Why: This defines your shed footprint. Success: A flat rectangle on the ground plane.
Use Line tool (L) if needed for irregular shapes, but rectangles are precise.
💡 Tips:
Select Push/Pull tool (P). Click the rectangle face, type '8'' (8 feet) and Enter. This creates 8ft walls.
Offset edges for wall thickness: Line tool to draw inset lines 4" in, then Push/Pull up separately.
Expect solid box shape. Why it matters: Push/Pull is SketchUp's core for 3D from 2D.
Rectangle tool: Draw door (3x7ft) and windows (3x4ft) on walls. Push/Pull inward slightly (e.g., 0.1"), then Delete faces or use Eraser.
Group components (right-click > Make Group) to edit independently. Success: Hollow openings without collapsing structure.
💡 Tips:
⚠️ Warnings:
Draw roof outline over walls with Offset (F) for overhangs. Line tool for peak ridge. Push/Pull up 3ft, then roof faces manually or use Follow Me plugin (search Extensions Warehouse).
Success: Gable roof profile. Why: Realistic sheds need sloped roofs for water runoff.
Paint Bucket (B): Select wood for walls/floor, shingle for roof (from Materials panel). Edit colors via Edit tab.
Add shadows: View > Shadows > On. Success: Photorealistic render in 3D view.
Why it matters: Visualizes final look before building.
💡 Tips:
Orbit (hold middle mouse + drag), Pan (Shift + middle), Zoom (wheel). Add scene (View > Animation > Add Scene).
Export: File > Export > 2D Graphic or 3D Model. Share link via Trimble Connect.
Final success: Interactive 3D shed viewable on any device.
Problem: Model lags or crashes
Solution: Simplify geometry (erase hidden lines), close other tabs, or restart browser. Upgrade RAM if chronic.
Problem: Tools won't select faces
Solution: Triple-click to select group/component, right-click > Explode if needed. Check you're on the right context.
Problem: Shadows not appearing
Solution: Ensure View > Shadows is on, set time/location in Shadows panel.
Problem: Can't export high-res
Solution: Use Extended Reality or Scenes for better renders; upgrade to Shop for PNG exports.
Enables precise line drawing with stylus, mimicking pen-on-paper for floor plans.
Best for: Drawing accurate rectangles and offsets in SketchUp.
Price Range: $19.99
Ergonomic with hyper-fast scroll and thumb buttons for effortless orbiting/panning.
Best for: Long modeling sessions without hand strain.
Price Range: $99.99
Affordable second screen for reference images while modeling.
Best for: Side-by-side views of plans and 3D model.
Price Range: $109.97
Step-by-step book for advancing from 3D to construction docs.
Best for: After basic modeling, learn pro layouts.
Price Range: $44.99
Drawing accurate rectangles and offsets in SketchUp.
Huion H420 Graphics Drawing Tablet Enables precise line drawing with stylus, mimicking pen-on-paper for floor plans.

Long modeling sessions without hand strain.
Logitech MX Master 3S Mouse Ergonomic with hyper-fast scroll and thumb buttons for effortless orbiting/panning.
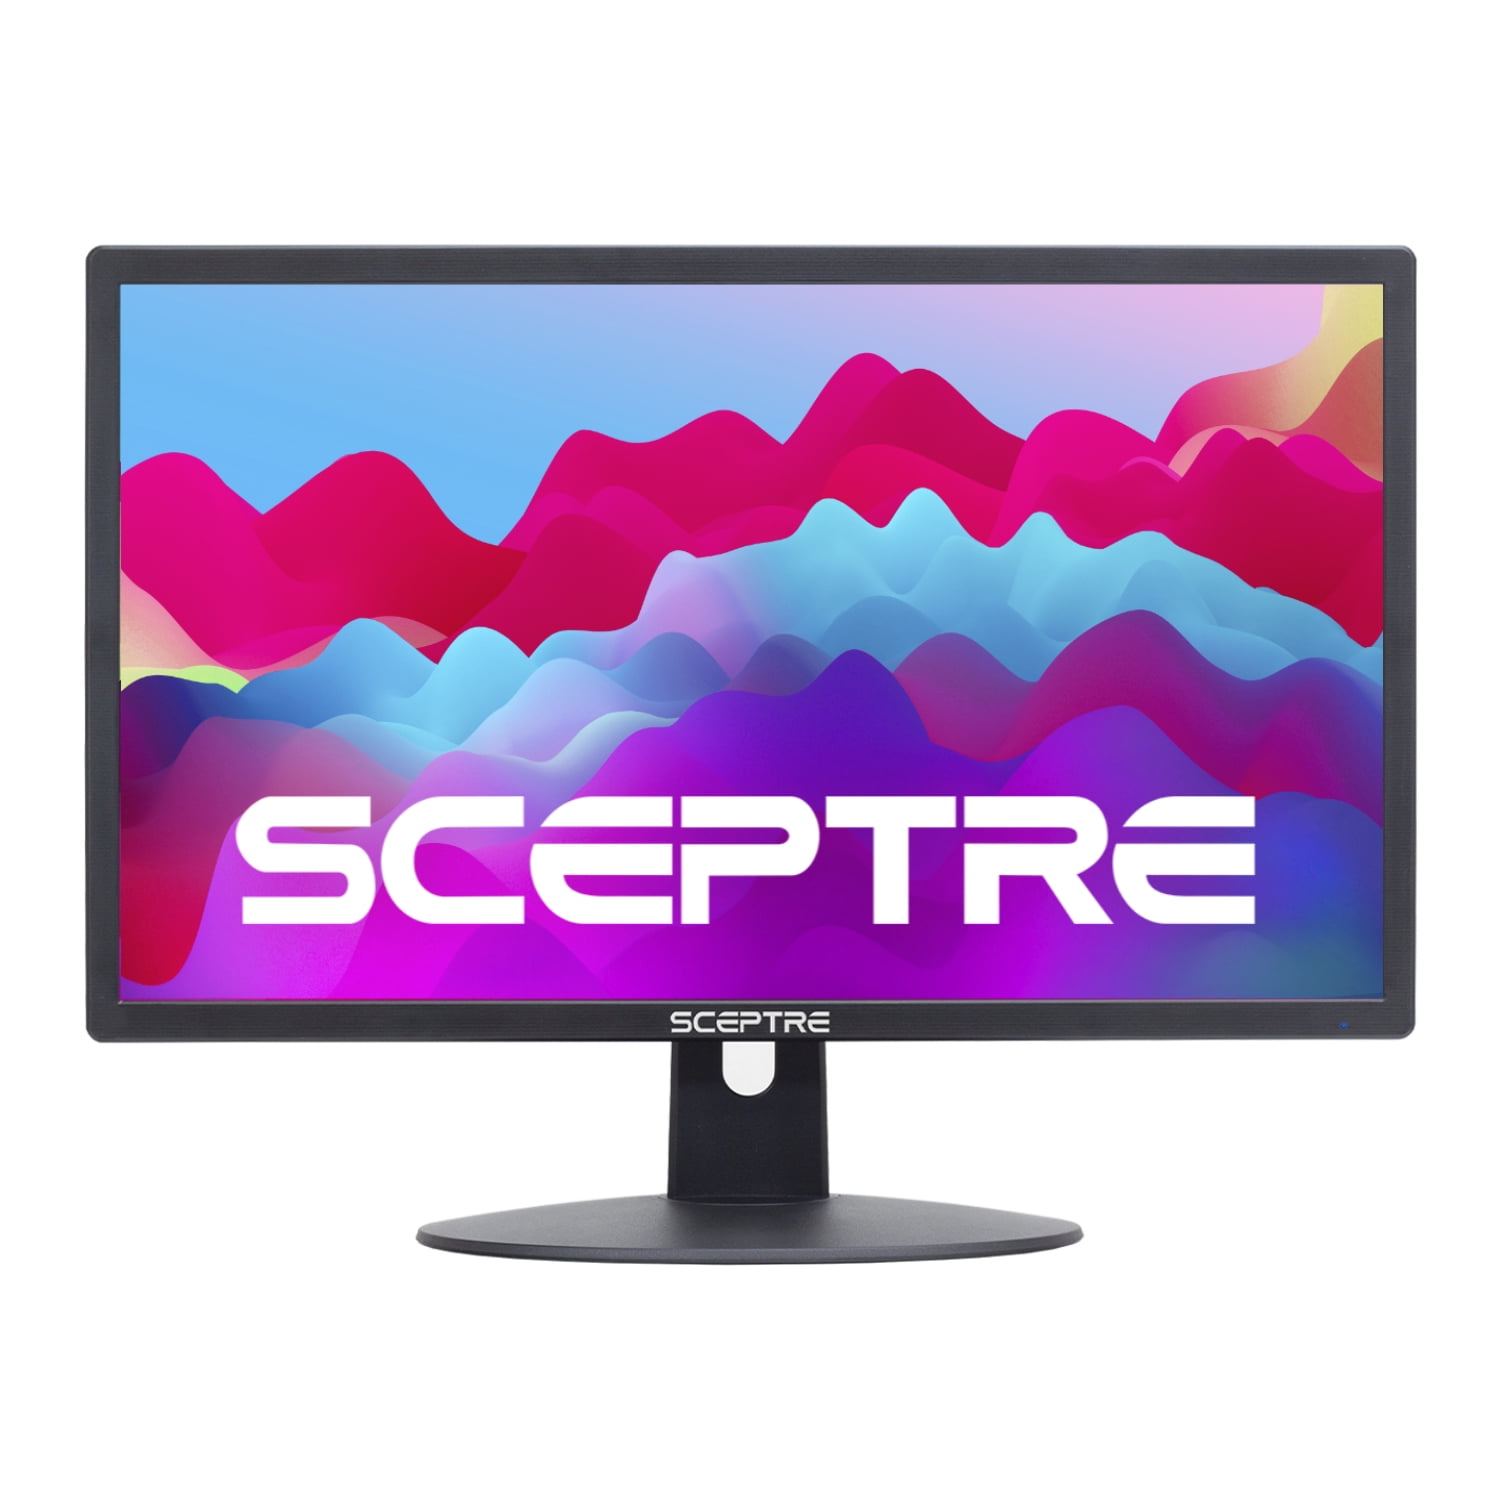
Side-by-side views of plans and 3D model.
Sceptre 24-inch LED Monitor Affordable second screen for reference images while modeling.
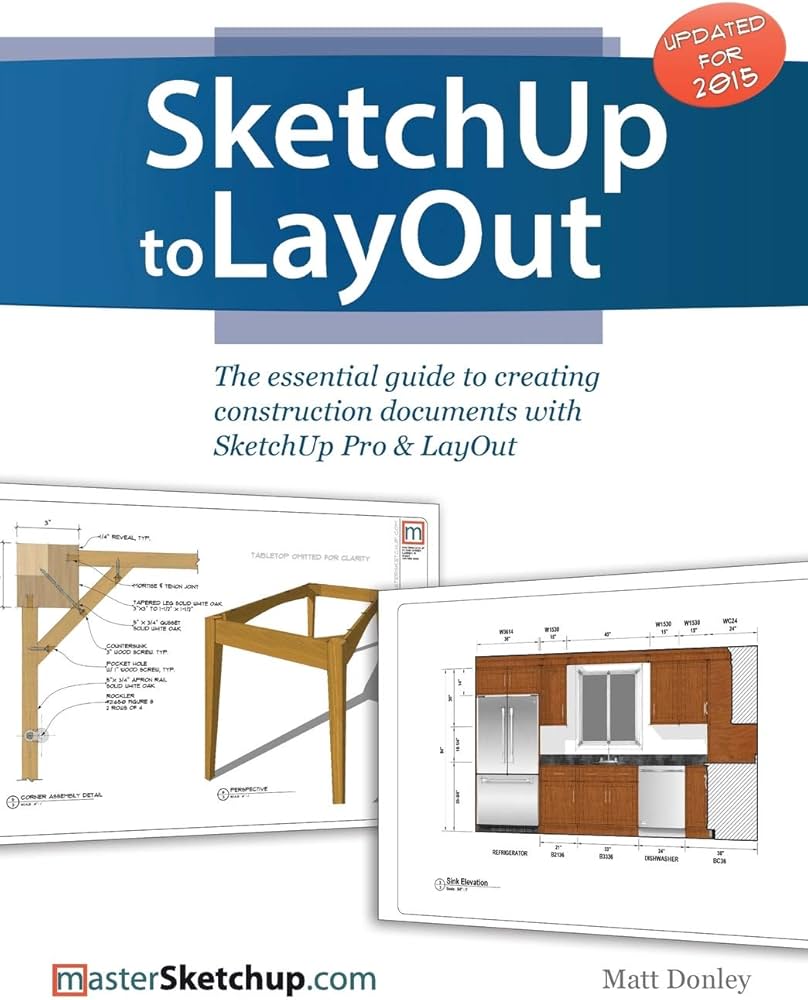
After basic modeling, learn pro layouts.
SketchUp to LayOut by Matt Desmond Step-by-step book for advancing from 3D to construction docs.