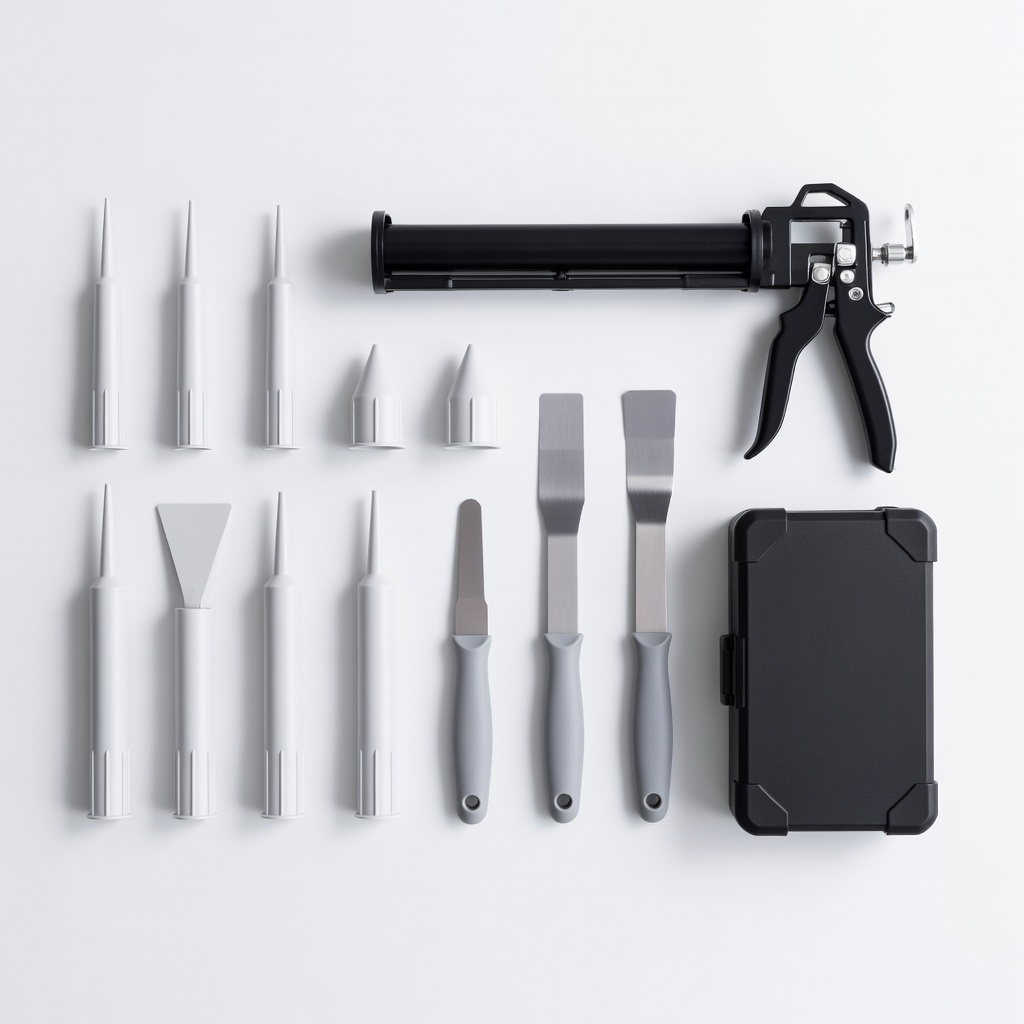
Newborn 250BG Dripless Caulk Gun
Any caulking project needing controlled application.
$12-$15
Newborn 250BG Dripless Caulk Gun Reduces hand fatigue and drips for steady, even beads—essential for beginners.
Get the App
Better experience on mobile
Master pro-level even caulk lines as a beginner with simple steps using applicator tools—no more messy jobs!
Struggling with wavy, uneven caulk lines that make your bathroom or kitchen look amateurish? You're not alone—most DIYers face this frustration without the right tools and technique. But with applicator tools, you can achieve smooth, professional results effortlessly.
In this guide, you'll learn step-by-step how to prepare, apply, and smooth caulk for flawless lines every time. Perfect for beginners tackling tub surrounds, sinks, or baseboards. The process takes just 30-45 minutes for a standard project and requires no prior experience.
Expect clean edges, no waste, and durable seals that last years. Let's dive in and transform your caulking game.
Estimated Time: 30-45 minutes for a small project (e.g., one bathtub surround) Difficulty: beginner
Clean the area thoroughly where you'll apply caulk. Remove old caulk with a utility knife, then wipe down with soap and water. Dry completely and ensure the surface is free of dust, grease, or debris.
Why it matters: A dirty surface prevents caulk from adhering properly, leading to peeling or gaps later.
Success looks like: A spotless, dry joint ready for sealing.
💡 Tips:
⚠️ Warnings:
Snip the tip of the caulk tube at a 45-degree angle using a utility knife. Start with a small opening (1/8 inch) for precision— you can always cut more.
Why it matters: The right size matches your gap width for even flow without excess.
Test on cardboard: Squeeze out a bead; it should match your joint size.
💡 Tips:
⚠️ Warnings:
Cut the inner seal of the tube with the utility knife. Insert the tube into the caulk gun, pierce the seal with the gun's rod, and screw on the nozzle.
Why it matters: Proper loading ensures smooth, controlled dispensing.
Success: Caulk flows steadily when you squeeze the trigger—no jamming.
💡 Tips:
Place strips of painter's tape parallel to the joint, about 1/8 inch away from each edge. Press firmly for straight lines.
Why it matters: Tape creates crisp boundaries for perfect edges.
Success: Straight, even tape lines framing the gap.
💡 Tips:
⚠️ Warnings:
Hold the gun at 45 degrees, pull the trigger steadily while moving at consistent speed along the joint. Fill the gap completely but avoid overfilling.
Why it matters: Even pressure creates a uniform bead.
Success: A consistent, rope-like bead slightly above the surface.
💡 Tips:
Choose the right tool from your kit (e.g., V-notch for straight lines, scoop for corners). Dip in soapy water and shake off excess.
Why it matters: Wet tool glides smoothly without pulling caulk.
Success: Tool is slick and ready—no dry spots.
💡 Tips:
Press the tool firmly into the bead at 45 degrees and pull steadily toward you, wiping excess onto a rag. Work in one continuous motion.
Why it matters: This compresses caulk into the joint for a waterproof seal.
Success: Smooth, even line flush with surfaces—no ridges or gaps.
💡 Tips:
⚠️ Warnings:
Peel tape off at a 45-degree angle immediately while caulk is wet. Wipe any smears with a damp sponge and rubbing alcohol.
Why it matters: Wet removal prevents cracking lines.
Allow 24 hours to cure before water exposure. Success: Crisp, professional lines!
💡 Tips:
Problem: Bubbles in caulk line
Solution: Poke with tool tip while wet and smooth over. Avoid over-pumping gun.
Problem: Tool sticks or pulls caulk
Solution: Re-wet with soapy water. Use fresh tool if needed.
Problem: Uneven lines despite tool
Solution: Check bead consistency first. Practice steady pull speed.
Problem: Caulk skins over too fast
Solution: Work faster or mist with water. Use slower-cure caulk in dry climates.
Reduces hand fatigue and drips for steady, even beads—essential for beginners.
Best for: Any caulking project needing controlled application.
Price Range: $12-$15
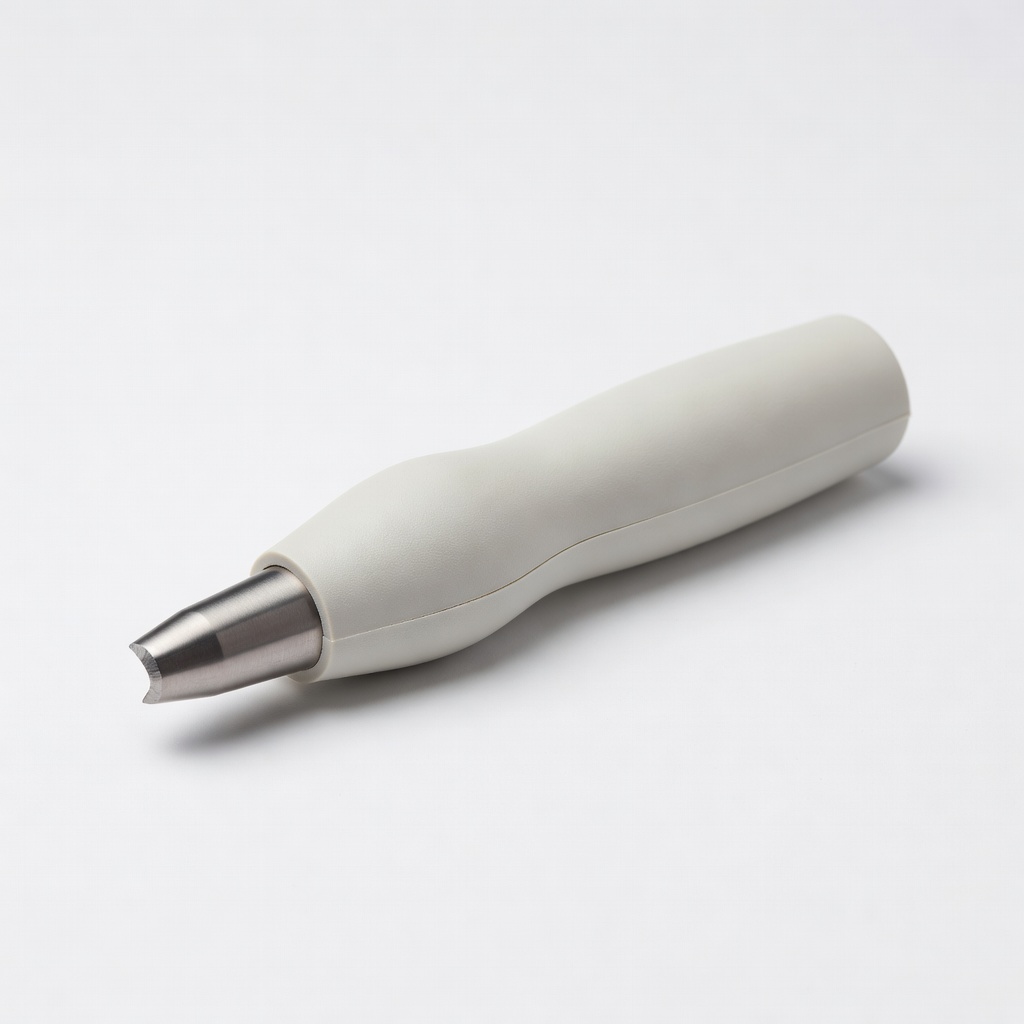
Precision stainless steel tool glides perfectly for pro finishes without tearing.
Best for: Straight lines on windows, tubs, or counters.
Price Range: $8-$10
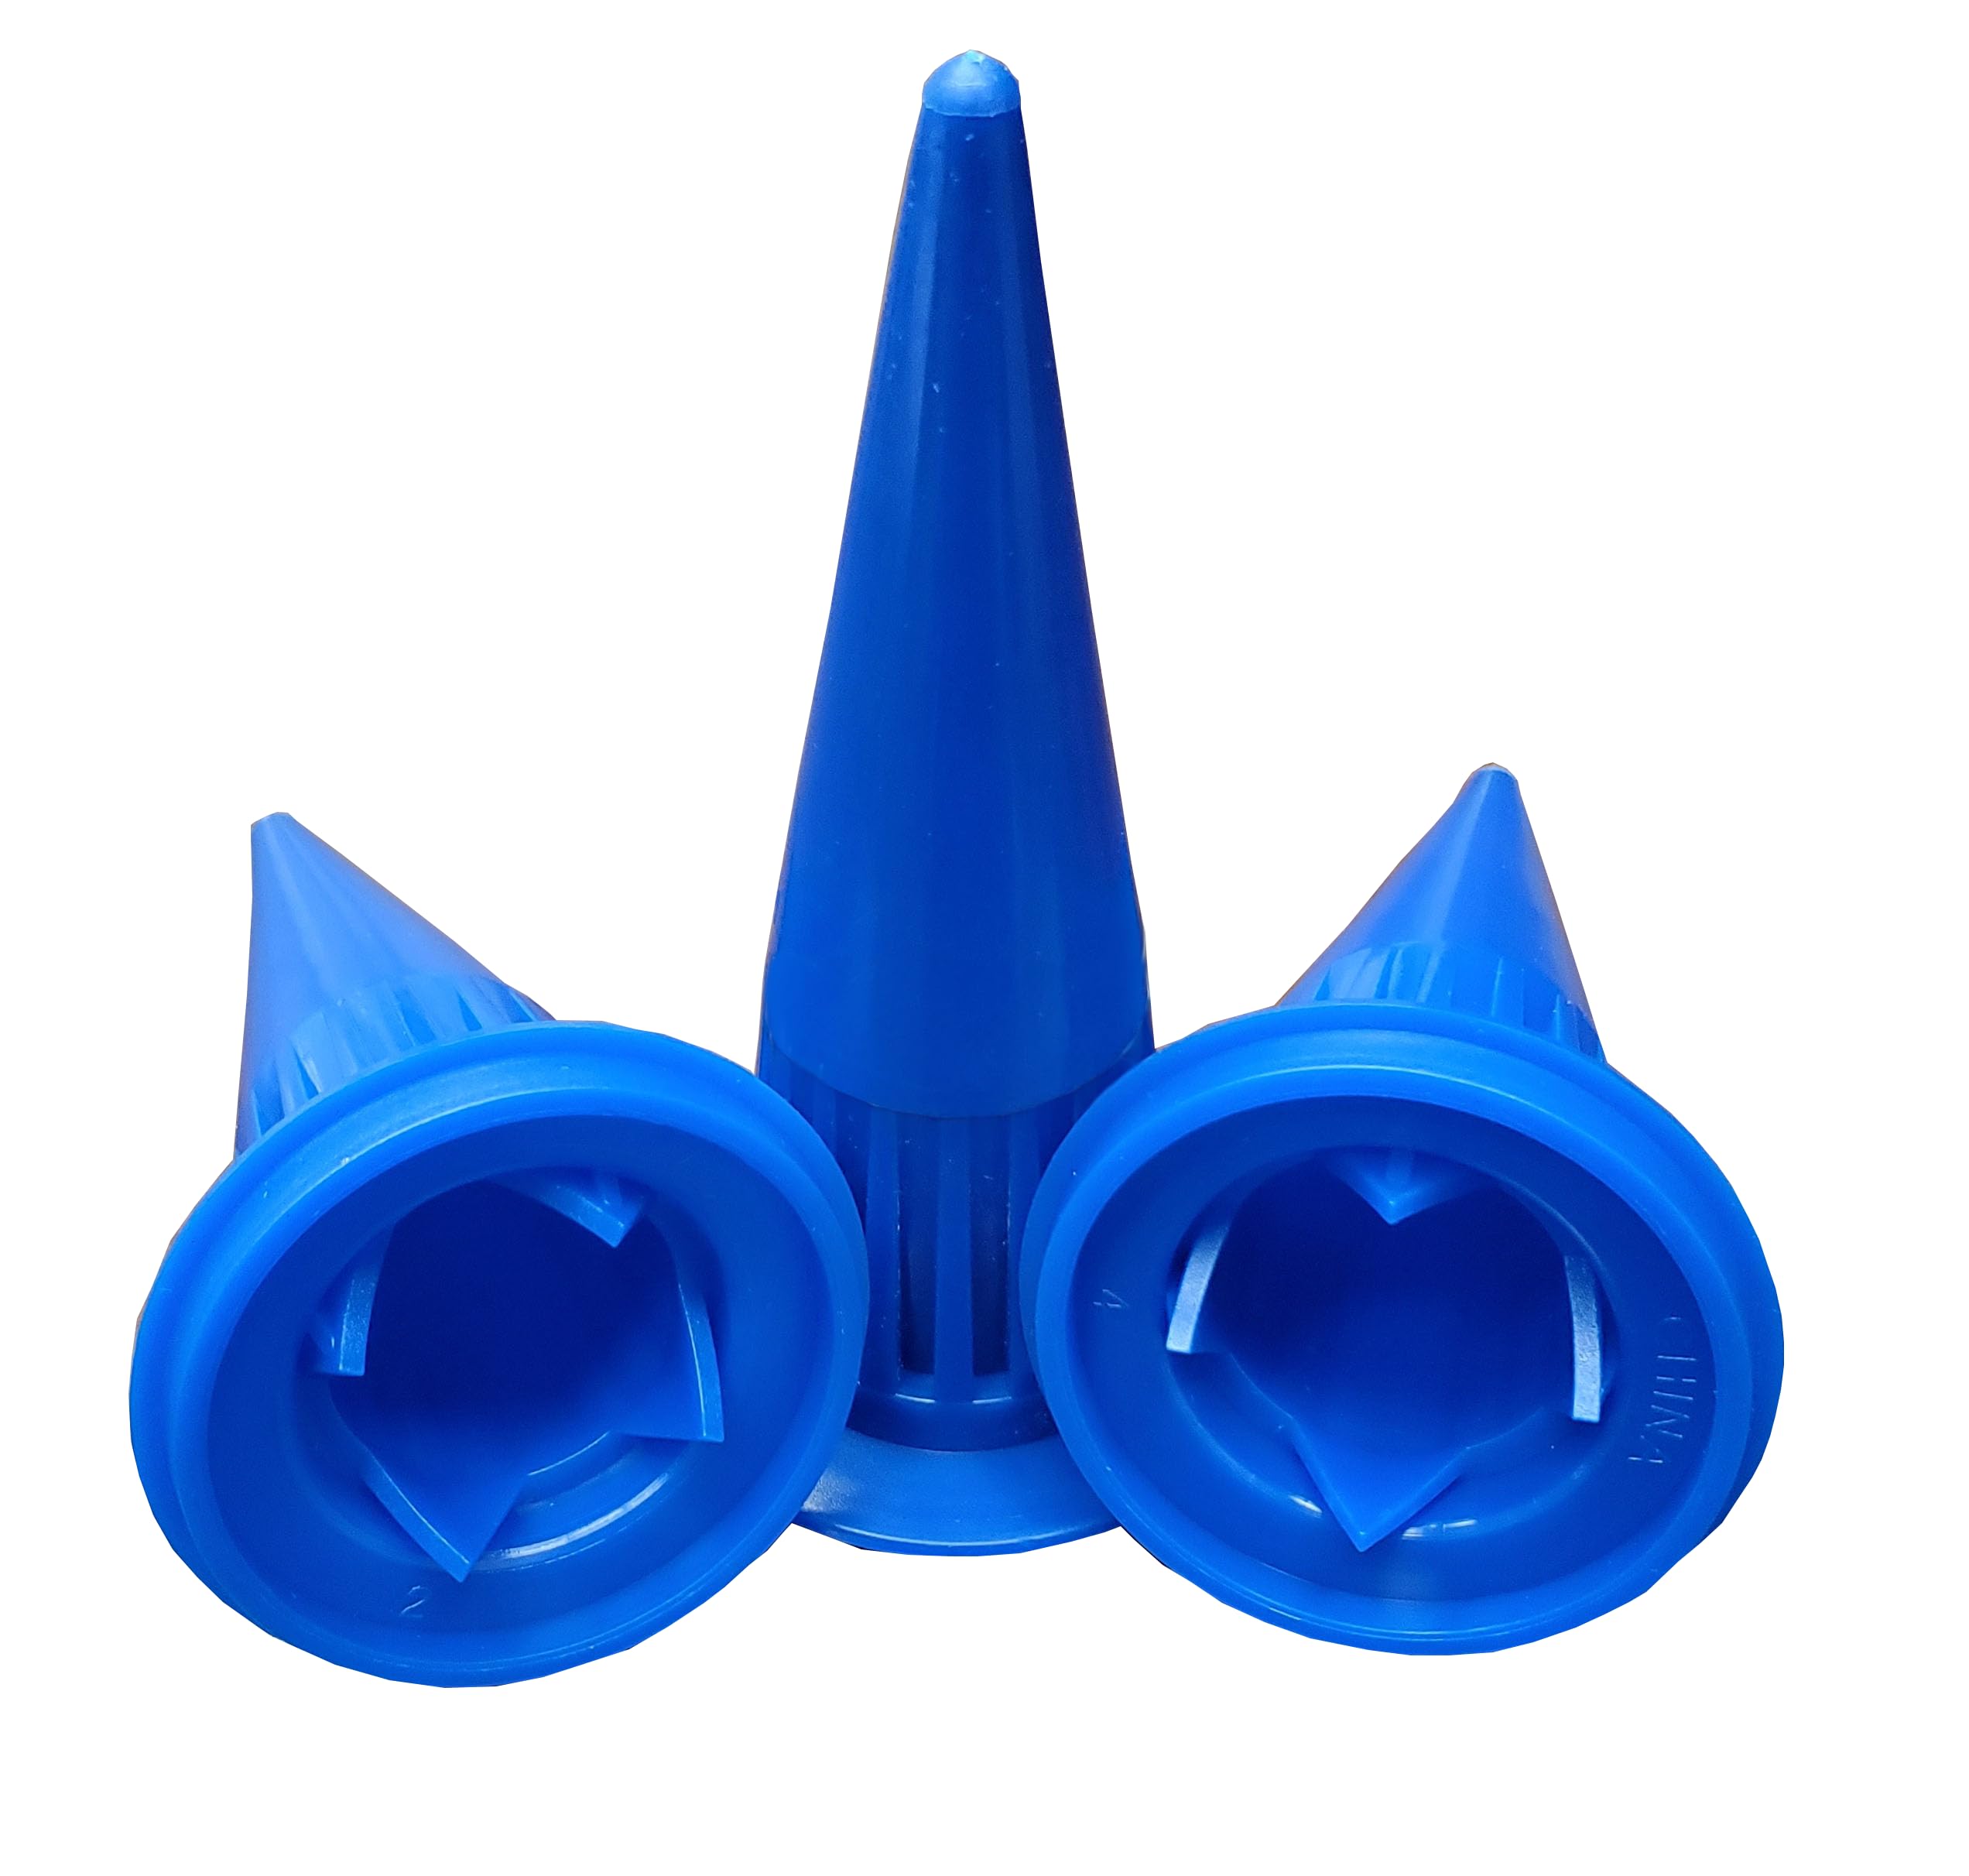
Complete set with multiple shapes covers all joints—great value for beginners.
Best for: Varied projects like corners, rounds, and flats.
Price Range: $14-$18
Ergonomic handle and flexible blade for effortless smoothing on curved surfaces.
Best for: Showers, sinks with irregular edges.
Price Range: $20-$25
Beginner-friendly, paintable, and easy to tool for smooth results.
Best for: Interior dry areas like baseboards.
Price Range: $5-$8 per tube
Any caulking project needing controlled application.
Newborn 250BG Dripless Caulk Gun Reduces hand fatigue and drips for steady, even beads—essential for beginners.

Straight lines on windows, tubs, or counters.
Sashco 10010 Smooth Supreme Applicator Precision stainless steel tool glides perfectly for pro finishes without tearing.
Varied projects like corners, rounds, and flats.
JOYSTAR 12PCS Caulking Tool Kit Complete set with multiple shapes covers all joints—great value for beginners.
Showers, sinks with irregular edges.
Tiler Pro Caulking Tool Ergonomic handle and flexible blade for effortless smoothing on curved surfaces.
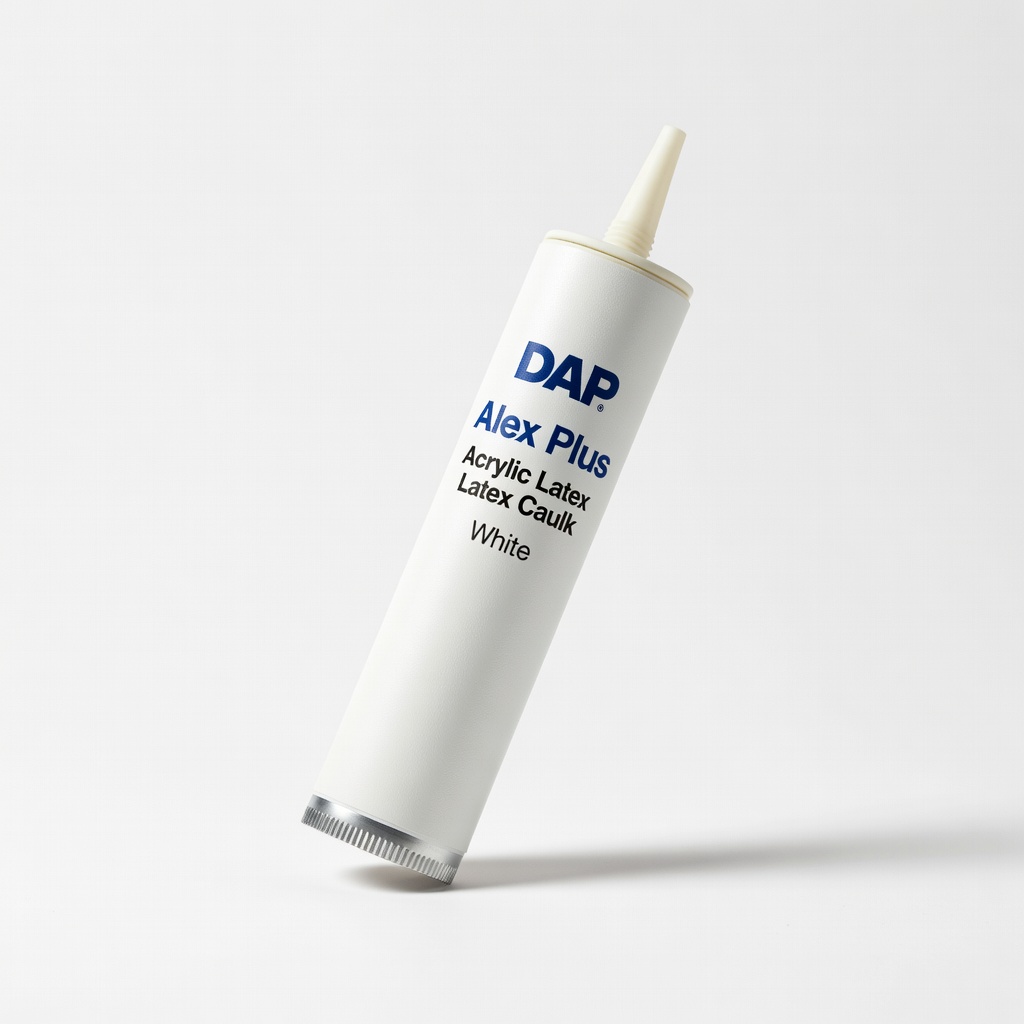
Interior dry areas like baseboards.
DAP Alex Plus Acrylic Latex Caulk Beginner-friendly, paintable, and easy to tool for smooth results.