Sports like boxing, hockey, or MMA often lead to intense jaw clenching, causing teeth grinding (bruxism) that wears down enamel and risks injury. Without protection, you could face painful dental damage or costly repairs. Anti-grinding teeth protectors, also called mouthguards, combine impact absorption with bruxism relief for athletes.
In this beginner guide, you'll learn to select, fit, use, and care for these guards step-by-step. Expect 15-20 minutes for initial fitting and 2-5 minutes daily for maintenance. No prior experience needed—just follow along for confident, protected play.
By the end, you'll have a perfectly fitted mouthguard ready for your next game, reducing grinding pain and preventing chips or cracks.
▸What You'll Need
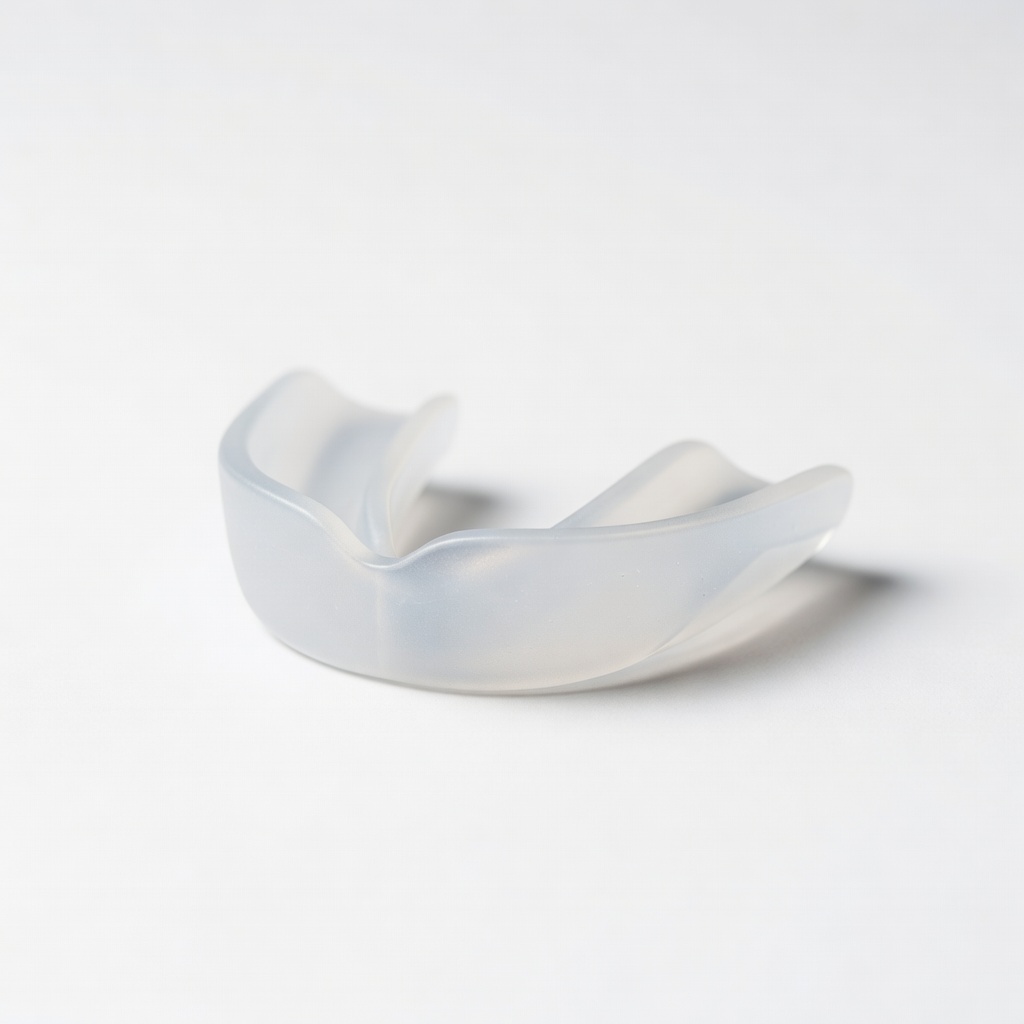
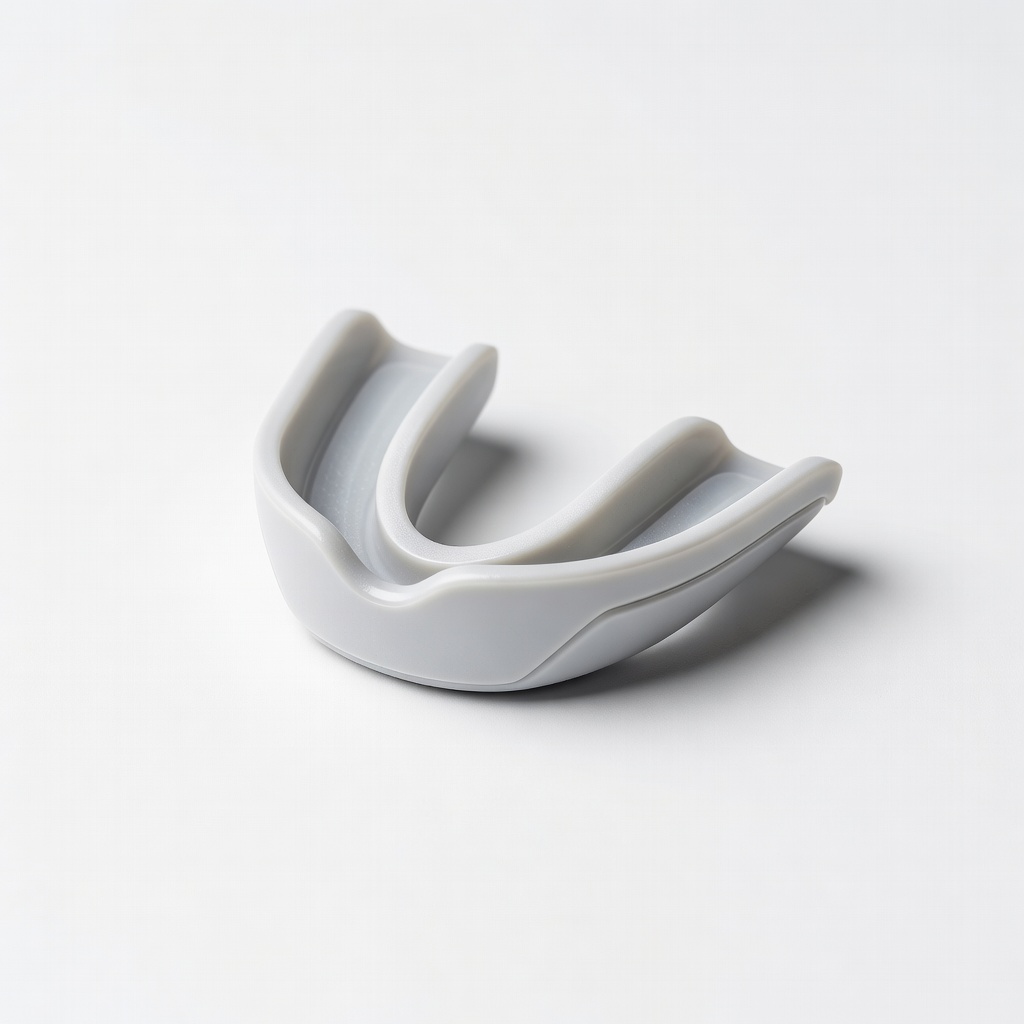
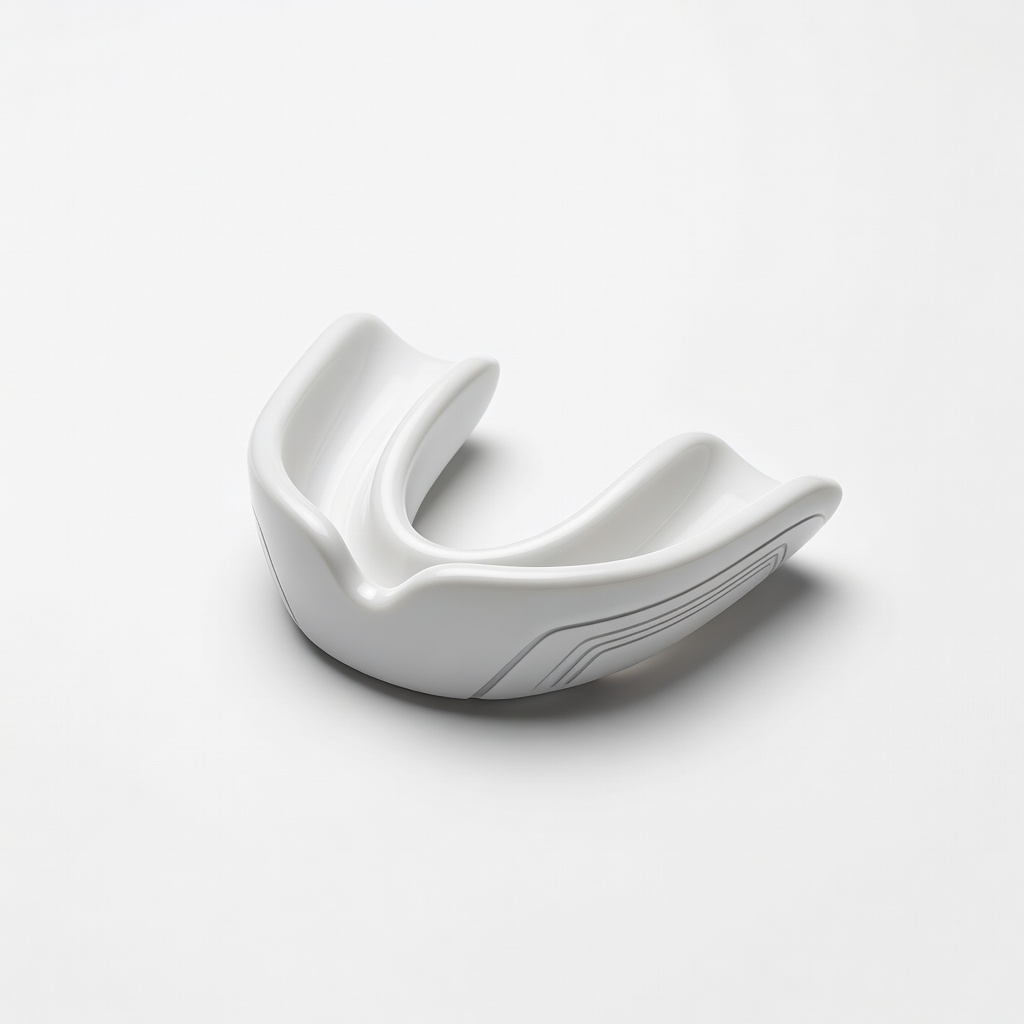
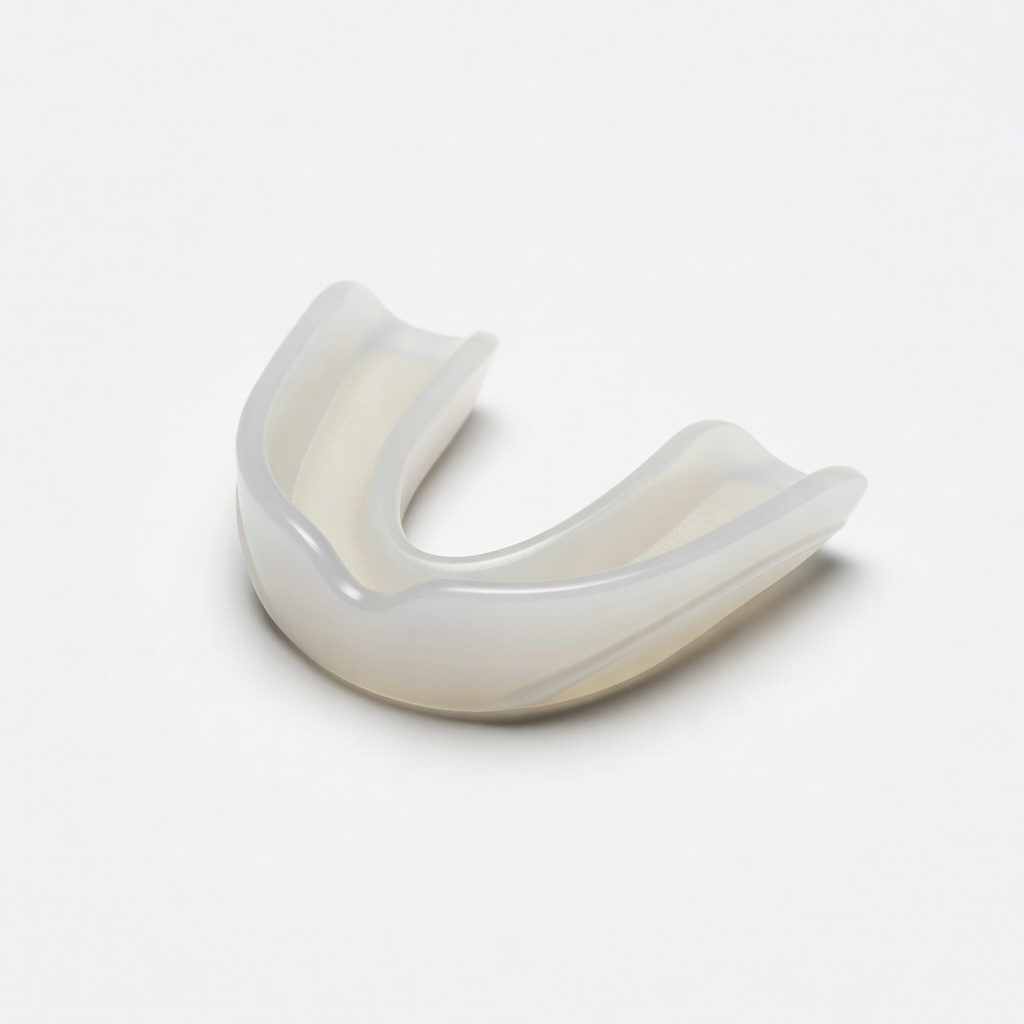
- •Anti-grinding teeth protector/mouthguard (boil-and-bite type recommended)
- •Small pot or bowl of boiling water
- •Cold water bowl
- •Mirror
- •Timer or clock
- •Scissors (for trimming, optional)
- •Mouthguard cleaning solution or mild soap (optional but recommended)
Estimated Time: 15-20 minutes for fitting; 2-5 minutes per use/cleaning
Difficulty: beginner
▸Step-by-Step Instructions
Step 1: Choose the Right Mouthguard
Select a mouthguard designed for both sports impacts and anti-grinding. Look for thin, flexible models like boil-and-bite types that allow natural jaw movement while cushioning clenches.
Why it matters: Generic guards may slip or not address grinding; sports-specific ones like SISU or Shock Doctor distribute force evenly. Check size (small/medium/large) based on your jaw.
Success: You have a new, unopened guard matching your sport and mouth size.
💡 Tips:
- •Measure your mouth if unsure: bite down gently on a ruler for jaw width.
⚠️ Warnings:
- •Avoid hard plastic guards—they can worsen grinding.
Step 2: Prepare Your Fitting Station
Set up a clean workspace with boiling water (not yet boiling), cold water bowl, mirror, and timer. Read the product instructions fully.
This prevents rushed errors and ensures hygiene. Expect a quick, mess-free process.
Success: Station ready, instructions memorized.
💡 Tips:
- •Work over a sink for easy cleanup.
Step 3: Boil the Mouthguard
Bring water to a boil, then submerge the guard for 20-30 seconds (per instructions). Use tongs.
Heat softens the material for molding. Too long makes it too soft; too short leaves it rigid.
Success: Guard is pliable and translucent, no bubbles.
⚠️ Warnings:
- •Don't microwave—risks melting.
Step 4: Cool Briefly
Shake off water and dip in cold water for 3-5 seconds, then test with finger—should be soft but not scalding.
This sets the outer layer while inner stays moldable. Expect steam and slight firmness.
Success: Comfortably warm to touch.
Step 5: Bite and Mold to Teeth
Place in mouth, bite down firmly centering on upper teeth, suck air out while pressing with tongue/fingers for 30 seconds. Use mirror to align.
Forms custom fit capturing bite for grinding protection. You'll feel it suction to teeth.
Success: Snug fit without gagging.
💡 Tips:
- •Breathe through nose; relax jaw.
Step 6: Cool and Remove
Submerge in cold water 1 minute, then remove and test fit by speaking/smiling.
Hardens shape. It should feel secure, not loose.
Success: Stays in place when you talk or move jaw.
⚠️ Warnings:
- •If loose, re-boil once max.
Step 7: Trim Excess Material
If edges overhang, trim carefully with scissors while dry.
Prevents irritation during sports. Smooth edges with nail file if needed.
Success: Clean, flush edges.
Step 8: Test During Practice
Wear 10-15 mins non-contact activity, clench as in sport.
Builds comfort, checks stability. Adjust if slips.
Success: No pain, easy breathing/speech.
Step 9: Wear During Sports
Insert before play, bite to secure. Remove immediately after.
Protects in real action. Breathe normally.
Success: Jaw feels supported, no grinding pain.
Step 10: Clean and Store
Rinse with cool water, brush with soap/toothpaste, air dry. Store in case.
Prevents bacteria. Do after every use.
Success: Fresh, odor-free guard.
💡 Tips:
▸Pro Tips
- •Practice breathing exercises with it in to adapt faster.
- •Keep a spare for tournaments.
- •Mark your case for team gear bags.
- •Soften in warm (not hot) water for re-fits if needed.
- •Combine with jaw stretches pre-sport.
- •Track wear: replace every 6 months.
- •Use flavored cleaners for motivation.
▸Common Mistakes to Avoid
- •Boiling too long—makes guard brittle; time precisely.
- •Poor centering—leads to slippage; use mirror always.
- •Skipping cleaning—builds bacteria causing sores; rinse every time.
- •Wearing overnight—not for sports guards; use separate night guard.
- •Ignoring fit issues—risks choking; test rigorously.
▸Troubleshooting
Problem: Mouthguard slips during activity
Solution: Re-mold or try larger size; ensure full air suction.
Problem: Jaw soreness after use
Solution: Loosen fit slightly or consult dentist for custom.
Problem: Bad odor despite cleaning
Solution: Soak in vinegar solution overnight; replace if persists.
Problem: Cracks after impacts
Solution: Inspect post-sport; replace immediately.
SISU Aero Thin Mouth Guard
Ultra-thin design reduces bulk for comfort, diffuses grinding forces effectively during high-clench sports.
Best for: Ideal for contact sports like boxing or hockey where jaw fatigue causes bruxism.
Price Range: $25-$30
Shock Doctor Gel Max Mouthguard
Gel lining molds perfectly, absorbs impacts and cushions grinding with dual-layer protection.
Best for: Great for beginners in football or wrestling needing affordable, customizable fit.
Price Range: $15-$25
Battle Sports Overcome Mouthguard
Breathable channels prevent gagging, strong anti-grinding frame for intense training.
Best for: For MMA or rugby players prioritizing airflow and durability.
Price Range: $20-$30
OPRO Power-Fit Mouthguard
Advanced fitting gel for precise mold, protects against both trauma and clenching.
Best for: Multi-sport athletes wanting pro-level customization.
Price Range: $30-$40