Have you ever watched a wall-mounted shelf sag or crash down, spilling your books or decor? This common frustration often stems from improper anchoring, leading to cracked drywall or unsafe installations. Whether you're organizing a home office or adding storage in the kitchen, secure anchoring ensures your shelves stay put for years.
In this guide, you'll learn how to select the right anchors for different wall types, mark and drill accurately, and mount shelves that can hold 50+ pounds. We'll cover everything from planning to testing, tailored for intermediate DIYers with basic tool knowledge. Expect a straightforward process that emphasizes safety and precision.
The entire installation should take 1-2 hours per shelf unit, depending on wall material and shelf size. By the end, you'll have confidence in creating reliable storage solutions without calling a professional.
▸What You'll Need
- •Stud finder (required for locating studs)
- •Power drill with bits matching your anchors (required)
- •Level (required for straight alignment)
- •Measuring tape and pencil (required)
- •Wall anchors (e.g., toggle bolts for drywall, plastic expansion anchors for masonry; required, choose based on wall type and load)
- •Screws compatible with anchors and shelf brackets (required)
- •Shelf brackets or mounting hardware (required)
- •Wall-mounted shelf (required)
- •Safety glasses and dust mask (recommended)
- •Hammer (optional, for tapping anchors into place)
Estimated Time: 1-2 hours per shelf unit
Difficulty: intermediate
▸Step-by-Step Instructions
Step 1: Plan Your Shelf Placement
Start by deciding where to install the shelf and measuring the space. Consider the wall type (drywall, plaster, concrete) and the weight the shelf will hold—light decor needs basic anchors, while books require heavy-duty ones. Sketch a simple diagram marking bracket positions, ensuring they're evenly spaced (typically 16-24 inches apart to hit studs where possible).
This step matters because poor planning leads to uneven shelves or overloaded walls. You'll end up with precise measurements, like shelf height from the floor and bracket spacing, ready for marking.
Use your measuring tape to note heights (e.g., 5 feet up for kitchen shelves) and widths. Double-check against room layout to avoid outlets or windows.
💡 Tips:
- •Aim for brackets to align with wall studs for maximum strength.
- •Factor in 1-2 inches of clearance below the shelf for items.
⚠️ Warnings:
- •Avoid placing shelves over high-traffic areas if unsure of load capacity.
Step 2: Locate Wall Studs
Use a stud finder to scan the wall horizontally at your planned height. Studs are vertical wooden or metal beams behind drywall that provide the strongest support—mark their centers with pencil. If no studs align with your brackets, you'll rely on anchors for hollow walls.
Why it matters: Anchors in studs can hold 50-100 lbs each, far more than drywall alone. Expect beeps or lights from the finder indicating stud edges; test in a known spot like near a corner for accuracy.
Slide the finder slowly, marking every 16 inches (standard stud spacing). If your wall is masonry, skip to anchors as studs aren't present.
💡 Tips:
- •Calibrate the stud finder on an open area first for reliable detection.
- •Use a small nail to verify stud location by tapping.
⚠️ Warnings:
- •Don't assume uniform stud spacing; older homes vary.
Step 3: Select the Right Anchors
Choose anchors based on wall type and load: For drywall without studs, use toggle bolts or molly bolts (hold 50+ lbs); for light loads, plastic drywall anchors suffice. For concrete or brick, opt for masonry anchors like sleeve anchors. Match screw size to anchor specs—always check packaging for weight ratings.
This ensures safety and prevents wall damage. Success looks like anchors rated at least 1.5x your expected load (e.g., 75 lbs per anchor for a 50-lb shelf).
Consult a weight chart: Drywall toggles for hollow walls, expansion anchors for solid ones. Buy extras for testing.
💡 Tips:
- •Test anchor strength ratings against your shelf's total weight divided by brackets.
- •For rented spaces, use removable anchors to avoid holes.
⚠️ Warnings:
- •Never exceed anchor weight limits; it risks collapse.
Step 4: Mark and Level Bracket Positions
With measurements in hand, mark hole positions for each bracket using a pencil. Place a level on the marks to ensure they're horizontal—adjust as needed. For multiple brackets, use a straight edge or laser level for alignment across the wall.
Precision here prevents wobbly shelves. You'll see straight, even lines ready for drilling, with the level bubble centered.
Mark pilot holes slightly smaller than anchor size. Space marks per bracket instructions, typically 2-3 inches from shelf ends.
💡 Tips:
- •Snap a chalk line across the wall for long shelves to guide marks.
- •Double-check level in multiple directions.
⚠️ Warnings:
- •Uneven marks lead to tilted shelves; always verify.
Step 5: Drill Pilot Holes
Put on safety glasses, then drill holes at marks using a bit matching the anchor's recommended size (e.g., 1/2-inch for toggles). Drill straight and to the depth specified—go slow to avoid overheating or wall cracks. For studs, use a wood bit; for drywall, a standard masonry bit if needed.
This creates clean entry points for anchors. Expect dust and a snug fit; the hole should be just wide enough for the anchor without enlarging.
Clear debris with a vacuum after each hole. If hitting a stud, you may not need anchors there—use screws directly.
💡 Tips:
- •Start with low speed on the drill for control.
- •Tape the wall behind the drill bit to prevent tear-out.
⚠️ Warnings:
- •Drilling too deep can weaken the wall; measure bit depth.
Step 6: Insert the Anchors
Tap plastic anchors gently with a hammer until flush, or fold and insert toggle bolts through the hole, then tighten the screw to expand them. For molly bolts, drill, insert, tighten to collapse the sleeve. Ensure they're secure by tugging lightly—no wobbling.
Anchors now grip the wall material. Success: They sit flush and firm, ready for screws.
Follow anchor-specific instructions; some require pre-twisting. Test by inserting a screw partially.
💡 Tips:
- •Lubricate stubborn anchors with soap for easier insertion.
- •For toggles, pull back after insertion to engage the wings.
⚠️ Warnings:
- •Don't over-tighten during insertion, or anchors may spin loose.
Step 7: Attach Shelf Brackets
Screw brackets into the anchors (or studs) using the provided screws. Use a screwdriver or drill on low torque—tighten until snug but not stripped. Check level again as you go, adjusting if the bracket shifts.
This secures the support structure. Expect firm, non-moving brackets that align perfectly.
Attach all brackets before mounting the shelf. If using L-brackets, ensure the long arm is horizontal.
💡 Tips:
- •Pre-drill bracket holes if wood to prevent splitting.
- •Use lock washers for vibration-prone areas like garages.
⚠️ Warnings:
- •Loose screws mean unstable shelves; torque evenly.
Step 8: Mount and Secure the Shelf
Place the shelf onto the brackets and secure with additional screws if the shelf has pre-drilled holes. For floating shelves, slide into brackets and lock in place. Give it a gentle shake to test stability.
Your shelf is now installed. It should feel solid, with no creaks or shifts when loaded lightly.
Add felt pads under brackets to protect floors from scratches.
💡 Tips:
- •Load the shelf gradually to test weight distribution.
- •For glass shelves, use padded brackets.
⚠️ Warnings:
- •Don't overload until 24 hours after installation for settling.
Step 9: Test and Finalize
Load the shelf with intended items incrementally, checking for sagging. If secure, you're done—otherwise, reinforce with more anchors. Clean up dust and admire your work.
This confirms safety. Success: Shelf holds weight without movement or wall stress.
Re-level if needed and touch up paint around holes.
💡 Tips:
- •Wait 24 hours before full load to allow anchors to set.
- •Document your setup for future reference.
⚠️ Warnings:
- •If it wobbles, remove and redo anchors immediately.
▸Pro Tips
- •Always over-engineer for weight—use anchors rated double your load for peace of mind.
- •In humid areas like bathrooms, choose rust-resistant anchors and screws.
- •For long shelves, add a center bracket to prevent bowing.
- •Save time by pre-assembling brackets off the wall if possible.
- •Use painter's tape over drill spots to minimize drywall chips.
- •Invest in a cordless drill with clutch for precise torque control.
- •For uneven walls, shim brackets with washers for level installation.
▸Common Mistakes to Avoid
- •Skipping stud detection: Leads to weak holds; always scan first to maximize strength.
- •Using wrong anchor size: Too small fails under load; match bit and screw precisely to specs.
- •Over-tightening screws: Strips anchors; tighten until snug, then stop.
- •Ignoring wall type: Drywall anchors in concrete won't hold; select based on material.
- •Not leveling properly: Causes tilted shelves; check at every marking step.
▸Troubleshooting
Problem: Anchor spins or won't hold
Solution: Remove and use a larger anchor or find a stud; fill old hole with spackle if needed.
Problem: Shelf sags in the middle
Solution: Add a center support bracket or switch to heavier-duty anchors; redistribute weight evenly.
Problem: Wall cracks during drilling
Solution: Stop immediately, use a smaller bit, or switch to masonry anchors for hard walls; patch small cracks with filler.
Problem: Brackets not aligning level
Solution: Loosen screws, re-level, and retighten; use shims for uneven surfaces.
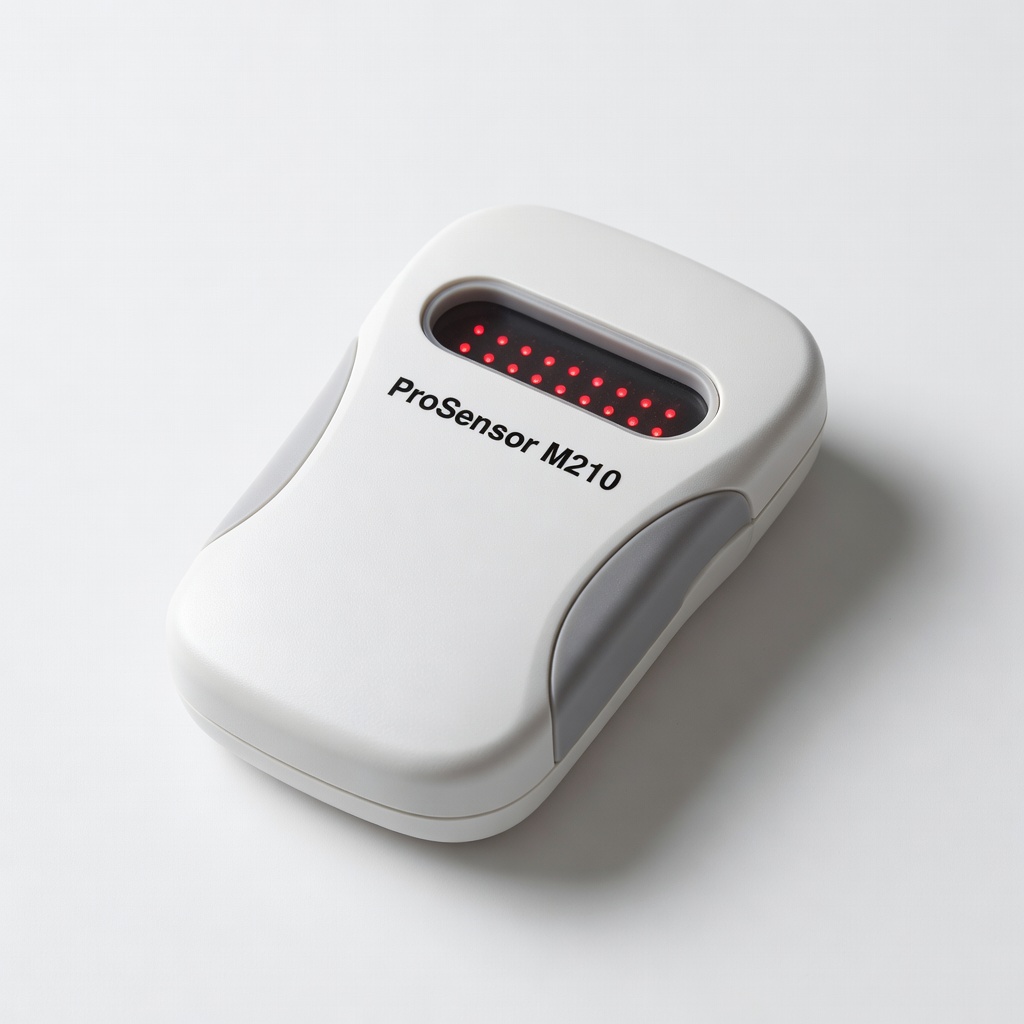
Franklin Sensors ProSensor M210 Stud Finder
Accurately detects studs through multiple wall layers, essential for secure anchoring without guesswork.
Best for: Use before marking to locate studs for bracket placement on drywall walls.
Price Range: $50-$60
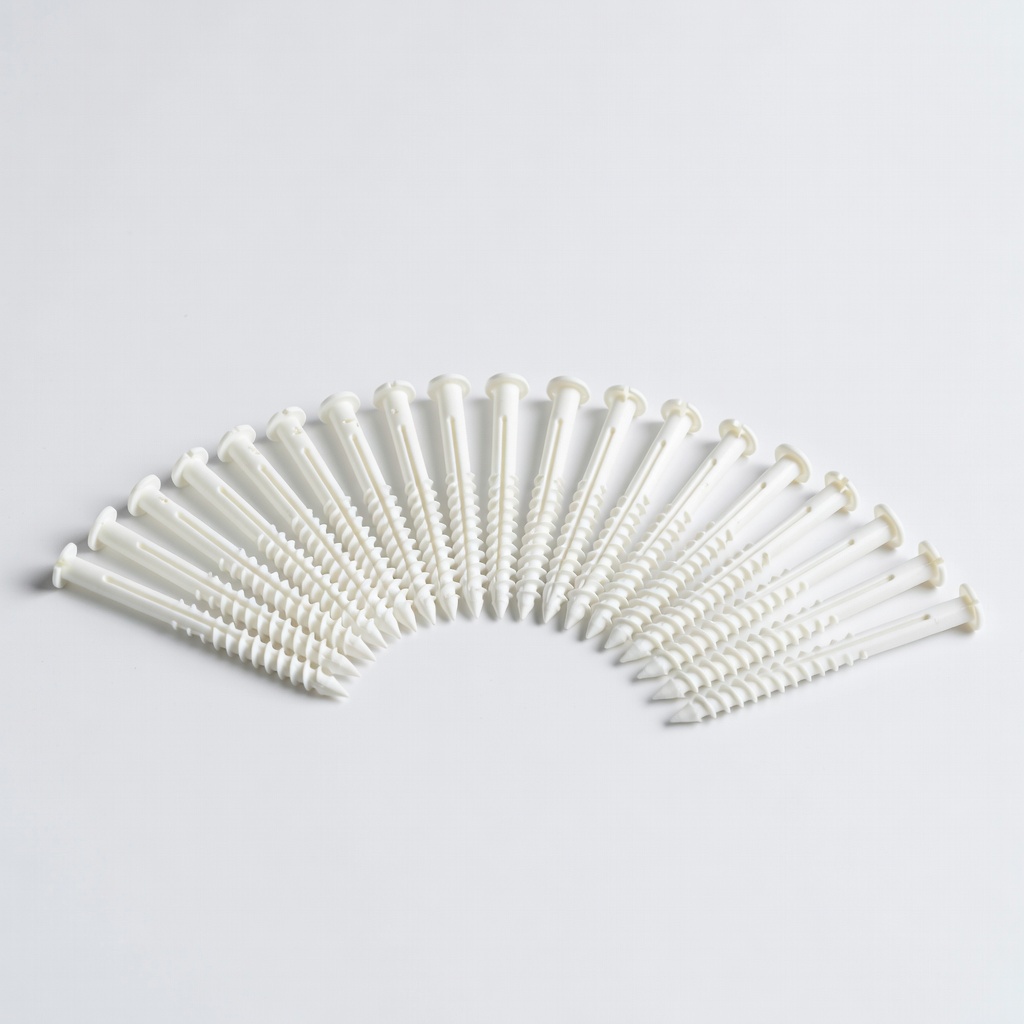
E-Z Ancor #8 Plastic Drywall Anchors (100-Pack)
Reliable for light to medium loads in drywall, easy to install with minimal tools.
Best for: Ideal for shelves holding up to 25 lbs per anchor in non-stud areas.
Price Range: $10-$15
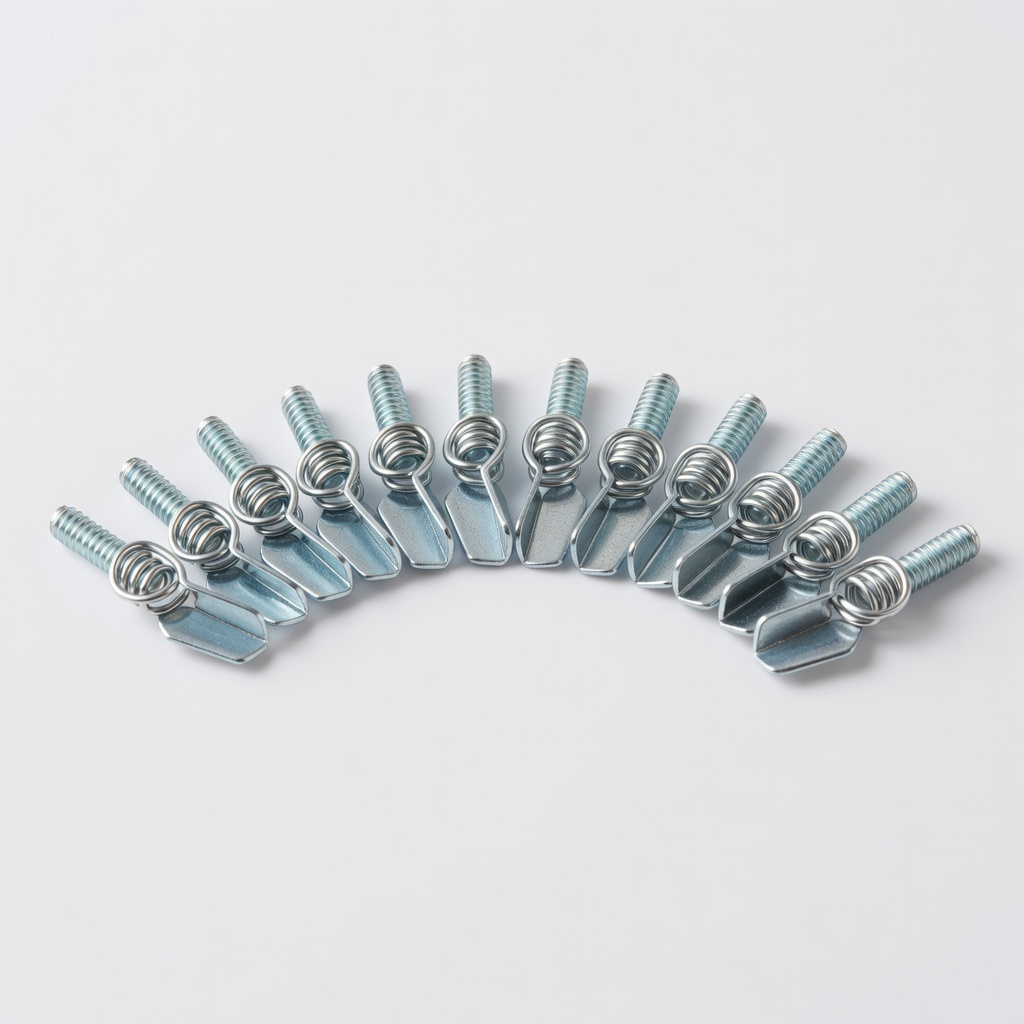
Togglery Spring Wire Toggle Bolts (1/4 in., 10-Pack)
Provides superior holding power (50+ lbs) in hollow walls, perfect for heavy shelves.
Best for: For bookcases or kitchen shelves where studs aren't accessible.
Price Range: $8-$12
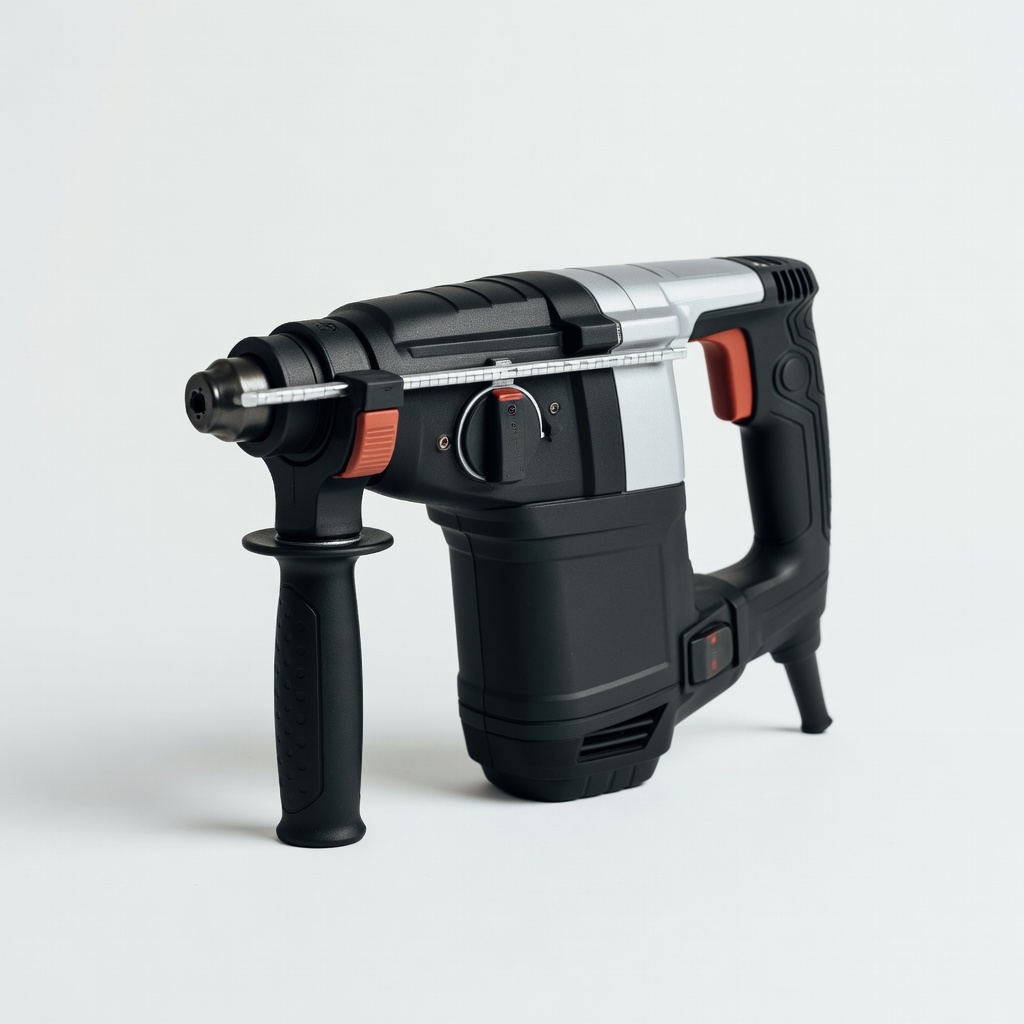
Bosch GBH2-28L 1-1/8 In. SDS-Plus Rotary Hammer
Powerful for drilling into masonry walls quickly and cleanly, reducing effort on tough surfaces.
Best for: When installing in concrete or brick for basement or garage shelves.
Price Range: $200-$250
Hillman Group 3/16 in. Zinc-Plated Molly Bolts (25-Pack)
Expands securely in drywall for medium-duty holds, reusable if removed carefully.
Best for: For adjustable shelves in offices or closets needing 40-50 lbs support.
Price Range: $15-$20