Heavy appliances like washers and dryers can 'walk' across concrete floors during operation, causing noise, leaks, structural damage, or even safety hazards. This is especially common in basements or garages with solid concrete slabs. Proper anchoring ensures stability, reduces vibration, and extends appliance life.
In this guide, you'll learn how to install wedge anchors—the gold standard for heavy loads on concrete. We'll cover marking, drilling, and securing with clear steps for intermediate DIYers. Expect a safe, rock-solid result that passes any building code check.
The process takes 45-90 minutes per appliance, depending on your setup. It's intermediate difficulty: requires drilling into masonry but no advanced skills.
▸What You'll Need
- •Safety gear: goggles, dust mask, work gloves, ear protection (required)
- •Hammer drill (rotary hammer preferred) with 3/8-inch masonry bit (required)
- •Wedge anchors: 3/8-inch x 3-3/4-inch, 4 per appliance (required; galvanized or stainless for moisture areas)
- •Shop vacuum or blower for dust removal (required)
- •Ratchet wrench or socket set (1/2-inch socket for nut) (required)
- •Level (4-foot preferred) and permanent marker (required)
- •Tape measure and pencil (required)
- •Optional: Torque wrench (50-60 ft-lbs), anchor setting tool
Estimated Time: 45-90 minutes per appliance
Difficulty: intermediate
▸Step-by-Step Instructions
Step 1: Prepare Your Workspace and Appliance
Unplug the appliance and move it away from the wall. Clear the area of obstacles and lay down drop cloths to protect the concrete. Wear all safety gear—drilling concrete creates dust and flying debris.
Review the appliance manual for base hole locations (typically 4 holes near feet). Measure spacing between holes to confirm anchor positions. Why it matters: Precise prep prevents misalignment and rework.
Success looks like: Clean, marked workspace with appliance ready to position.
💡 Tips:
- •Work in a well-ventilated area; use a fan to direct dust away.
- •If appliance has adjustable feet, set them to full height now.
⚠️ Warnings:
- •Never drill with appliance plugged in—risk of electrocution.
- •Avoid loose clothing or jewelry near spinning drill.
Step 2: Position Appliance and Mark Holes
Slide the appliance into final position, ensuring 1-2 inches clearance from walls for hoses/plumbing. Use a level on top to check evenness—shim feet if needed.
Place masking tape over concrete under each base hole. Poke through holes with a pencil or awl to mark centers precisely. Why? Concrete is unforgiving—sloppy marks lead to loose fits.
Success looks like: Four clear pencil marks on tape, appliance leveled temporarily.
💡 Tips:
- •Use the appliance base as a template for accuracy.
- •Double-check measurements against manual specs.
⚠️ Warnings:
- •Don't fully load or test appliance yet—do after anchoring.
Step 3: Drill Pilot Holes
Equip hammer drill with 3/8-inch carbide masonry bit (slightly smaller than anchor diameter for grip). Drill straight down at low speed, applying steady pressure—let the hammer action do the work.
Drill to 3-3/4 inches deep (match anchor length). Go slow to avoid overheating bit or cracking concrete. Why it matters: Proper depth/depth ensures full embedment for 1,000+ lb holding strength.
Success looks like: Clean, uniform holes with no wobbling bit.
💡 Tips:
- •Dip bit in water for cooling if drilling multiple holes.
- •Mark bit with tape at depth for consistency.
⚠️ Warnings:
- •Use hammer mode only—regular drill won't cut concrete.
- •Don't force; if binding, back out and clear debris.
Step 4: Clean Out Dust and Debris
Remove drill bit and use shop vac or rubber blower to suck/blow out all concrete dust from holes. Repeat 2-3 times—dust weakens anchor hold by 50%.
Inspect holes for cracks; if any, stop and use epoxy anchors instead. Why? Clean holes allow expansion and full thread engagement.
Success looks like: Holes empty and dry, no visible powder.
💡 Tips:
- •Extend vac hose with PVC pipe for deep reach.
- •Wear mask—silica dust is hazardous.
⚠️ Warnings:
- •Skipping this causes anchor spin-out failure.
Step 5: Insert Wedge Anchors
Drop anchors into holes—head down, threaded end up. They should fit snugly without hammering (wedge anchors expand via tightening).
If using nuts/washers, thread loosely on top. Why it matters: Correct insertion sets up even expansion.
Success looks like: All anchors flush and ready, protruding 1/2-inch above concrete.
💡 Tips:
- •Galvanized for dry areas, stainless for damp basements.
⚠️ Warnings:
- •Don't hammer wedges—reserved for sleeve anchors.
Step 6: Reposition and Align Appliance
Lift appliance carefully over anchors, aligning base holes with threaded ends. Lower slowly—enlist a helper for heavy units.
Slide washers over threads, then hand-thread nuts. Why? Alignment prevents cross-threading.
Success looks like: Appliance seated flat, nuts started by hand.
💡 Tips:
- •Use furniture sliders under feet for easy lift.
⚠️ Warnings:
- •Avoid scraping base paint on threads.
Step 7: Tighten Anchors Securely
Use ratchet wrench to tighten nuts progressively in a star pattern (opposite corners first). Torque to 50-60 ft-lbs or until washer compresses slightly—anchor expands to grip.
Don't over-tighten; stop when resistance peaks. Why? Proper torque activates wedge for max shear/pull-out strength.
Success looks like: Nuts firm, no movement when pushed.
💡 Tips:
- •Use torque wrench for precision.
- •Re-level after tightening.
⚠️ Warnings:
- •Over-torque snaps studs or cracks concrete.
Step 8: Verify Stability and Test
Re-check level on top/sides. Rock appliance—shouldn't shift. Plug in, run a test cycle (empty load first).
Clean up area. Why final check? Catches issues before daily use.
Success looks like: Appliance vibration-free, perfectly stable.
💡 Tips:
- •Add anti-vibe pads under feet for extra quiet.
⚠️ Warnings:
- •If loose, re-drill nearby—don't reuse holes.
▸Pro Tips
- •Always drill 1/4-inch deeper than anchor for dust space.
- •Mark all holes first to avoid repositioning mid-job.
- •Use a laser level for perfect alignment on uneven slabs.
- •For multiple appliances, drill all holes before cleaning to save time.
- •Apply thread locker to nuts in humid areas to prevent loosening.
- •Test anchor pull-out strength with a pry bar before full install.
- •Keep spare anchors/bits on hand—concrete eats them.
▸Common Mistakes to Avoid
- •Using wrong bit size: Too big = loose anchor; too small = won't fit. Match to anchor specs.
- •Skipping dust removal: Reduces holding power dramatically. Always vac multiple times.
- •Over-tightening: Cracks concrete or shears anchor. Use torque specs.
- •Poor marking: Leads to crooked install. Use template and tape.
- •Ignoring level: Appliance walks despite anchors. Shim and re-check.
▸Troubleshooting
Problem: Anchor spins when tightening
Solution: Hole too large/dusty—clean/redrill slightly smaller or switch to epoxy anchors. Seek pro if concrete spalls.
Problem: Concrete cracks around hole
Solution: Drilled too shallow/fast—use shorter anchors or epoxy repair kit. Avoid heavy loads until cured.
Problem: Appliance still vibrates
Solution: Check torque/level; add isolation pads. Unbalanced loads cause most vibes—balance washer.
Problem: Drill bit dulls quickly
Solution: Use new carbide bit; cool with water. Upgrade to diamond-tipped for pro jobs.
Problem: Holes not deep enough
Solution: Extend with longer bit; use setting tool. Redrill if anchors protrude wrong.
CONFAST 3/8-16 x 3-3/4 Zinc Plated Wedge Anchor Bolts (10-Pack)
Proven 5,000+ lb pull-out strength ideal for 300-500 lb appliances; expands reliably in concrete.
Best for: Primary anchors for washers/dryers; use 4 per unit on slabs.
Price Range: $24.99
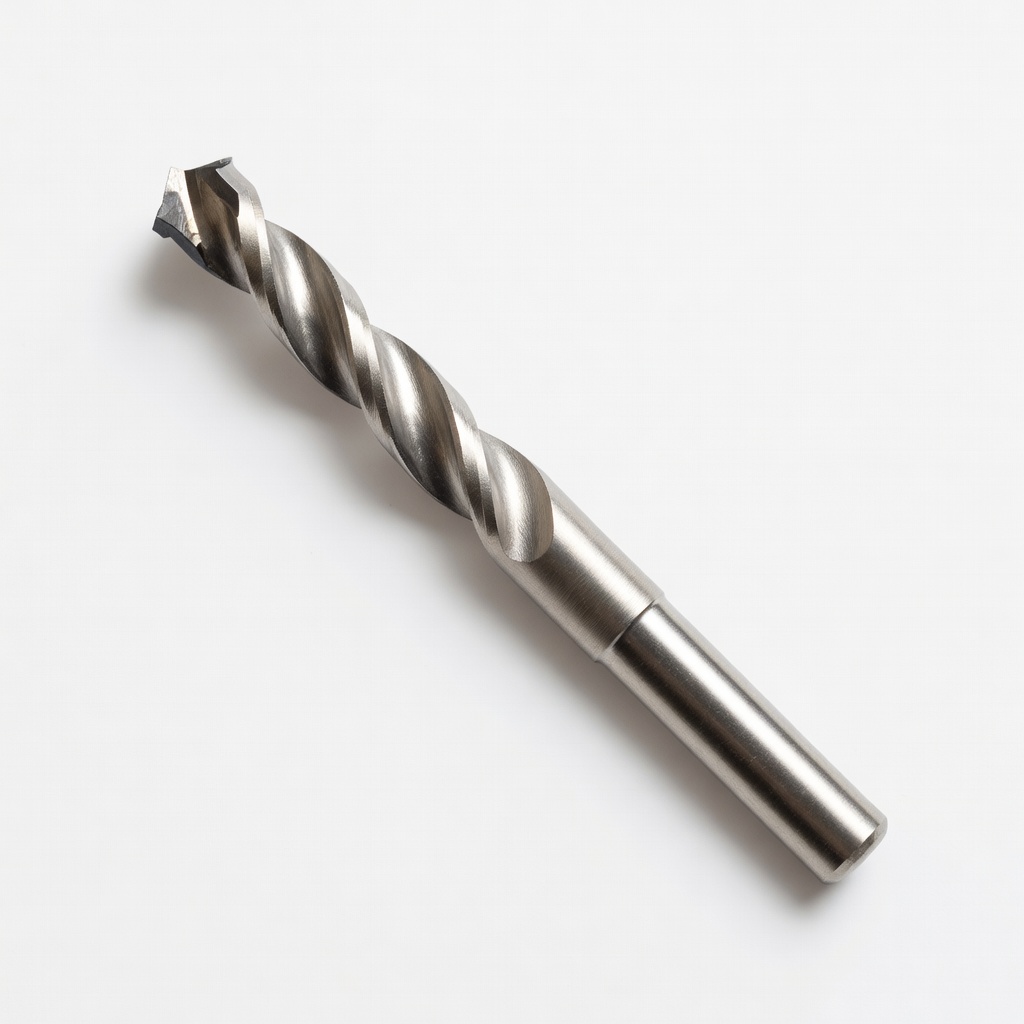
Bosch HC3050B 3/8 In. x 4 In. Carbide Hammer Drill Bit
Secures perfectly in hammer drills; long life (50+ holes) with centric tip for straight holes.
Best for: Drilling pilot holes; buy extras for hard aggregate concrete.
Price Range: $5.49
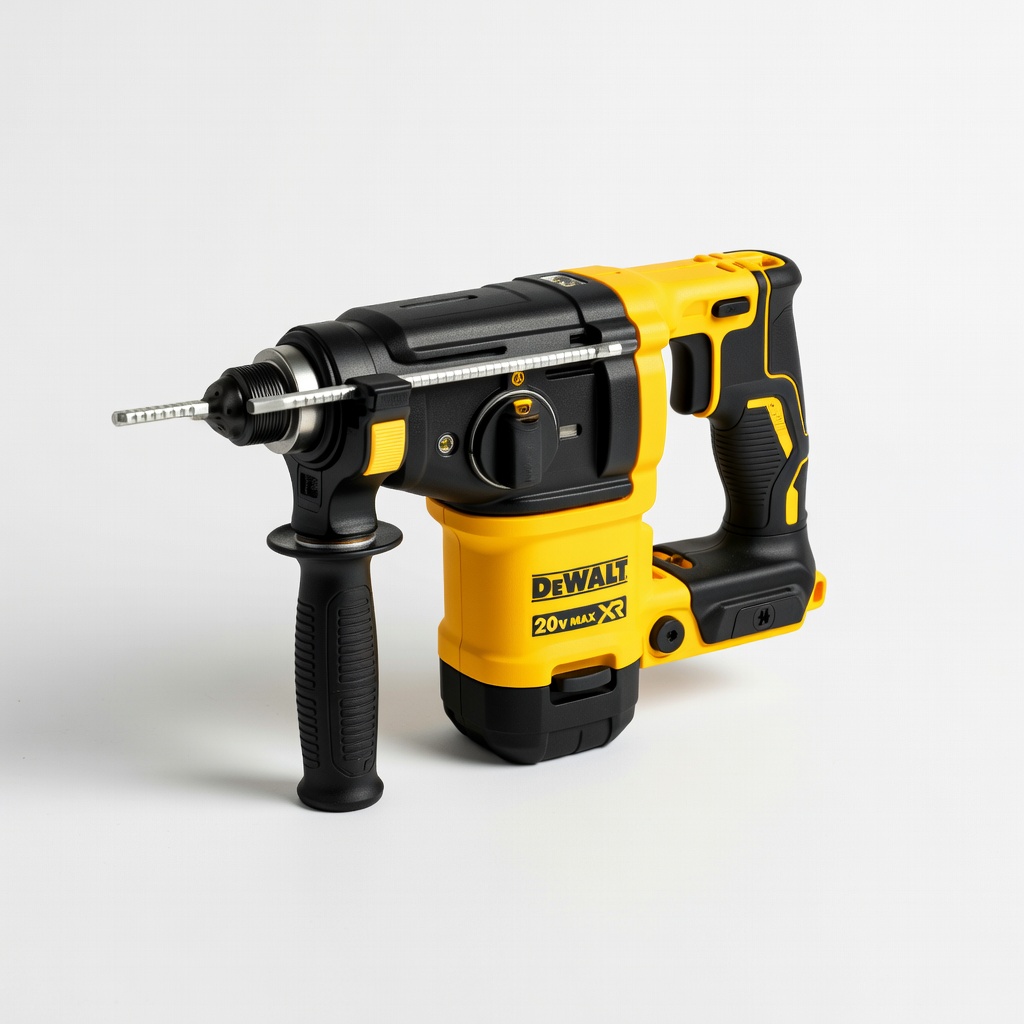
DeWalt DCH273B 20V MAX XR 1" SDS Plus Rotary Hammer (Tool Only)
Cordless power for precise control; variable speed prevents cracking in 6-inch concrete.
Best for: All drilling; battery-powered for tight basement spaces.
Price Range: $199
Simpson Strong-Tie Set-XP Epoxy Anchoring Adhesive (10 oz)
Backup for cracked concrete; chemical bond holds 7,000 lbs without expansion stress.
Best for: Remedial fixes or high-moisture areas; inject after rod insertion.
Price Range: $29.99
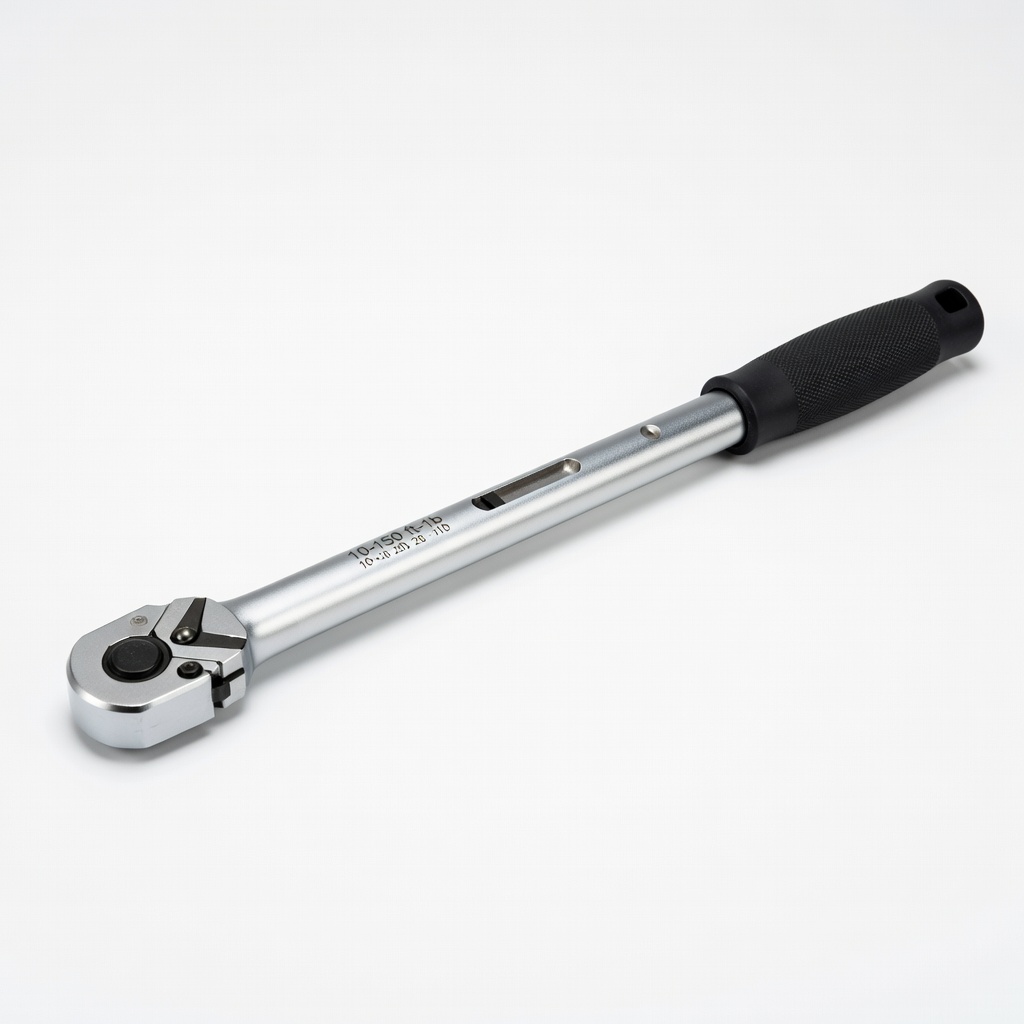
TEKTON 1/2 Inch Drive Torque Wrench (10-150 ft-lb)
Prevents over/under-torquing for code-compliant installs; click-stop accuracy.
Best for: Final nut tightening at 50-60 ft-lbs.
Price Range: $49.99