Do you have an old CRT TV gathering dust because it can't pick up modern digital signals? Since the 2009 U.S. digital TV transition, millions of analog sets stopped working without help. An analog-to-digital converter box (also called a DTV converter) bridges the gap, letting you tune into free over-the-air HD channels.
In this guide, you'll learn everything from unboxing to scanning channels. By the end, your old TV will display crystal-clear digital programming like ABC, NBC, and FOX locals. The process is straightforward—no soldering or advanced tools needed.
Expect to spend 15-30 minutes total. It's perfect for beginners, with clear steps and troubleshooting to avoid frustration.
▸What You'll Need
- •Analog-to-digital converter box (required)
- •Coaxial cable (RF cable with screw-on connectors, usually included with converter)
- •TV antenna (indoor or outdoor, required for signal reception)
- •Old TV with coaxial (RF) input
- •Power outlet
- •Optional: Converter remote (usually included), HDMI cable (if your converter supports HDMI output for newer setups)
Estimated Time: 15-30 minutes
Difficulty: beginner
▸Step-by-Step Instructions
Step 1: Unbox and Gather Your Equipment
Start by opening the converter box package. Inside, you'll typically find the box, remote control with batteries, coaxial cable, power adapter, and user manual.
Lay everything out on a table near your TV. Check for damage and ensure all parts are present—this prevents surprises later. Why it matters: Missing cables mean delays in setup.
Success looks like: All components accounted for, manual handy for reference.
💡 Tips:
- •Read the manual first for model-specific quirks.
- •Charge or insert batteries in the remote now.
⚠️ Warnings:
- •Don't plug in power yet to avoid shorts.
Step 2: Connect the Antenna to the Converter
Locate the 'ANT IN' or 'RF IN' port on the back of the converter box. Screw one end of a coaxial cable tightly into this port.
Attach the other end to your TV antenna's output. Position the antenna near a window or higher spot for better signal—test locations later if needed. This step feeds over-the-air signals into the converter.
Success looks like: Secure coaxial connection with no loose fittings.
💡 Tips:
- •Use a high-gain indoor antenna for urban areas.
- •Extend antenna wires fully for optimal reception.
⚠️ Warnings:
- •Avoid splitter cables here; they weaken signals.
Step 3: Connect the Converter to Your TV
Find the coaxial input on your old TV (usually labeled 'ANT IN', 'RF', or 'CABLE'). Screw the free end of the coaxial cable from the converter into this port.
This links the digital signal output from the converter to your TV's analog input. Most converters output on channel 3 or 4—note which your manual specifies.
Success looks like: Cable firmly attached; TV input port identified.
💡 Tips:
- •Label cables if multiple TVs/connections.
- •For HDMI converters, use HDMI to TV if available (rarer for true old TVs).
⚠️ Warnings:
- •Don't force the connector; align threads first.
Step 4: Power Up the Devices
Plug the converter's power adapter into a wall outlet and the DC input on the box. Turn on the converter using its power button or remote.
Power on your TV and tune it to channel 3 (or 4, per manual). You should see a blue screen, menu, or 'no signal' message on the TV— that's normal before scanning.
Success looks like: TV displays converter's startup screen via channel 3/4.
💡 Tips:
- •Use the remote's power button for convenience.
⚠️ Warnings:
- •Unplug everything before making changes.
Step 5: Scan for Digital Channels
Use the converter remote to access the menu (MENU or SETUP button). Select 'Channel Scan', 'Auto Scan', or 'ATSC Tune'—confirm full scan (not just analog).
The box will search for available digital channels (ATSC signals). This takes 2-10 minutes depending on your area. It auto-saves detected channels.
Success looks like: Scan complete message; channel list shows 10-50+ channels.
💡 Tips:
- •Rescan monthly or after moving antenna for updates.
⚠️ Warnings:
- •Don't interrupt the scan; it restarts from zero.
Step 6: Test and Fine-Tune Channels
Exit the menu and use CH+ / CH- or number pad to browse channels. Adjust volume on TV. If snowy, reposition antenna higher/outside.
Favorite channels? Use remote to add to favorites list if supported. Enjoy HD locals!
Success looks like: Clear picture and sound on multiple channels like local news.
💡 Tips:
- •Point remote at converter, not TV.
⚠️ Warnings:
- •Weak signals? Upgrade antenna, not converter.
▸Pro Tips
- •Place antenna away from metal objects or electronics for 20-30% better reception.
- •Use channel 3 in eastern U.S., channel 4 in west to minimize interference.
- •Rescan channels after storms or seasonal changes.
- •Pair with a powered antenna for rural areas.
- •Label inputs if your TV has multiple coax ports.
- •Enable closed captions in converter menu for better viewing.
- •Test multiple antenna spots before permanent mounting.
▸Common Mistakes to Avoid
- •Skipping full ATSC scan—only gets analog ghosts; always select digital mode.
- •Loose coaxial connections—causes signal loss; hand-tighten firmly.
- •Wrong TV channel (3 vs 4)—no picture; check manual.
- •Antenna too low/inside metal—zero channels; elevate and aim at towers.
- •Forgetting to power converter first—TV shows nothing.
▸Troubleshooting
Problem: No signal or snowy picture
Solution: Reposition antenna toward broadcast towers (use FCC.gov tower map); rescan channels; check coax tightness.
Problem: Only a few channels found
Solution: Upgrade to amplified antenna; move to higher spot; rescan during peak signal times (evenings).
Problem: No power or remote unresponsive
Solution: Check outlet/power adapter; replace remote batteries; reset converter (unplug 30 seconds).
Problem: Choppy audio/video
Solution: Reduce distance between antenna/converter; avoid electrical interference; try different coax cable.
Problem: Nothing on channel 3/4
Solution: Switch to the other (4/3); confirm TV antenna input selected.
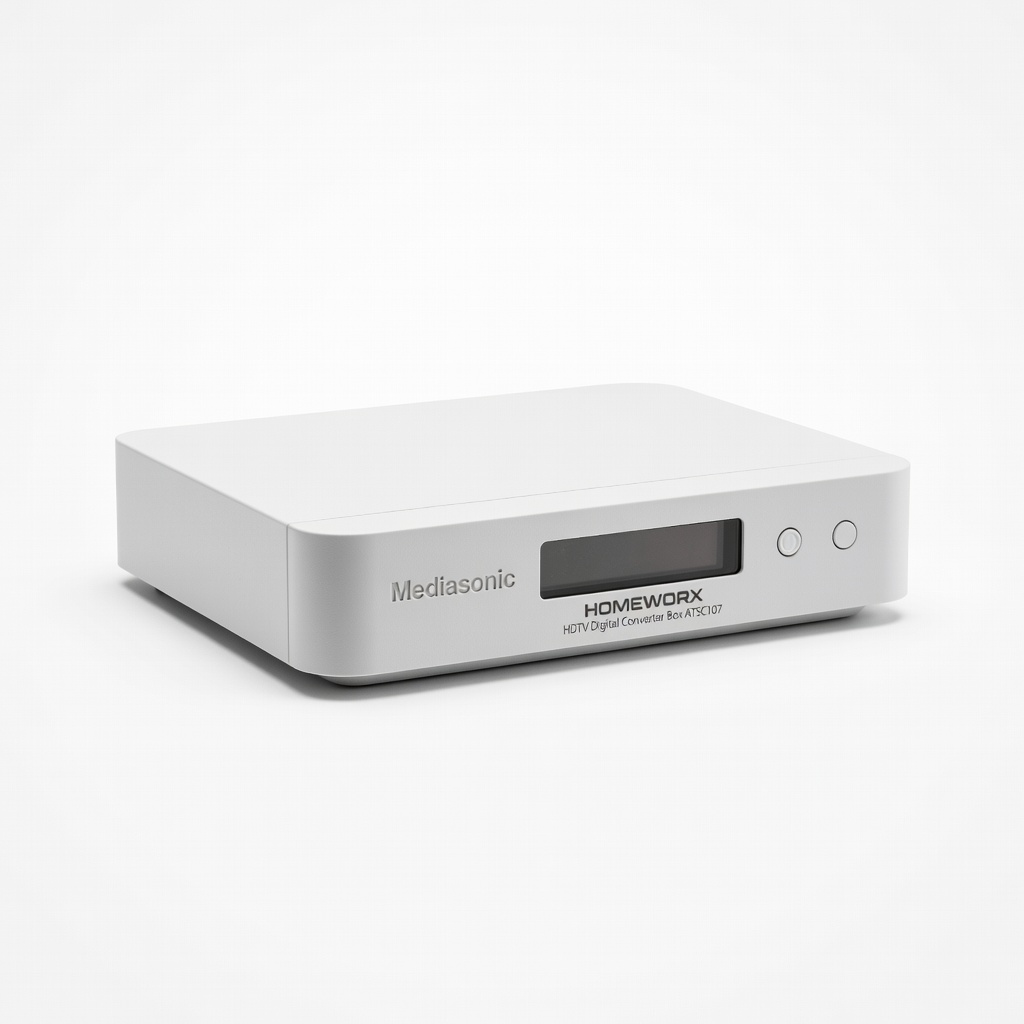
Mediasonic HOMEWORX HDTV Digital Converter Box ATSC107
Top-rated for reliability, includes recording timer and USB media playback—perfect for old TVs.
Best for: Basic channel scanning and OTA viewing on analog sets.
Price Range: $27.99
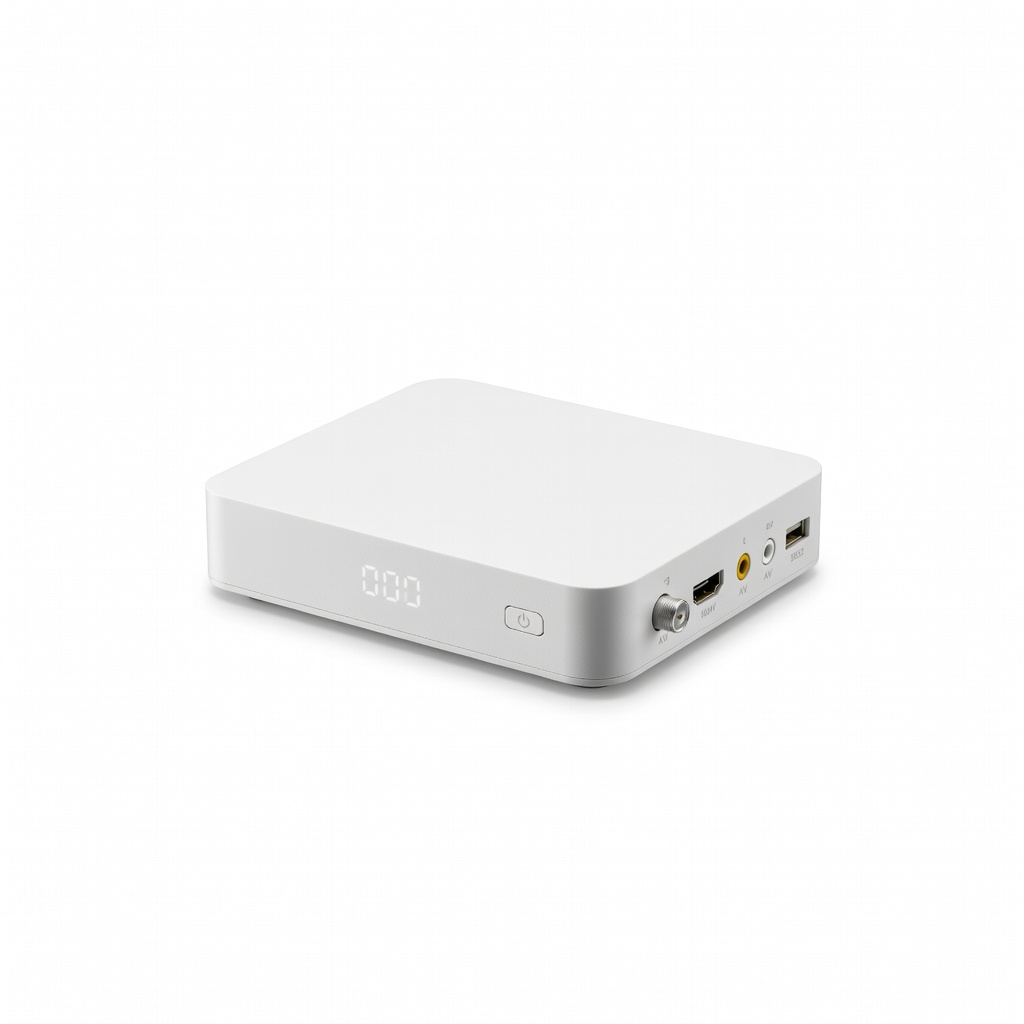
ZJBOX Digital Converter Box for TV HDTV
Affordable with HDMI output option, clear OSD menu, and strong signal handling.
Best for: Budget setups needing coax-to-TV conversion.
Price Range: $24.99
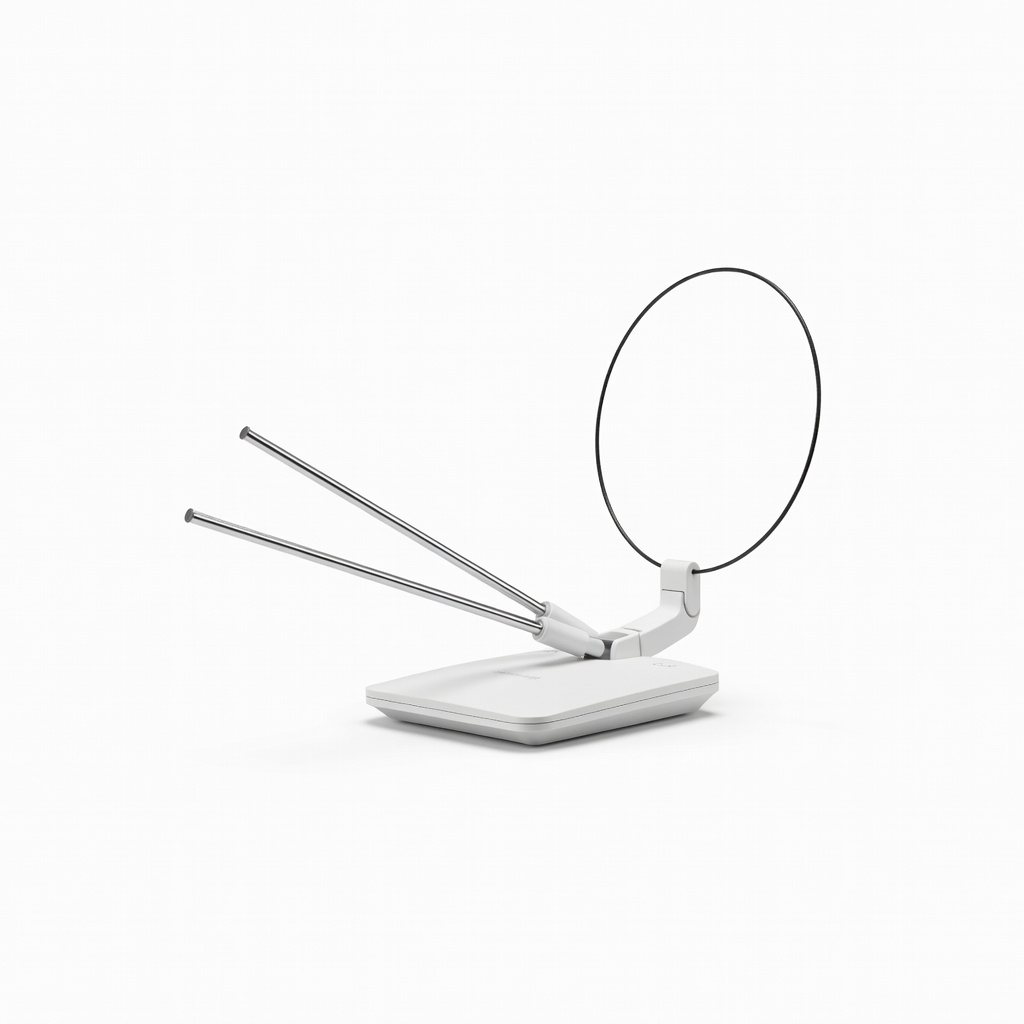
GE Amplified HD Digital TV Antenna
Boosts weak signals up to 60 miles, essential companion for converters in fringe areas.
Best for: Indoor/outdoor reception for urban-to-rural homes.
Price Range: $39.99
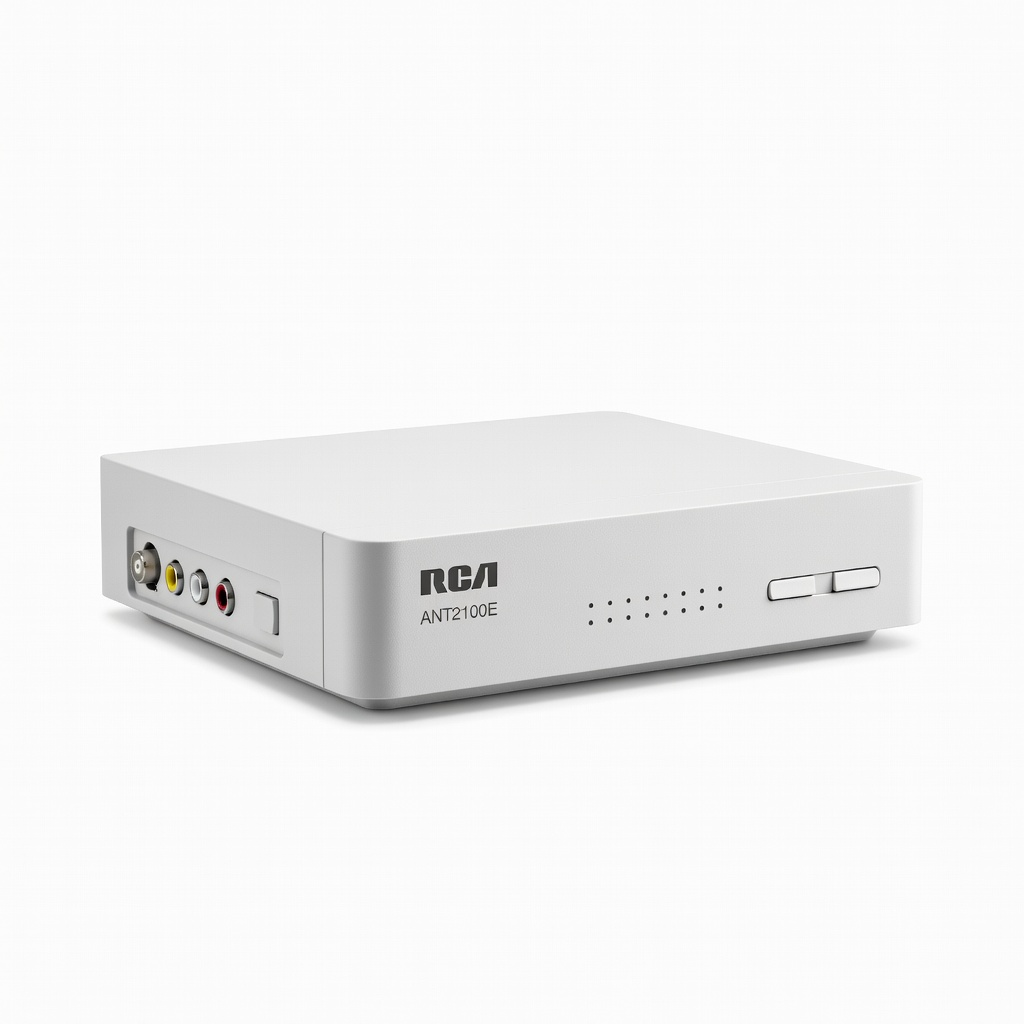
RCA Digital Converter Box ANT2100E
Compact, trusted brand with simple setup—great for beginners.
Best for: Quick plug-and-play for multiple old TVs.
Price Range: $29.99