
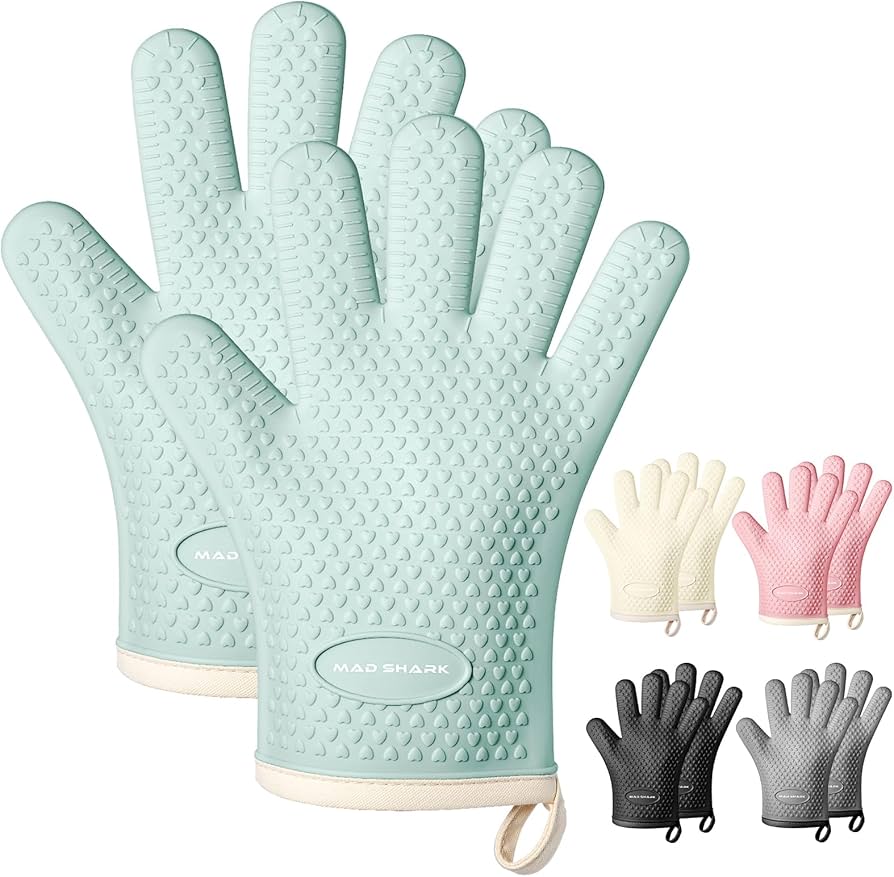
Oven Mit Heat-Resistant Gloves
Safe handling of hot surfaces during the cooldown and cleaning process.
$10–$25
Oven Mit Heat-Resistant Gloves Protect your hands when wiping hot ash or touching the oven interior after self‑clean.
Get the App
Better experience on mobile
A beginner-friendly step-by-step guide to safely and effectively use your Amana oven’s self-cleaning cycle.
Is your Amana oven covered in baked-on grease and food residue? Before you reach for harsh chemicals or scrub for hours, the self-cleaning feature can do the hard work for you. This high-heat cycle turns grime into ash that wipes away easily. In this guide, you’ll learn exactly how to prepare your oven, run the cycle safely, and clean up afterward. The process takes only a few minutes of hands‑on time, though the cycle itself runs for 2–4 hours. Follow these steps to save time and avoid common mistakes.
Estimated Time: 10 minutes hands‑on time; 2–4 hours for the self‑clean cycle to complete Difficulty: beginner
Take out all oven racks, bakeware, and any foil or oven liners. These items can be damaged or discolored by the extreme heat (up to 800°F / 427°C). If you choose to leave racks in, they may turn a blueish tint and become harder to slide later. For easiest cleanup, remove them and wash separately with warm soapy water. Also check for any food spills, especially large ones – wipe up puddles of grease or sauce with a paper towel to avoid excessive smoke during the cycle.
💡 Tips:
⚠️ Warnings:
Use a damp cloth or paper towel to quickly sweep out any crumbs, loose food, or ash left from previous uses. While the self‑clean cycle can handle baked‑on grime, large chunks can cause excessive smoke or even catch fire. Focus on the oven floor and bottom edges. If there are sticky spills, a small amount of dish soap on a damp sponge will help lift them. Rinse with a clean wet cloth and dry the interior with a soft towel.
💡 Tips:
⚠️ Warnings:
The self‑cleaning process creates high heat that can produce smoke, odors, and even small amounts of steam. Open a nearby window, turn on your kitchen range hood, and make sure the room is well‑ventilated. If you don’t have a range hood, consider placing a fan in the window to blow air out. This will also help dissipate any acrid smell that might occur when the oven first heats up. Pets and individuals with respiratory issues should be kept out of the kitchen during the cycle.
💡 Tips:
⚠️ Warnings:
On your Amana oven control panel, locate the Self‑Clean button (often labeled “SELF CLEAN” or with a timer icon). Press it once – the display will likely show the default cleaning time (usually 2–4 hours). You can adjust the duration using the “+” and “–” buttons: 2 hours for light soil, 3 hours for moderate, and 4 hours for heavy baked‑on grime. Some models also offer a “Delayed Clean” option – use that if you want the oven to start later (for example, overnight when you’re home but awake). After setting the time, press Start. The oven door will lock automatically once the interior temperature reaches a safety threshold (usually around 400°F / 204°C).
💡 Tips:
⚠️ Warnings:
Once the cycle starts, you will hear the oven heating and possibly see steam or a slight wisp of smoke – this is normal. The oven will maintain a high temperature (around 800°F / 427°C) for the duration you selected. During this time, the door lock indicator will remain lit. Do not attempt to open the door or interrupt the cycle, as this could damage the oven or cause injury. The cycle will automatically end when the time expires, and the oven will begin to cool down. The door remains locked until the interior temperature drops below a safe level (usually about 500°F / 260°C).
💡 Tips:
⚠️ Warnings:
After the cycle ends, the oven will continue to cool. The door lock will remain engaged until the internal temperature drops to a safe level (around 500°F / 260°C). This can take anywhere from 30 minutes to over an hour depending on the ambient temperature. You will hear a click when the lock releases. Do not try to force the door open. Once unlocked, the control panel will show that self‑clean is complete, and the oven is ready for wiping.
💡 Tips:
⚠️ Warnings:
Once the oven has cooled enough to touch safely, put on your oven mitts or gloves. Open the door fully and inspect the interior. You’ll see a layer of white or gray ash on the bottom and sides (the residue of burnt food). Dampen a microfiber cloth or sponge with warm water – add a drop of dish soap if needed – and gently wipe away the ash. Start from the top and work downward to avoid smearing. Rinse the cloth frequently in clean water. For stubborn spots, you can make a paste of baking soda and water, apply it, let it sit for 5 minutes, then wipe. After all ash is removed, go over the surfaces with a fresh damp cloth to remove any soap residue.
💡 Tips:
⚠️ Warnings:
After the interior is clean and dry, replace the oven racks. Slide them back into their original positions. If you notice any ash or dust on the racks, rinse them off first. Finally, wipe down the oven door glass with a glass cleaner or a vinegar‑water solution for a streak‑free finish. Close the oven door, and your Amana oven is ready for everyday cooking again.
💡 Tips:
⚠️ Warnings:
Problem: The self‑clean cycle won’t start.
Solution: Make sure the oven door is fully closed and the oven is not in a cooking mode (e.g., Bake or Broil). Check that the child lock is not engaged. Refer to your manual for specific control sequences.
Problem: Excessive smoke or a burning smell during the cycle.
Solution: This is often due to large food spills. Stop the cycle if smoke is heavy, wait for the oven to cool, then wipe out the debris. Restart with a shorter duration. Ensure the range hood is on high.
Problem: Ash residue is stuck and won’t wipe away easily.
Solution: Make a paste of baking soda and water, apply it to the spots, let it sit for 10 minutes, then scrub gently with a non‑abrasive sponge. Repeat if needed.
Problem: Oven door remains locked even after cooling.
Solution: Unplug the oven for 5 minutes to reset the control board. If the door still won’t unlock, contact a qualified technician – the locking mechanism may be faulty.
Problem: Smoke alarm goes off during the cycle.
Solution: Open windows, turn on fans, and waft a towel near the alarm to disperse smoke. Keep a battery‑powered alarm nearby that you can temporarily silence. Ensure proper ventilation next time.
Protect your hands when wiping hot ash or touching the oven interior after self‑clean.
Best for: Safe handling of hot surfaces during the cooldown and cleaning process.
Price Range: $10–$25
Lint‑free and absorbent for streak‑free wiping of ash and glass.
Best for: Wiping down oven interior and door after self‑clean cycle.
Price Range: $8–$15
Natural cleaner and deodorizer; effective at removing stubborn ash spots without scratching.
Best for: Make a paste for tough residue or place a bowl inside to absorb odors.
Price Range: $2–$5
Cuts grease and neutralizes smoke smells after the self‑clean cycle.
Best for: Wipe down interior with diluted vinegar solution or leave a bowl inside overnight.
Price Range: $3–$6
Place on the bottom rack during normal cooking to catch spills and reduce need for self‑clean.
Best for: Preventative maintenance – not for use during self‑clean cycle.
Price Range: $15–$25
Safe handling of hot surfaces during the cooldown and cleaning process.
Oven Mit Heat-Resistant Gloves Protect your hands when wiping hot ash or touching the oven interior after self‑clean.
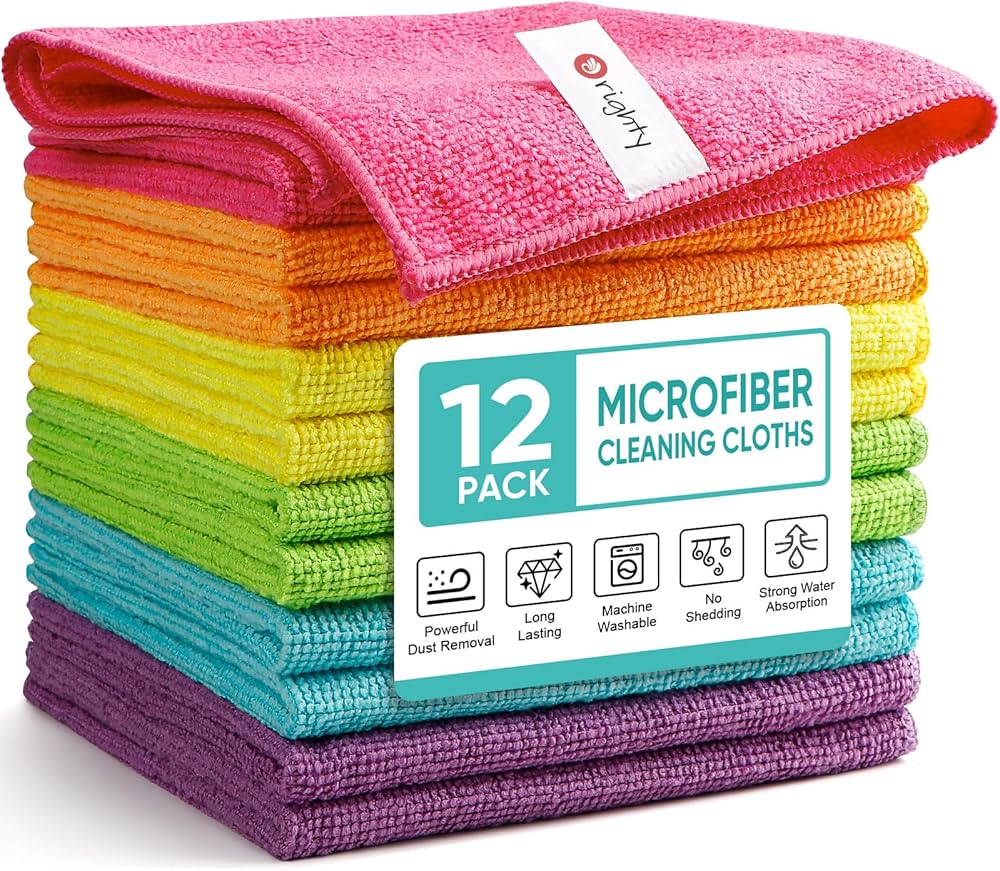
Wiping down oven interior and door after self‑clean cycle.
Microfiber Cleaning Cloths (Pack of 12) Lint‑free and absorbent for streak‑free wiping of ash and glass.

Make a paste for tough residue or place a bowl inside to absorb odors.
Baking Soda (1 lb box) Natural cleaner and deodorizer; effective at removing stubborn ash spots without scratching.
Wipe down interior with diluted vinegar solution or leave a bowl inside overnight.
White Vinegar (64 oz) Cuts grease and neutralizes smoke smells after the self‑clean cycle.
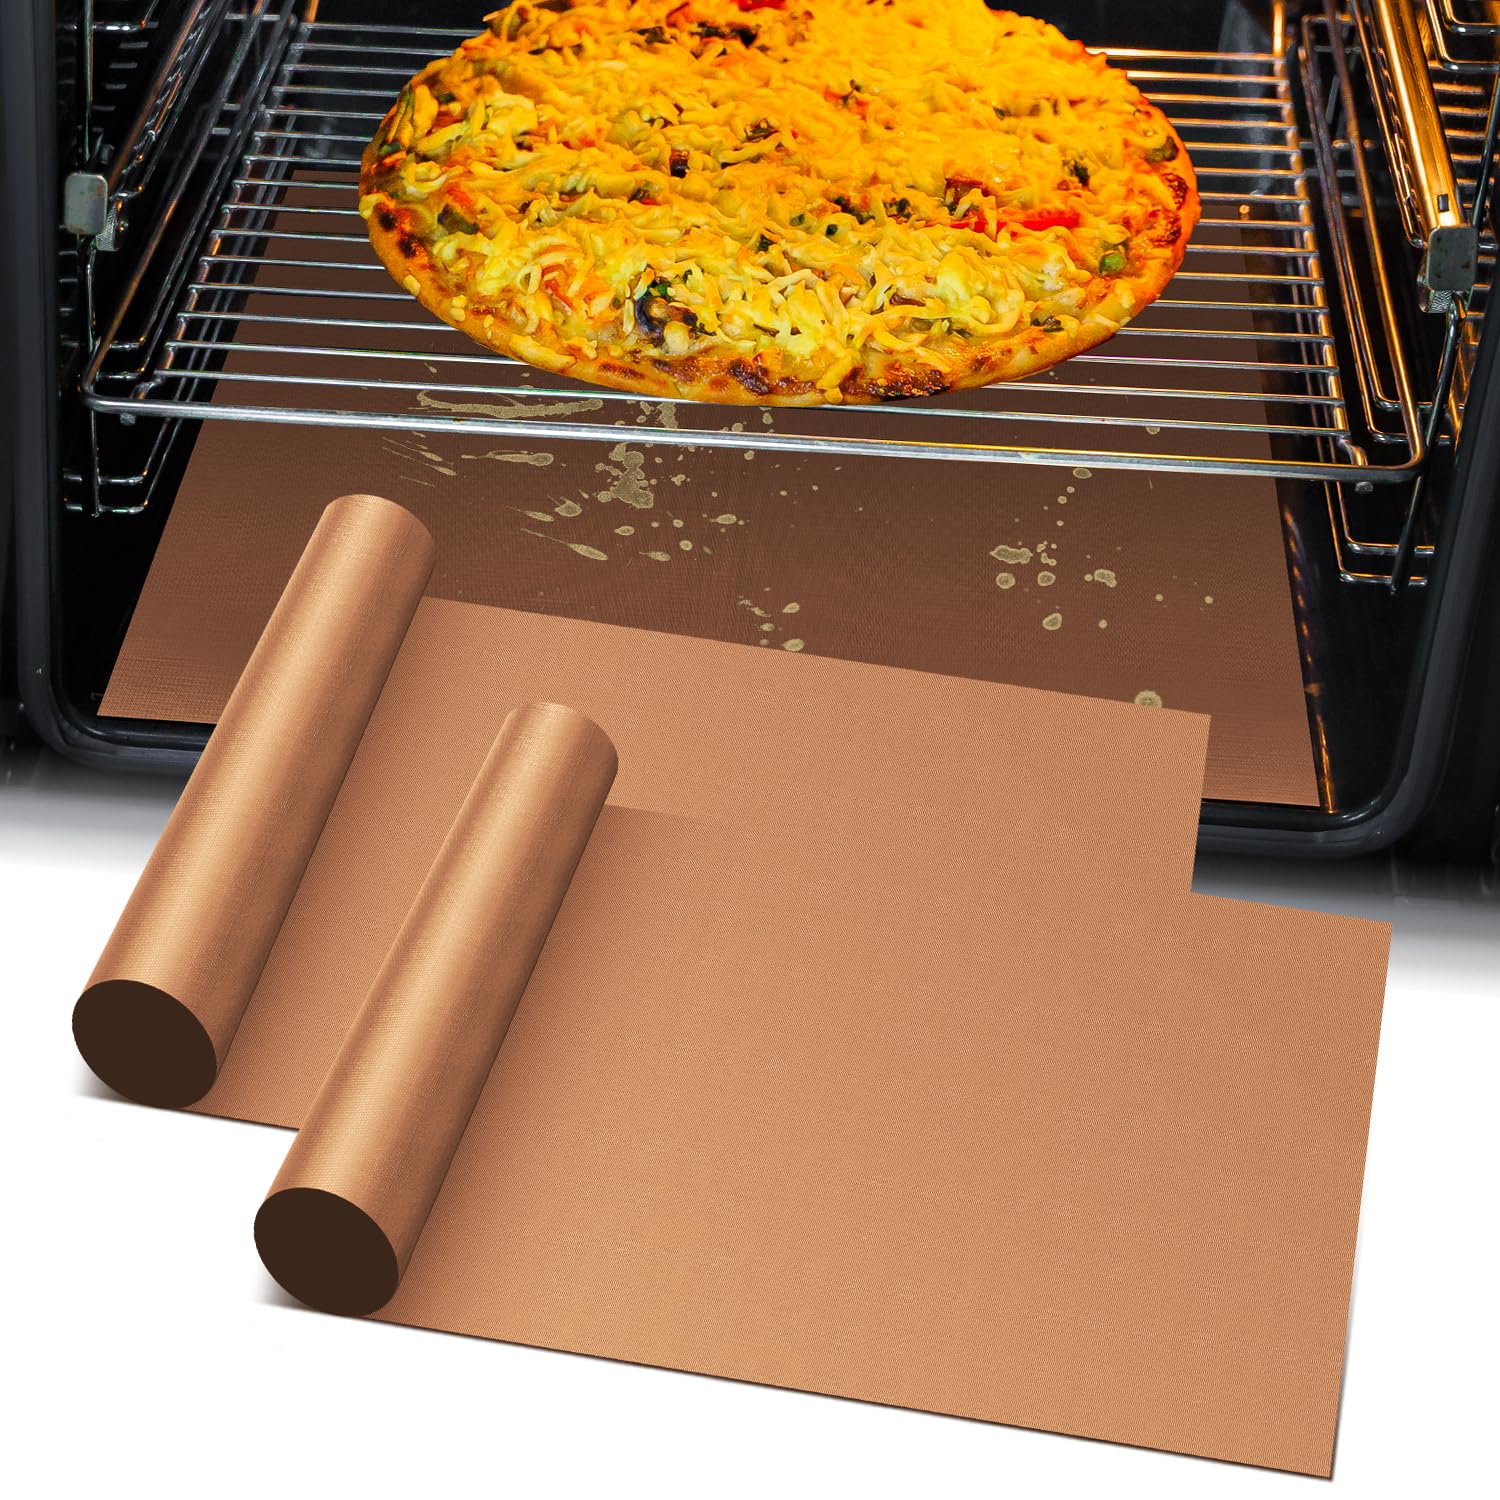
Preventative maintenance – not for use during self‑clean cycle.
Silicon Oven Liner Mats (Set of 2) Place on the bottom rack during normal cooking to catch spills and reduce need for self‑clean.