Airbrushing can transform a simple cake into a stunning work of art with smooth color gradients, sharp stenciled designs, and flawless metallic finishes. But many intermediate bakers struggle with clogging, inconsistent spray, or color bleeding. This guide walks you through the entire process—from setting up your airbrush and thinning food colors to cleaning your equipment properly. You'll learn step-by-step techniques to achieve professional results every time. Expect to spend about 1–2 hours on your first practice cake, then faster on subsequent attempts.
▸What You'll Need
- •Airbrush kit (with compressor and dual-action airbrush, 0.5mm needle recommended for cake work)
- •Food-grade airbrush colors (gel-based or liquid, such as Wilton or Chefmaster)
- •Airbrush thinner (distilled water or vodka for thinning gels; rubbing alcohol for cleanup)
- •Practice surface (parchment paper, foam core, or a dummy cake)
- •Stencils (plastic or acetate; reusable) – optional
- •Painter's tape or low-tack tape for masking – optional
- •Small mixing cups and droppers
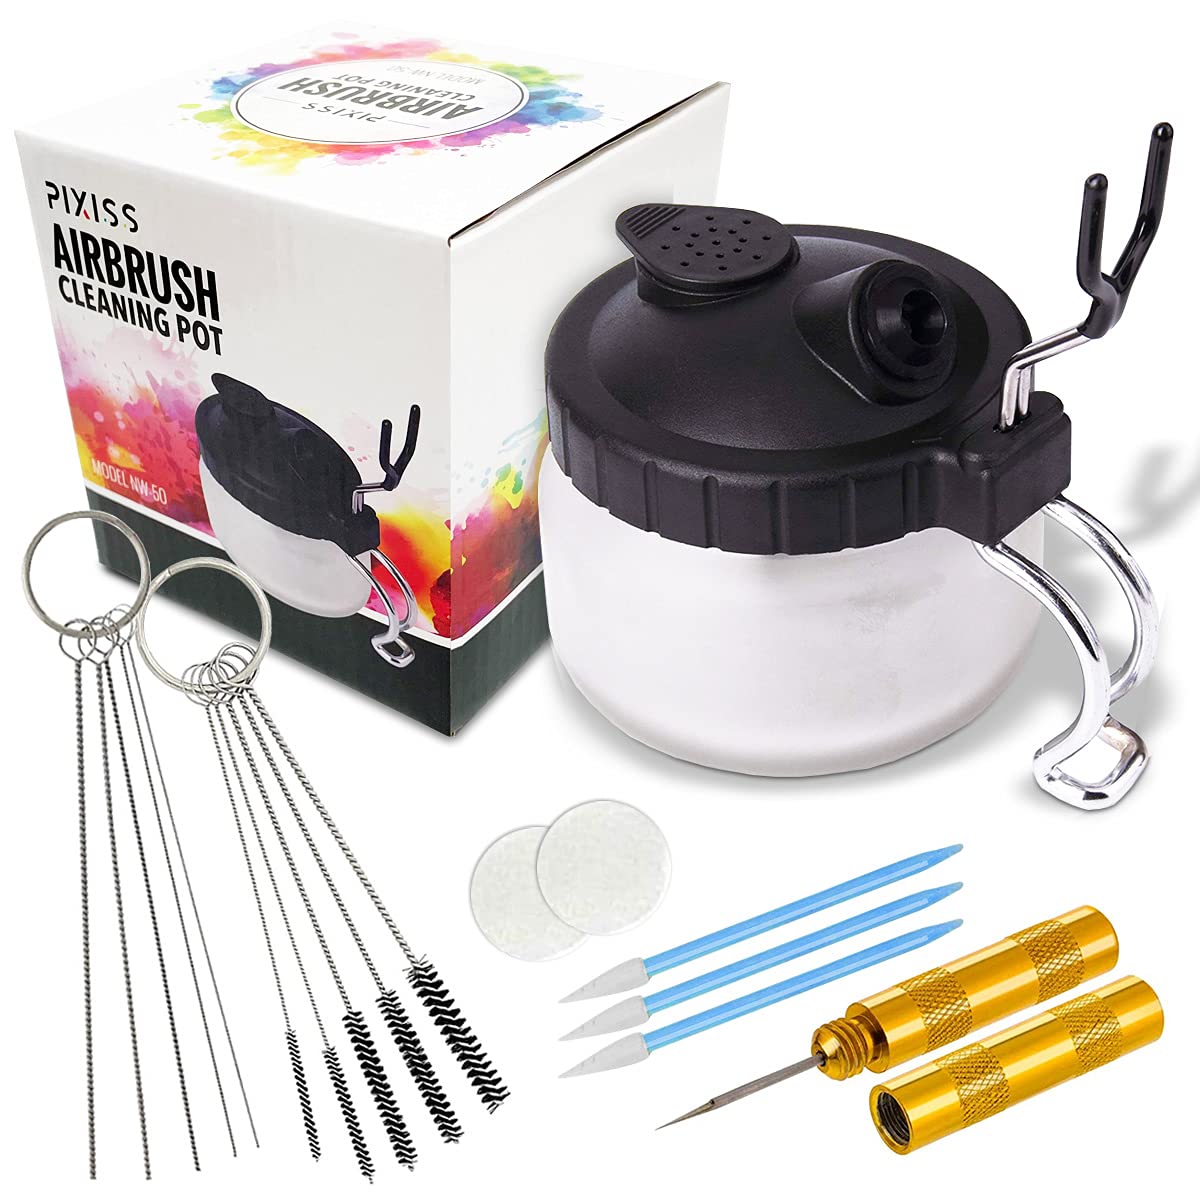
- •Airbrush cleaning kit (needle cleaning brush, nozzle wrench, cleaning pot)
- •Rubber gloves and apron (to protect from stains)
- •Well-ventilated workspace or spray booth
Estimated Time: 1–2 hours for first practice design; 30–45 minutes per cake once comfortable
Difficulty: intermediate
▸Step-by-Step Instructions
Step 1: Prepare Your Workstation and Safety Setup
Set up your airbrush in a well-ventilated area or use a spray booth to contain overspray. Cover surfaces with newspaper or a drop cloth. Wear gloves and an apron—food colors stain skin and clothing. Assemble all materials: colors, thinner, stencils, cleaning tools. Ensure your airbrush is clean from previous use. Test the compressor: set pressure to 15–20 psi for general cake work. Higher pressure (25+ psi) works for thicker colors but increases overspray.
💡 Tips:
- •Use a turntable for the cake to easily rotate and access all sides.
- •Keep a damp paper towel nearby to wipe the needle tip if clogging occurs.
⚠️ Warnings:
- •Never point the airbrush at anyone's face or eyes.
- •Avoid inhaling overspray—wear a dust mask if sensitive.
Step 2: Thin Your Food Colors to the Right Consistency
Pour a small amount of food coloring into a mixing cup. Add thinner gradually (start with 1:1 ratio for gel colors, less for liquids). Stir until the color is the consistency of skim milk—thin enough to flow smoothly but not watery. Test by spraying on a paper towel: if it spatters or is too thick causing sputtering, add more thinner. If it runs and drips, add more color. This step is critical; improper thinning is the most common cause of clogging and uneven spray.
💡 Tips:
- •Use distilled water or vodka as a safe thinner for food colors. Flavored vodka can add subtle notes.
- •Pre-mix colors in small bottles with dropper tops for easy loading.
⚠️ Warnings:
- •Never use regular paint thinner or solvents—only food-safe thinners.
- •Over-thinning can cause colors to become transparent; test on a scrap first.
Step 3: Load the Airbrush Cup and Purge the Line
Attach the airbrush to the compressor hose. Pour thinned color into the color cup (gravity feed cup recommended for better control). Fill only halfway to avoid spillage when tilting. Hold the airbrush over a scrap surface, pull back the trigger to start airflow, then press down to spray. You'll see a pulsing burst of air and color. This 'purge' clears any air bubbles and ensures smooth continuous flow. If sputtering occurs, the color is too thick or the needle is dirty.
💡 Tips:
- •For dual-action airbrushes, practice the two-step motion: press down for air, then pull back for paint. Release paint first, then air to prevent drips.
- •Use a quick burst onto a paper towel to check color intensity and spray pattern.
⚠️ Warnings:
- •Don't overfill the cup—excess color can drip into the air cap and cause clogging.
- •If using a siphon-feed airbrush, keep the cup level to avoid leaks.
Step 4: Practice Basic Spray Patterns on a Scrap Surface
On a piece of parchment paper or foam board, practice making dots, lines, and gradients. Start with the airbrush 4–6 inches from the surface. For a fine line, keep the trigger lightly pulled back and move the airbrush quickly. For a soft gradient, hold the airbrush further back (6–8 inches) and spray in a sweeping motion, overlapping passes. Experiment with different distances and trigger pressures. Success looks like: smooth, even coverage without drips or heavy spots.
💡 Tips:
- •For consistent gradients, spray from one side to the other using a quartering motion (like spray painting a car).
- •Practice on dark paper to see coverage clearly.
⚠️ Warnings:
- •Avoid stopping mid-spray—this creates a visible line. Keep moving until you release the trigger.
- •Don't spray too close; you'll get spidering or pooling.
Step 5: Apply Stencils and Masking for Clean Designs
If using stencils, position the stencil on the cake (or practice board) and secure edges with low-tack painter's tape. Hold the airbrush perpendicular to the surface. Spray from a distance of 6–8 inches using a light, even coat. Lift the stencil carefully while the paint is still wet to avoid tearing. For multi-layer designs, let each color dry for a few minutes before placing the next stencil. Success: crisp edges and no bleeding under the stencil.
💡 Tips:
- •Use a 'pouncing' motion (light, quick bursts) instead of a continuous spray to prevent overspray from creeping under the stencil.
- •For intricate stencils, use a stencil adhesive spray (food-safe) to keep it flush.
⚠️ Warnings:
- •Don't overspray – heavy paint will bleed. Several light coats are better than one heavy one.
- •Ensure stencils are completely dry before cleaning to avoid smudging.
Step 6: Create Smooth Color Gradients on a Cake
Start with the darkest color at one end of the cake and gradually lighten by diluting with thinner or switching to a lighter shade. Hold the airbrush 6–8 inches away and spray in a continuous arc, moving from dark to light. Overlap passes slightly to blend. For a sunset effect, spray from bottom to top, changing colors. Success: a seamless transition with no visible lines. If you see lines, you paused too long or overlapped unevenly.
💡 Tips:
- •Work in a well-lit area to see color buildup in real time.
- •Use the tip of the needle to control paint flow – less pull means less paint, easier for subtle blends.
⚠️ Warnings:
- •Don't spray too long in one spot; it will saturate and cause the color to run.
- •If the cake is buttercream, chill it for 10 minutes before airbrushing to prevent melting.
Step 7: Add Metallic and Shimmer Effects
Use luster dust or pearl dust mixed with a food-grade alcohol (vodka or lemon extract) to create a fluid paint. Mix 1 part dust to 3 parts alcohol until smooth. Load into the airbrush. Spray from 8–10 inches for a subtle sheen. For high shine, apply a base layer of edible glaze or piping gel and spray while tacky. Success: a luminous, shimmering finish without visible graininess.
💡 Tips:
- •Use a dedicated airbrush for metallics to avoid contamination of opaque colors.
- •Strain the mixture through a fine mesh sieve to remove clumps.
⚠️ Warnings:
- •Metallic dusts can clog small nozzles; use a 0.5mm needle or larger.
- •Avoid edible glitter sprays that contain non-food ingredients; use only FDA-approved lustre dusts.
Step 8: Clean the Airbrush Immediately After Use
Disconnect the airbrush from the compressor. Empty remaining color from the cup. Fill the cup with warm water (or isopropyl alcohol for oil-based colors). Spray through onto a paper towel until the spray runs clear. Use the cleaning kit: remove the needle (gently), wipe it with a soft cloth moistened with cleaner, and use a brush to clean the nozzle and air cap. Reassemble dry. Success: a clean airbrush that will not clog on next use. This step is non-negotiable; dried paint ruins the airbrush.
💡 Tips:
- •Flush with water between color changes to avoid muddying colors.
- •Soak the needle in a drop of cleaning solution for stubborn buildup.
⚠️ Warnings:
- •Never use metal tools to scrape the nozzle; use the provided brush or a toothpick.
- •Store the airbrush with the needle slightly pulled back to relieve spring pressure.
▸Pro Tips
- •Always strain homemade or thick gel colors through a fine mesh strainer before loading to prevent clogging.
- •Use a separate airbrush for white and light colors to avoid contamination from darker pigments.
- •Practice on a tilted surface to get used to gravity feed – it mimics real cake angles.
- •For a quick gradient, spray the lighter color first, then add darker shading from the edges.
- •Use a piece of cardboard as a shield to control overspray on specific areas.
- •Keep a spray bottle of water handy to moisten the cake's surface if it gets too dry – this helps colors adhere.
- •If your compressor doesn't have a moisture trap, use an in-line air filter to prevent water spots.
▸Common Mistakes to Avoid
- •Skipping the thinning step – using colors straight from the bottle leads to sputtering and clogs.
- •Holding the airbrush too close – causes dripping and spidering; maintain at least 4 inches.
- •Not cleaning between color changes – results in muddy colors and clogged nozzle.
- •Spraying too heavily – oversaturates the cake and causes colors to run; use multiple light coats.
- •Using non-food-safe thinners or cleaners – can introduce harmful chemicals to the cake.
▸Troubleshooting
Problem: Airbrush sputters or spits.
Solution: Check that the color is thinned properly. Also ensure the needle is clean and the nozzle is not clogged. Purge air before starting to spray.
Problem: Color dripping from the tip.
Solution: You may have overfilled the cup or the needle packing is loose. Wipe the tip with a cloth and reduce cup volume. Check needle tightness.
Problem: Uneven spray pattern (heavy on one side).
Solution: The air cap may be dirty or the needle bent. Clean the air cap holes with a brush. Replace needle if bent.
Problem: Stencil bleeding.
Solution: Spray from a greater distance, use lighter coats, and ensure the stencil is flush with the surface. Tape edges if needed.
Problem: Airbrush stops spraying mid-use.
Solution: The color might be too thick or the needle is clogged. Disassemble and clean needle and nozzle immediately. Always purge before resuming.
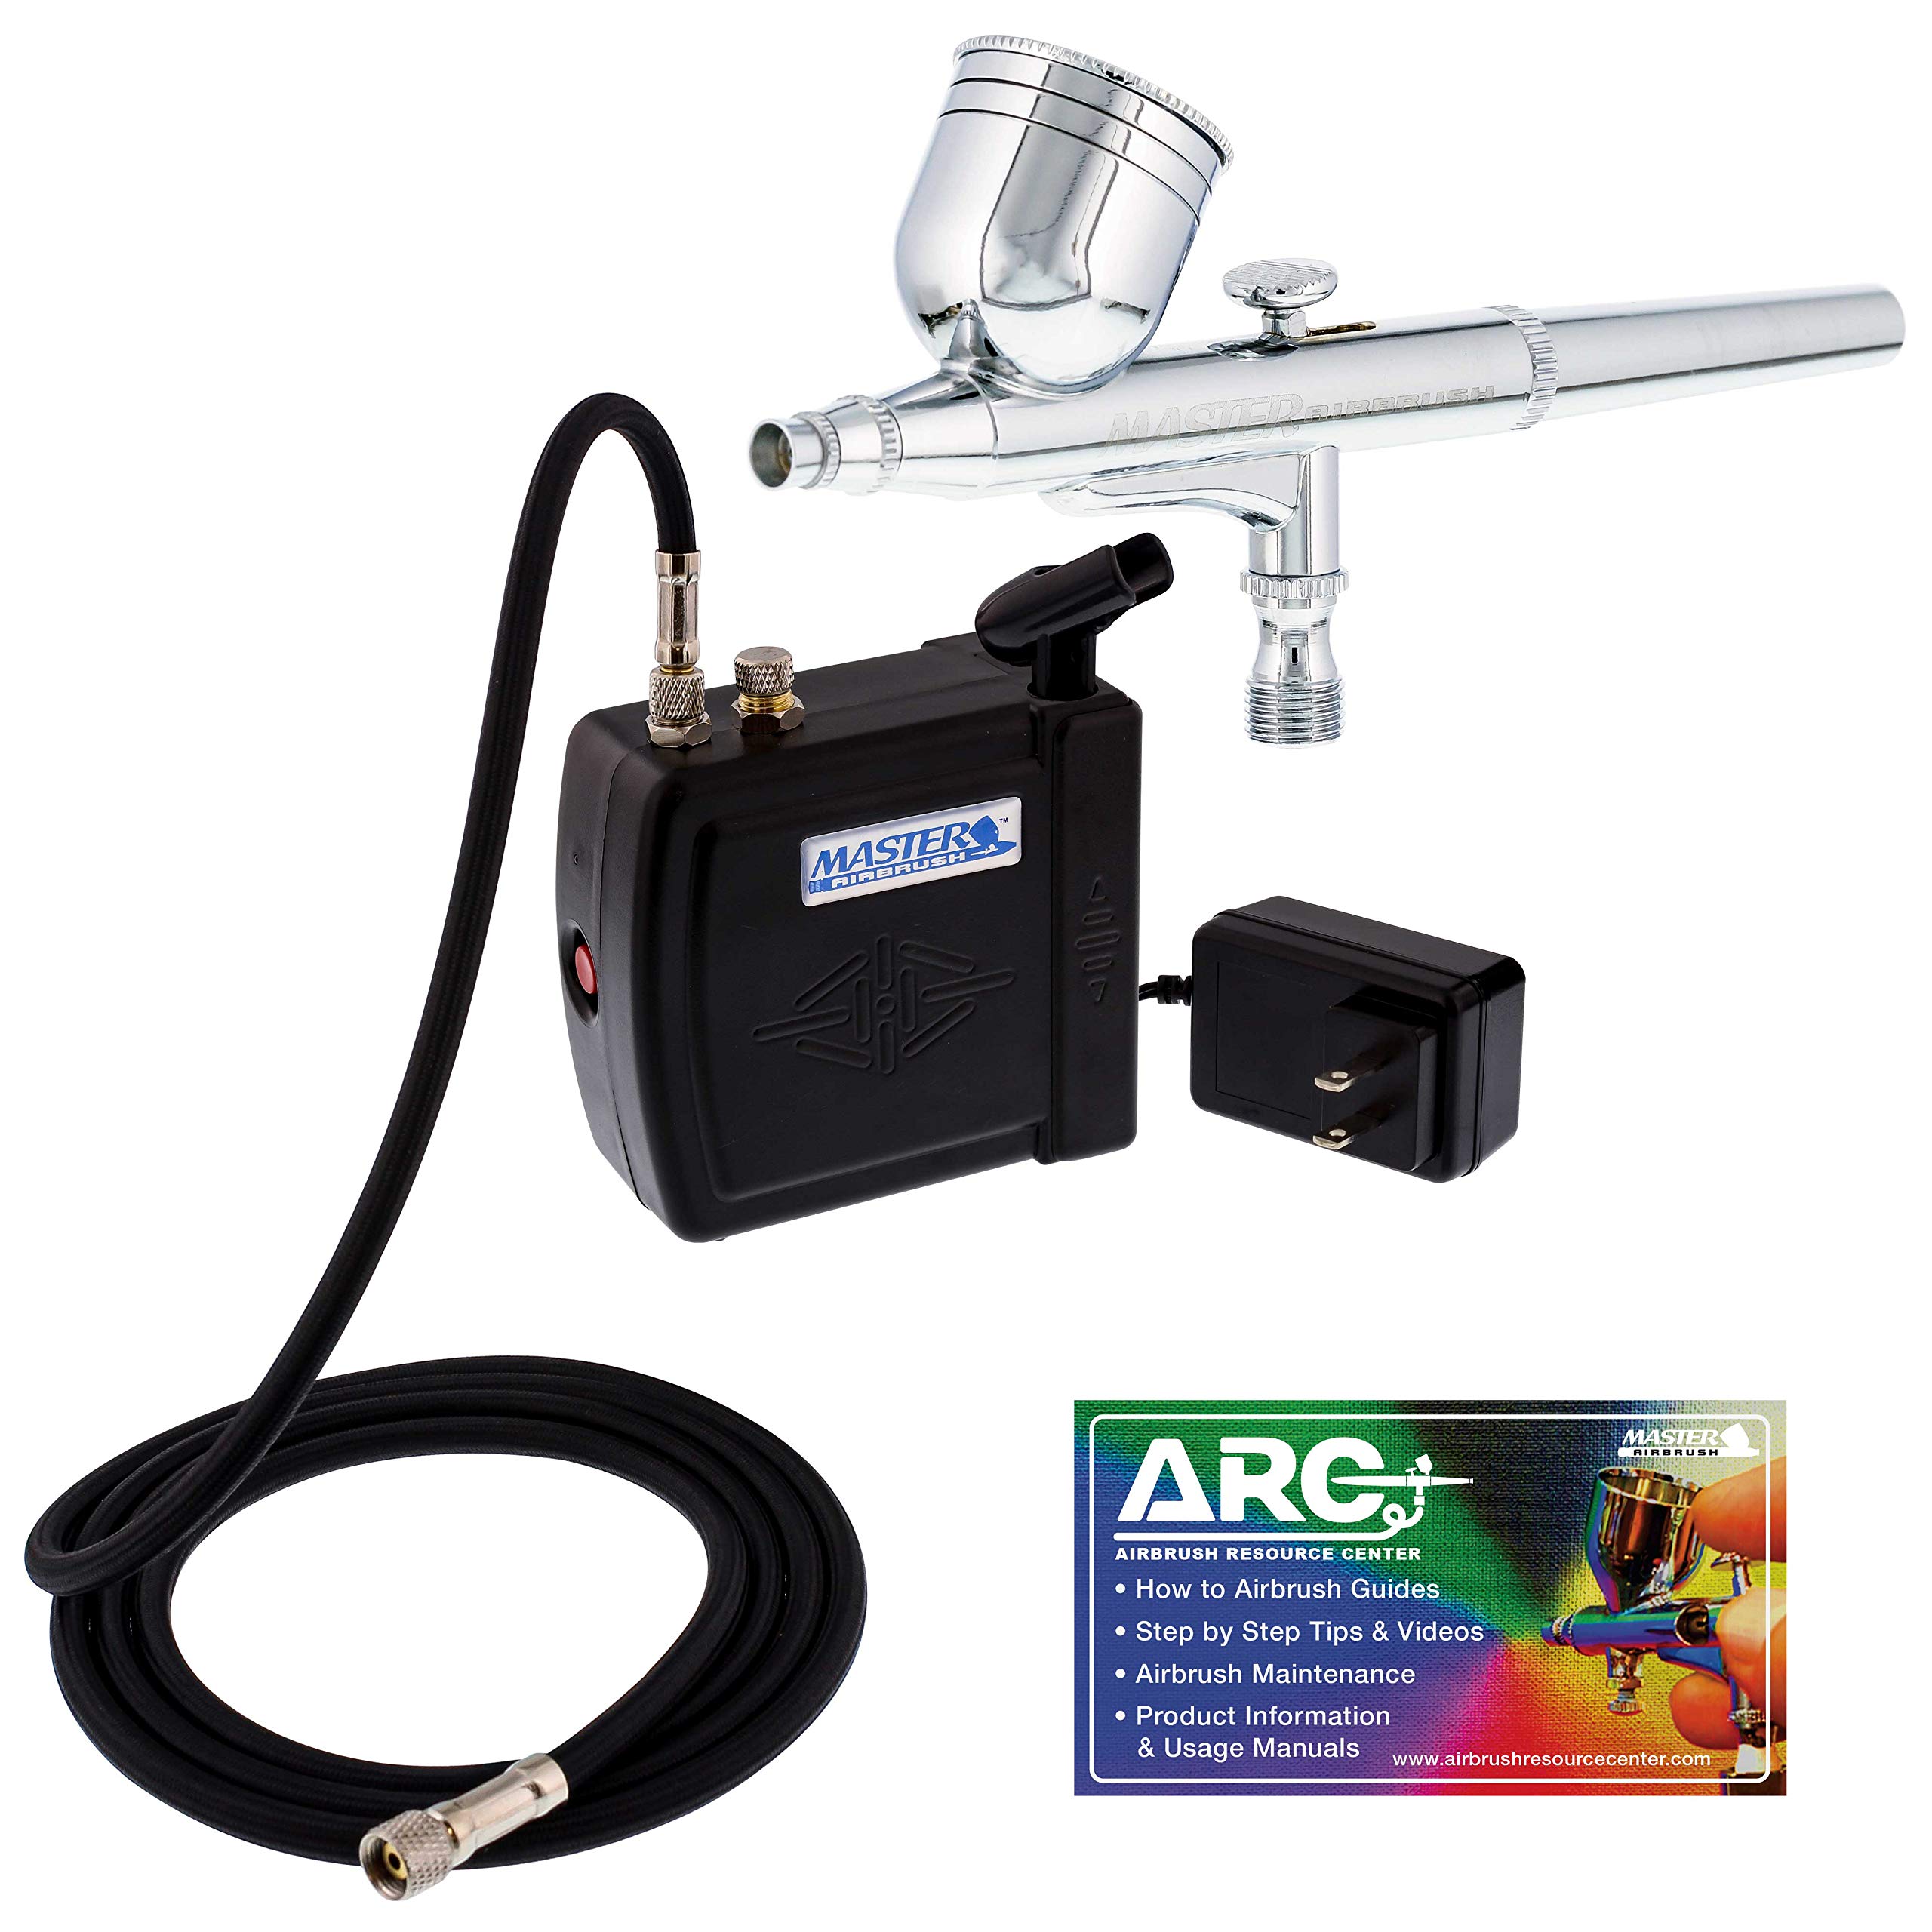
Master Airbrush Dual-Action Airbrush Kit
Affordable, reliable beginner-to-intermediate kit with a 0.5mm needle perfect for cake decorating. Includes compressor with adjustable pressure.
Best for: All-around airbrush for cakes, cookies, and stencil work.
Price Range: $60–$90
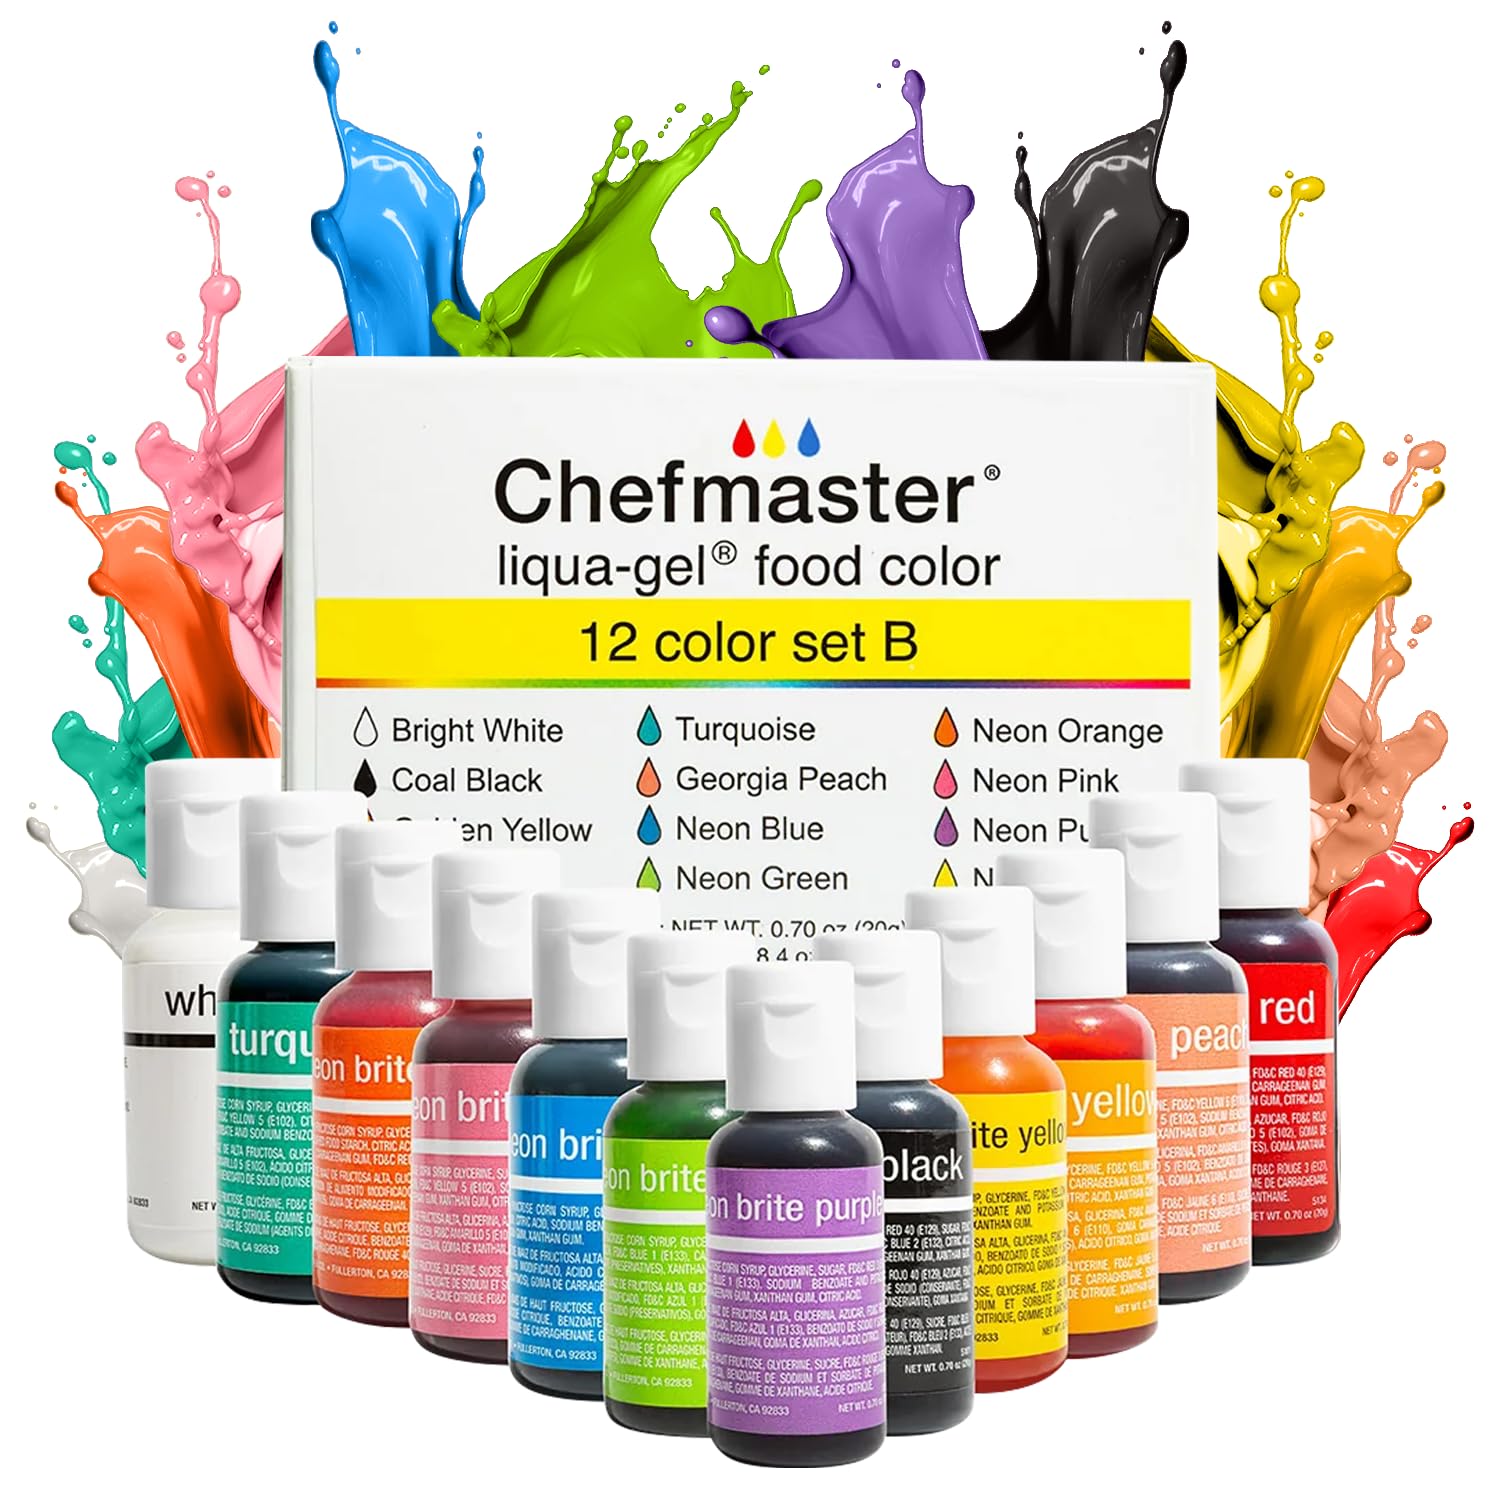
Chefmaster Liqua-Gel Food Coloring Set
Highly concentrated gel-based colors that thin easily and provide vibrant shades. No artificial flavors, safe for airbrushing.
Best for: Base colors for mixing and shading on cakes.
Price Range: $20–$35
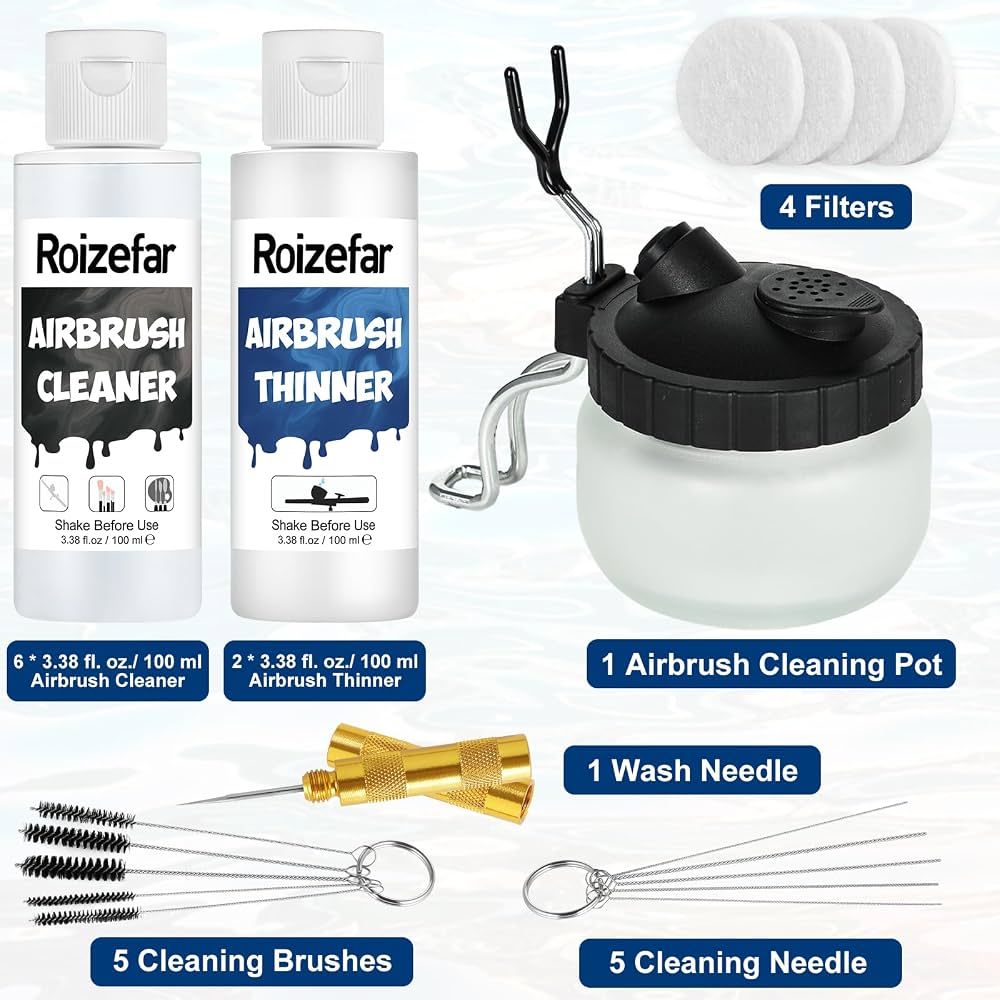
Kootek Airbrush Cleaner and Thinner (Food Safe)
Specially formulated for food-grade airbrush paints; cleans efficiently and extends the life of your equipment.
Best for: Daily cleaning and thinning between colors.
Price Range: $10–$15
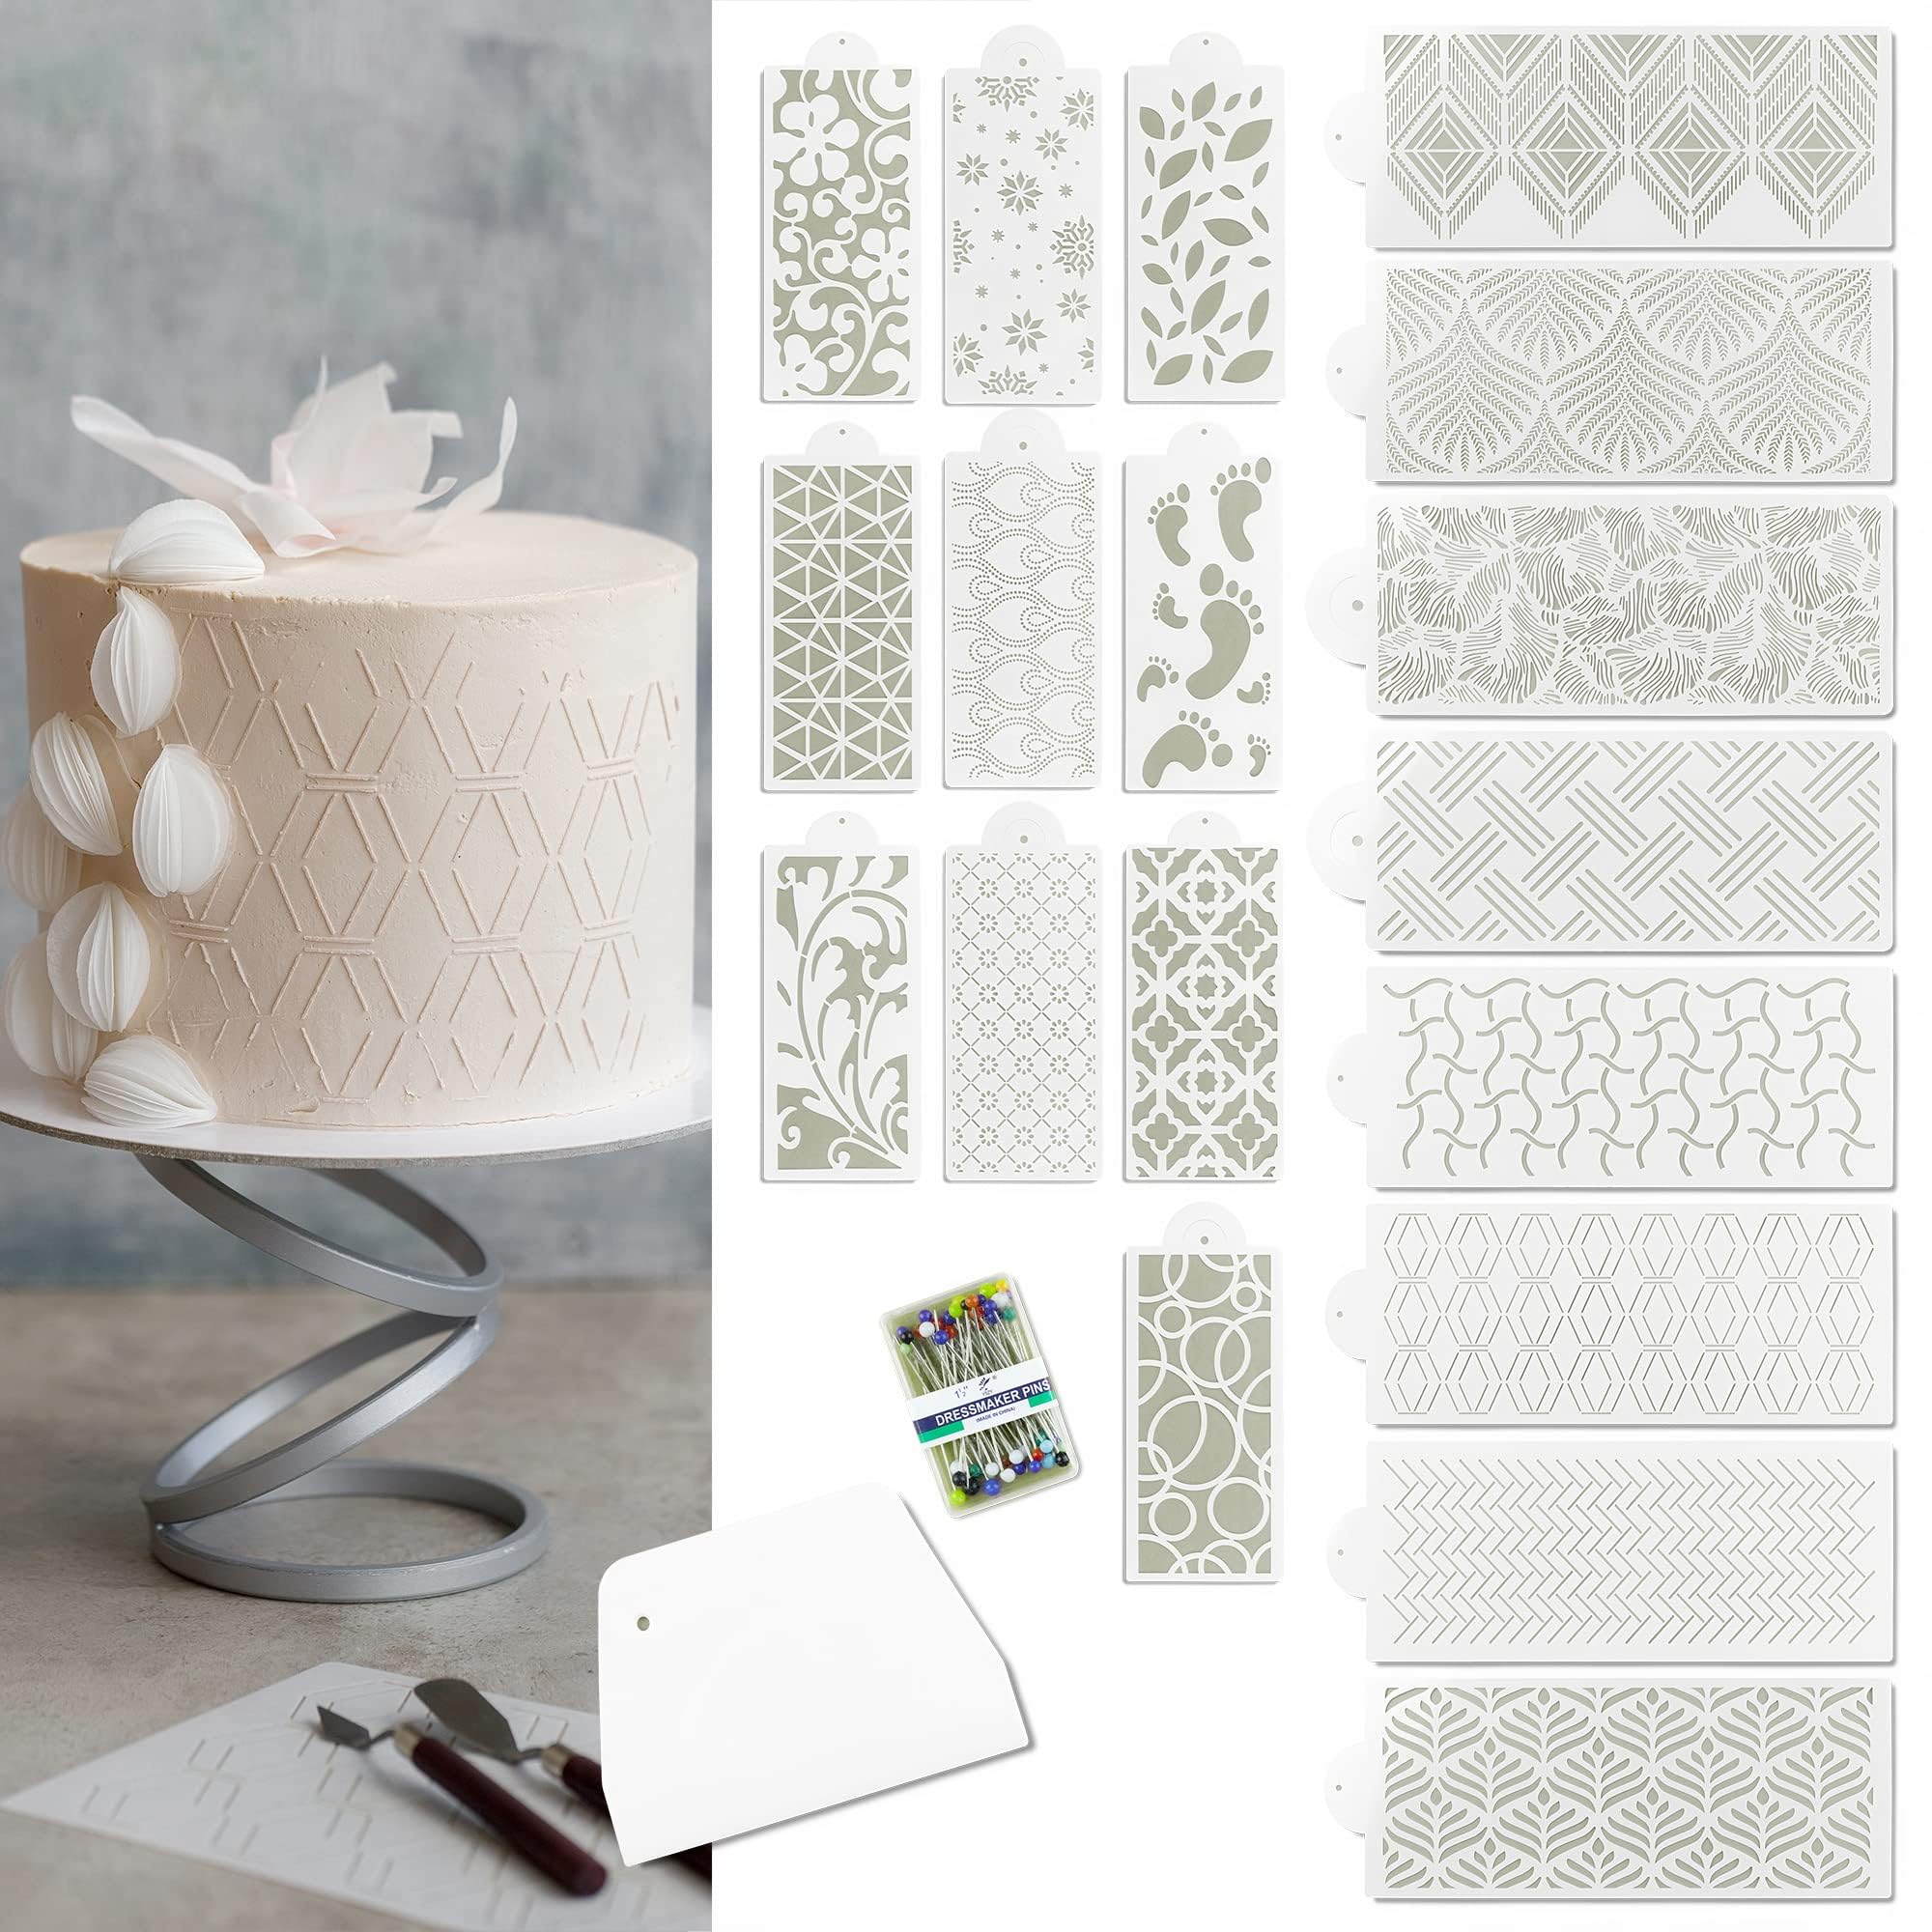
Wilton Decorating Stencil Set (Reusable)
Durable plastic stencils with popular patterns (lace, flowers, geometric). Easy to clean and reuse multiple times.
Best for: Adding intricate designs to cakes and cookies quickly.
Price Range: $8–$12
Paasche Airbrush Cleaning Pot
Contains overspray during cleaning, protects workspace. Built-in bristles help scrub nozzle and needle.
Best for: Containment and easy cleaning after each color change.
Price Range: $12–$20