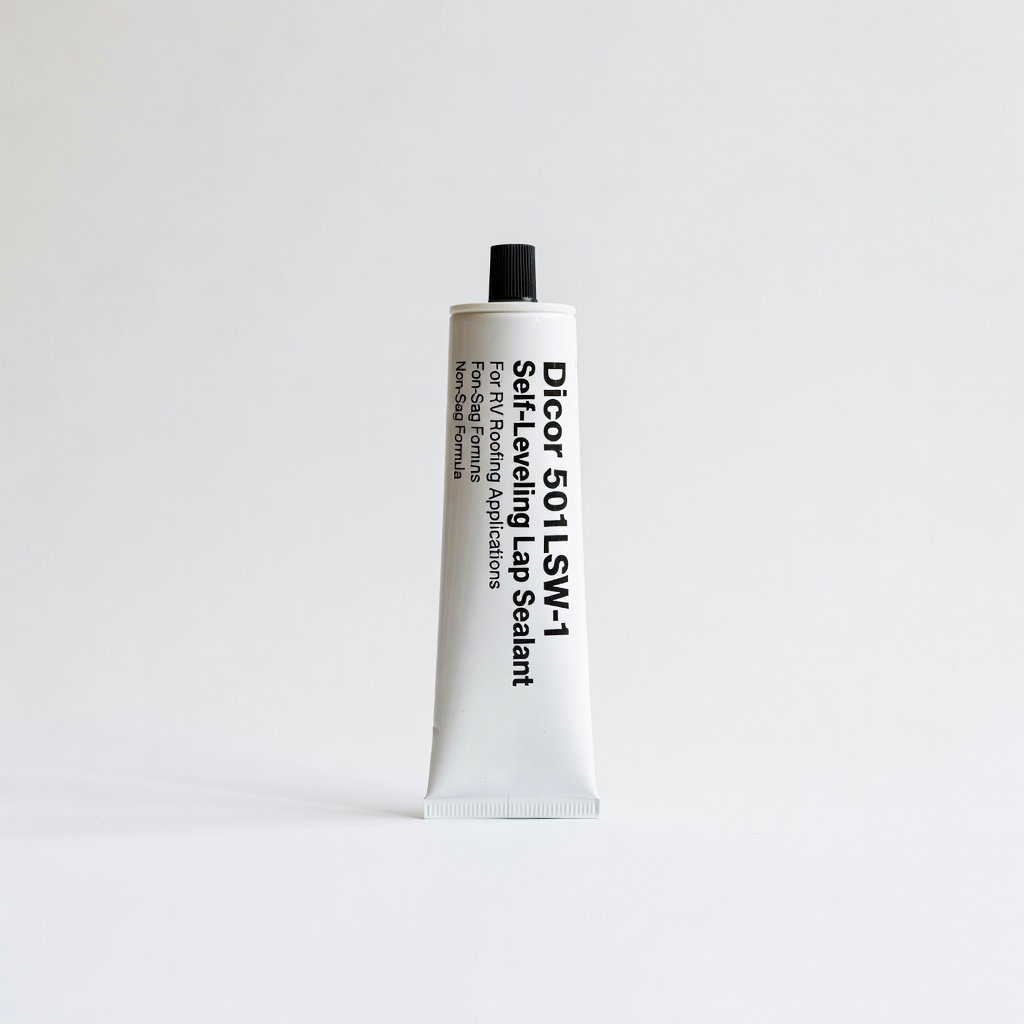
Dicor 501LSW-1 Self-Leveling Lap Sealant
Sealing roof seams/vents to prevent leaks.
$14.99
Dicor 501LSW-1 Self-Leveling Lap Sealant RV-proven for EPDM/TPO roofs; self-levels on horizontal surfaces, UV-stable.
Get the App
Better experience on mobile
Master selecting and applying these essentials to fix leaks, bonds, and sticky parts on your RV, extending its life without pro help.
RV ownership comes with its share of headaches—leaking roofs, creaky slide-outs, and panels that won't stay put. Without proper adhesives, sealants, and lubricants, small issues turn into costly disasters. This guide empowers intermediate RV owners to tackle repairs confidently.
You'll learn a step-by-step process to diagnose, prep, apply, and test these products for common fixes like sealing seams, reattaching trim, and lubricating mechanisms. Expect watertight seals, strong bonds, and smooth operation.
Most repairs take 1-3 hours, depending on scope. Difficulty is intermediate, assuming basic tool familiarity and RV access.
Estimated Time: 1-3 hours per repair (plus 24-48 hour cure time) Difficulty: intermediate
Start by thoroughly examining your RV exterior and interior for damage. Look for cracks, gaps, loose parts, or wear on roofs, seams, windows, slide-outs, locks, and vents. Use a flashlight to spot water stains inside indicating leaks.
Identify if the issue needs adhesive (permanent bonding like delaminated siding), sealant (flexible waterproofing for roofs/seams), or lubricant (reducing friction on moving parts). Success: Clear notes on problem areas and product type needed. This prevents wrong product use.
Why it matters: Misdiagnosis leads to failed repairs.
💡 Tips:
⚠️ Warnings:
Match products to RV materials (EPDM rubber roof? Use non-silicone sealants). For sealants: Self-leveling for horizontal roofs. Adhesives: Polyurethane for marine-grade bonds. Lubricants: Silicone or dry PTFE for plastics/rubber to avoid attracting dirt.
Consult labels for UV resistance, flexibility, and temp range (-20°F to 200°F typical for RVs). Success: Product in hand that specifies 'RV-compatible' or 'marine/RV use'.
Pro tip: Avoid household silicones—they degrade RV rubber roofs.
💡 Tips:
Park RV in shade (ideal temp 50-90°F for most products). Cover nearby areas with drop cloths. Don gloves and goggles—products are caustic.
Ventilate if using solvents. Success: Clean, safe area ready, no skin/eye risks.
Why: Proper temps ensure adhesion; safety prevents injury.
⚠️ Warnings:
Scrape old sealant/adhesive with putty knife. Wipe with isopropyl alcohol or mineral spirits to remove oils, dirt, mold. Let dry 10-15 min.
For lubricants, wipe excess grease first. Success: Surface dull, dry, no residue (water beads off? Reclean).
Critical step: 90% of failures from poor prep.
💡 Tips:
⚠️ Warnings:
Apply masking tape along application edges for clean lines. For porous surfaces or per product instructions, apply primer and let tack up (5-10 min).
Success: Neat borders, primed surface slightly tacky.
Why: Primer boosts bond 50%; masking saves cleanup time.
💡 Tips:
Cut nozzle at 45° for 1/4" bead. Load caulk gun, apply steady even bead into gaps or bonds. For tape sealants, press firmly with roller.
Adhesives: Clamp parts 24hrs. Sealants: Tool smooth immediately. Success: Uniform coverage, no voids/air bubbles.
Expect: Bead flows into place; slight stringing normal.
💡 Tips:
⚠️ Warnings:
Spray or brush thin layer on mechanisms (locks, hinges, slide rails). Wipe excess after 5 min. For grease, use sparingly to avoid sling-off.
Success: Smooth operation without drips/squeaks.
Why separate: Lubes repel water but don't bond/seal.
💡 Tips:
Smooth sealants with wet finger/squeegee. Remove tape before skinning. Let cure fully (24-72hrs). Test: Tug bonds, spray water on seals, operate parts.
Success: No movement/leaks, smooth action.
Patience key: Rushing causes failures.
💡 Tips:
⚠️ Warnings:
Wipe tools with solvent immediately. Dispose waste properly. Final walk-around check.
Success: Spotless site, documented repair.
Problem: Sealant/adhesive not sticking
Solution: Reclean with alcohol, add primer, ensure dry/correct temp. Sand glossy surfaces.
Problem: Repair leaks after curing
Solution: Check for missed gaps, reapply thicker bead or use tape over. Test with hose.
Problem: Mechanisms still squeak/stick post-lube
Solution: Clean old lube fully, apply dry PTFE type. Disassemble for full coverage.
Problem: Product skins too fast
Solution: Work smaller areas, keep nozzle wet with solvent between beads.
Problem: All else fails
Solution: Seek RV tech if structural damage or persistent issues.
RV-proven for EPDM/TPO roofs; self-levels on horizontal surfaces, UV-stable.
Best for: Sealing roof seams/vents to prevent leaks.
Price Range: $14.99
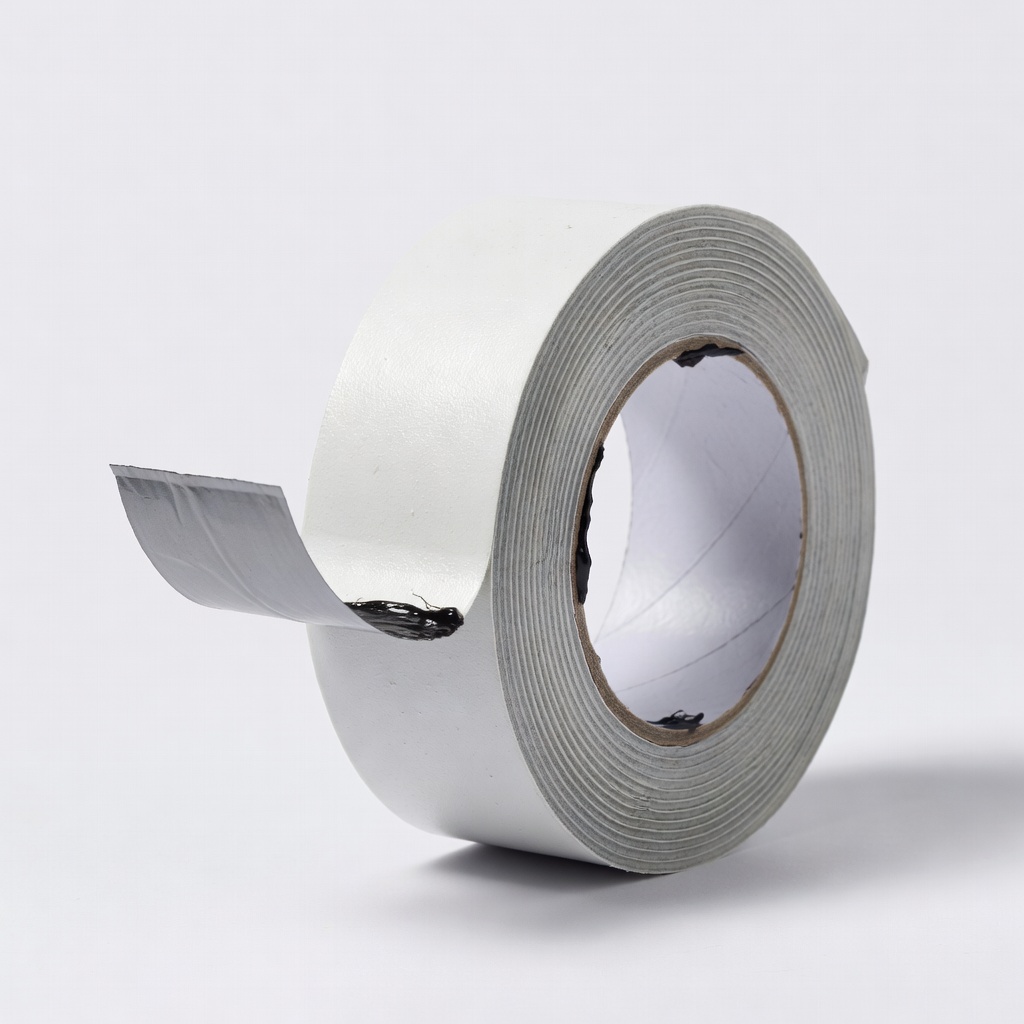
Permanent, no-cure tape with aggressive adhesive; waterproof forever.
Best for: Quick fixes on cracks/seams without mess.
Price Range: $25-$35
Legendary permanent bond for trim/panels; flexible, waterproof.
Best for: Reattaching delaminated siding or decals.
Price Range: $24.99
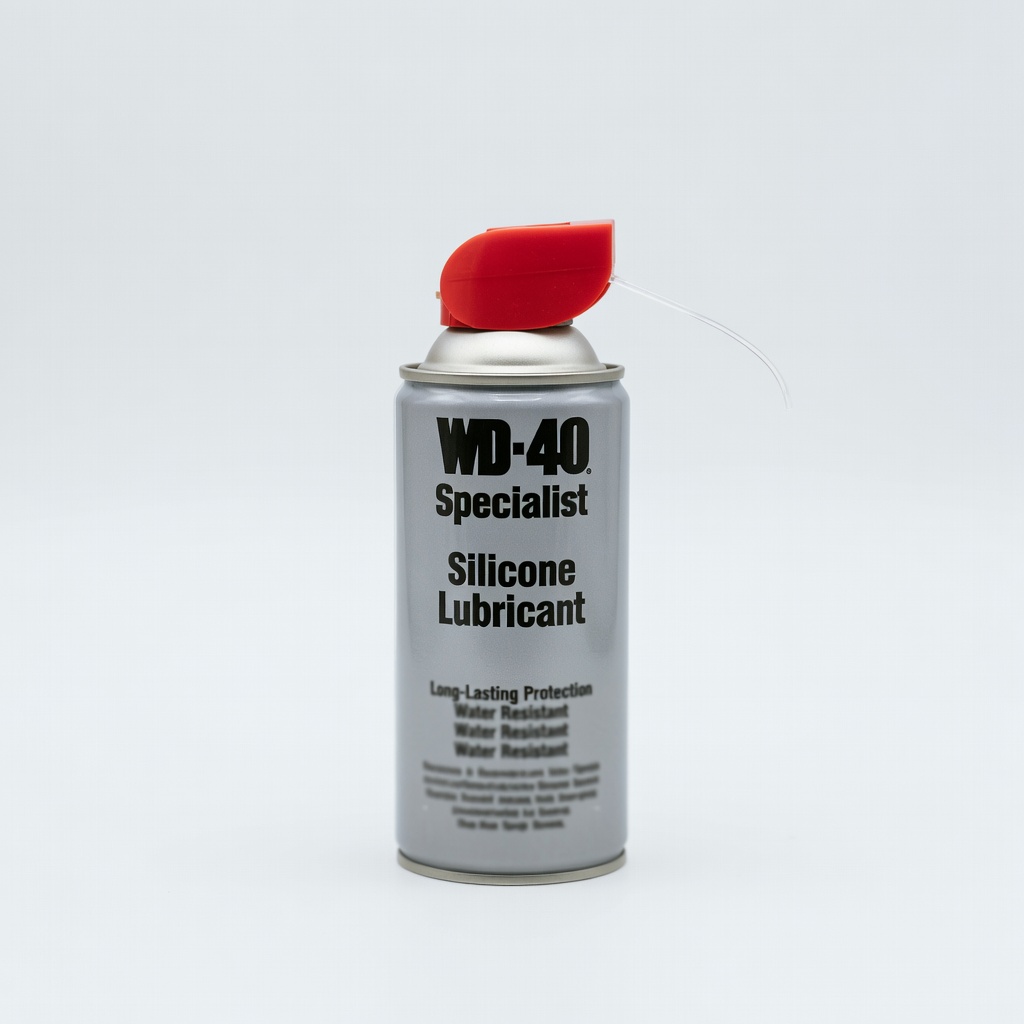
Safe on rubber/plastic, repels water, no sticky residue.
Best for: Locks, windows, slide-outs to stop squeaks.
Price Range: $9.99
High-temp PTFE grease for bearings/chassis; lasts seasons.
Best for: Heavy-duty slide rails and hitches.
Price Range: $12.99
Sealing roof seams/vents to prevent leaks.
Dicor 501LSW-1 Self-Leveling Lap Sealant RV-proven for EPDM/TPO roofs; self-levels on horizontal surfaces, UV-stable.
Quick fixes on cracks/seams without mess.
Eternabond EternaBond Roof Repair Tape Permanent, no-cure tape with aggressive adhesive; waterproof forever.

Reattaching delaminated siding or decals.
3M 5200 Marine Adhesive Sealant Legendary permanent bond for trim/panels; flexible, waterproof.
Locks, windows, slide-outs to stop squeaks.
WD-40 Specialist Silicone Lubricant Safe on rubber/plastic, repels water, no sticky residue.

Heavy-duty slide rails and hitches.
Super Lube 21030 Synthetic Grease High-temp PTFE grease for bearings/chassis; lasts seasons.