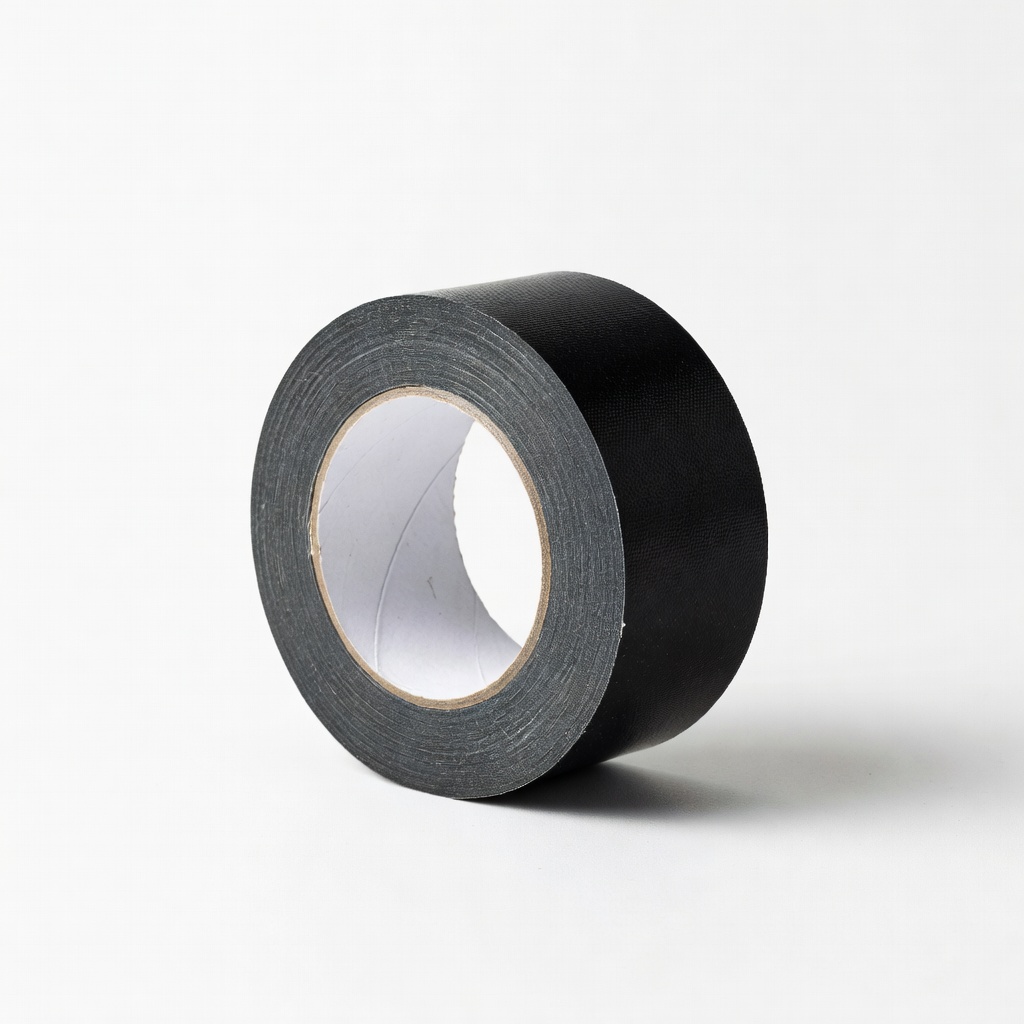
Gorilla Tape
Ideal for heavy-duty indoor/outdoor fixes where standard duct tape fails.
$10-15 for a 35-yard roll
Gorilla Tape Exceptional strength and durability for tough repairs like sealing cracks or securing furniture.
Get the App
Better experience on mobile
Master quick, no-tool fixes for leaks, cracks, and more using the right tapes to save time and avoid costly calls to pros.
Ever stared at a leaky pipe or a loose drawer handle, dreading the hassle and expense of a full repair? Home repairs don't have to be overwhelming—adhesive tapes are your secret weapon for fast, temporary fixes that hold up surprisingly well. From sealing drafts to securing broken items, these versatile tools can buy you time until a permanent solution is feasible.
In this guide, you'll learn how to select and apply different types of adhesive tapes for common household issues. We'll cover everything from surface prep to application techniques, ensuring even beginners can achieve sturdy results. Expect simple, step-by-step instructions that take just minutes per fix, with no special skills required.
By the end, you'll confidently tackle minor repairs, reducing stress and keeping your home functional without breaking the bank.
Estimated Time: 5-30 minutes per repair, depending on the issue Difficulty: beginner
Start by identifying the problem area. Is it a crack in a wall, a loose wire, or a drafty window? Walk around your home and note the issue's size, location, and material involved (e.g., wood, metal, plastic). This helps you choose the right tape without wasting time or materials.
Why it matters: Using the wrong tape can lead to failure, causing more damage. For example, standard duct tape works on most surfaces but may not stick well to oily metals. Expect to spend 2-3 minutes inspecting—success looks like a clear understanding of the fix needed, like 'seal a 6-inch window gap.'
Take photos if needed for reference later.
💡 Tips:
⚠️ Warnings:
Select a tape based on the repair. Duct tape is ideal for general fixes like patching holes; electrical tape for wires; double-sided tape for hanging lightweight items; and gaffer tape for residue-free removal on floors or fabrics. Read labels for strength ratings (e.g., 20-50 lbs per inch).
This step ensures durability—mismatched tape peels off easily. Success: You've picked a tape that matches the surface and load, like using waterproof tape for a bathroom leak. It takes about 1 minute in a well-stocked toolbox.
If unsure, start with multi-purpose duct tape for versatility.
💡 Tips:
⚠️ Warnings:
Clean the area thoroughly with rubbing alcohol or soapy water to remove dirt, grease, or old adhesive. Dry completely with a cloth—moisture weakens bonds. For rough surfaces, lightly sand if possible to create a smoother base.
Preparation is key for adhesion; a dirty surface can cause the tape to fail prematurely. Expect a clean, dry spot ready for application, taking 3-5 minutes. This prevents bubbles or peeling later.
Test a small inconspicuous area first if the surface is delicate, like painted walls.
💡 Tips:
⚠️ Warnings:
Measure and cut a piece slightly longer than needed (add 1-2 inches for overlap). Use scissors for straight edges or a utility knife for precision. For curves, cut in strips and overlap as you go.
Accurate sizing prevents waste and ensures full coverage. Success: Neat, cut pieces ready to apply, without frayed edges. This quick 1-minute step makes application smoother.
Round corners on cut pieces to reduce peeling from square edges.
💡 Tips:
⚠️ Warnings:
Peel off the backing and press the tape onto the surface, starting from one end and smoothing as you go to avoid air bubbles. Use your fingers or a roller for even pressure. For wraps (e.g., around pipes), overlap by half the tape width.
Firm application creates a strong bond—rubbing for 10-15 seconds activates the adhesive. Expect a seamless cover with no gaps, holding immediately for light use. This core step takes 2-5 minutes.
For double-sided tape, apply to both surfaces and press together gently.
💡 Tips:
⚠️ Warnings:
Gently tug or add weight to test hold. If it shifts, add another layer or use a stronger tape. For critical fixes like electrical, ensure no exposed wires.
Testing confirms reliability, preventing immediate failure. Success: The repair withstands normal use without slipping. Allow 1-2 minutes for settling before full testing.
Monitor for 24 hours for long-term adhesion.
💡 Tips:
⚠️ Warnings:
Dispose of scraps and clean tools. Check the repair periodically (weekly for temporary fixes) and reapply if loosening. For removal, heat with a hairdryer and peel slowly to avoid residue.
Maintenance extends the fix's life, turning temporary into semi-permanent. Expect a tidy workspace and a functional repair. This wrap-up takes 2 minutes.
Document the fix for future reference.
💡 Tips:
⚠️ Warnings:
Problem: Tape peels off quickly
Solution: Re-clean the surface and apply more pressure; switch to a stronger adhesive tape if needed. If outdoors, use waterproof options.
Problem: Bubbles or wrinkles form
Solution: Puncture bubbles with a pin and smooth out; apply in smaller sections next time for better control.
Problem: Residue left after removal
Solution: Soak with rubbing alcohol or use a commercial remover; heat gently to loosen. Prevent by choosing low-residue tapes like gaffer.
Problem: Tape doesn't hold heavy items
Solution: Reinforce with multiple layers or add mechanical support like screws; for loads over 10 lbs, consider professional help.
Exceptional strength and durability for tough repairs like sealing cracks or securing furniture.
Best for: Ideal for heavy-duty indoor/outdoor fixes where standard duct tape fails.
Price Range: $10-15 for a 35-yard roll
Reliable all-purpose tape with strong adhesion and easy tear-off, perfect for beginners.
Best for: Quick patches on walls, pipes, or boxes without tools.
Price Range: $5-8 for a 20-yard roll
Damage-free double-sided tape for hanging pictures or hooks without nails.
Best for: Lightweight decor or organizational repairs on painted walls.
Price Range: $6-12 for a 12-pack
Insulates wires safely and stretches for a tight wrap, meeting safety standards.
Best for: Temporary electrical fixes like bundling cords or covering exposed wires.
Price Range: $3-5 for a 60-foot roll
Leaves no residue and is cloth-based for flexible, clean removal on floors or sets.
Best for: Securing cables or marking areas without sticky aftermath.
Price Range: $15-20 for a 50-yard roll
Ideal for heavy-duty indoor/outdoor fixes where standard duct tape fails.
Gorilla Tape Exceptional strength and durability for tough repairs like sealing cracks or securing furniture.
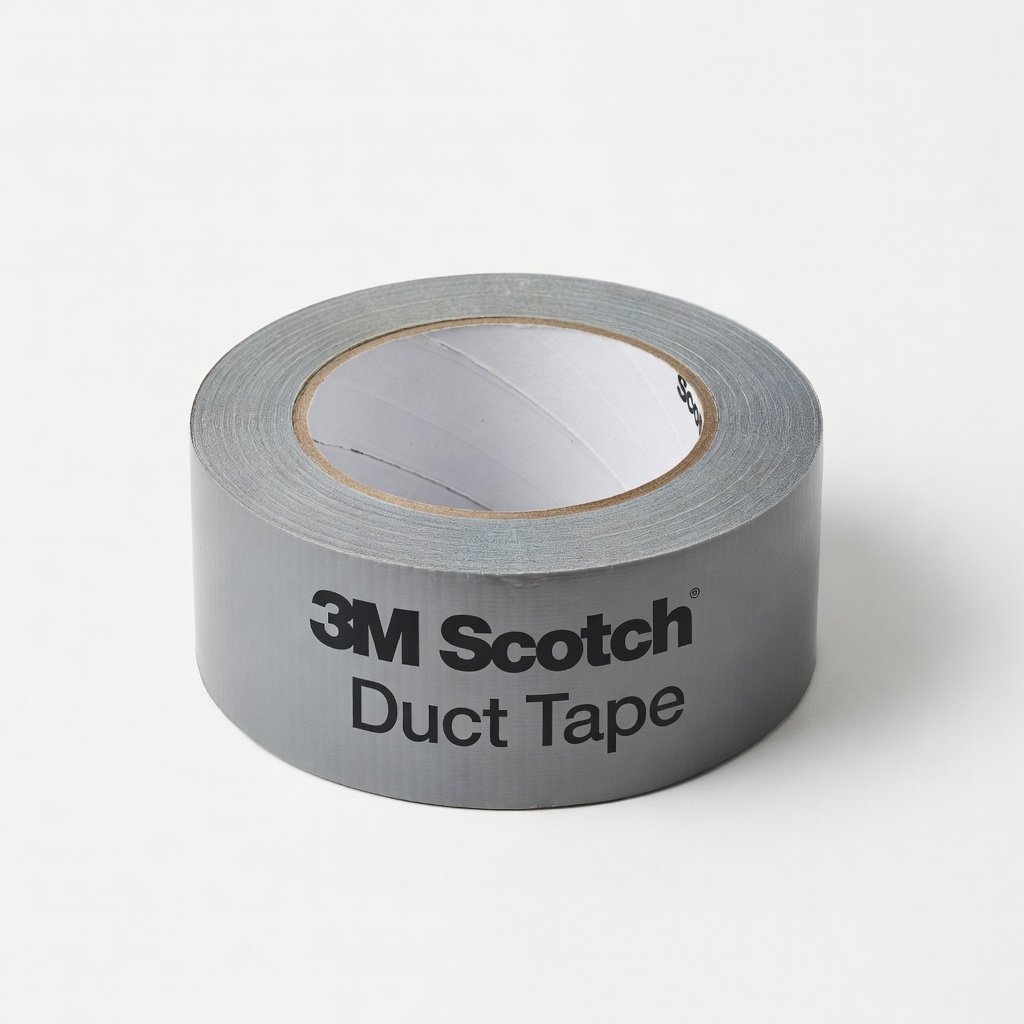
Quick patches on walls, pipes, or boxes without tools.
3M Scotch Duct Tape Reliable all-purpose tape with strong adhesion and easy tear-off, perfect for beginners.

Lightweight decor or organizational repairs on painted walls.
Command Strips by 3M Damage-free double-sided tape for hanging pictures or hooks without nails.
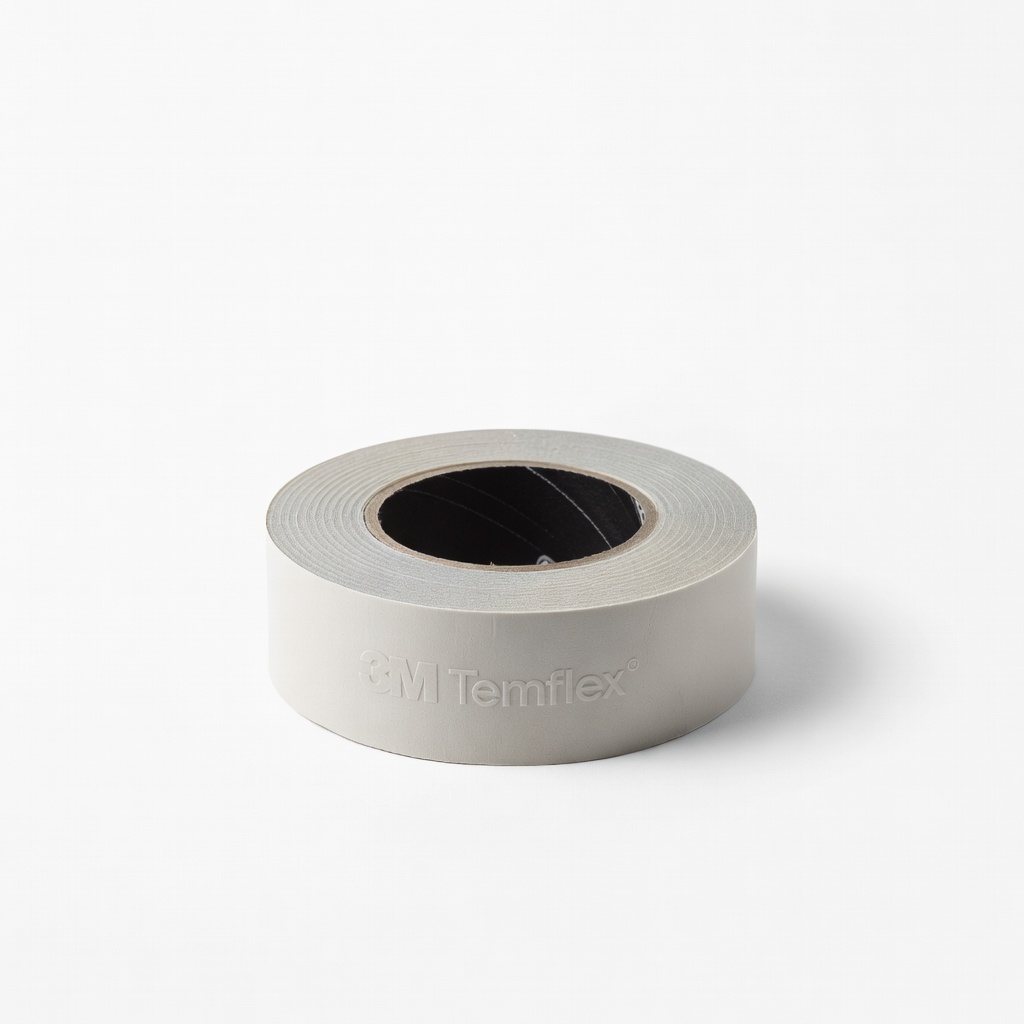
Temporary electrical fixes like bundling cords or covering exposed wires.
3M Temflex Electrical Tape Insulates wires safely and stretches for a tight wrap, meeting safety standards.
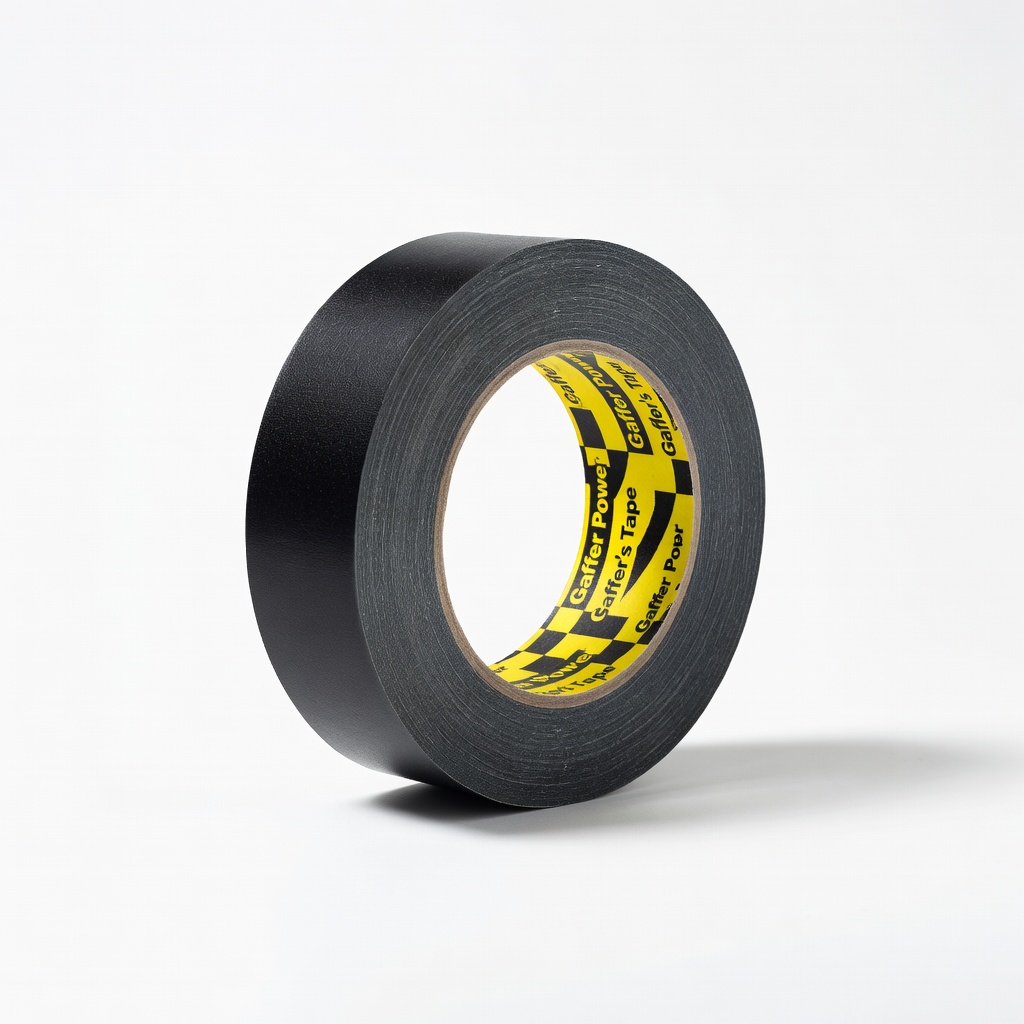
Securing cables or marking areas without sticky aftermath.
Gaffer Power Gaffer's Tape Leaves no residue and is cloth-based for flexible, clean removal on floors or sets.