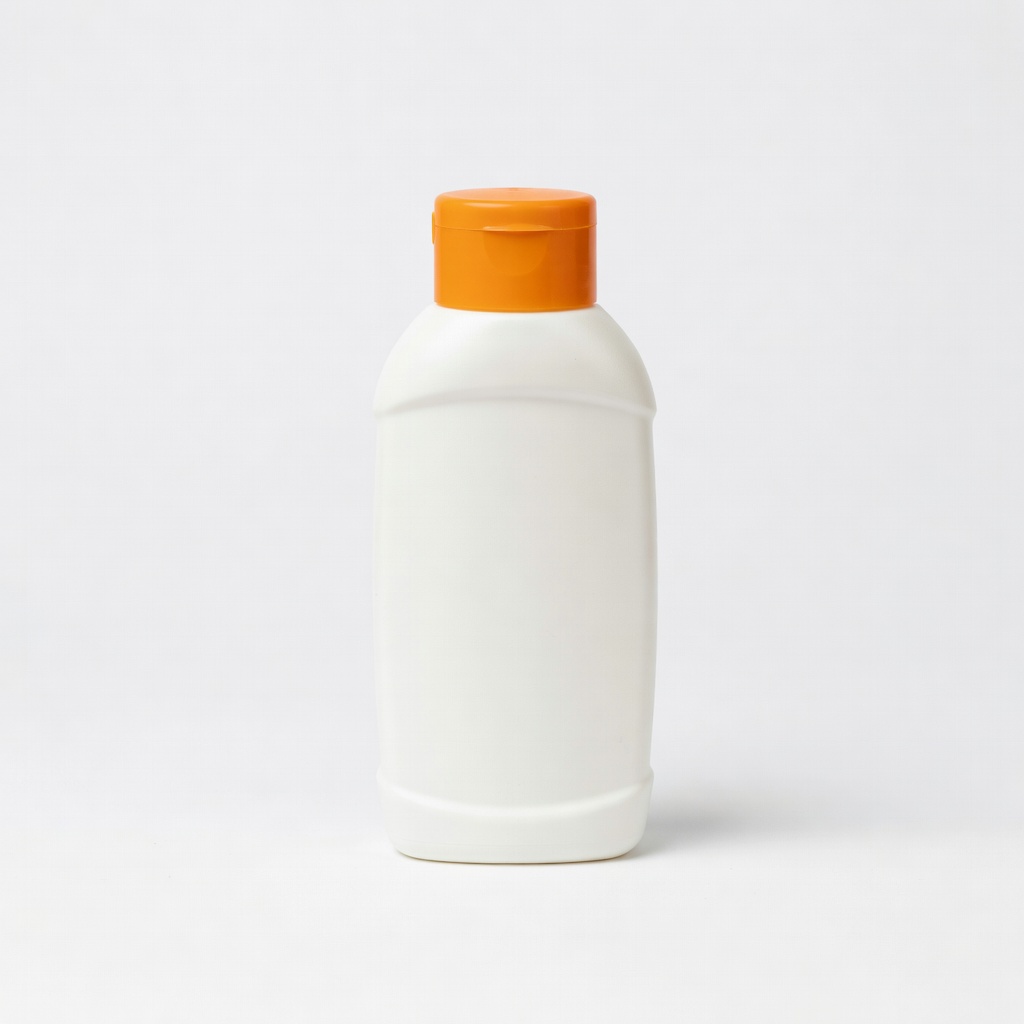
Goo Gone Automotive Goo & Adhesive Remover
Best for vinyl, leather, and fabric; everyday stickers/tape.
$7-10
Goo Gone Automotive Goo & Adhesive Remover Citrus-based, safe for interiors, dissolves tough adhesives fast without harsh fumes.
Get the App
Better experience on mobile
Safely remove sticky residues from seats, dashboards, and upholstery in minutes with this beginner-friendly step-by-step guide—no damage guaranteed.
Sticky residues from stickers, tape, or labels can mar your car's interior, making it look dirty and worn. Whether it's from shipping labels on new parts or kids' crafts gone wrong, these adhesives are tough but removable without harming leather, vinyl, or fabric if done right. This guide shows you how to tackle them effectively.
You'll learn a simple 8-step process using automotive-safe adhesive removers, including testing, application, and finishing touches. Expect spotless results that restore your interior's shine. The whole process takes 30-60 minutes per area and is perfect for beginners—no special skills needed.
By following these steps, you'll avoid common pitfalls like surface damage or lingering smells, saving time and money over professional detailing.
Estimated Time: 30-60 minutes per affected area Difficulty: beginner
Park your car in a well-ventilated area, like outdoors or with doors/windows open, to avoid inhaling fumes. Turn off the engine and remove any loose items from the surface. Use a vacuum with a brush attachment to suck up dirt, dust, or debris around the adhesive—this prevents grinding particles into the surface during removal.
Why it matters: Clean prep ensures the remover works efficiently and avoids scratching delicate interiors like leather or Alcantara.
Expect a tidy workspace ready for treatment. This step takes 5 minutes.
💡 Tips:
⚠️ Warnings:
Choose an inconspicuous spot, like under a seat or behind a panel. Apply a small amount of remover with a microfiber cloth, wait 1-2 minutes, then wipe and check for discoloration, stickiness, or damage.
Why it matters: Car interiors vary (vinyl, leather, fabric), and not all removers are universal—testing prevents costly mishaps.
Success looks like no color change or texture alteration after 5 minutes. If safe, proceed.
💡 Tips:
⚠️ Warnings:
Put on gloves. Spray or dab the remover directly onto the adhesive residue, fully saturating it but avoiding overspray onto unrelated areas. Use a cloth to spread evenly if it's a liquid formula.
Why it matters: Saturation breaks down the adhesive's bond without scrubbing, which could damage surfaces.
Expect the residue to soften and bubble slightly within 30 seconds to 2 minutes.
💡 Tips:
⚠️ Warnings:
Allow the remover to sit for 1-5 minutes (check product instructions). Do not rush—this dwell time dissolves the glue.
Why it matters: Patience prevents aggressive scraping that scratches vinyl or fabric.
The area will look wet and the adhesive gooey, signaling it's ready.
💡 Tips:
⚠️ Warnings:
Use a plastic scraper held at a 45-degree angle to lift the softened adhesive. Work in light strokes toward a microfiber cloth to capture flakes.
Why it matters: Plastic won't scratch like metal tools.
Success: Residue lifts easily in stringy pieces, leaving minimal trace.
💡 Tips:
⚠️ Warnings:
Dampen a fresh microfiber cloth with remover or water and wipe the area thoroughly. Switch cloths if they get saturated.
Why it matters: Removes dissolved residue completely.
The surface should feel smooth and tack-free.
💡 Tips:
⚠️ Warnings:
Spray isopropyl alcohol on a cloth (not directly on surface) and wipe to remove remover residue. Follow with a damp cloth and dry immediately.
Why it matters: Neutralizes chemicals to prevent future stickiness.
Expect a clean, dry, odor-free finish.
💡 Tips:
⚠️ Warnings:
For leather/vinyl, apply a conditioner. Inspect under light for missed spots.
Why it matters: Restores protection post-chemicals.
Your interior looks factory-fresh.
💡 Tips:
⚠️ Warnings:
Problem: Residue won't budge
Solution: Reapply remover, let dwell longer (up to 10 mins), or use a citrus-based formula. Heat gently with hairdryer.
Problem: Surface discolors
Solution: Wipe immediately with alcohol; if persistent, use interior restorer. Stop and test alternative product.
Problem: Strong smell lingers
Solution: Ventilate car overnight; sprinkle baking soda, vacuum after.
Problem: Leather dries out
Solution: Apply leather conditioner ASAP. Seek pro if cracking occurs.
Citrus-based, safe for interiors, dissolves tough adhesives fast without harsh fumes.
Best for: Best for vinyl, leather, and fabric; everyday stickers/tape.
Price Range: $7-10
Professional-grade, non-chlorinated formula safe for most car materials; evaporates cleanly.
Best for: Heavy industrial adhesives or large areas like dashboards.
Price Range: $15-20
All-purpose with adhesive-cutting power; adds shine post-removal.
Best for: Light residues combined with quick clean; versatile for beginners.
Price Range: $15-25
Restores leather after chemical exposure; prevents cracking.
Best for: Follow-up for leather seats post-removal.
Price Range: $10-15
Ultra-soft, lint-free for scratch-free wiping.
Best for: All steps requiring cloths; pack of 6 for efficiency.
Price Range: $20-30
Best for vinyl, leather, and fabric; everyday stickers/tape.
Goo Gone Automotive Goo & Adhesive Remover Citrus-based, safe for interiors, dissolves tough adhesives fast without harsh fumes.
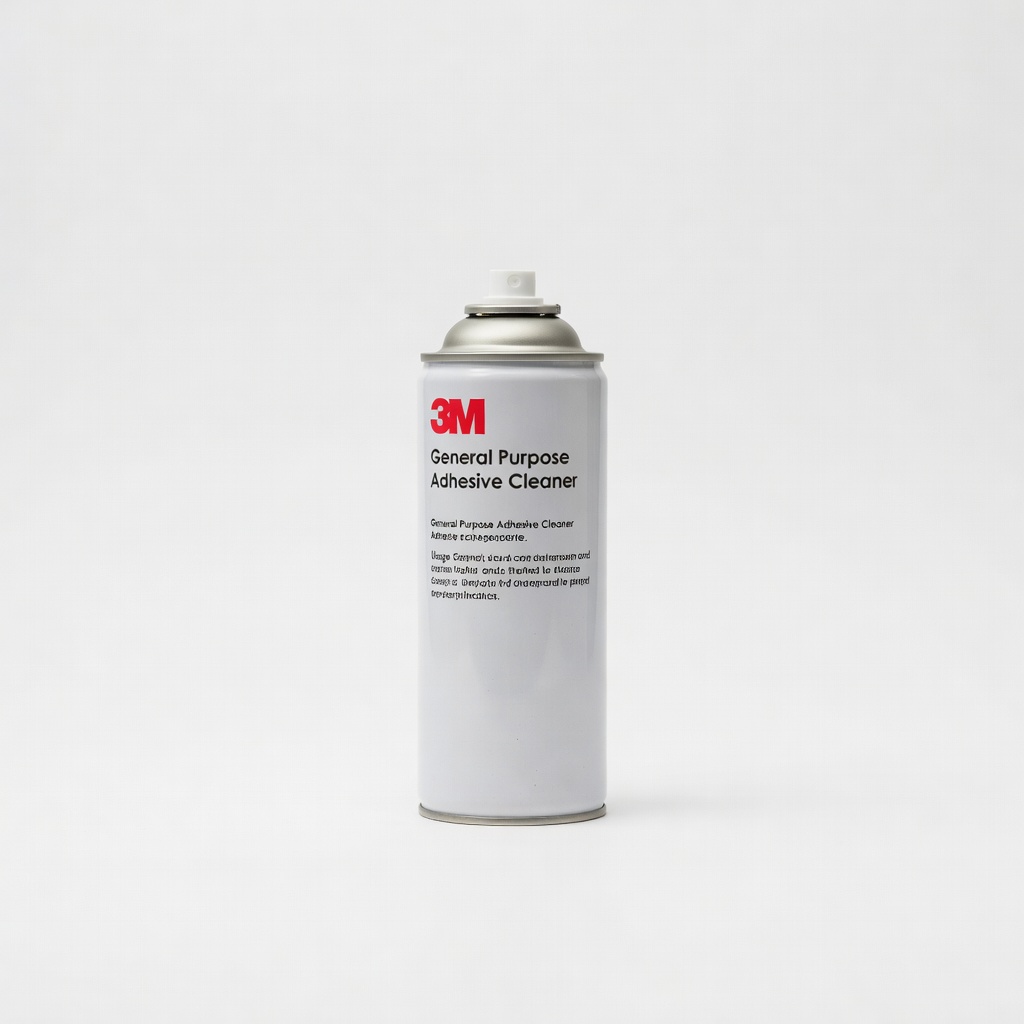
Heavy industrial adhesives or large areas like dashboards.
3M General Purpose Adhesive Cleaner Professional-grade, non-chlorinated formula safe for most car materials; evaporates cleanly.
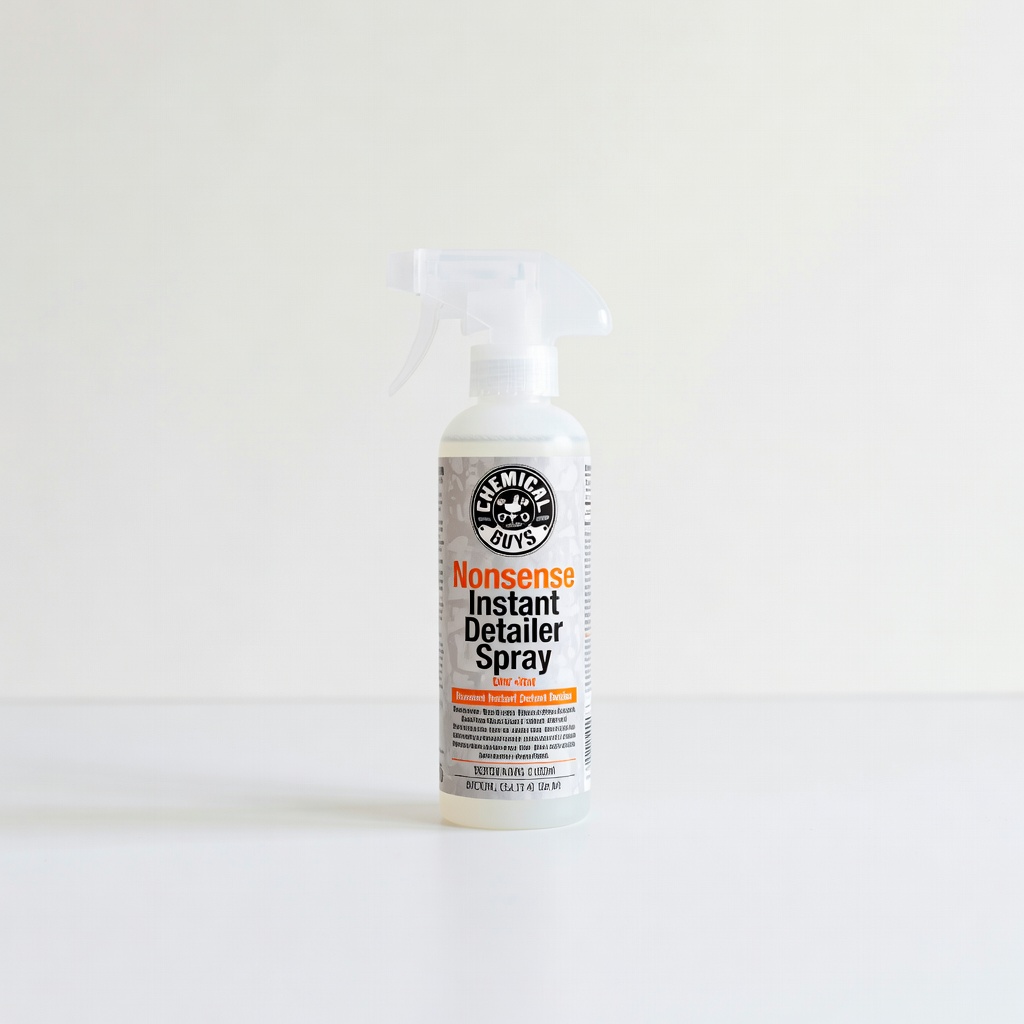
Light residues combined with quick clean; versatile for beginners.
Chemical Guys Nonsense Instant Detailer Spray All-purpose with adhesive-cutting power; adds shine post-removal.
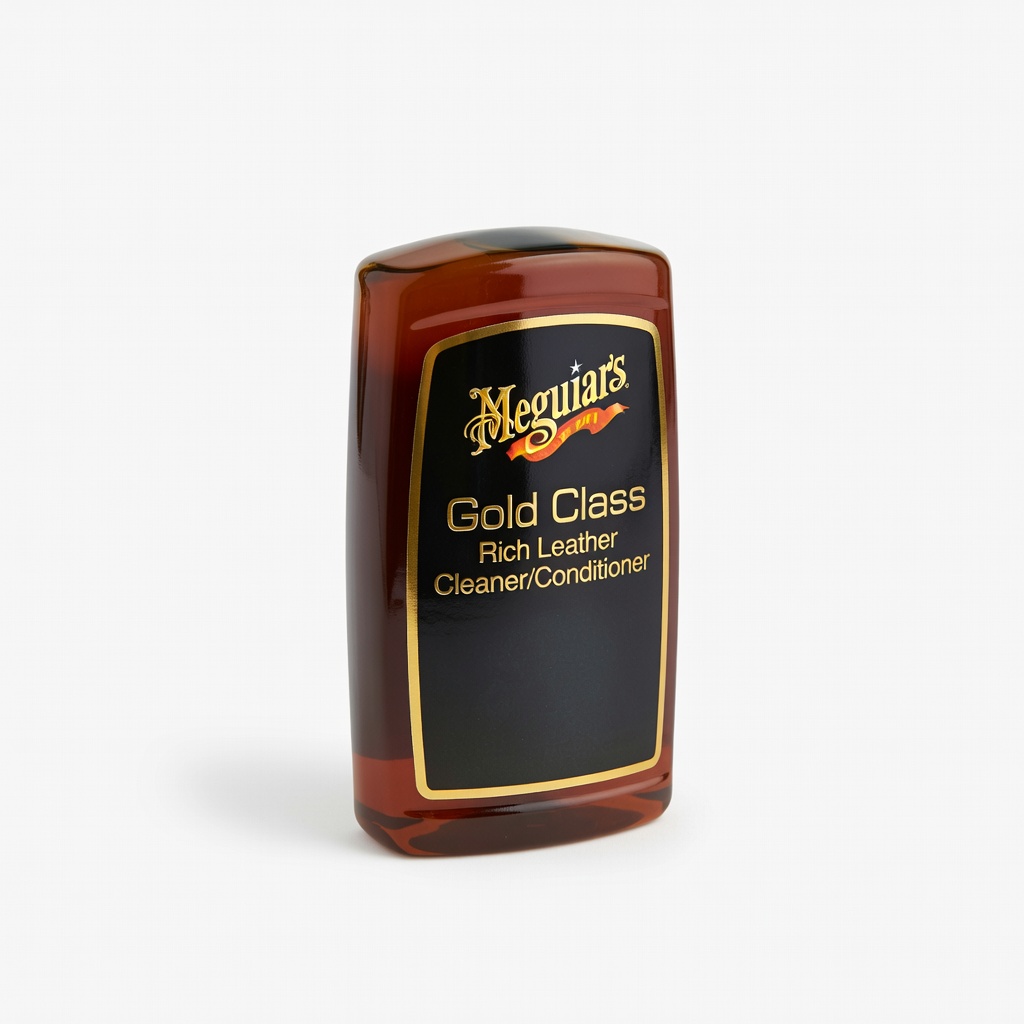
Follow-up for leather seats post-removal.
Meguiar's Gold Class Rich Leather Cleaner/Conditioner Restores leather after chemical exposure; prevents cracking.
All steps requiring cloths; pack of 6 for efficiency.
The Rag Company Eagle Edgeless Microfiber Towels Ultra-soft, lint-free for scratch-free wiping.