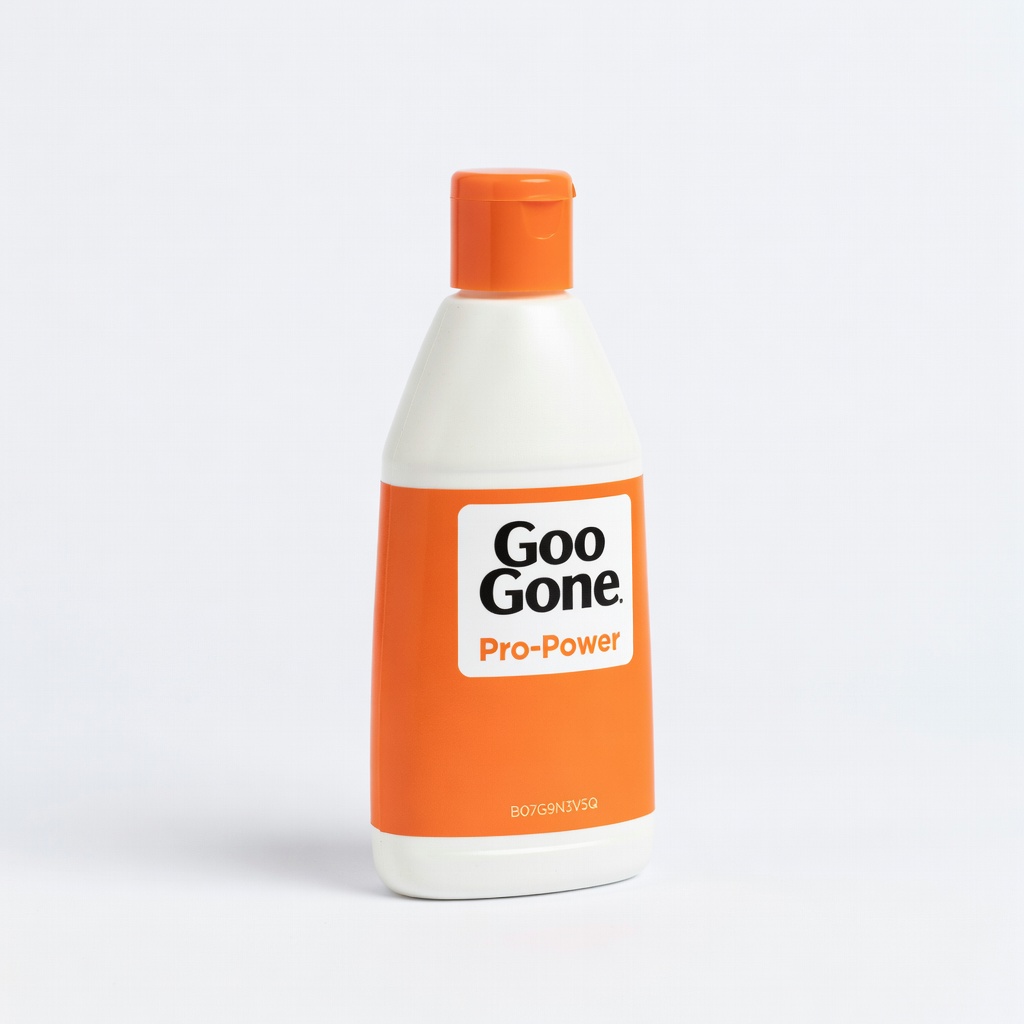
Goo Gone Pro-Power (ASIN B07G9N3V5Q)
Ideal for automotive vinyl graphics and general stickers.
$14.99
Goo Gone Pro-Power (ASIN B07G9N3V5Q) Fast-acting, citrus-based formula safe for vinyl and paint when tested; cuts tough adhesives without residue.
Get the App
Better experience on mobile
Safely remove sticky residue from vinyl decals, wraps, or signs without damaging the underlying surface in just a few steps.
Struggling with stubborn adhesive goo left behind after peeling off vinyl graphics from your car, boat, or sign? That sticky mess can ruin the finish if not handled right, leading to scratches or discoloration. This guide shows you how to use adhesive remover effectively and safely.
You'll learn a proven step-by-step process tailored for intermediate users familiar with basic detailing. From testing products to final polishing, expect clean results without harming paint, glass, or other surfaces under the vinyl. The whole process takes 20-45 minutes depending on the area size.
No harsh chemicals or elbow grease required—just the right tools and technique for professional-looking results at home.
Estimated Time: 20-45 minutes Difficulty: intermediate
Choose a shaded, well-ventilated area away from direct sunlight to prevent the adhesive remover from drying too quickly or chemicals from evaporating prematurely. If working on a vehicle, park it and ensure the surface is cool to the touch.
Lay down drop cloths or newspapers to catch drips. Put on gloves to protect your skin from chemicals. Inspect the vinyl graphics area for any cracks or damage—work on intact surfaces first.
Success looks like: Organized tools within reach and a protected workspace ready for action.
💡 Tips:
⚠️ Warnings:
Select an inconspicuous spot, like inside a door jamb or under a flap if on a vehicle. Apply a small amount of remover with a cloth and wait 1-2 minutes.
Gently rub and check for discoloration, softening, or dulling of the vinyl or underlying surface. Rinse with soap and water, then dry.
Success looks like: No color change, haze, or texture alteration after 5 minutes.
💡 Tips:
⚠️ Warnings:
Saturate a microfiber cloth with the remover (follow product dilution if needed). Press firmly onto the adhesive residue, working in circular motions to penetrate.
For heavy buildup, spray directly from the bottle for better saturation. Cover large areas with plastic wrap to slow evaporation if dwell time is long.
Success looks like: Residue softening and turning gooey within 30 seconds.
💡 Tips:
⚠️ Warnings:
Allow 1-5 minutes for the remover to break down the adhesive bonds (check product instructions). The residue will bubble or loosen.
Reapply if needed for tough spots, but don't exceed 10 minutes to avoid surface etching.
Success looks like: Adhesive feels tacky and wipes off easily when touched.
💡 Tips:
⚠️ Warnings:
Use a plastic scraper at a 30-45 degree angle to gently lift the softened goo. Work from edge to center to avoid spreading.
Wipe scraper on a rag frequently. Switch to cloth rubbing for fine particles.
Success looks like: Smooth surface with no visible residue or streaks.
💡 Tips:
⚠️ Warnings:
Buff with a fresh microfiber cloth dampened in remover to pick up remnants. Follow with isopropyl alcohol on another cloth for degreasing.
Rinse thoroughly with dish soap and water to neutralize chemicals.
Success looks like: Clean, residue-free surface with original shine returning.
💡 Tips:
⚠️ Warnings:
Pat dry with a clean microfiber towel—no rubbing to prevent swirls. Inspect under good light for missed spots.
Repeat steps 3-6 if needed. Apply vinyl protectant or wax for UV protection.
Success looks like: Flawless, glossy (or matte) surface ready for new graphics.
💡 Tips:
⚠️ Warnings:
Problem: Residue won't budge after dwelling.
Solution: Reapply and use heat from hairdryer; switch to stronger remover if safe.
Problem: Surface dulled or hazy.
Solution: Polish with vinyl restorer like 303 Aerospace; avoid future use of that product.
Problem: Remover damaged paint underneath.
Solution: Compound and polish immediately; seek pro detailer for severe cases.
Problem: Streaks after wiping.
Solution: Use more product and fresh cloths; follow with alcohol wipe.
Fast-acting, citrus-based formula safe for vinyl and paint when tested; cuts tough adhesives without residue.
Best for: Ideal for automotive vinyl graphics and general stickers.
Price Range: $14.99
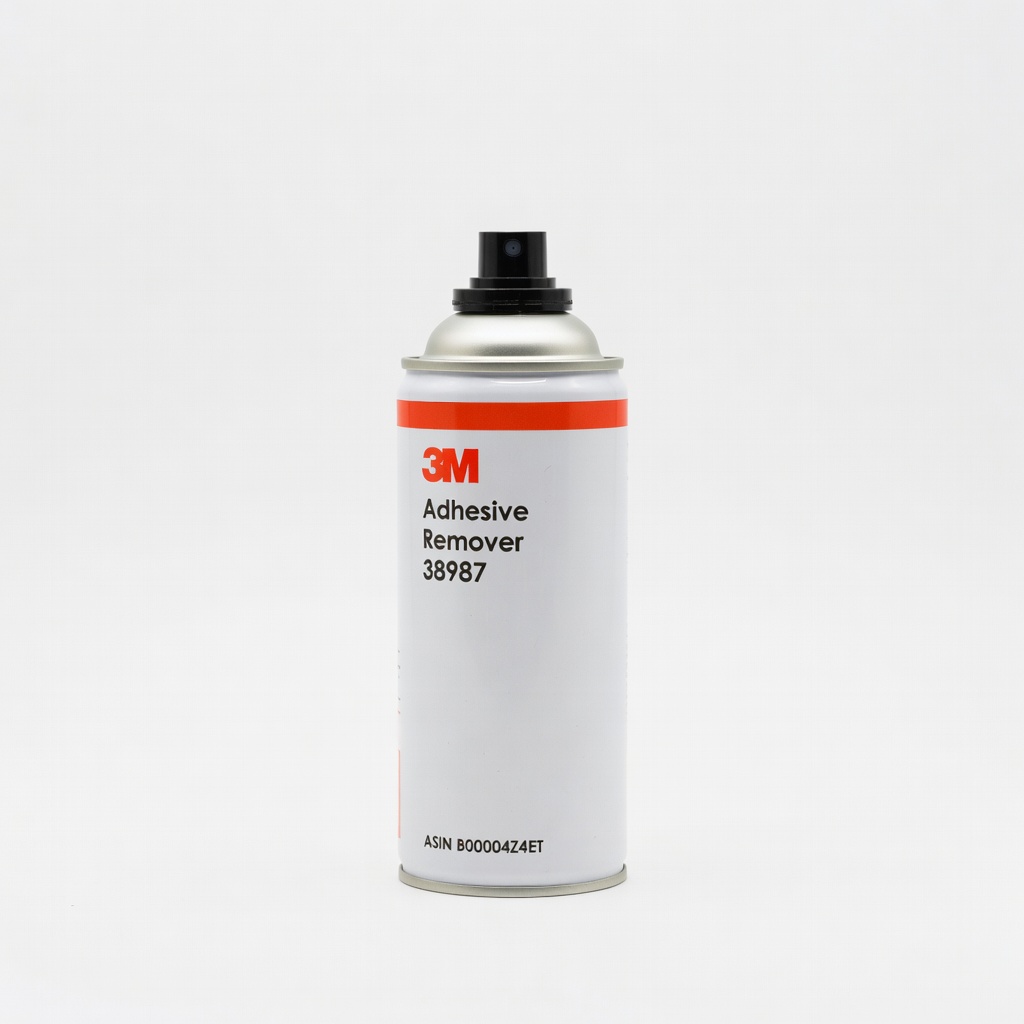
Professional-grade, low-VOC, evaporates cleanly; proven safe on vinyl wraps and signs.
Best for: Large-scale jobs like fleet vehicles or signage.
Price Range: $25-$30
Specifically formulated for vinyl lettering/decals; no harsh solvents, rinses easily.
Best for: Sign shops or car wrap enthusiasts removing old graphics.
Price Range: $20-$25
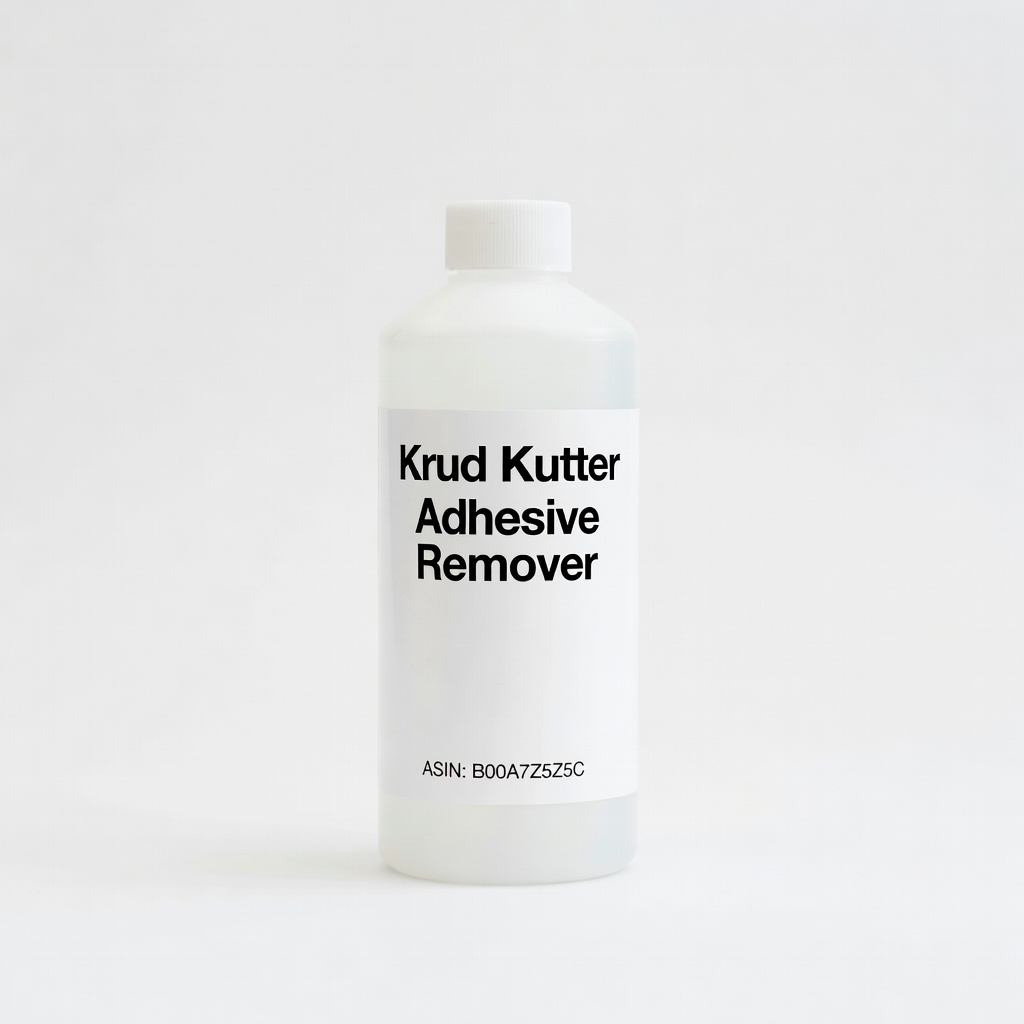
Non-toxic, biodegradable; gentle on plastics and effective on glue residue.
Best for: Eco-conscious users or indoor signs.
Price Range: $8-$12
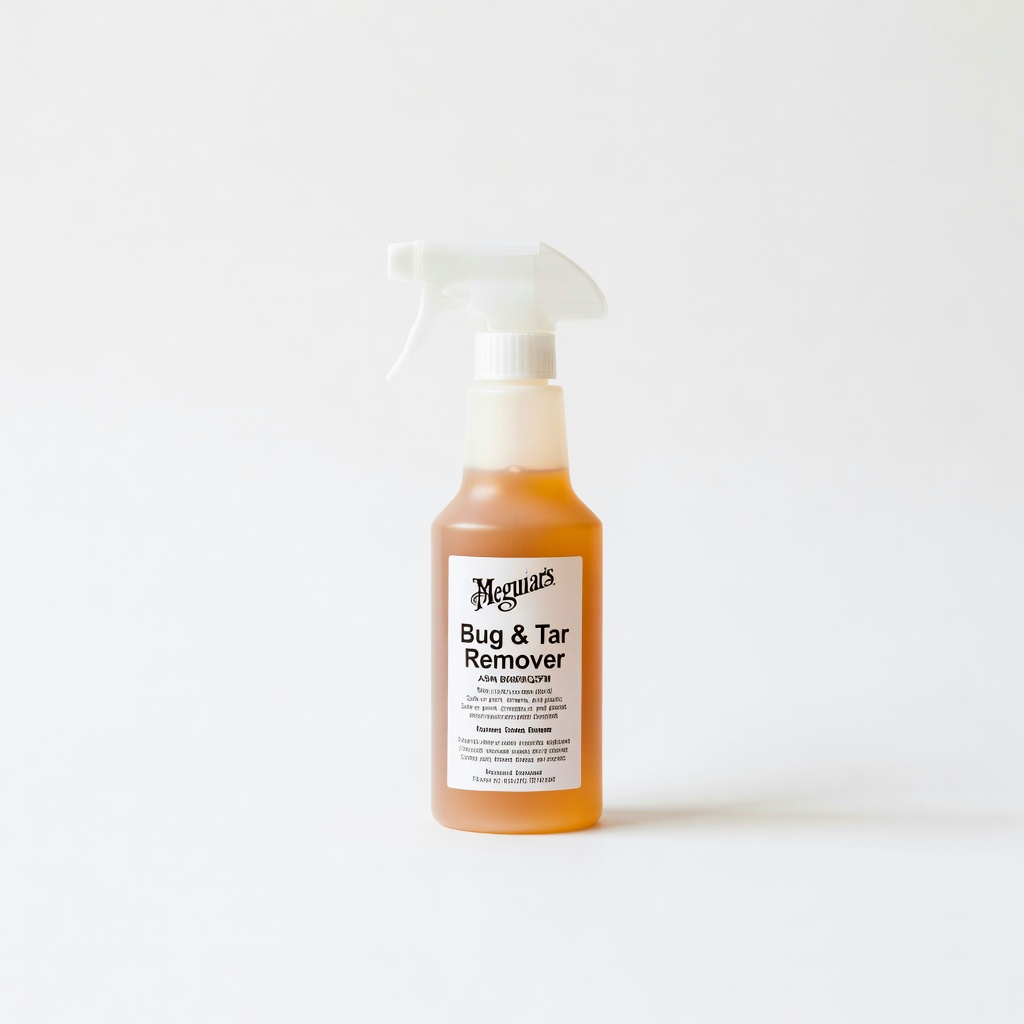
Dual-purpose for adhesive and road grime; safe on clear coats under vinyl.
Best for: Vehicles with outdoor-exposed graphics.
Price Range: $10-$15
Ideal for automotive vinyl graphics and general stickers.
Goo Gone Pro-Power (ASIN B07G9N3V5Q) Fast-acting, citrus-based formula safe for vinyl and paint when tested; cuts tough adhesives without residue.
Large-scale jobs like fleet vehicles or signage.
3M Adhesive Remover 38987 (ASIN B00004Z4ET) Professional-grade, low-VOC, evaporates cleanly; proven safe on vinyl wraps and signs.

Sign shops or car wrap enthusiasts removing old graphics.
Rapid Remover Vinyl & Graphics Remover (ASIN B07H4G5Z5Z) Specifically formulated for vinyl lettering/decals; no harsh solvents, rinses easily.
Eco-conscious users or indoor signs.
Krud Kutter Adhesive Remover (ASIN B00A7Z5Z5C) Non-toxic, biodegradable; gentle on plastics and effective on glue residue.
Vehicles with outdoor-exposed graphics.
Meguiar's Bug & Tar Remover (ASIN B0009IQZFM) Dual-purpose for adhesive and road grime; safe on clear coats under vinyl.