Engine parts often accumulate tough adhesives from labels, gaskets, threadlockers, or repair tapes that must be removed for inspections, repaints, or rebuilds. Mishandling can etch aluminum heads, strip paint, or leave corrosive residues, leading to costly repairs. For advanced DIY mechanics and pros, this guide ensures precision and safety.
You'll learn a tested, sequential process to apply adhesive remover effectively, including testing, application, and post-cleanup. Expect pristine surfaces ready for reassembly.
The process takes 30-60 minutes per part, depending on adhesive thickness. It's advanced due to chemical hazards, flammability, and sensitivity of engine materials like aluminum alloys and composites.
▸What You'll Need
- •Citrus-based or automotive-grade adhesive remover (non-chlorinated, safe for metals/plastics)
- •Nitrile gloves (chemical-resistant, 8mil+ thickness)
- •Safety goggles (ANSI Z87.1 rated)
- •Respirator mask (organic vapor cartridge)
- •Plastic scraper or nylon brush (non-marring)
- •Microfiber rags or lint-free cloths
- •Brake cleaner or isopropyl alcohol (99%) for rinsing
- •Ventilated workspace or fume extractor
- •Optional: Heat gun (low setting for stubborn spots)
Estimated Time: 30-60 minutes per engine part
Difficulty: advanced
▸Step-by-Step Instructions
Step 1: Set Up a Safe Workspace
Choose a well-ventilated area, ideally outdoors or under a fume hood, away from open flames, sparks, or hot engines—adhesive removers are highly flammable. Lay down drop cloths to catch drips and protect surrounding areas.
Why it matters: Vapors can ignite, and spills damage floors or nearby parts. Expect a clean, contained zone ready for work.
Position parts on a stable bench; disassembled engines allow better access.
💡 Tips:
- •Use a parts washer tray for containment.
- •Work in 70-80°F temps for optimal remover performance.
⚠️ Warnings:
- •Never work near running engines or exhaust—fumes are toxic.
Step 2: Gear Up with PPE
Don nitrile gloves, safety goggles, and a respirator with organic vapor cartridges. Cover skin fully; secure long sleeves/pants.
Why it matters: Removers contain solvents like acetone or citrus terpenes that burn skin, eyes, and lungs. Success: Full protection, no exposed areas.
Test respirator seal by covering filters and inhaling.
💡 Tips:
- •Keep a change of gloves handy.
- •Use anti-fog goggles for humid shops.
⚠️ Warnings:
- •Skip PPE and risk chemical burns or inhalation injury.
Step 3: Remove Loose Debris
Wipe or vacuum off dirt, grease, or loose adhesive flakes with a dry rag or compressed air.
Why it matters: Contaminants dilute remover efficacy. Expect cleaner surface for better penetration.
Avoid water initially—it can spread oils.
💡 Tips:
- •Use low-pressure air to prevent embedding grit.
Step 4: Test Remover on Inconspicuous Area
Apply a small amount to a hidden spot (e.g., underside bolt hole). Wait 5 minutes, wipe, and inspect for discoloration, dulling, or etching.
Why it matters: Engines have varied materials (aluminum, steel, paint, plastics). Success: No damage after 24 hours.
Rinse test area with brake cleaner.
⚠️ Warnings:
- •Skip testing on painted or plastic parts—risk permanent damage.
Step 5: Apply Adhesive Remover
Spray or dab remover generously on adhesive, saturating fully. Use a brush for crevices.
Why it matters: Full coverage breaks molecular bonds. Expect bubbling or softening within 1-2 minutes.
Work in sections to avoid evaporation.
💡 Tips:
- •For thick buildup, layer applications.
Step 6: Allow Dwell Time
Let sit 5-15 minutes (per product label). For tough adhesives like RTV silicone, up to 30 minutes.
Why it matters: Solvents need time to penetrate. Success: Adhesive turns gooey, lifts easily.
Reapply if drying out.
⚠️ Warnings:
- •Don't exceed dwell—over-softens metals.
Step 7: Gently Scrape Residue
Use plastic scraper at 30° angle to lift softened adhesive. Follow with nylon brush for details.
Why it matters: Mechanical action completes chemical breakdown. Expect clean metal/plastic reveal.
No metal tools—scratch risk.
💡 Tips:
- •Apply heat gun (200°F) for 10s if stubborn.
⚠️ Warnings:
- •Aggressive scraping gouges surfaces.
Step 8: Wipe and Rinse Thoroughly
Wipe residue with microfiber rags. Rinse with brake cleaner or IPA to neutralize solvents.
Why it matters: Removes all traces to prevent residue buildup. Success: Shiny, dry surface.
Repeat wipe-rinse until rags clean.
💡 Tips:
- •Use progressive wipes: dry, damp, dry.
Step 9: Dry and Inspect
Air dry 10-15 minutes or compressed air. Inspect under light for remnants; repeat if needed.
Why it matters: Moisture invites corrosion. Success: Flawless, ready-for-use part.
Polish lightly if dull.
⚠️ Warnings:
- •Incomplete drying rusts steel parts.
Step 10: Dispose Waste Properly
Collect rags/scrapings in sealed metal container. Follow local hazmat rules for remover.
Why it matters: Environmental compliance. Expect safe, legal disposal.
💡 Tips:
- •Label waste as 'flammable solvent rag'.
▸Pro Tips
- •Choose citrus-based removers for less odor and plastic safety.
- •Work top-down to avoid drips on cleaned areas.
- •Pair with ultrasonic cleaner for intricate parts post-removal.
- •Document before/after photos for warranty claims.
- •Store remover upright in cool, dry place for longevity.
- •Use Q-tips for tight valve cover gaps.
- •Combine with gasket scraper set for RTV-heavy jobs.
▸Common Mistakes to Avoid
- •Using household removers like acetone—etches aluminum and plastics.
- •Skipping the test spot—leads to widespread damage.
- •Poor ventilation—causes headaches or fires.
- •Rushing dwell time—leaves residue requiring rework.
- •Metal scrapers—scratches surfaces needing refinishing.
▸Troubleshooting
Problem: Adhesive not softening
Solution: Wrong remover type—switch to heavy-duty automotive formula; extend dwell to 20 mins.
Problem: Surface dulling or etching
Solution: Incompatible product—rinse immediately with water/degreaser, polish with metal polish; test better next time.
Problem: Residue smears after wiping
Solution: Incomplete neutralization—use more brake cleaner passes; clay bar for final polish.
Problem: Fumes overwhelming
Solution: Upgrade ventilation or respirator; pause and exit area 10 mins.
Problem: Remover evaporates too fast
Solution: Hot/humid conditions—work in shade, mist water barrier around edges.
3M Adhesive Remover (18 oz Aerosol)
Fast-evaporating, non-chlorinated formula safe for automotive metals, plastics, and paints; leaves no residue.
Best for: Ideal for aluminum engine blocks, valve covers, and painted intakes.
Price Range: $24.99
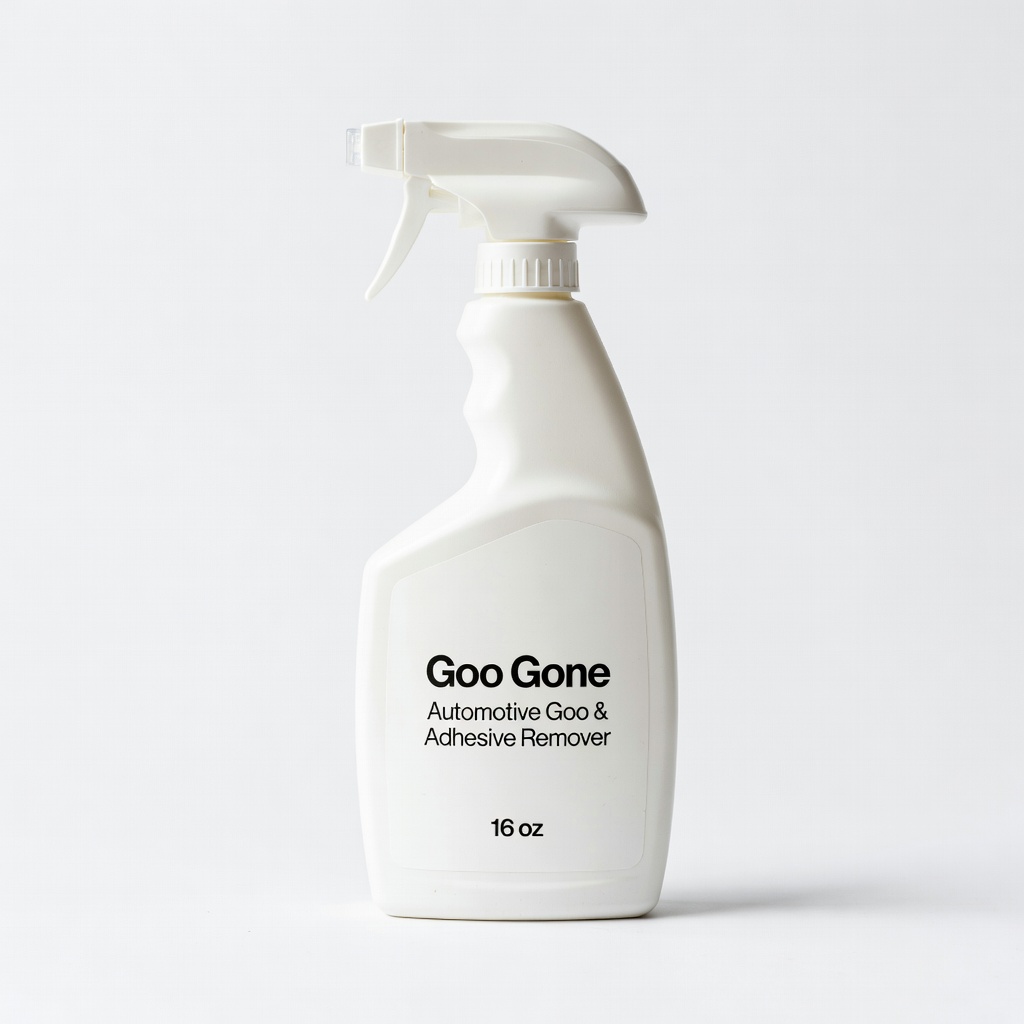
Goo Gone Automotive Goo & Adhesive Remover (16 oz)
Citrus-based, biodegradable, excels on labels/gaskets without harsh fumes; engine-safe.
Best for: Stubborn stickers and RTV on carbs or manifolds.
Price Range: $11.99
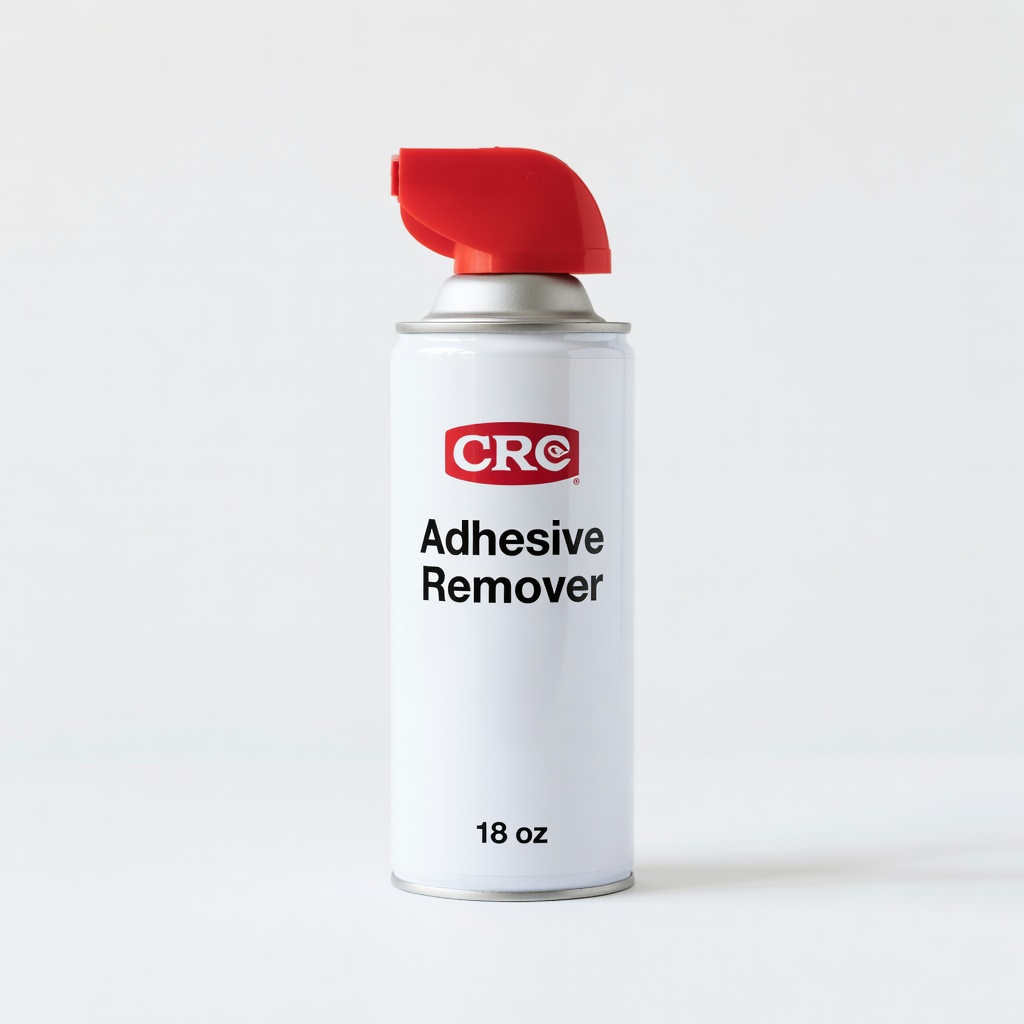
CRC Adhesive Remover (18 oz)
High solvency for industrial adhesives, quick action on engine oils/grease mixes.
Best for: Threadlocker or seam sealer on cylinder heads.
Price Range: $14.99
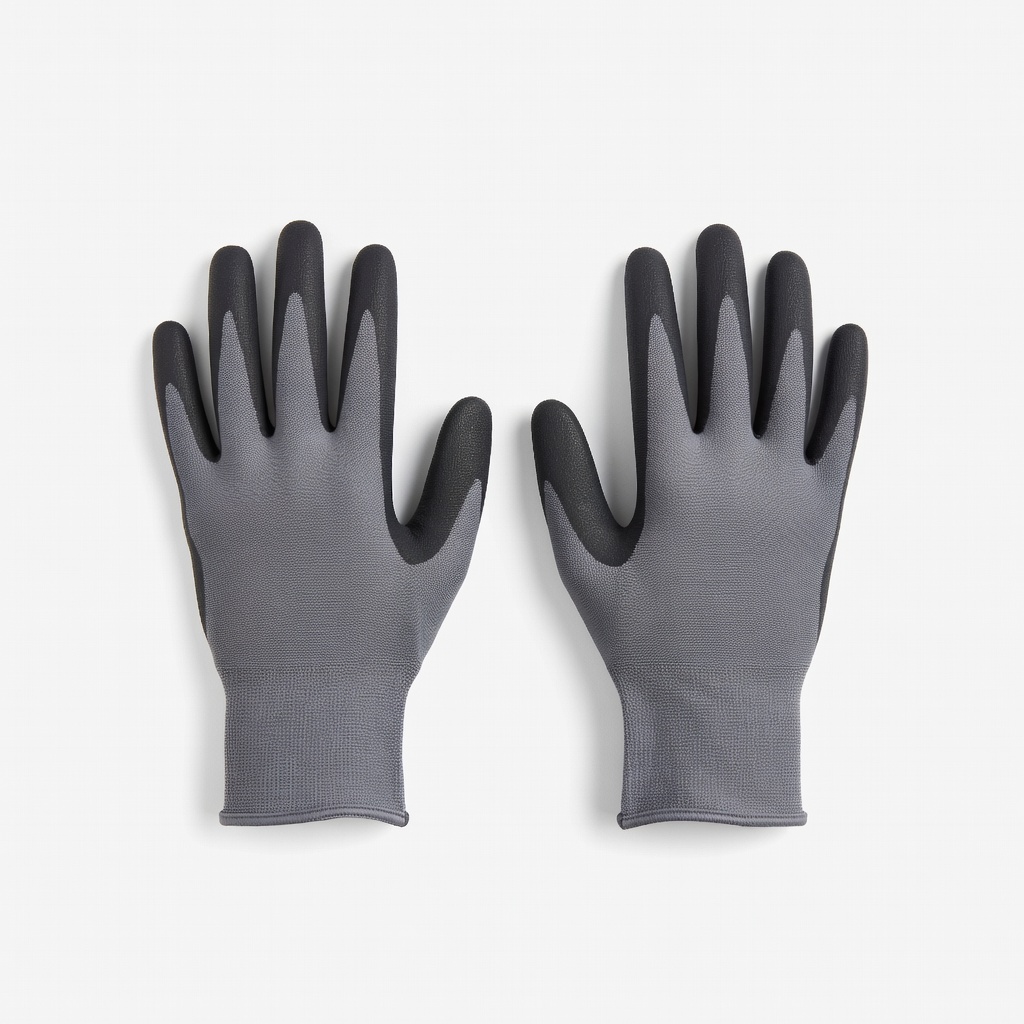
Mechanix Wear FastFit Nitrile Gloves (Large)
Chemical-resistant, durable for solvents; better grip than latex.
Best for: Hands-on scraping and wiping during process.
Price Range: $12.99
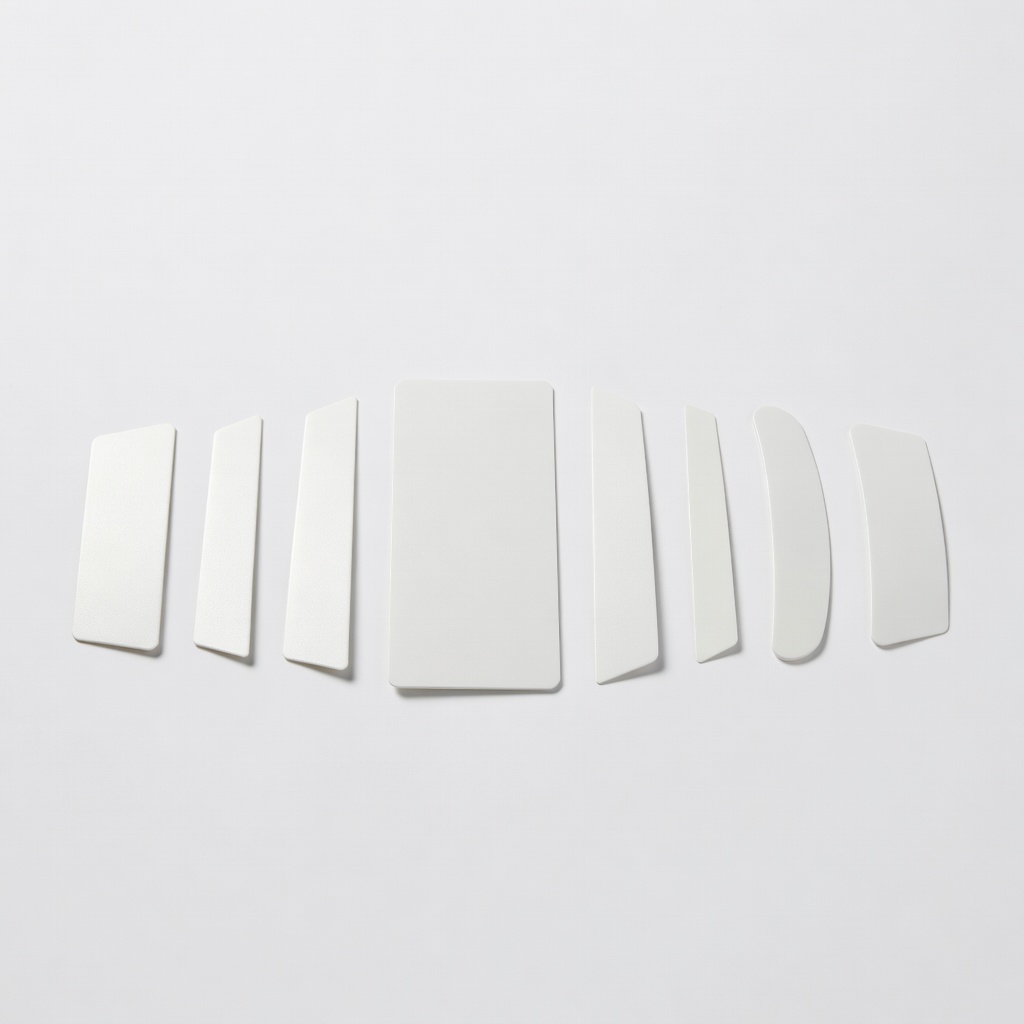
Performance Tool Plastic Scraper Set
Non-marring edges prevent scratches on soft metals.
Best for: Gentle lifting post-dwell.
Price Range: $8.99