Getting a strong bond on 3D printed parts can be frustrating. PLA and ABS have low surface energy, making it difficult for glues to grip. That's where adhesive primers come in. These specialized coatings chemically prepare the surface, creating a better substrate for adhesives like cyanoacrylate (CA) or epoxy. In this guide, you'll learn the complete process for using adhesive primer on 3D printed parts, from surface prep to final assembly, so your prints stay together under stress.
▸What You'll Need
- •3D printed part(s) (PLA, ABS, PETG, etc.)
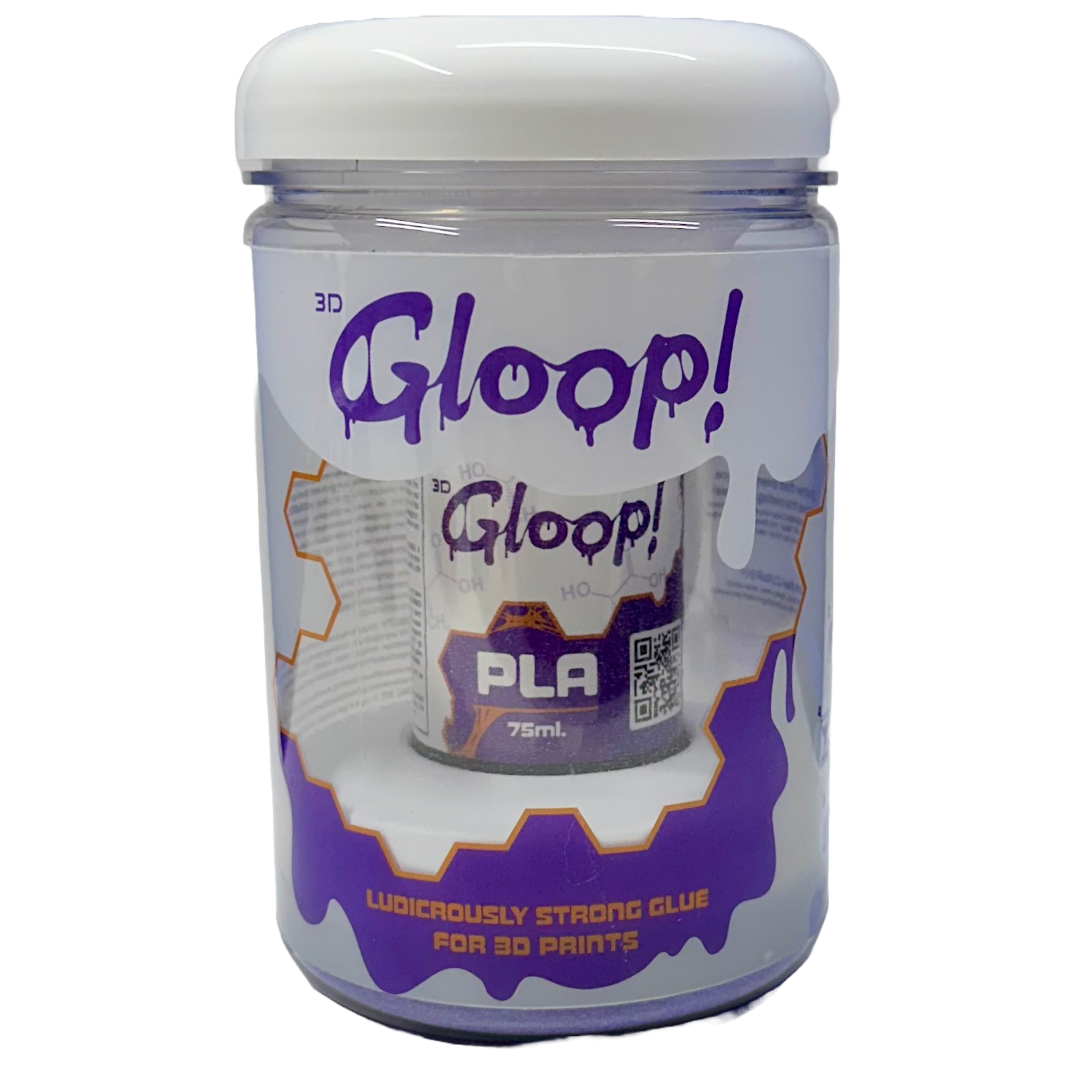
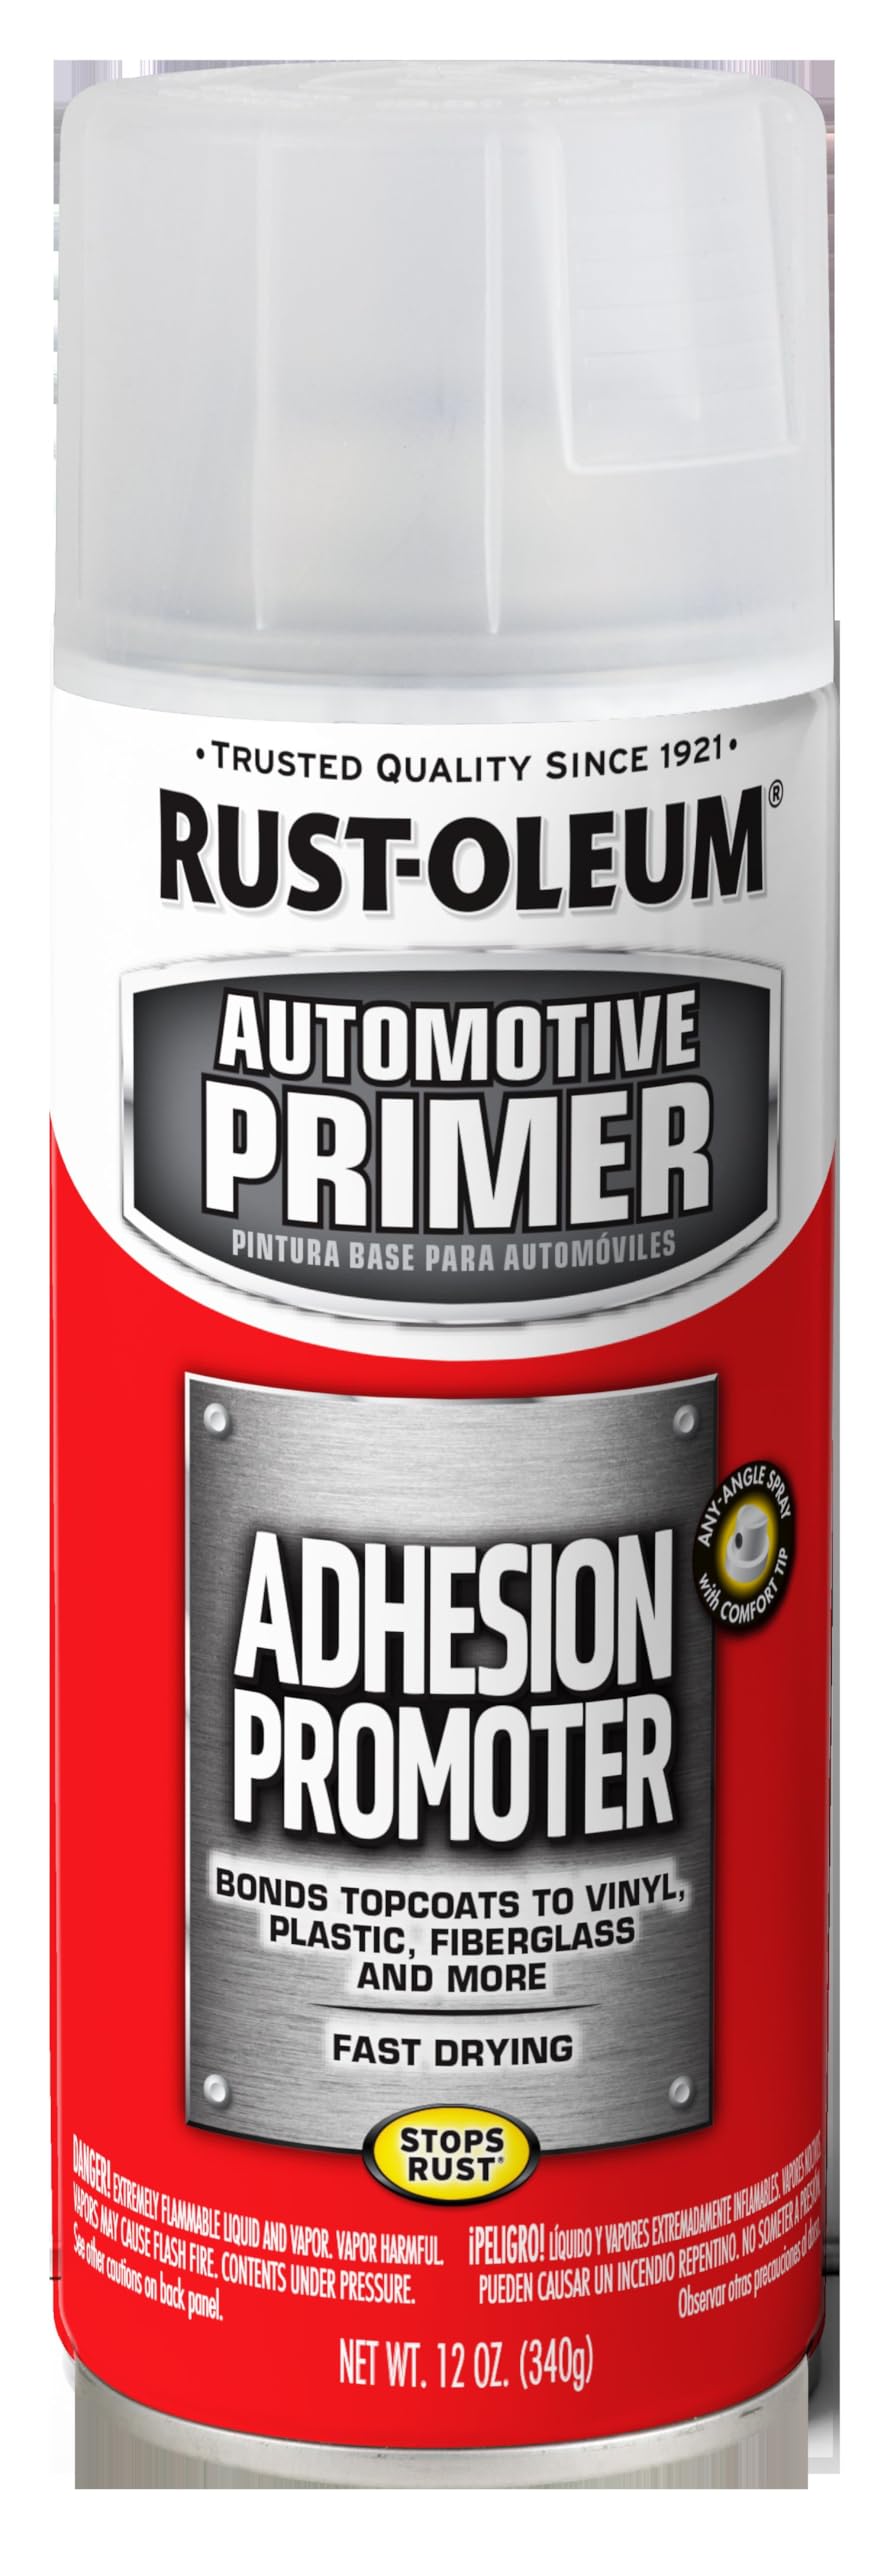
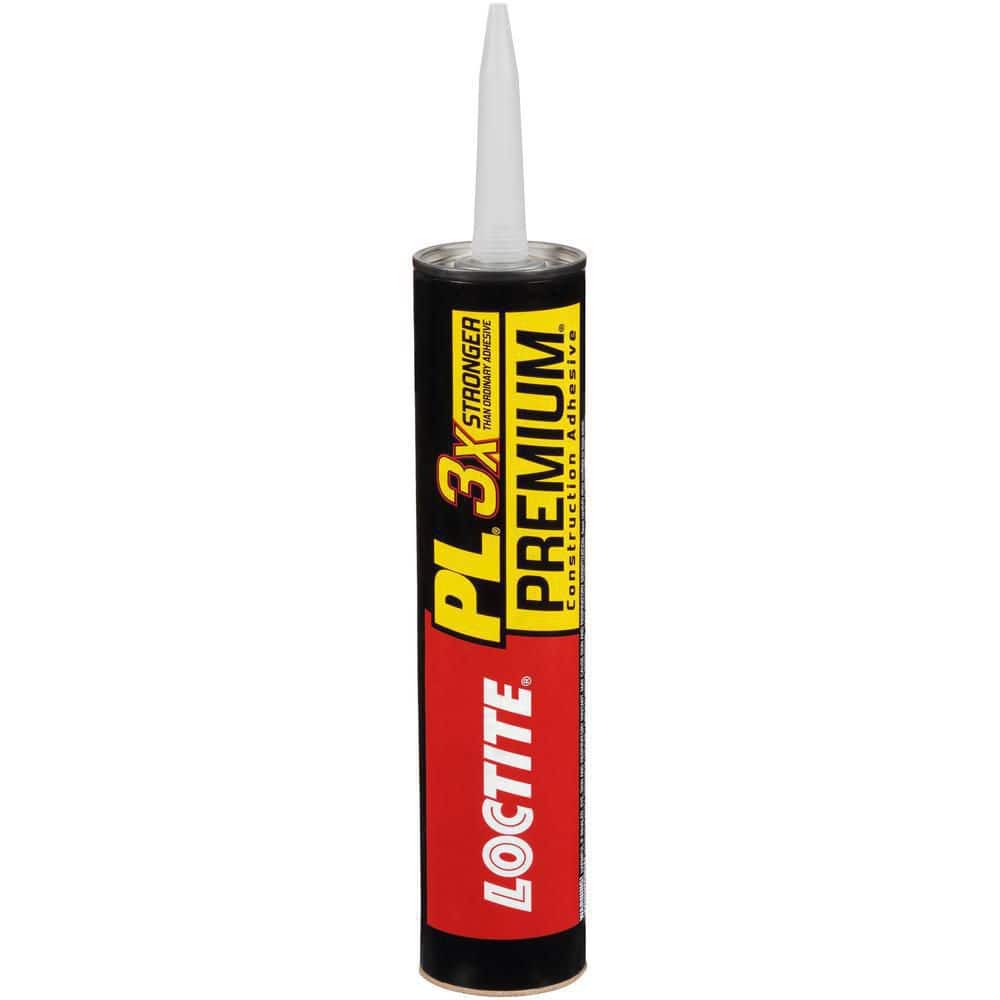
- •Adhesive primer (e.g., 3D Gloop!, Loctite PL, or Bondo Adhesion Promoter)
- •Isopropyl alcohol (90% or higher) and clean cloth
- •Fine-grit sandpaper (220-400 grit)
- •Tack cloth or lint-free wipes
- •Applicator (brush, spray, or pen – depends on primer type)
- •Desired adhesive (cyanoacrylate, epoxy, etc.)
- •Clamps or tape (for holding parts together during curing)
- •Disposable gloves and well-ventilated workspace
Estimated Time: 30-45 minutes (plus drying and curing time)
Difficulty: intermediate
▸Step-by-Step Instructions
Step 1: Surface Preparation – Sand and Clean
Start by sanding the bonding surfaces of your 3D printed parts with fine-grit sandpaper (220-400 grit). This roughens the surface, giving the primer more area to grip. Sand in a consistent direction until the surface appears matte. Then wipe away all dust with a tack cloth. Finally, thoroughly clean the area with isopropyl alcohol (90%+) on a lint-free cloth to remove any oils or residues. Let it dry completely (about 2 minutes).
Why it matters: Even a thin layer of grease from your hands can prevent primer from adhering. Sanding increases mechanical interlocking.
💡 Tips:
- •Use a sanding block for flat surfaces to avoid rounding edges.
- •If the part has complex geometry, use a small file or Dremel with a sanding bit.
⚠️ Warnings:
- •Do not use lower than 220 grit – too rough can create weak stress points.
- •Avoid touching the sanded area with bare fingers after cleaning.
Step 2: Choose the Right Adhesive Primer
Not all primers are equal for 3D prints. For thermoplastics like PLA and ABS, look for a primer specifically designed for plastics or one that contains adhesion promoters. Common options include 3D Gloop! (for PLA/ABS/LayWood), Loctite PL Premium (a polyurethane adhesive that also works as a primer after cleaning), or Bondo Adhesion Promoter (a spray that works on most plastics). If your primer is a brush-on liquid, apply it sparingly; if it's a spray, hold the can 6-8 inches away and apply a light coat.
💡 Tips:
- •Test the primer on a scrap print first to check compatibility.
- •For small parts, a brush-on primer gives more control.
⚠️ Warnings:
- •Avoid using acrylic primers meant for wood or metal – they may not bond to plastic.
Step 3: Apply the Adhesive Primer
Apply a thin, even layer of primer to both surfaces that will be bonded. If using a brush, dab rather than stroke to avoid bubbles. If using spray, move the can steadily across the part. The goal is a wet coat that covers the sanded area – about 1-2 mils thick. Avoid puddles or drips. Let the primer flash off (become tacky) according to manufacturer instructions – usually 1-5 minutes. It should feel slightly sticky to the touch (if specified).
💡 Tips:
- •Apply primer in a well-ventilated area or wear a respirator if spray.
- •Use a small foam brush for precise application on intricate parts.
⚠️ Warnings:
- •Do not apply too thick – it can trap solvent and cause poor adhesion.
- •If primer starts to skin over before you apply, discard and use fresh.
Step 4: Allow Primer to Cure Properly
After applying the primer, let it cure according to the manufacturer's recommended time. Some primers need to fully dry (e.g., 15-30 minutes), while others require a tacky state for optimum adhesion. Read the label carefully. For example, 3D Gloop! suggests waiting 10-15 minutes until it becomes tacky. Bondo Adhesion Promoter typically dries to the touch in 10 minutes but specifies bonding within 30 minutes. Use this time to prepare your adhesive or clamp setup.
💡 Tips:
- •Set a timer – don't rely on guesswork.
- •If the primer dries completely, you may need to lightly sand and reapply.
⚠️ Warnings:
- •Avoid touching the primed surface once it has cured – oils will contaminate it.
Step 5: Apply Your Adhesive
Once the primer is ready, apply your chosen adhesive to one of the primed surfaces. Cyanoacrylate (super glue) works well for PLA and ABS; use a medium or thick viscosity to avoid running. Epoxy gives more working time and gap-filling. Apply enough adhesive to cover the area but not so much that it squeezes out excessively. Press the two parts together firmly. If using CA glue, hold for 30-60 seconds; epoxy may require clamping.
💡 Tips:
- •For CA glue, use a spray accelerator to speed up curing (but test first).
- •For large gaps, mix epoxy with a little fumed silica to thicken.
⚠️ Warnings:
- •Do not use too much adhesive – it can weaken the bond by creating a thick glue line.
Step 6: Clamp and Cure the Assembly
Use clamps, tape, or rubber bands to hold the parts together with even pressure. Wipe away any excess adhesive that oozes out immediately with a paper towel (for CA glue, use acetone sparingly). Follow the adhesive's recommended cure time – typically 24 hours for full strength, though CA glue reaches 90% strength in 1-2 hours. Do not disturb the assembly during curing.
💡 Tips:
- •Use padded clamps or cauls to distribute pressure evenly on curved surfaces.
- •For small parts, use painter's tape – it removes easily without residue.
⚠️ Warnings:
- •Over-clamping can squeeze out too much adhesive – apply only light to moderate pressure.
Step 7: Post-Cure Inspection and Cleanup
After the adhesive has fully cured, remove the clamps and inspect the bond line. It should be continuous with no gaps. If there is excess dried adhesive, carefully scrape it off with a hobby knife or sand it flush – be careful not to damage the print. Clean the area with isopropyl alcohol if needed. Your 3D printed assembly is now ready for use or further finishing (painting, sanding, etc.).
💡 Tips:
- •For a seamless look, fill any remaining gaps with filler primer or body filler.
- •If the bond failed, you may need to re-primer or use a different adhesive.
⚠️ Warnings:
- •Do not overheat the part when sanding – it can soften the plastic.
Step 8: Test the Bond Strength
If possible, perform a simple stress test on a scrap piece before trusting the bond in a critical application. Apply force in the direction the bond will face during use – tensile, shear, or peel. A proper primer-adhesive combo should yield a bond that is stronger than the base material itself (i.e., the print breaks before the glue line). Document the results for future reference.
💡 Tips:
- •Use a spring scale or weight to quantify strength if needed.
- •Test different primers/adhesives on the same material to find the best combo.
⚠️ Warnings:
- •Wear safety glasses when testing to avoid flying debris.
- •Do not exceed the material's yield strength – it may shatter.
▸Pro Tips
- •Always wipe sanded surfaces with alcohol immediately before priming – within 5 minutes to avoid recontamination.
- •Store primer in a cool, dry place and check expiration date; old primer may not bond well.
- •For PLA, use 3D Gloop! or CA glue with a primer made for low-surface-energy plastics.
- •Apply primer in thin coats – multiple thin layers are better than one thick coat.
- •Use a toothpick to apply primer in tight crevices.
- •If the part will be exposed to heat (e.g., near a hotend), choose a high-temperature adhesive and primer rated for at least 80°C.
- •Combine primer with a compatible activator (for CA glue) to reduce cure time from hours to minutes.
- •Keep a dedicated workspace for primer application to avoid dust contamination.
▸Common Mistakes to Avoid
- •Skipping sanding – without roughening, primer may peel off easily.
- •Using too much primer – thick coats can crack and fail.
- •Applying primer to a dusty or greasy surface – leads to poor adhesion.
- •Not respecting cure times – premature handling ruins the bond.
- •Using the wrong primer for the material – e.g., using a wood primer on PLA can cause a weak bond.
▸Troubleshooting
Problem: Primer beads up on the surface like water on wax.
Solution: Clean again with isopropyl alcohol; the part might have mold release or residue. Lightly sand again and re-clean.
Problem: The bond failed after curing (adhesive separates from print).
Solution: Check that primer was fully cured before applying adhesive. Also ensure both surfaces were primed. If still failing, try a different primer/adhesive combination.
Problem: Adhesive cured too fast and became brittle.
Solution: Use a slower-curing epoxy or a CA glue with a longer open time. Avoid using accelerator if not needed.
Problem: Primer left a rough or bumpy surface.
Solution: Lightly sand the primer after it dries (320 grit) before applying adhesive. A smoother surface improves bond strength and appearance.
3D Gloop! for PLA and ABS
Specifically formulated for 3D printed thermoplastics; acts as both primer and adhesive in one, chemically bonding to PLA and ABS.
Best for: Best for small to medium parts where you want a simple, all-in-one solution.
Price Range: $15-$25
Bondo Adhesion Promoter Aerosol Spray
A spray-on promoter that works on a wide variety of plastics; easy to apply even coats on large or complex surfaces.
Best for: Ideal for large assemblies or when you need a fast-drying primer before using epoxy or CA glue.
Price Range: $10-$15
Loctite PL Premium Polyurethane Construction Adhesive
Strong gap-filling adhesive that bonds to many plastics; can be used as a primer by wiping a thin layer on the surface and letting it cure.
Best for: Great for structural bonds that will bear weight or vibration, especially between dissimilar materials.
Price Range: $5-$10
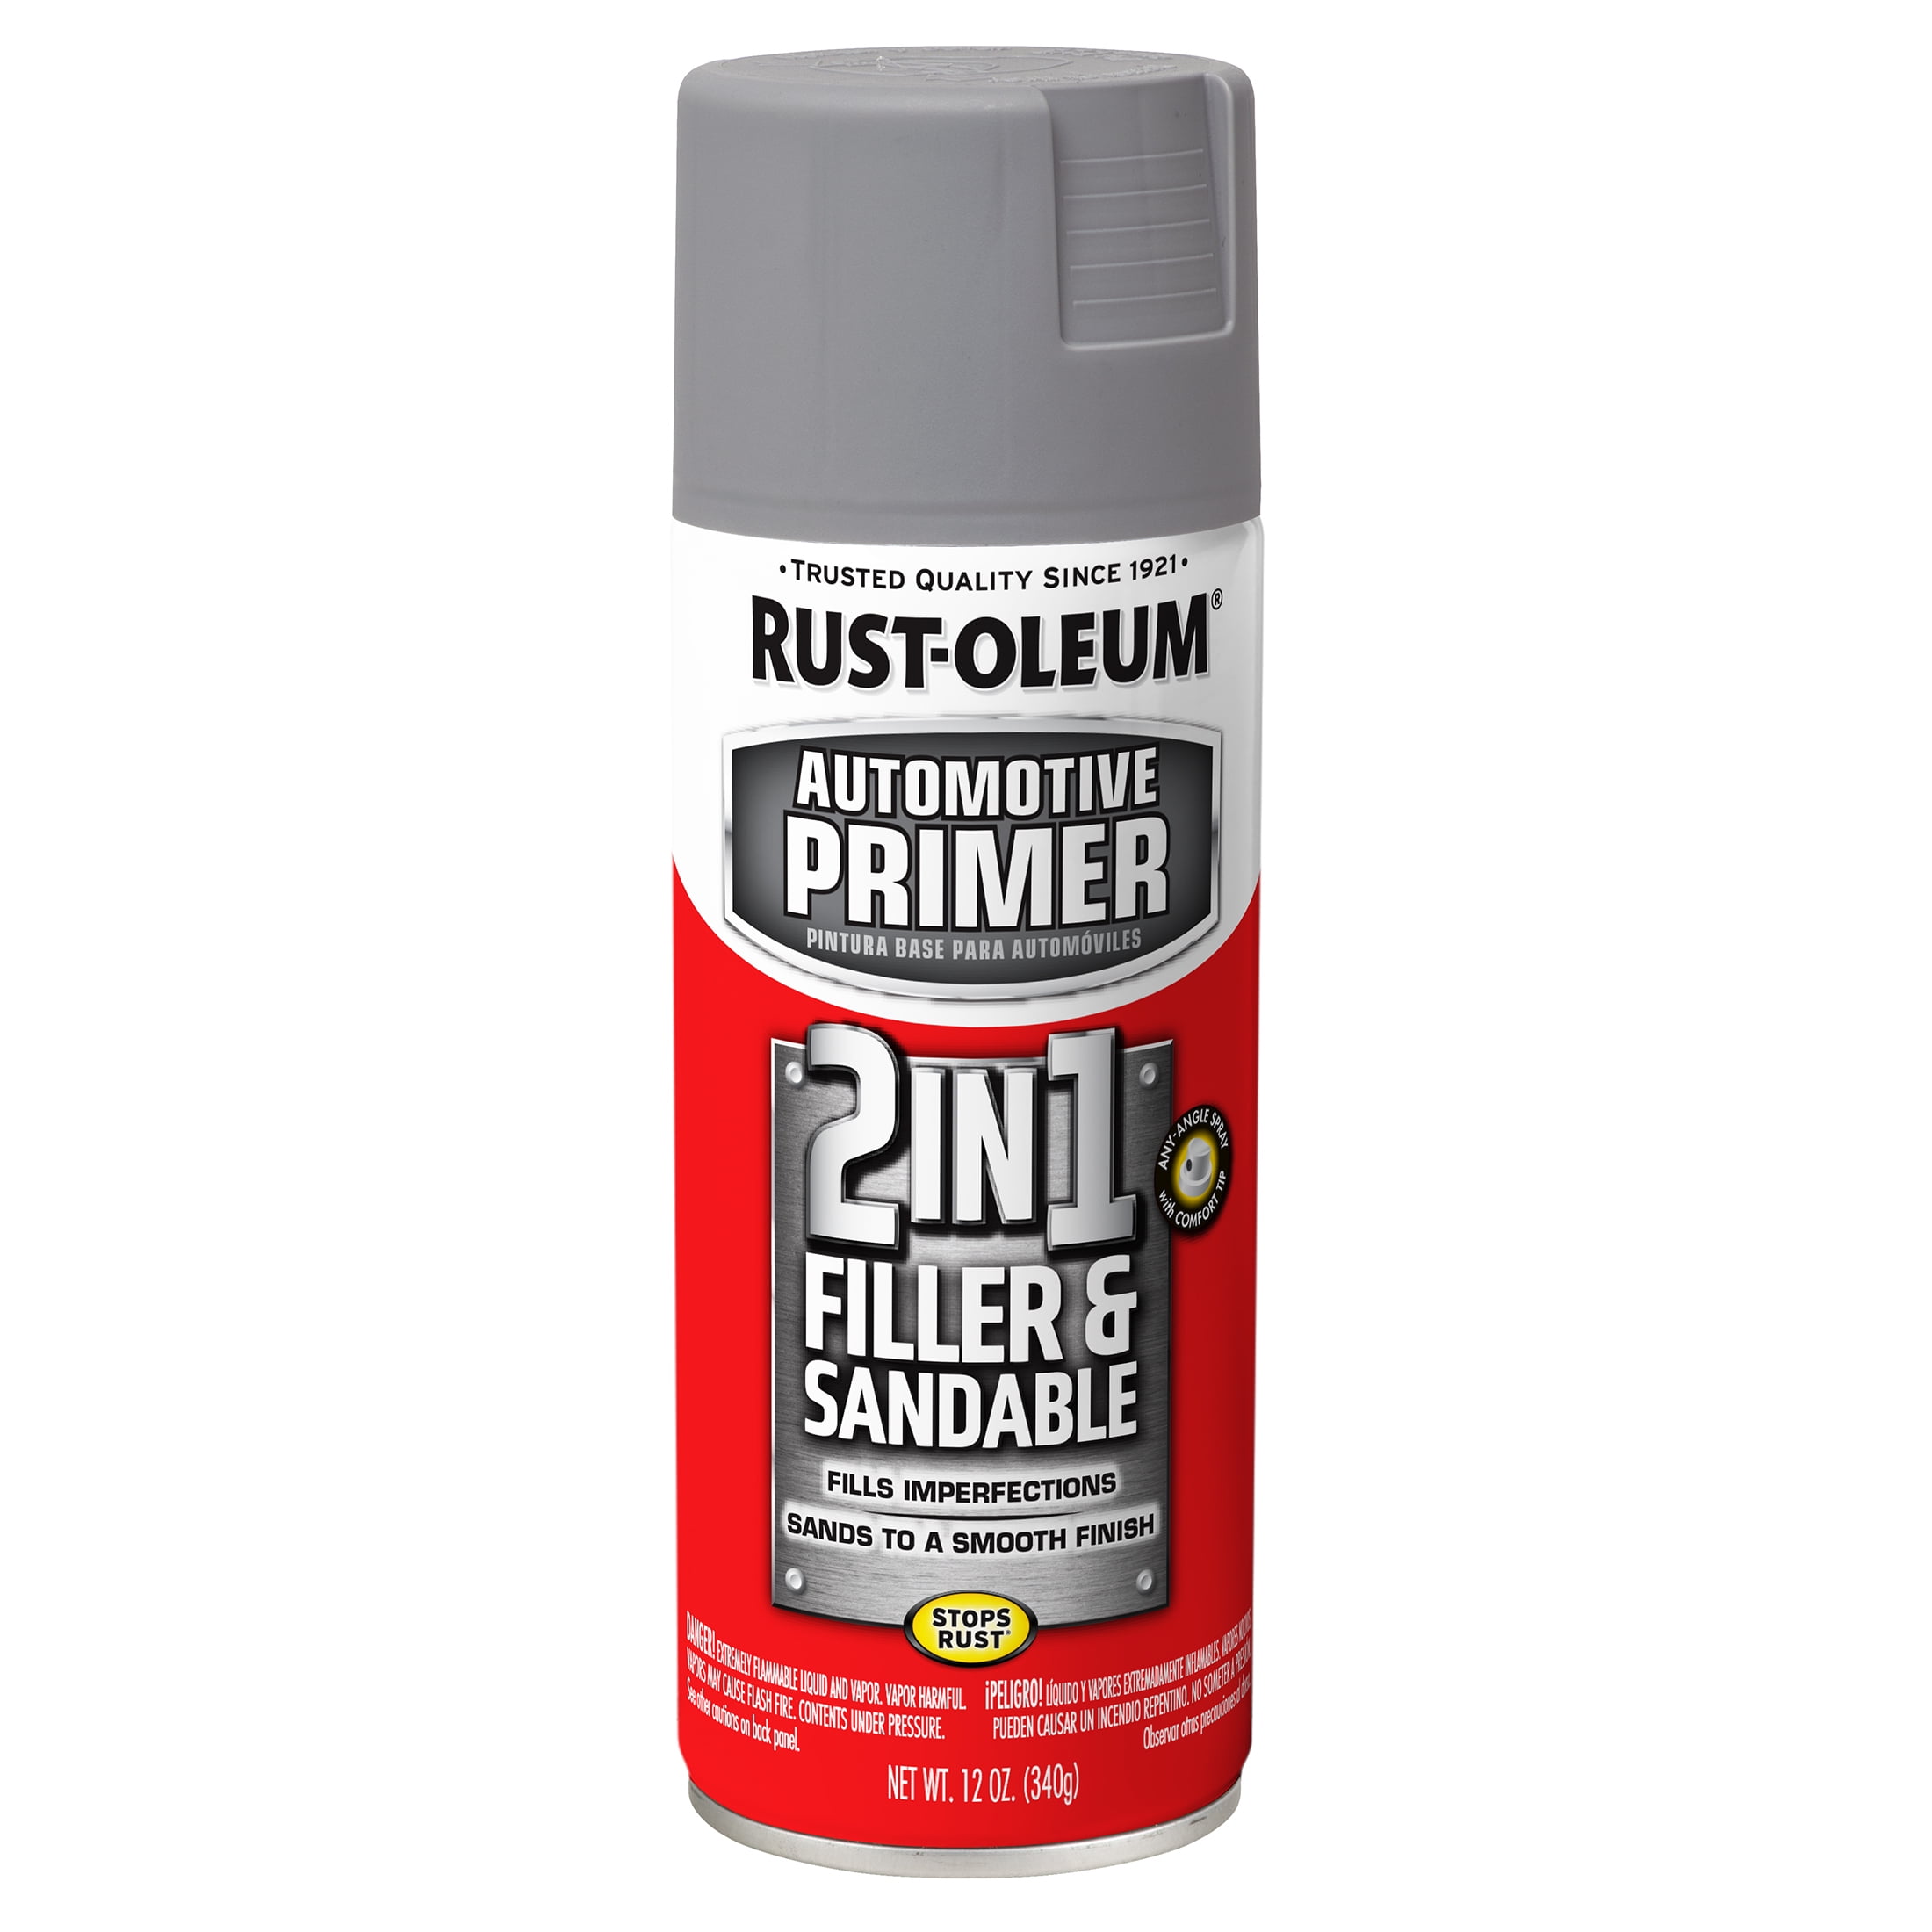
Rust-Oleum Automotive Filler Primer Sandable
A sandable primer that fills minor surface imperfections and improves adhesion for paint or subsequent layers; works on plastics.
Best for: Use when you need to smooth out layer lines before painting or before applying adhesive for a cosmetic bond.
Price Range: $8-$12
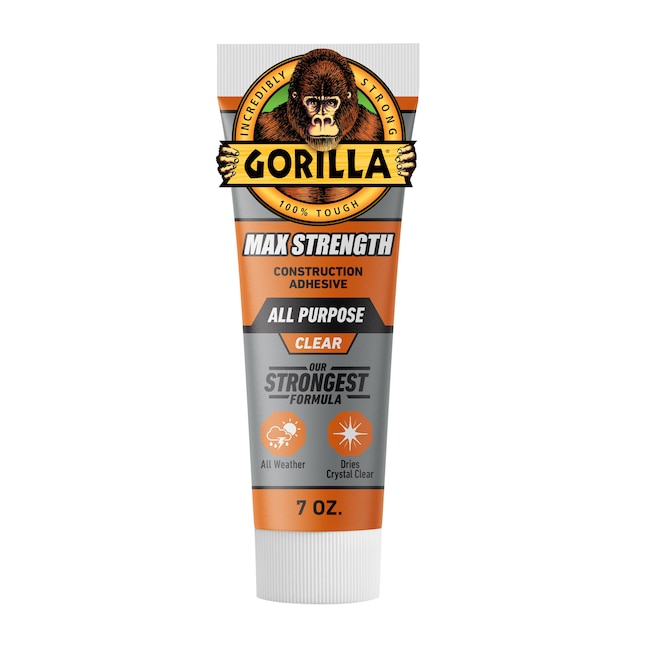
Gorilla Max Strength Clear Epoxy
High-strength epoxy that bonds plastic, metal, and wood; works well after priming with a plastic-specific primer.
Best for: For high-load applications where maximum bond strength is required, such as functional parts or robotics.
Price Range: $8-$15