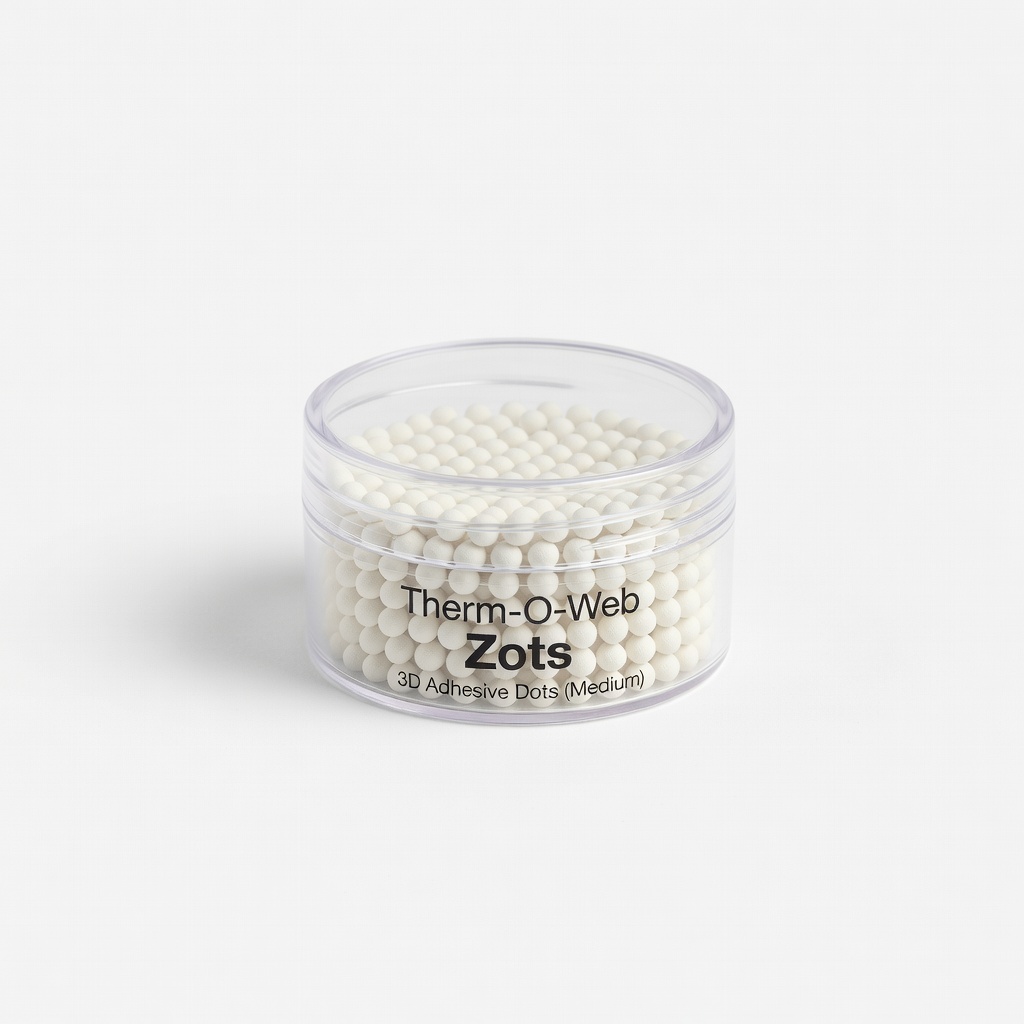
Therm-O-Web Zots 3D Adhesive Dots (Medium)
Ideal for photos and lightweight embellishments in scrapbooking.
$4.99
Therm-O-Web Zots 3D Adhesive Dots (Medium) Repositionable yet strong hold with minimal bubble risk due to thin profile.
Get the App
Better experience on mobile
Master bubble-free adhesive dot application for flawless scrapbook pages in under 15 minutes, even as a beginner.
Bubbles under your scrapbook elements can ruin an otherwise perfect page, leaving unsightly air pockets that distract from your memories. If you've ever pressed down an adhesive dot only to watch a bubble form, you're not alone—it's a common frustration for scrapbookers. But with the right technique, you can achieve smooth, professional results every time.
In this guide, you'll learn a simple, step-by-step process to apply adhesive dots without bubbles. We'll cover preparation, precise application, and finishing touches. Expect to spend 10-15 minutes per page—perfect for beginners with basic crafting skills. By the end, your scrapbooks will look polished and bubble-free.
Estimated Time: 10-15 minutes per scrapbook page Difficulty: beginner
Start by clearing a clean, flat surface like a craft mat or laminate countertop. Dust and debris can trap air and cause bubbles, so wipe it down with a lint-free cloth. Lay out your scrapbook paper base and elements.
Why it matters: A pristine surface ensures the adhesive bonds properly without contaminants. You'll know it's ready when everything lays flat without shifting.
💡 Tips:
⚠️ Warnings:
Trim photos, paper, or embellishments slightly smaller than their final position on the page. Use sharp scissors or a paper trimmer for clean edges.
This prevents overhang that could lift and trap air. Success looks like crisp, straight edges ready to place.
💡 Tips:
Select dots based on element size: 1/8-inch for tiny die-cuts, 1/4-inch for photos. Smaller dots reduce bubble risk.
Why? Larger dots hold more air. Test on scrap paper—placement should be secure without excess.
⚠️ Warnings:
Use tweezers to gently peel one dot from the liner, touching only the edges. Hold it by the liner tab if available.
This keeps the sticky side pristine. Expect a clean dot ready to apply—no fingerprints or residue.
💡 Tips:
Place, don't drop: Align the dot on the back of your element (corners or center for balance). Press lightly with a tool, avoiding direct finger contact.
Why it matters: Precise placement prevents sliding and air traps. The element should stay put without shifting.
⚠️ Warnings:
Lower the element onto the base page, starting from one edge and rolling down gently. Use a bone folder or credit card edge to press from center outward.
This expels air smoothly. Success: Flat adhesion with no lift.
💡 Tips:
Buff the surface with a soft cloth in circular motions. Lift a corner to inspect—if bubbles appear, lift fully and reapply.
Final check ensures perfection. Your page is done when everything lies perfectly flat.
Problem: Bubbles appear after pressing
Solution: Lift the element immediately, smooth from center out with a tool, and reapply if needed. Prevent by rolling application.
Problem: Dots not sticking
Solution: Check surface cleanliness; wipe with isopropyl alcohol. Ensure dots aren't expired.
Problem: Element lifts at edges
Solution: Add micro-dots at corners. Use heavier paper stock.
Repositionable yet strong hold with minimal bubble risk due to thin profile.
Best for: Ideal for photos and lightweight embellishments in scrapbooking.
Price Range: $4.99
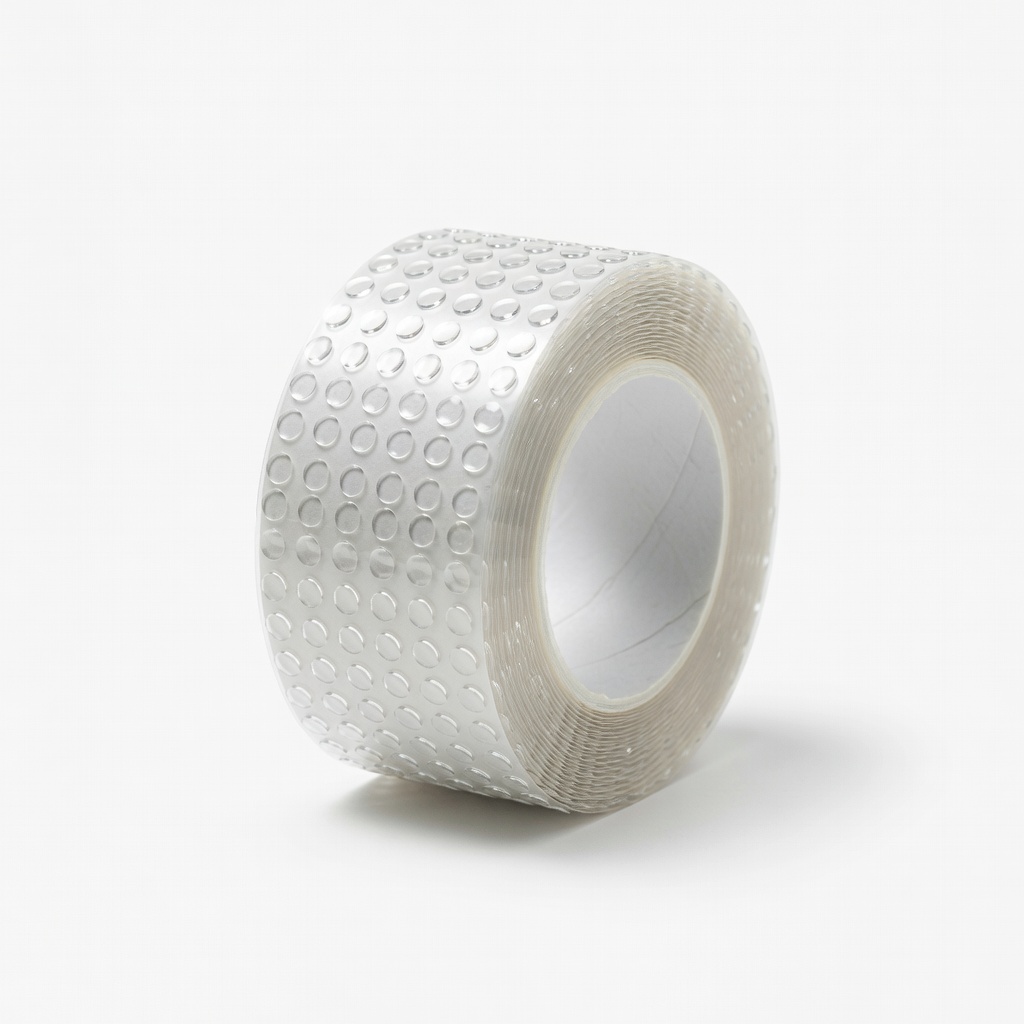
Crystal clear and precise size prevents air pockets; dispenser for easy peeling.
Best for: Small die-cuts and paper layers where bubbles are common.
Price Range: $6.99
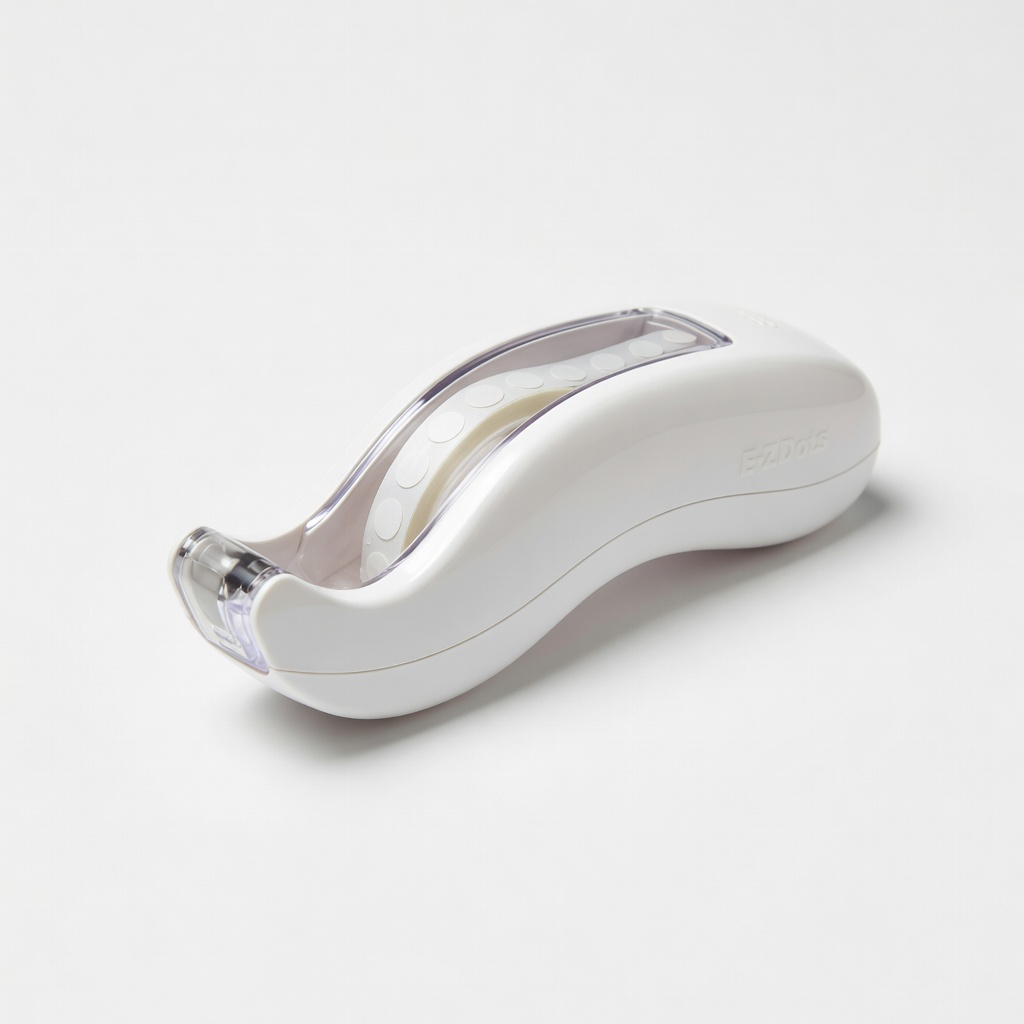
Refillable tool applies dots without touching, eliminating fingerprints and bubbles.
Best for: Beginners needing tool-assisted precision on detailed pages.
Price Range: $7.99
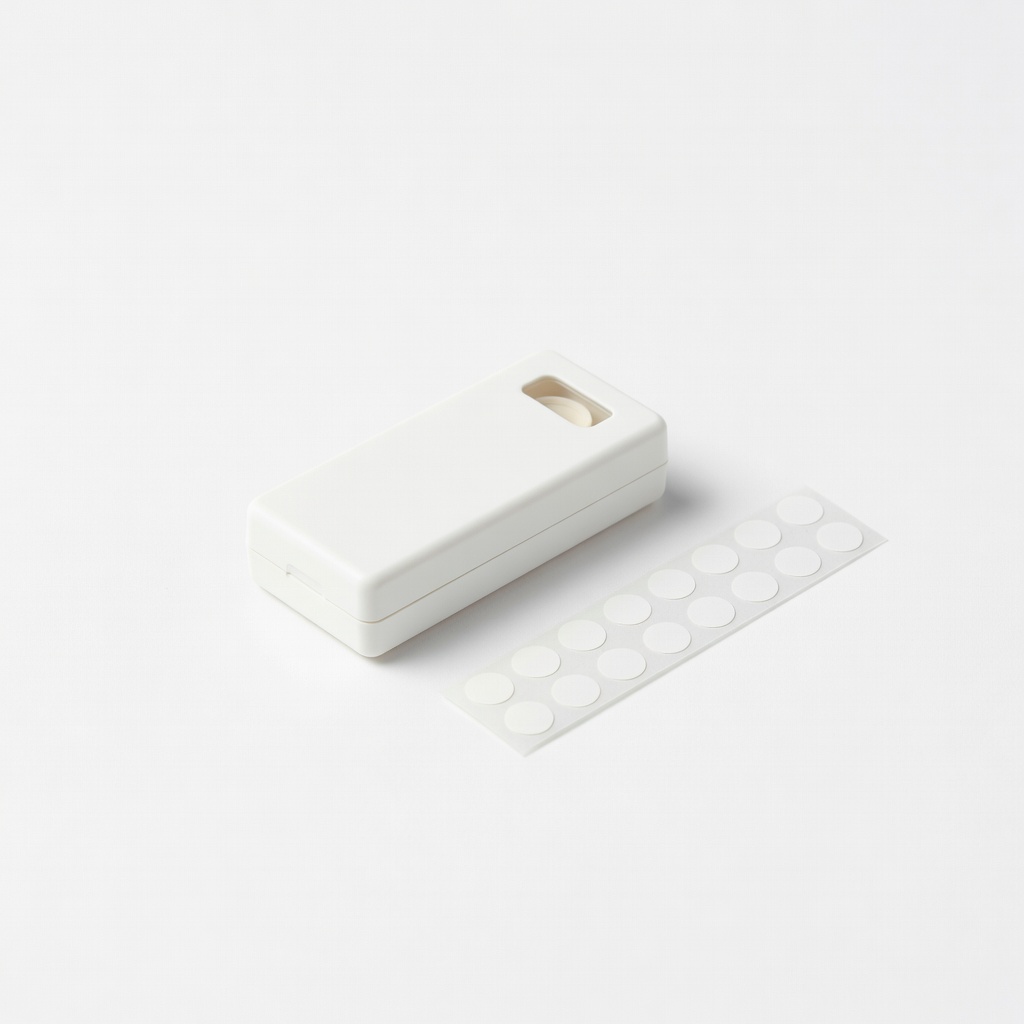
Dual-sided for secure hold; acid-free and archival safe for long-term scrapbooks.
Best for: Heirloom projects requiring permanence without yellowing.
Price Range: $5.49
Ideal for photos and lightweight embellishments in scrapbooking.
Therm-O-Web Zots 3D Adhesive Dots (Medium) Repositionable yet strong hold with minimal bubble risk due to thin profile.
Small die-cuts and paper layers where bubbles are common.
Glue Dots Clear Dot Roll (1/8") Crystal clear and precise size prevents air pockets; dispenser for easy peeling.
Beginners needing tool-assisted precision on detailed pages.
Scrapbook Adhesives E-Z Dots Precision Dispenser Refillable tool applies dots without touching, eliminating fingerprints and bubbles.
Heirloom projects requiring permanence without yellowing.
Tombow Mono Tombow Adhesive Dots Dual-sided for secure hold; acid-free and archival safe for long-term scrapbooks.