Struggling with scrapbook elements that shift, peel, or fall off? Adhesive dots are a game-changer for beginners, offering precise, mess-free adhesion that's stronger than glue sticks but easier than tape runners.
In this guide, you'll learn how to use adhesive dots to build a complete scrapbook page with photos, paper, and embellishments. We'll cover everything from setup to finishing touches, so your projects stay intact for years.
Expect a straightforward process taking 30-45 minutes per page. No prior experience needed—just follow the steps for flawless results.
▸What You'll Need
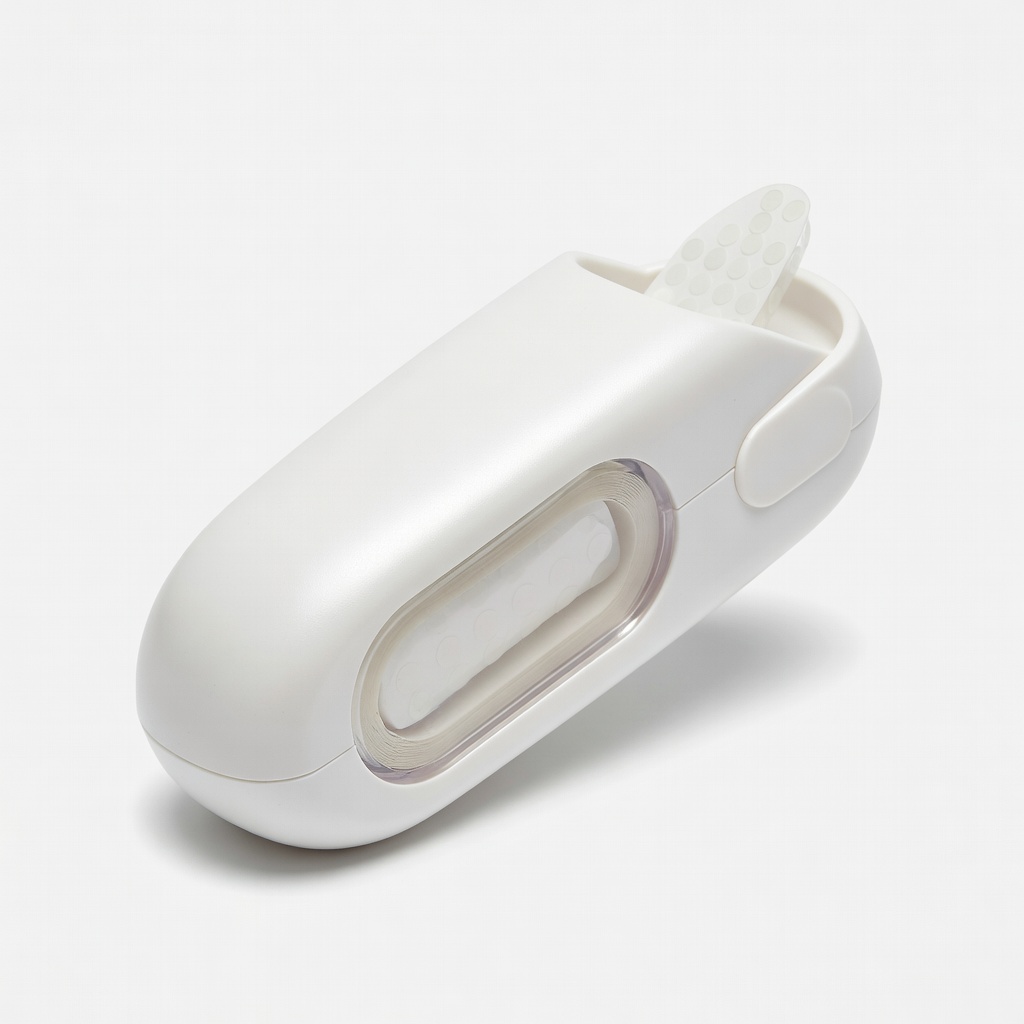
- •Adhesive dots dispenser or rolls (e.g., Scrapbook Adhesives E-Z Dots)
- •Scrapbook paper (12x12 inch sheets, 2-3 sheets)
- •Photos or printed images (4x6 inch or smaller)
- •Embellishments (stickers, die-cuts, ribbons)
- •Scissors or paper trimmer
- •Ruler or layout guide
- •Tweezers (optional, for precision)
- •Clean workspace surface (cutting mat recommended)
Estimated Time: 30-45 minutes per page
Difficulty: beginner
▸Step-by-Step Instructions
Step 1: Prepare Your Workspace
Clear a flat, well-lit area and cover it with a cutting mat or protective sheet to prevent scratches on your table. Gather all materials within arm's reach to avoid interruptions.
Why it matters: A tidy setup keeps your project organized and reduces frustration. Expect a smooth start with everything ready—no mid-process hunting for scissors.
💡 Tips:
- •Work in natural light for better color matching.
⚠️ Warnings:
- •Avoid cluttered spaces to prevent adhesive dots from sticking to unwanted surfaces.
Step 2: Plan Your Layout
Lay out your scrapbook paper as the base. Arrange photos, papers, and embellishments without adhering them yet. Use a pencil to lightly sketch positions or a ruler for alignment.
This dry-run step ensures balance and prevents repositioning later. Success looks like a visually appealing design where elements don't overlap awkwardly.
💡 Tips:
- •Follow the rule of thirds: Divide page into thirds for dynamic placement.
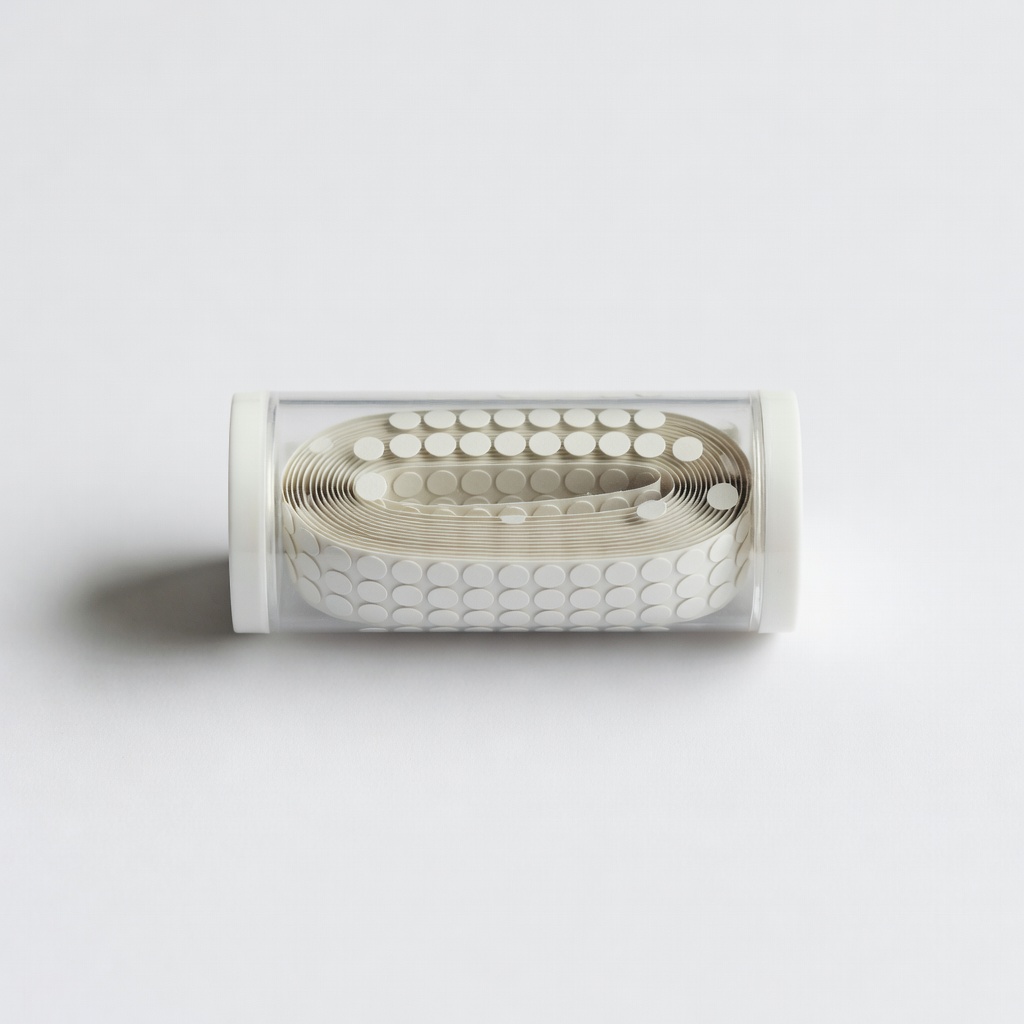
Step 3: Load Your Adhesive Dots Dispenser
If using a refillable dispenser, insert the adhesive dot roll per instructions (usually clicks into place). Test dispense one dot on scrap paper to check stickiness.
Proper loading prevents jams. You should see clear, uniform dots ready to apply—no strings or gaps.
⚠️ Warnings:
- •Don't overload; follow manufacturer capacity to avoid dispenser damage.
Step 4: Apply Dots to the Back of Photos
Peel your base paper photo-side down. Press the dispenser firmly to place 2-4 small dots in each corner and one in the center. For larger photos, add dots along edges.
Dots provide lift-resistant hold without bulk. Expect the photo to lift cleanly from backing and adhere flatly without bubbles.
💡 Tips:
- •Use tweezers for tiny photos to avoid fingerprints.
Step 5: Position and Adhere Photos to Base Page
Align the photo per your layout and press firmly from center outward for 10 seconds. Rub with a bone folder or credit card edge for extra security.
This secures permanence. Success: Photo stays put when page is flexed—no shifting.
⚠️ Warnings:
- •Don't slide; lift and reposition if needed before full press.
Step 6: Add Embellishments with Dots
For lightweight items like stickers, apply 1-2 dots directly to the back or page. For heavier die-cuts, use 3-4 dots clustered.
Layering builds dimension. Expect embellishments to stay elevated and secure.
💡 Tips:
- •Vary dot sizes for 3D effect if dispenser has options.
Step 7: Final Press and Inspect
Press all elements again, then hold page upright and shake gently. Check edges for lift.
This quality check ensures durability. Your page should look polished and hold through handling.
▸Pro Tips
- •Store dispensers upright to prevent dots drying out.
- •Use dots sparingly—less is more for flat adhesion.
- •For glossy paper, buff surface with cloth for better stick.
- •Refill dispensers in bulk for uninterrupted crafting.
- •Combine with foam dots for added dimension on special pages.
- •Clean dispenser tip with tweezers if clogged.
- •Test dots on scrap first for paper compatibility.
▸Common Mistakes to Avoid
- •Over-applying dots, causing lumps—use minimal for flat results.
- •Pressing too lightly, leading to peeling—hold 10+ seconds.
- •Skipping layout planning, resulting in unbalanced pages—always dry-fit first.
- •Using dots on oily surfaces, reducing adhesion—wipe clean.
- •Ignoring expiration dates on rolls—old dots lose tackiness.
▸Troubleshooting
Problem: Dots not sticking
Solution: Check for dust or oils; clean surfaces with alcohol wipe. Test fresh roll.
Problem: Dispenser jamming
Solution: Gently pull stuck dot with tweezers; ensure proper loading.
Problem: Elements lifting after time
Solution: Add more dots underneath; use permanent formula for heavy items.
Scrapbook Adhesives by 3L E-Z Dots Permanent Dispenser (ASIN: B0002JT0O0)
Refillable design with precise dispenser for clean application; acid-free for archival safety.
Best for: Everyday photo and paper adhesion on beginner projects.
Price Range: $6-8
Therm O Web Adhesive Dots Mini Refill (ASIN: B0000AQU1C)
Tiny dots perfect for delicate embellishments; strong hold without bulk.
Best for: Small stickers, sequins, or lace on detailed pages.
Price Range: $3-5
Xyron Adhesive Dot Roller (ASIN: B00004U3SQ)
Rolls dots in continuous line for edges; mess-free alternative.
Best for: Borders, ribbons, or long strips where dots alone are fiddly.
Price Range: $10-15
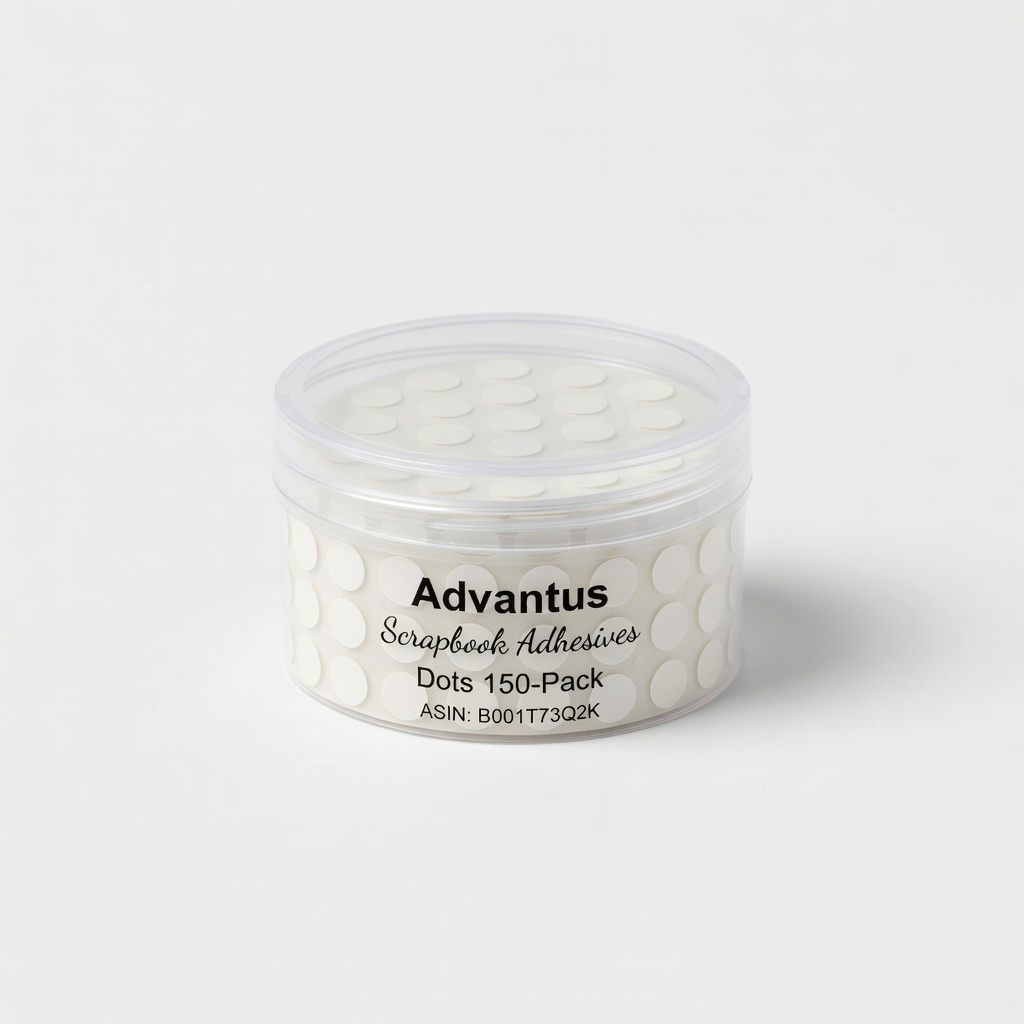
Advantus Scrapbook Adhesives Dots 150-Pack (ASIN: B001T73Q2K)
Pre-cut dots on sheet for budget option; no dispenser needed.
Best for: Quick bulk application on multiple pages.
Price Range: $4-6