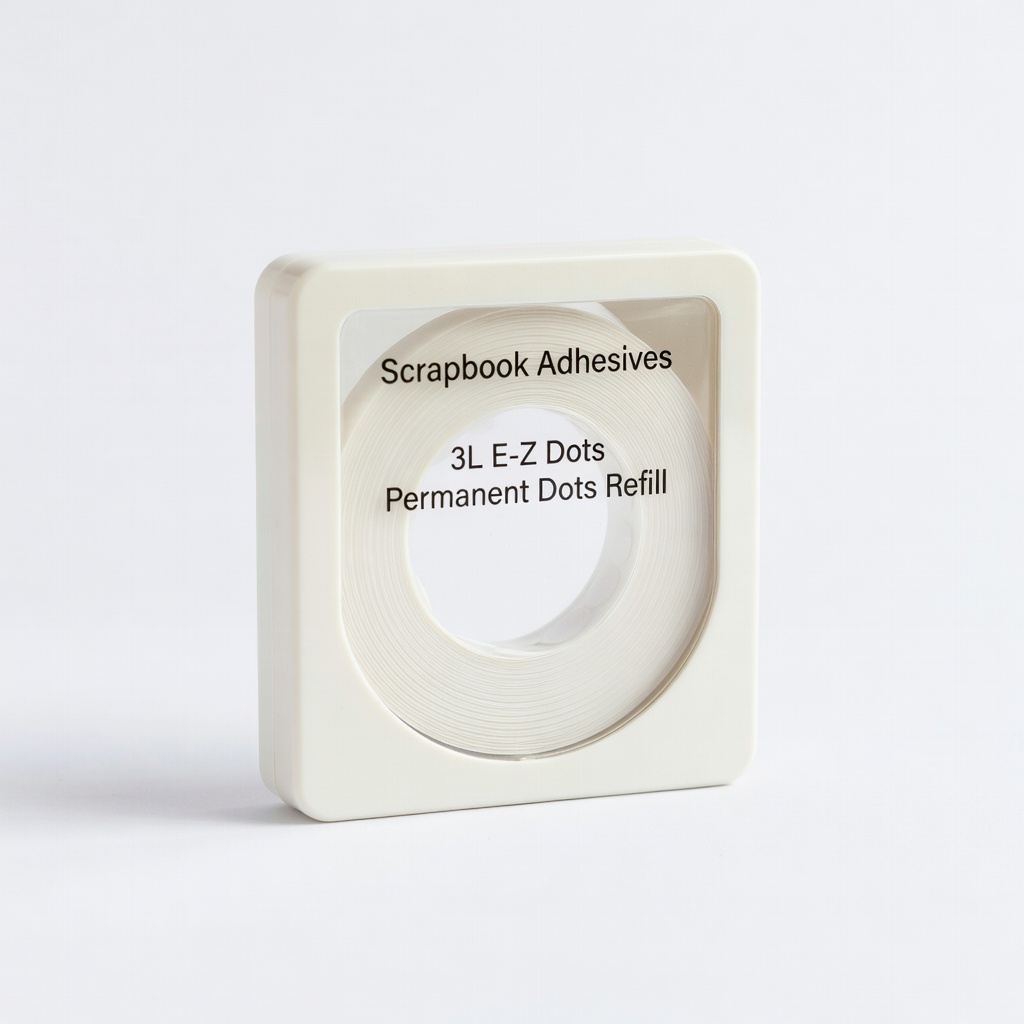
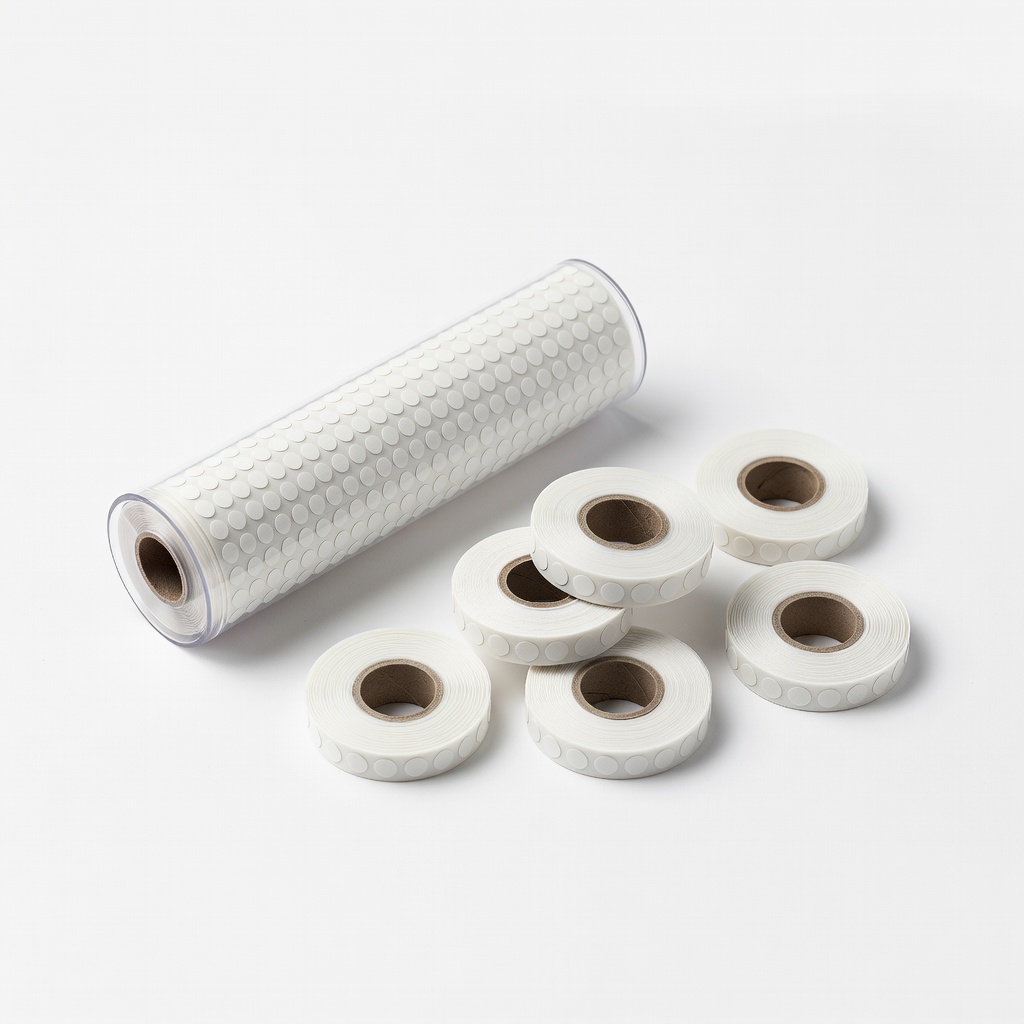
Scrapbook Adhesives 3L E-Z Dots Permanent Dots Refill
Everyday scrapbooking on paper and cardstock.
$6.99
Scrapbook Adhesives 3L E-Z Dots Permanent Dots Refill Precision tip for mess-free application, strong hold for photos.
Get the App
Better experience on mobile
Master adhesive dots to create secure, mess-free scrapbook pages with professional results in minutes, perfect for beginners.
Struggling with glue that oozes, wrinkles paper, or fails to hold your scrapbook embellishments? Adhesive dots are a game-changer for beginners, offering precise, clean application without the hassle of liquid glue. They're ideal for photos, die-cuts, and 3D elements, ensuring your pages stay flat and durable.
In this guide, you'll learn step-by-step how to use adhesive dots effectively. By the end, you'll have a beautifully adhered scrapbook page ready to cherish. The process is simple, taking just 10-20 minutes per page, with no prior experience needed.
Expect clear instructions, tips to avoid pitfalls, and product recommendations to get started right.
Estimated Time: 10-20 minutes per page Difficulty: beginner
Clear a flat, clean surface like a craft mat or table. Lay out your scrapbook page and all materials to avoid interruptions. This prevents dust or debris from sticking to your adhesive.
Why it matters: A tidy workspace ensures precise application and professional-looking results. Expect a smooth start with everything at hand.
💡 Tips:
⚠️ Warnings:
If using a refillable dispenser, open it and insert the adhesive dots roll or cartridge per the manufacturer's instructions—usually by feeding the tape into the slot until it clicks. Test on scrap paper by rolling or dispensing a few dots.
This step ensures smooth dispensing. Success looks like even, consistent dots without jamming.
💡 Tips:
⚠️ Warnings:
Arrange your photos and embellishments on the page without adhesive first. Move them around to visualize balance and flow—consider focal points like a central photo.
Planning prevents repositioning later, saving time and adhesive. Your layout should feel cohesive at this stage.
💡 Tips:
⚠️ Warnings:
Pick up an element (e.g., photo). Gently roll or dispense 2-4 small adhesive dots on the back corners and center, depending on size. Use the precision tip for tiny items.
Dots provide strong hold without bulk. Expect clear, non-visible adhesive from the front.
💡 Tips:
⚠️ Warnings:
Align the element on your planned spot. Press firmly with your finger or a bone folder for 5-10 seconds, starting from center outward to avoid air bubbles.
Firm pressure activates the bond. Success: Flat, secure attachment with no shifting.
💡 Tips:
Continue applying dots and adhering remaining items. Layer as desired, but test stability for heavier 3D elements.
Build your page progressively. Expect a fully decorated page that's sturdy.
💡 Tips:
⚠️ Warnings:
Gently tug corners to test adhesion. Burnish with a tool if needed, then let sit 5 minutes.
This confirms durability. Your page is now ready for journaling or storage.
💡 Tips:
Problem: Dots not sticking well
Solution: Ensure surfaces are clean and dry; use permanent dots for porous paper.
Problem: Dispenser jams
Solution: Clear with tweezers; check if roll is aligned properly.
Problem: Embellishment lifts after time
Solution: Add more dots or use stronger permanent formula; press longer.
Problem: Dots too visible or bulky
Solution: Switch to micro dots; apply minimally.
Precision tip for mess-free application, strong hold for photos.
Best for: Everyday scrapbooking on paper and cardstock.
Price Range: $6.99
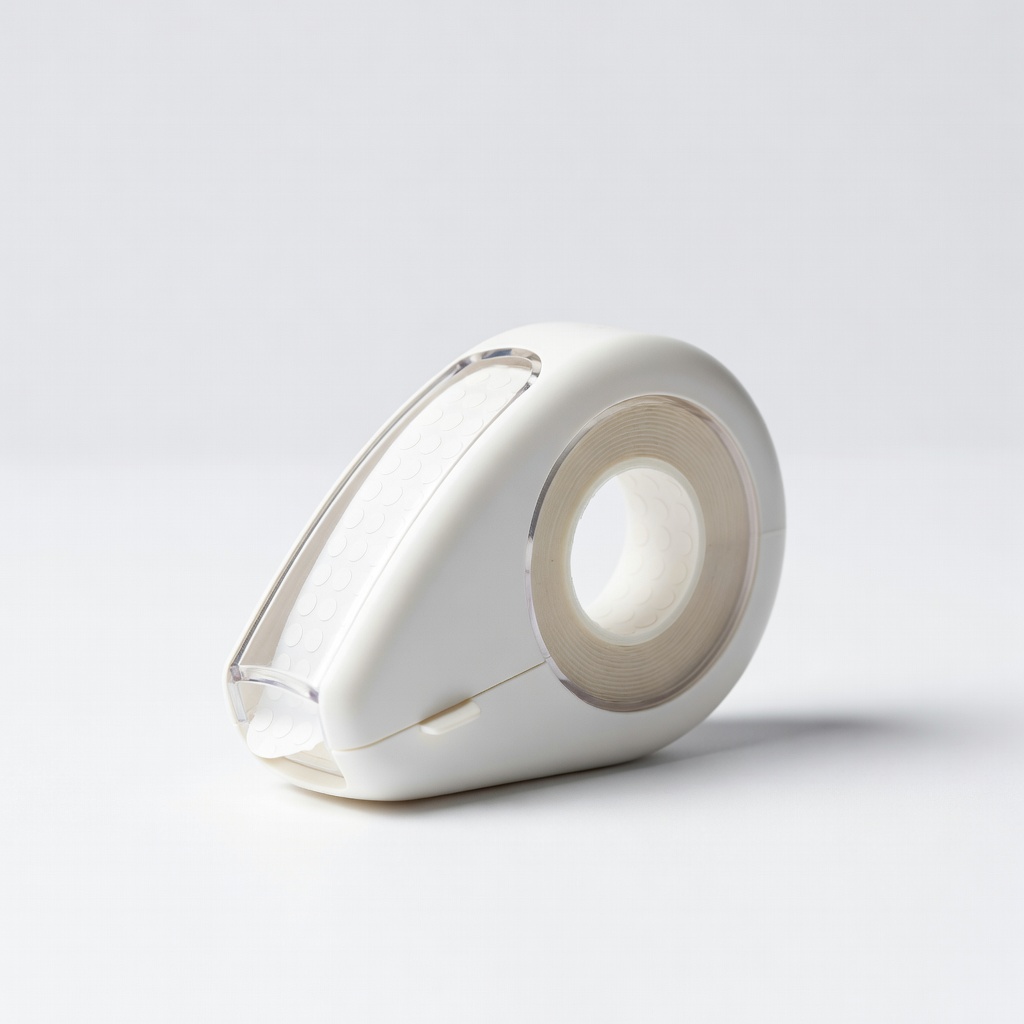
Refillable design with dual tips for dots and lines, beginner-friendly.
Best for: Small to medium embellishments needing versatility.
Price Range: $4.99-$7.99
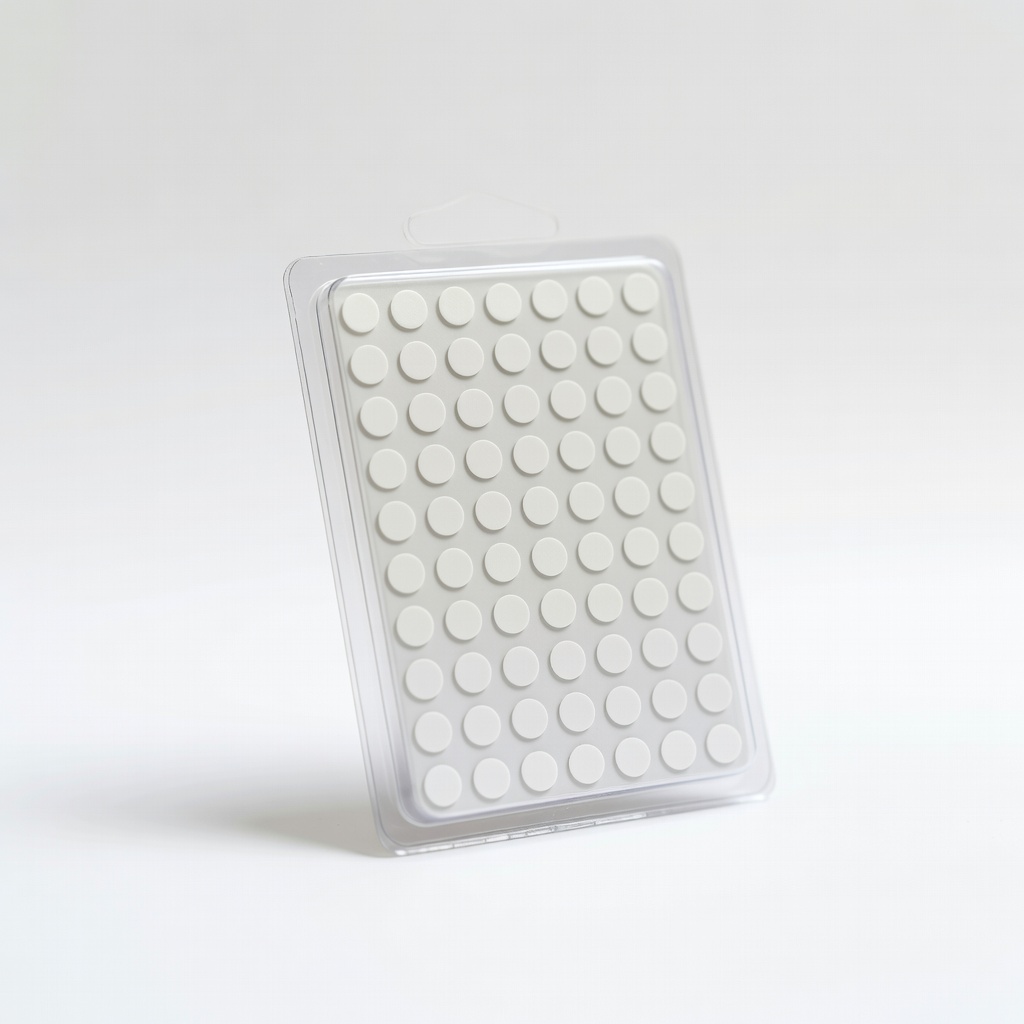
Adds dimension for pop-up effects, clear and strong.
Best for: Layered or 3D elements like flowers or titles.
Price Range: $4.49
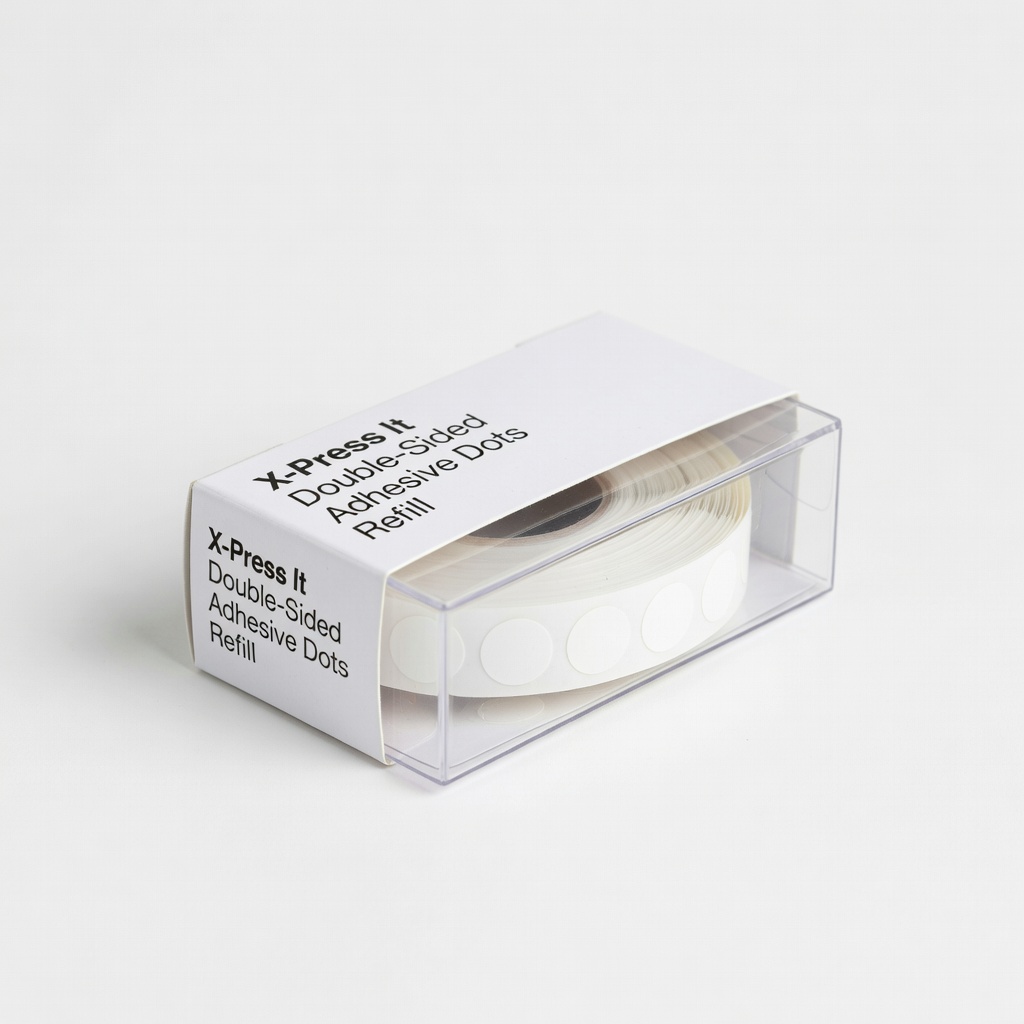
High-tack for heavy items, slim profile keeps pages flat.
Best for: Wood veneers or metal embellishments.
Price Range: $8.99-$12.99
Economical roller dispenser for quick coverage.
Best for: Large-scale projects or borders.
Price Range: $5.49
Everyday scrapbooking on paper and cardstock.
Scrapbook Adhesives 3L E-Z Dots Permanent Dots Refill Precision tip for mess-free application, strong hold for photos.
Small to medium embellishments needing versatility.
Tombow Mono Adhesive Dots Refillable Dispenser Refillable design with dual tips for dots and lines, beginner-friendly.
Layered or 3D elements like flowers or titles.
Therm O Web Zots 3D Adhesive Dots Medium Adds dimension for pop-up effects, clear and strong.
Wood veneers or metal embellishments.
X-Press It Double-Sided Adhesive Dots Refill High-tack for heavy items, slim profile keeps pages flat.
Large-scale projects or borders.
Advantus Dots-n-Rolls Permanent Refill Economical roller dispenser for quick coverage.