Struggling with glue sticks that ooze, double-sided tape that's hard to cut, or photos that won't stay put? Adhesive dots are a scrapbooker's best friend—tiny, precise dots of sticky goodness that deliver clean adhesion without the mess. Perfect for beginners, they make layering photos, embellishments, and paper effortless.
In this guide, you'll learn everything from choosing the right dots to applying them like a pro. By the end, you'll have a stunning scrapbook page ready to cherish. The process is simple, taking just 10-20 minutes per page, with no special skills required.
Expect clear steps, tips to avoid pitfalls, and product recs for the best results. Let's dive in and elevate your scrapbooking game!
▸What You'll Need
- •Adhesive dot dispenser or refill rolls (required; e.g., permanent or removable dots)
- •Scrapbook album or page base (required)
- •Photos, paper elements, or embellishments to adhere (required)
- •Scissors or craft knife (required)
- •Tweezers (optional, for precise placement)
- •Clean workspace and soft cloth for wiping excess
Estimated Time: 10-20 minutes per scrapbook page
Difficulty: beginner
▸Step-by-Step Instructions
Step 1: Prepare Your Workspace
Clear a flat, clean surface to avoid dust or debris sticking to your dots. Lay out your scrapbook page base, photos, and embellishments. This prevents frustration later.
Why it matters: A tidy space ensures precise adhesion and professional-looking results. Expect a smooth start with everything at hand.
Image description: Clean craft table with organized scrapbook supplies laid out.
💡 Tips:
- •Work in good lighting to see dots clearly.
⚠️ Warnings:
- •Avoid working on carpet—dots can pick up fibers.
Step 2: Choose the Right Adhesive Dots
Select dot size based on your project: micro dots (0.3-0.5mm) for paper, medium (1mm) for photos, large (2mm+) for heavy embellishments. Permanent dots for lasting hold; removable for repositioning.
Test a sample on scrap paper first. Success looks like dots that stick firmly without bubbling.
Image description: Close-up of different adhesive dot sizes next to dispenser.
💡 Tips:
- •Keep a variety pack for flexibility.
Step 3: Load or Check Your Dispenser
If using a refillable dispenser, peel the backing from the dot roll and insert it per instructions (usually clicks into place). For pre-loaded, advance the tape to a fresh dot.
Pull the lever or wheel to dispense one dot at a time. You should see a clear, round dot emerge cleanly—no tears or strings.
Image description: Hands loading adhesive dot refill into dispenser.
💡 Tips:
- •Store dispensers upright to prevent jams.
⚠️ Warnings:
- •Don't overload; follow manufacturer capacity.
Step 4: Cut and Arrange Your Elements
Trim photos or paper to size using scissors. Dry-fit them on your page to plan layout—move freely before adhering.
This step ensures balanced composition. Success: Elements fit perfectly without overlaps.
Image description: Scissors cutting photo, elements arranged on scrapbook page.
💡 Tips:
- •Use a paper trimmer for straight edges.
Step 5: Apply Dots to the Back of Elements
Place the element face-down. Press dispenser firmly on the back in corners and center (3-5 dots per item). Avoid edges to prevent peeking adhesive.
Dots transfer cleanly—peel element off dispenser backing. Expect tiny, invisible holds.
Image description: Dispenser applying dot to back of photo.
💡 Tips:
- •Less is more; too many dots cause lumps.
⚠️ Warnings:
- •Don't touch the sticky side with fingers.
Step 6: Position and Adhere to Page
Align element on page and press firmly for 5-10 seconds. Use bone folder or finger for even pressure.
Smooth from center out. Page now has flat, secure layers—no bubbles or shifts.
Image description: Hand pressing photo onto scrapbook page.
💡 Tips:
- •Reposition within 30 seconds if using removable dots.
Step 7: Finish and Inspect
Add more elements, then rub page gently—nothing should lift. Wipe dispenser tip with cloth if sticky.
Your page is done: vibrant, durable, mess-free!
Image description: Completed scrapbook page with adhered elements.
💡 Tips:
- •Let sit 24 hours for max bond.
▸Pro Tips
- •Use tweezers for tiny embellishments to avoid fingerprints.
- •Store dots in a cool, dry place to prevent drying out.
- •Combine with foam dots for dimension on layouts.
- •Practice on scrap paper to get dispenser feel.
- •Refill before empty to avoid mid-project swaps.
- •Layer dots for thicker hold on heavy items.
- •Clean dispenser weekly with isopropyl alcohol.
▸Common Mistakes to Avoid
- •Using too many dots, causing bumpy pages—stick to 3-5 per element.
- •Applying on dusty surfaces, leading to poor adhesion—wipe page first.
- •Pressing too lightly, so items lift—hold 10 seconds minimum.
- •Ignoring dot size, resulting in visible lumps—match to element weight.
- •Storing dispenser flat, jamming the roll—keep upright.
▸Troubleshooting
Problem: Dots not dispensing
Solution: Check if roll is loaded correctly; advance tape or clean tip.
Problem: Adhesion weak
Solution: Use permanent dots; ensure surface is clean and dry.
Problem: Dots stringy or messy
Solution: Replace old roll; store in cool area.
Problem: Element bubbles
Solution: Smooth from center; use fewer dots.
Scrapbook Adhesives E-Z Dots Permanent Refillable Dispenser
Precision dispenser with easy refill for clean, professional dots every time.
Best for: Ideal for everyday scrapbooking; holds 100+ feet of dots.
Price Range: $6.99
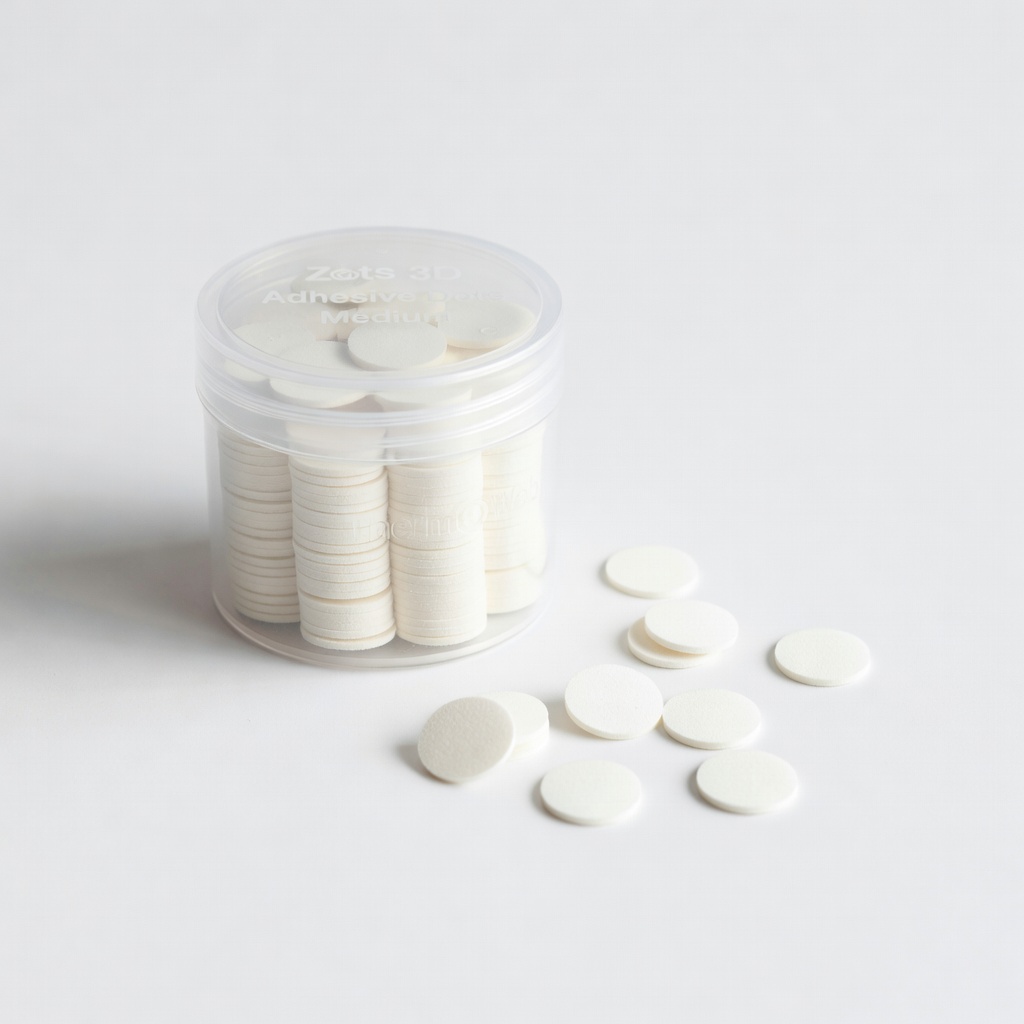
Therm O Web Zots 3D Adhesive Dots Medium
Durable 3D dots add dimension without bulk; strong hold for embellishments.
Best for: Layering heavy items like buttons or wood veneers.
Price Range: $4.49
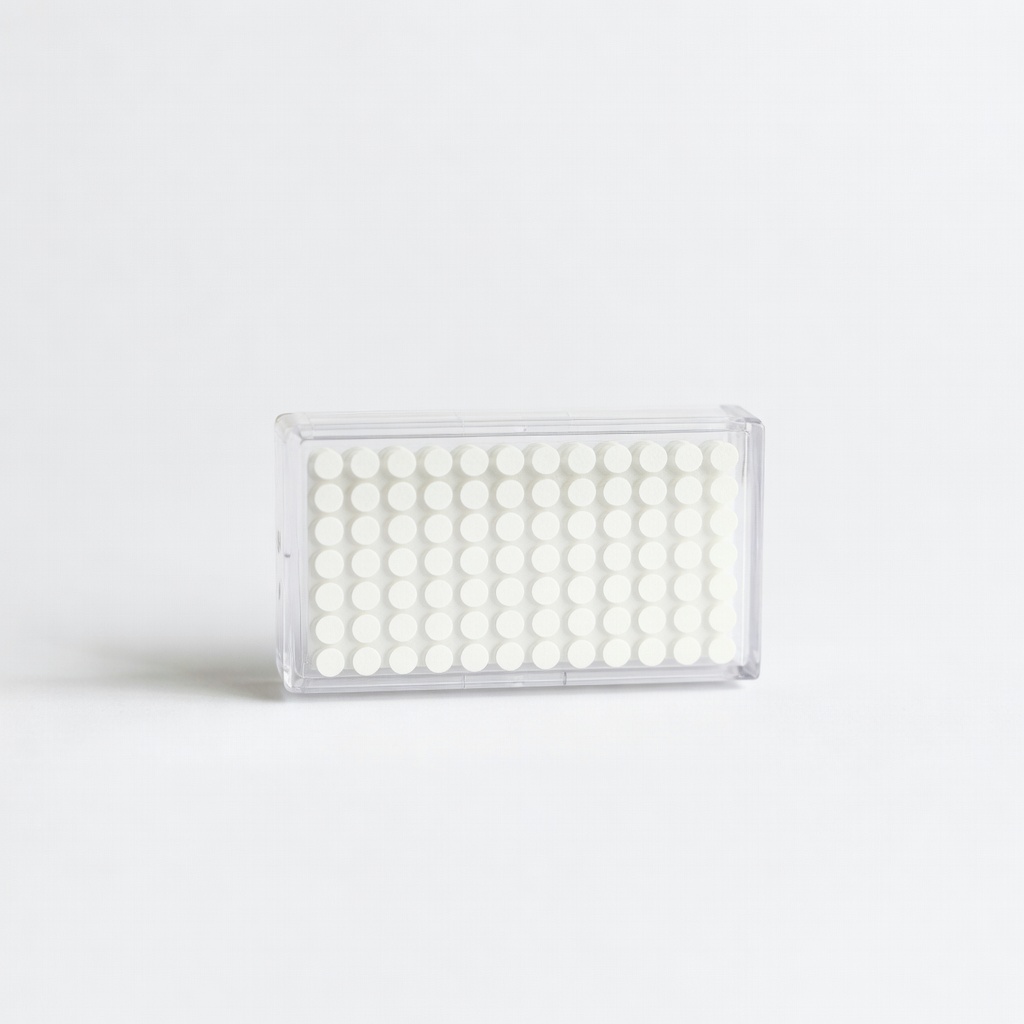
Advantus Scrapbook Adhesives Mini Dots Refill
Affordable bulk refill for micro-precision work; mess-free application.
Best for: Detailed paper piecing or photo corners.
Price Range: $2.99
XPress It Adhesive Dots Refill Roll
High-tack, clear dots compatible with most dispensers; acid-free for photos.
Best for: Long-term archival scrapbooks.
Price Range: $8.99