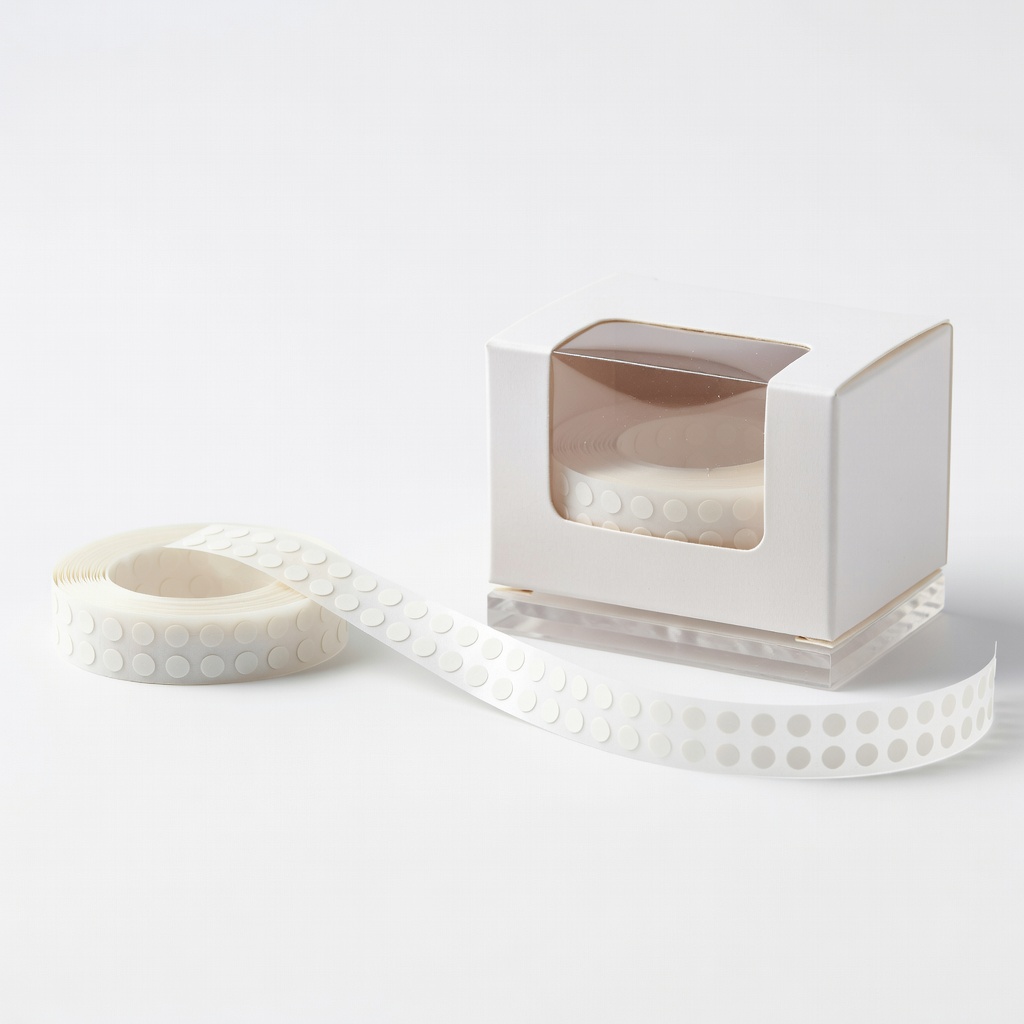
Glue Dots Craft Dots .03" Diameter
Best for beginner photo layering without bulk.
$5.99
Glue Dots Craft Dots .03" Diameter Ultra-small size for precise, invisible hold on delicate layers.
Get the App
Better experience on mobile
Master layering scrapbook pages with adhesive dots for secure, professional results in under 30 minutes—no mess, no fuss.
Struggling with scrapbook layers that shift, bubble, or fall apart? Adhesive dots are a beginner-friendly solution that provide precise, strong hold without the glue gun hassle or drying time. They're perfect for stacking papers, photos, and embellishments dimensionally.
In this guide, you'll learn step-by-step how to apply adhesive dots for flawless scrapbook layers. We'll cover planning, application, and finishing touches. Expect pro-level pages that last years.
This process takes 20-30 minutes per page and is ideal for beginners—no prior experience needed. Just follow along for sturdy, elevated designs.
Estimated Time: 20-30 minutes per page Difficulty: beginner
Clear a flat, clean surface to avoid dust or debris sticking to your dots. Lay out your scrapbook base page and gather all materials. Test one adhesive dot on scrap paper to ensure it sticks well to your paper type.
Why it matters: A tidy workspace prevents contamination, ensuring dots adhere properly from the start.
Success looks like: Organized tools within arm's reach, no visible dust.
💡 Tips:
⚠️ Warnings:
Arrange your cut papers, photos, or elements on the base page without adhesive. Move them around to visualize layers—typically 2-4 for dimension.
Why it matters: Planning prevents repositioning later, which can damage dots.
Expect a dry-fit layout that excites you. Sketch if needed.
💡 Tips:
Measure and cut papers slightly smaller than the base (e.g., 8x10 inches for an 8.5x11 base). Trim edges straight for neat stacking.
Why it matters: Precise cuts ensure layers align without overhang.
Success: Smooth, even edges ready for adhesion.
⚠️ Warnings:
Peel the backing from 4-6 adhesive dots. Place them in corners and center of the back of your top layer paper. Press firmly.
Why it matters: Dots in key spots provide even support without bulk.
Expect tiny, clear dots—translucent ones blend best.
💡 Tips:
Align the dotted layer on the base per your plan. Press down firmly for 10 seconds, starting from center outward.
Why it matters: Firm pressure activates the adhesive bond.
Success: Layer sits flat, no shifting when nudged.
⚠️ Warnings:
Repeat steps 4-5 for the next layer, placing it offset or centered on the first for dimension.
Build gradually—each layer adds depth.
Expect growing thickness; 1/16-inch dots give noticeable lift.
💡 Tips:
Continue layering up to 4 levels. Once complete, press entire page under a heavy book for 5 minutes.
Why it matters: Final compression ensures longevity.
Success: Dimensional page with no bubbles or lifts.
Check for loose edges; add extra dots if needed. Trim any overhang with scissors.
Your page is now ready for photos or embellishments.
💡 Tips:
Problem: Dots not sticking
Solution: Wipe surfaces with alcohol wipe; ensure dots aren't old. Replace if expired.
Problem: Bubbles under layers
Solution: Lift edge, smooth from center out, repress. Prevent by fewer dots.
Problem: Layers shifting
Solution: Add corner dots; use heavier press time (10+ mins).
Problem: Dots too visible
Solution: Switch to clear or micro dots; cover with paper edges.
Ultra-small size for precise, invisible hold on delicate layers.
Best for: Best for beginner photo layering without bulk.
Price Range: $5.99
Easy dispenser for quick application; strong permanent bond.
Best for: Ideal for stacking multiple paper layers securely.
Price Range: $4.49
Roller applies dots evenly in seconds—no peeling hassle.
Best for: Time-saver for large or repetitive layers.
Price Range: $12.99
Versatile size for dimension; acid-free for archival safety.
Best for: Perfect for embellishments on layered pages.
Price Range: $3.99
Precise cuts ensure perfect layer alignment.
Best for: Essential tool for straight edges before adhering.
Price Range: $24.99
Best for beginner photo layering without bulk.
Glue Dots Craft Dots .03" Diameter Ultra-small size for precise, invisible hold on delicate layers.
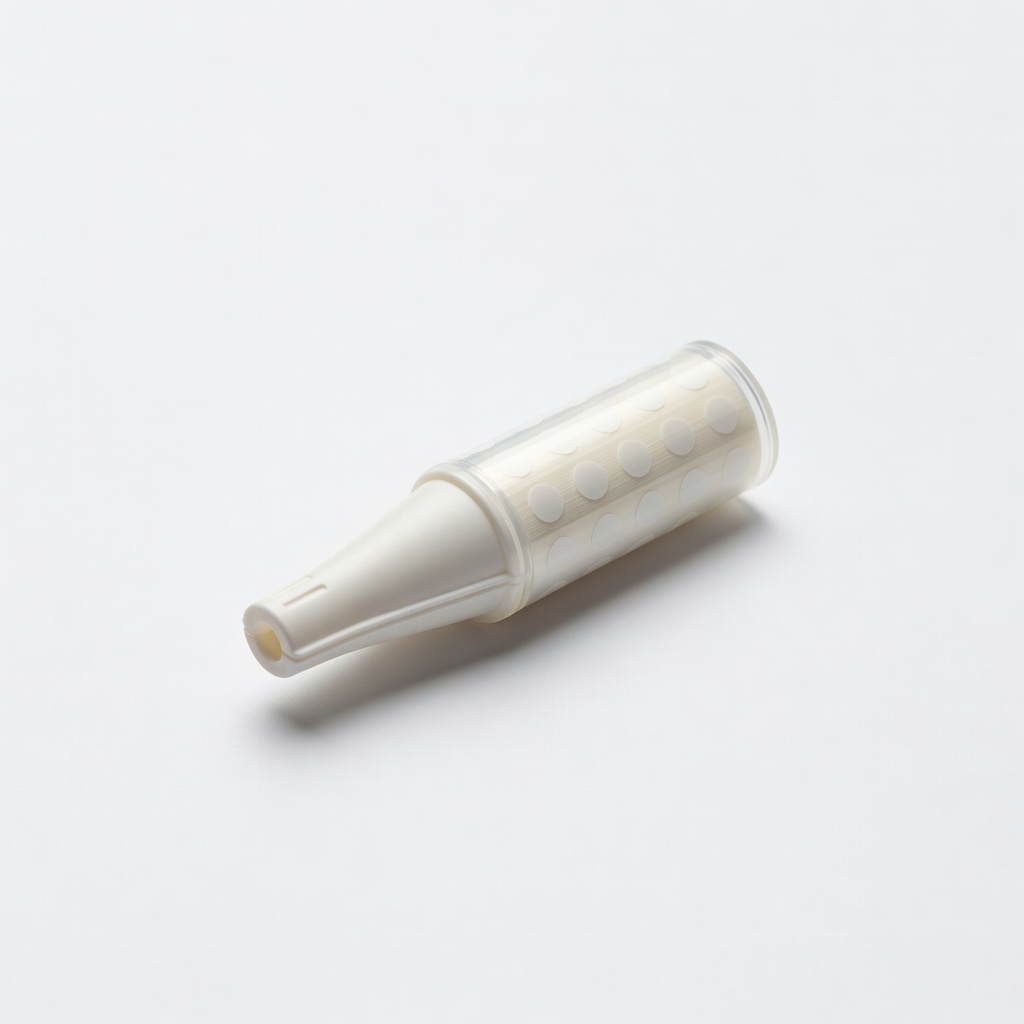
Ideal for stacking multiple paper layers securely.
Scrapbook Adhesives by 3L E-Z Dots Permanent Refill Easy dispenser for quick application; strong permanent bond.
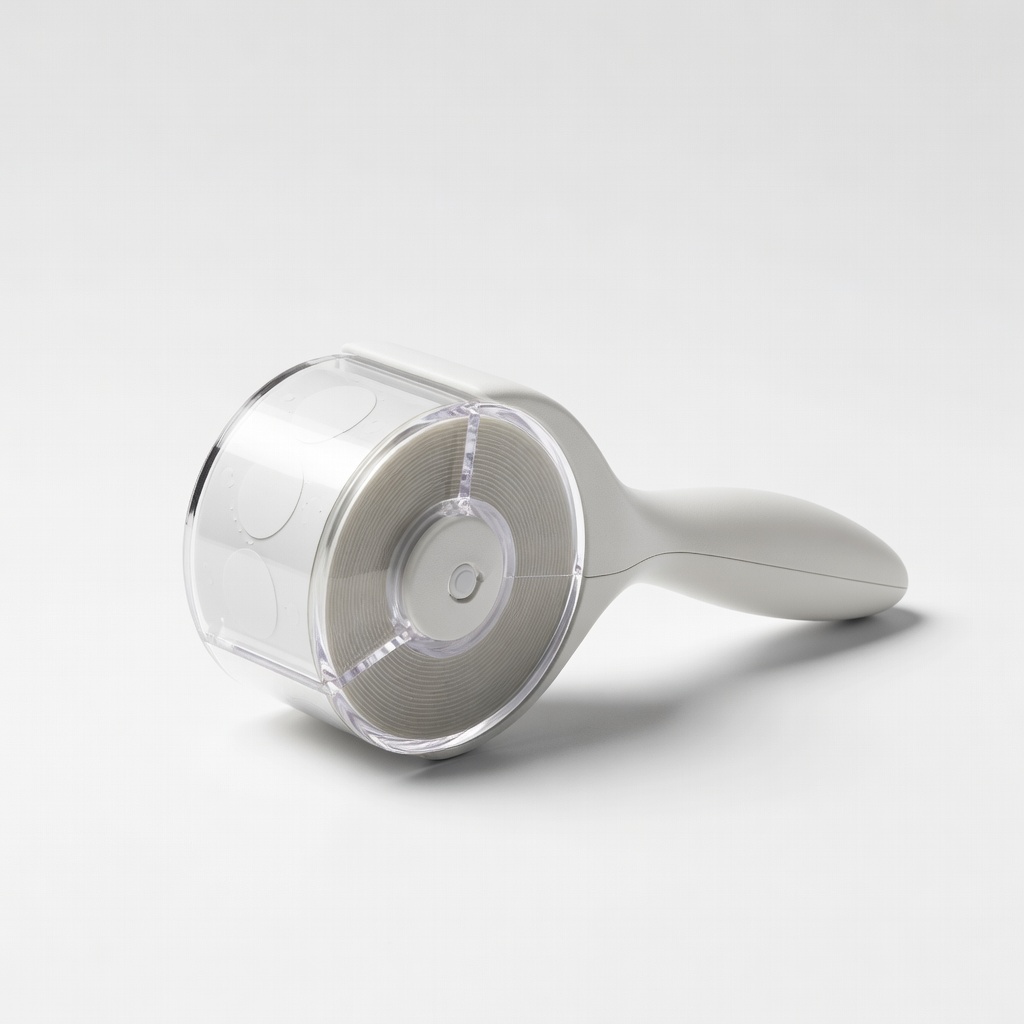
Time-saver for large or repetitive layers.
X-Press It Double-Sided Adhesive Dots Roller Roller applies dots evenly in seconds—no peeling hassle.
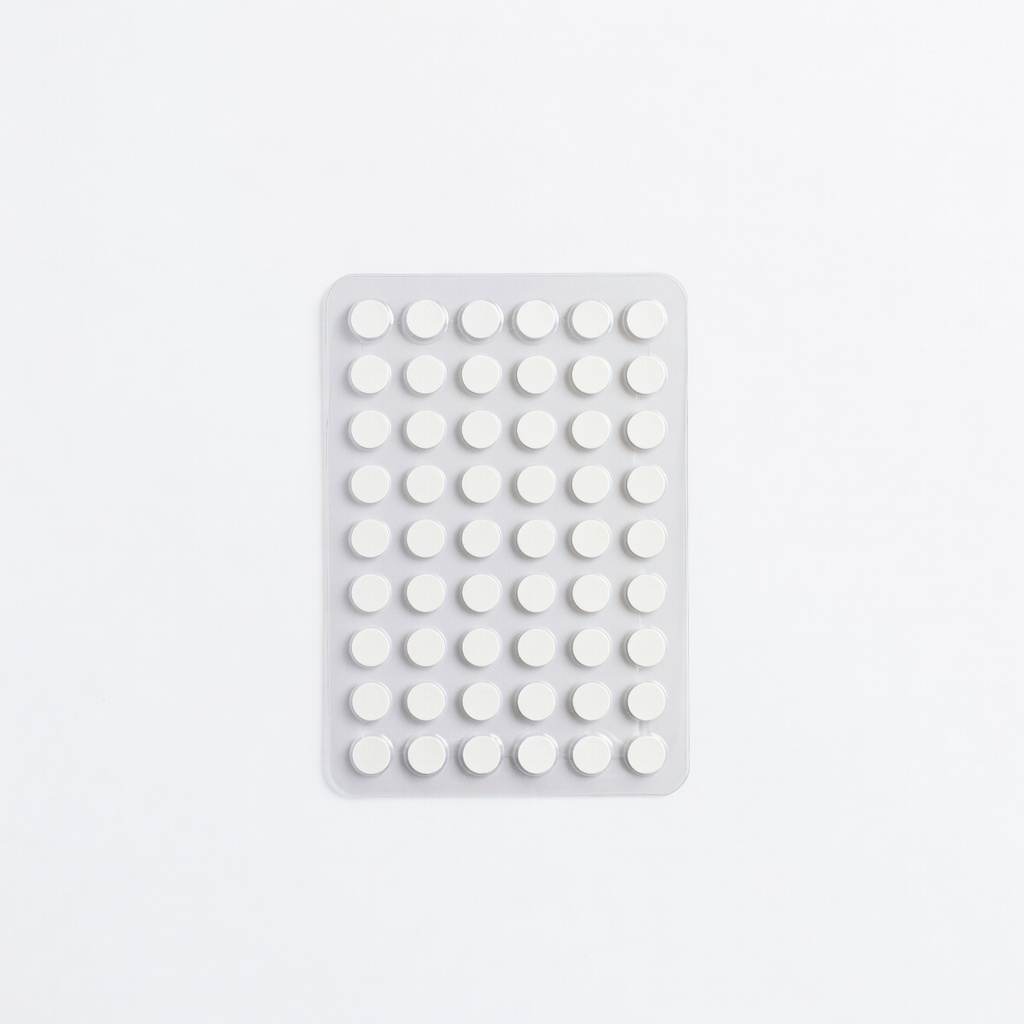
Perfect for embellishments on layered pages.
Therm-O-Web Adhesive Dots 1/8" Versatile size for dimension; acid-free for archival safety.
Essential tool for straight edges before adhering.
Fiskars Rotary Paper Trimmer Precise cuts ensure perfect layer alignment.