Backless dresses are stunning but tricky—without the right support, they can feel insecure or unflattering. Adhesive bras (also called stick-on or boob tape bras) provide lift and coverage without straps or wires, ideal for low-back gowns. If you've ever worried about wardrobe malfunctions at events, this guide is your solution.
You'll learn a foolproof step-by-step process to apply adhesive bras correctly, ensuring all-day comfort and confidence. The whole process takes just 10-15 minutes and requires no special skills—great for beginners. By the end, your bust will look naturally lifted and seamless under your dress.
Expect a quick prep, precise application, and easy checks for success. Follow along, and you'll rock that backless look effortlessly.
▸What You'll Need
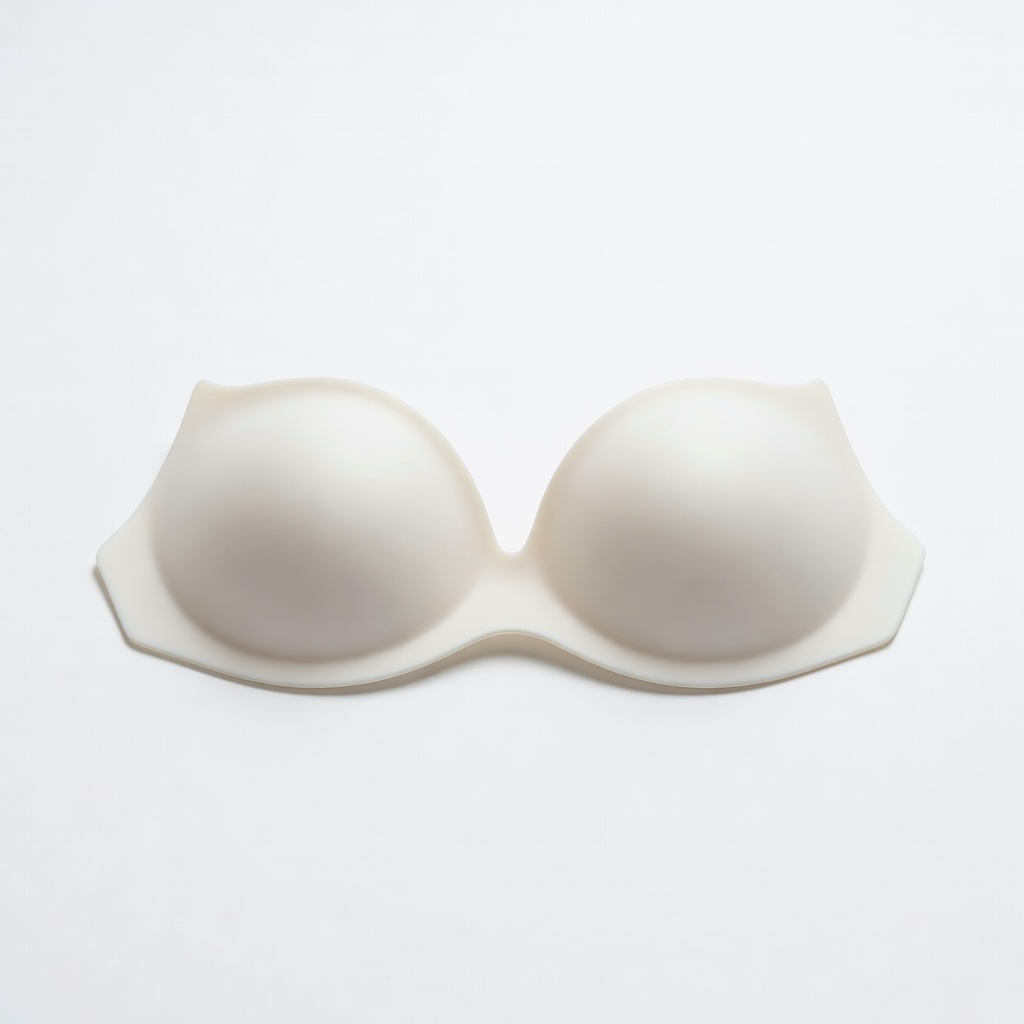
- •Adhesive bra (stick-on cups with wings or petals, sized to your bust)
- •Full-length mirror
- •Rubbing alcohol or gentle cleanser
- •Clean towel or tissue
- •Body powder (optional, for extra hold)
- •Scissors (optional, for trimming if needed)
Estimated Time: 10-15 minutes
Difficulty: beginner
▸Step-by-Step Instructions
Step 1: Prepare Your Skin
Start with super clean, dry skin—adhesive bras won't stick to oily or lotioned areas. Shower or wipe your underbust, cleavage, and sides with rubbing alcohol using a cotton pad. Pat dry completely; skin must be residue-free for maximum hold.
Why it matters: Oils from lotion, sweat, or deodorant weaken the adhesive, causing slips. Expect your skin to feel fresh and slightly tacky after drying.
Let skin air-dry for 1-2 minutes.
💡 Tips:
- •Shower right before for best results.
- •Avoid antiperspirant on application day.
⚠️ Warnings:
- •Don't use on irritated or broken skin.
Step 2: Choose and Inspect Your Adhesive Bra
Select the right size: measure your band (under bust) and cup. Unpack the bra and check for damage—cups should be smooth, adhesive intact.
Why it matters: Wrong size means poor lift or gaps. Success looks like cups matching your natural shape perfectly.
Test flexibility by bending slightly.
💡 Tips:
- •Size up if between sizes for backless styles.
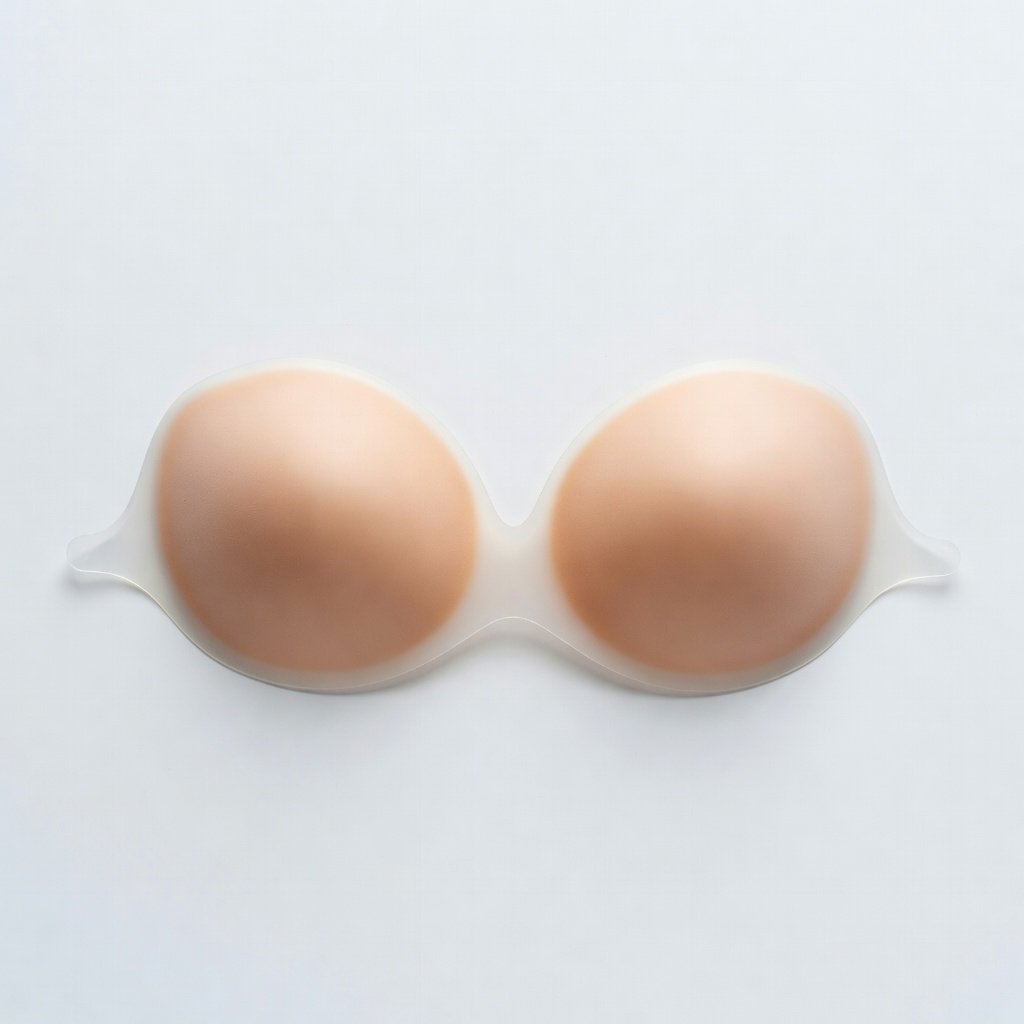
Step 3: Position the Cups Correctly
Stand topless in front of a mirror. Lift your breasts to desired position (higher for lift). Place the lower edge of one cup against your ribcage, just under the breast fold, centering the nipple.
Why it matters: Proper placement creates natural cleavage and support. Expect a snug fit without pinching.
Repeat on the other side, ensuring cups are level.
💡 Tips:
- •Use mirror for symmetry—eyes level with bust.
⚠️ Warnings:
- •Don't pull skin too tight; it can cause discomfort.
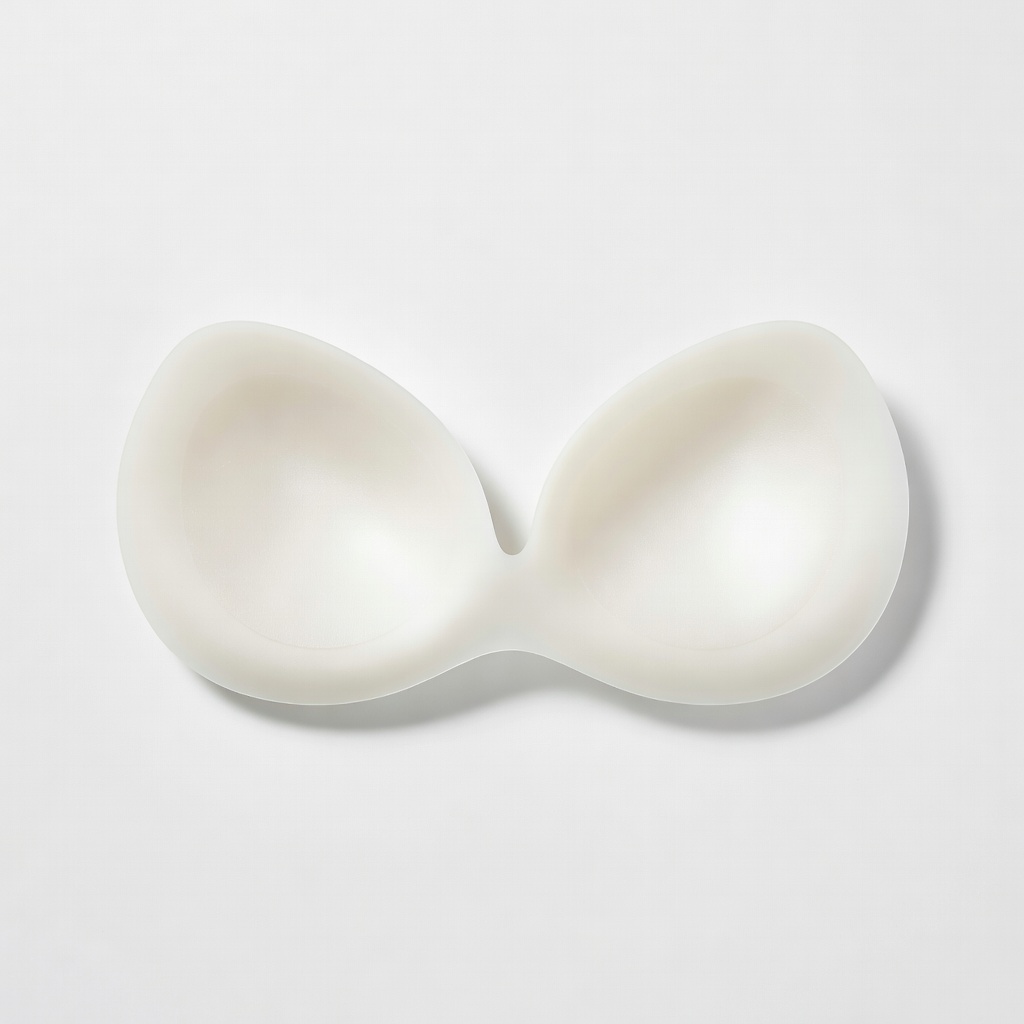
Step 4: Peel Off Protective Backing
Gently peel the plastic liner from the adhesive side of the first cup while holding it in position. Avoid touching the sticky surface.
Why it matters: Finger oils reduce stickiness. You'll see the clear adhesive ready to bond.
Keep cup curved to match your body.
💡 Tips:
- •Peel from the top edge for control.
Step 5: Press and Stick Firmly
Press the cup firmly onto skin, starting from the bottom and smoothing upward. Hold for 30 seconds per cup, massaging edges for full contact.
Why it matters: Pressure activates adhesive for 8-12 hour hold. Success: No air bubbles, secure feel when you move.
Do both cups.
💡 Tips:
- •Breathe normally—tense muscles distort fit.
⚠️ Warnings:
- •Don't rush; weak press = early peel-off.
Step 6: Connect the Wings
For winged styles, stretch side wings around your back and overlap/connect at the center (like a bra band). Press firmly for 30 seconds.
Why it matters: Wings provide back support without visible lines. Expect a hugged sensation.
Trim excess wings if too long.
💡 Tips:
- •Pull gently for lift, not too tight.
Step 7: Test Movement and Put on Dress
Jump, bend, and raise arms—adjust if shifting. Slip on your backless dress; smooth fabric over cups.
Why it matters: Simulates real wear. Success: No movement, seamless under dress.
Final pat-down for security.
💡 Tips:
- •Dance test: If it holds, you're set.
▸Pro Tips
- •Apply after moisturizing everywhere except bust area.
- •Store unused bras in original packaging to preserve adhesive.
- •Dust with powder post-application for sweat resistance.
- •For larger busts, layer nipple covers first.
- •Remove with baby oil for gentle peel—no pain!
- •Practice at home before events.
- •Reusable bras last 20-30 wears with care.
▸Common Mistakes to Avoid
- •Applying over lotion or sweat—causes instant slip; always clean first.
- •Wrong sizing—leads to spillage or gaps; measure twice.
- •Not holding long enough—adhesive needs 30+ seconds; results in peeling.
- •Over-stretching wings—creates bulges; connect loosely.
- •Ignoring skin type—oily skin fails faster; prep extra.
▸Troubleshooting
Problem: Bra won't stick
Solution: Re-clean with alcohol, dry fully, and reapply. Avoid hot/humid days.
Problem: Skin irritation or redness
Solution: Remove immediately with oil, rinse skin. Try hypoallergenic brands next time.
Problem: Shifting during wear
Solution: Re-position before dress; add body tape for extra hold.
Problem: Uneven lift
Solution: Remove and re-lift breasts higher during placement.
Wingslove Backless Strapless Push Up Silicone Bra
Affordable, reusable winged design with strong adhesive for all-day hold on most skin types.
Best for: Ideal for everyday backless dresses or events up to 12 hours.
Price Range: $16.99-$19.99
Fashion Forms Bio Silicone Invisible Bra
Medical-grade silicone molds naturally, discreet under sheer fabrics.
Best for: Perfect for low-cut or plunging backless styles needing seamless coverage.
Price Range: $28-$35
NuBra Seamless Adhesive Bra
Pioneering feather-light design, hypoallergenic, reusable 25+ times.
Best for: Best for sensitive skin or formal wear requiring max comfort.
Price Range: $40-$50
Hollywood Fashion Secrets Instant Lift Bra
Budget push-up option with easy wings for beginners.
Best for: Quick application for casual backless tops.
Price Range: $22-$28